

In February and March, I crunched on my Kena cosplay in order to compete at the Nishi Fest contest. While my work managed to get me a Judge’s Award, I knew I could do it better. So here are the improvements I’ve made, just in time for A-kon!


Items I Bought
- Two 1″ x 50″ PVC pipes
- 1″ PVC pipe couplings
- 1″ PVC pipe caps
- More blue holographic vinyl
- Sand
- 9V battery case
- Worbla’s Finest
- Wood glue
- Maroon knit fabric
- Black cord
What I Already Had
- Foam clay (TNT Cosplay Supply)
- Scotch tape
- Kobracast
- Plastazote
- Lots of hot glue
- Shrinking tube
- Heat gun
- Paint
Staff 2.0
PVC pipe base
The biggest difference between Staff 1.0 and Staff 2.0 is the base. While 1.0 used aluminum wire, 2.0 uses a series of PVC pipes, connected via coupling. I would’ve done this method initially, but I wasn’t sure how I’d be able to get that distinct twist in the middle of the staff. I’ve since learned that you can actually bend and twist pipe by heating it!


Warning: heating PVC pipes results in dangerous fumes. Always practice good safety by wearing a respirator that is graded for fumes (as well as gloves)when doing this type of work.
After capping one end of one of my PVC pipes, I filled it about halfway with sand using a funnel. The sand is used so that the pipe doesn’t cave in on itself during the heating process. (If you don’t care about it bending inwards, you can just skip the sand.) Then, while wearing my respirator and wearing gloves, I heated the pipe with my heat gun. Various tutorials online suggest heating the sand first then filling the pipe, but I needed to be able to heat my pipe outside in my backyard where it was well ventilated, so doing it inside in the kitchen was a bad idea. Not only that, but trying to transport the hot sand from the kitchen stove to the backyard just sounded cumbersome.
Heating took a while and I focused on one small section at a time, occasionally lingering too long on one spot and leaving a mark. I worked methodically, heating and then bending the pipe how I wanted. It’s far from perfect but it had that signature twist I wanted, so it was fine by me.


I cut the rest of the pipes to size and then attached them via coupling so that the top and bottom portions were straight with the little twist in the middle. The top pipe would house the circuit and would be detachable for easy transport. To do this, I opted to move the button from the base of the pipe to the handle, so that no wires would be exposed during transport. (It also meant I wouldn’t accidentally turn the lights on when I was just standing around, which happened a lot with Staff 1.0!)
I then cut holes for the button, battery pack, and 2 crystals into the pipe using my Dremel. (I had purchased a pack of rotary blades when working on Maria.) Once cut, the pipe base was ready!


Circuit
I’d like to again shout-out Kamui Cosplay’s book “The Book of Cosplay Lights.” Taking what I learned from the book and my first staff circuit, I was able to improve it by adding more LEDs! Staff 1.0 had 2 bulbs in the small crystal and 3 in the large one; Staff 2.0 has 3 in the small crystal, 4 in the large crystal! I did this by adding one more parallel line.
Small crystal line
The small crystal line was very simple: 3 3-V LEDs connected directly to each other in a line and one red wire. I made sure to keep track of my poles by using red to indicate the positive end. Red meant it was the positive end that went into the LEDs, while black indicated the returning wire going from the LEDs to the battery. I would need to be able to keep it all straight considering there’s be 3 parallel lines to keep track of!


Big crystal lines (2)
Before I made the circuit lines for the big crystal, I needed to map out where the lights would go and thus, how long the wires needed to be. I did this y cutting more than enough wire and taping it in place with masking tape. I then drew on the tape either a circle to indicate an LED bulb or a little zigzag to indicate the resistor.


Once happy with placement, I created the first line which was 3 LED’s, following the same color coordination method as the small crystal. Then, I created the second line which was 1 LED and 1 330Ω resistor. I then taped both big crystal lines to the outside of the pipe with electric tape.


Battery, button, and finished circuit
Once the 3 separate lines were done, it was time to connect them all. First, I got my button and battery ready. I soldered the black returning wire to the button and then—after inserting that black wire through the button hole in the pipe—soldered it to the corresponding black wire on the battery case. (Staff 1.0 used different 9V cables that left the battery itself exposed. This time, I used a battery case so it would be covered but still able to be replaced when the juice ran out.)

I added the red positive wire to the button and then started soldering all the pieces together. I probably could’ve gone shorter with the wires, but having them this length made soldering easier and also. meant that the wires could be relaxed and not fully taut.


I thought I would need to tape the small crystal’s line in place but it kinda was just able to stay in place shoved in the pipe, so that owrked out nicely! I was absolutely ecstatic when I finally pressed the button to see all 7 LEDs light up. Unlike Staff 1.0, I didn’t test at all during this process. I just kind of trusted myself that I was getting it right. A risky strategy but it all came out okay in the end. (Maybe next time I’ll actually take the time to test between steps.)


Crystals
Small crystal
The crystals used the same process as before, the only difference being that the small crystal would only include the front half. But otherwise, it was business as usual: masking tape reference, duct tape pattern, paper pattern, plastazote base, vinyl covering, and hot glue coat.


While the process was the same, I did do a couple things a little differently this time around, resulting in a much smoother surface for the crystal! The first thing was how I applied the vinyl. Last time, I would remove the clear backing of the vinyl then hot glue it in place. This would sometimes (read: often) result in folds and creases. This time, I hot glued the vinyl on with the clear part still attached. This allowed for a smoother and evenly attached vinyl. (The vinyl is the iron on type, so it would stand to reason that you’d follow the same process of attach then remove plastic as you would for any other application.)


The other thing I did differently was that, after applying a coat of hot glue all over the crystal, I reheated the hot glue with a heat gun. This allowed the hot glue to become liquid again and fix any gaps I had when first adding it. When heating it alonedidn’t fill gaps, I just added more with my hot glue gun and then hit it with the heat gun again. I didn’t take a “before” picture, but you can see the difference between the small crystal for staff 1.0 vs. 2.0.

Big crystal
The big crystal was slightly different this time around. It started the same, with a paper towel and masking tape reference piece, but took a departure there for a foam clay pattern rather than a duct tape one.


I won’t lie to you: I was mostly winging this part. I thought that using foam clay would help me get better angles for the crystal. The big crystal for 1.0 ended up so round that I didn’t like it. I wanted sharper angles and flatter surfaces. Initially, when I added the foam clay, I was just doing that for a more stable reference shape, then I thought I would just sort of start covering it in Plastazote, following the clay shape. I thought I would do one side and then the other before attaching them together around the pipe. I did not end up doing that.
Instead what I ended up doing was making the foam clay part itself the pattern. I figured the thickness of the clay would be closer to the Plastazote thickness than if it were a duct tape pattern. I tried to be very deliberate with where I drew the lines. I tried to divide the crystal into flat shapes so that it could translate to joining flat Plastazote pieces.


My foam clay crystal ended up a little longer than intended, so I started making the Plastazote base just with the bottom portion, then I did the top one, leaving one 3-4″ strip in the middle unused.


Once the base was made, I covered the whole thing in holographic vinyl.


Then came the long process of covering the whole thing in hot glue. This took 45 sticks that were 4″ long. Once I was done with that, I carefully used a heat gun to smooth out the hot glue so it looked more crystal-like.


Putting it all together
To finish the bottom portion of the staff, I first covered it in foam clay. This was both to add thickness and to also give it a more organic shape. I let it dry outside in the backyard in the sun in between sessions of adding the foam clay.

Once the foam clay had cured (to the best of my knowledge, it’s hard to tell for the inside), I used Worbla for the first time ever to cover it! I used Worbla’s Finest because I wanted that sort of rough texture to help add to the wood look. My covering job was not perfect by any means but it’ll do!

The next step was patterning the swirl details on the bottom pipe. At first I thought I’d do it by bending pipe cleaners around it, but that didn’t work out. So instead, I covered the bottom pipe in masking tape and drew in pen until I was happy with it. I went over the pen with blue sharpie and then very carefully cut the shapes out with an X-acto knife. Doing it this way allowed me to actually move the pieces a little bit because eI wasn’t 100% happy with where they were. (The size was fine, just needed to be moved a few inches left.)


Once happy with the pattern, I used the soldering iron to carve the details into the Worbla.


Going back to the top pipe, after placing the big crystal on top by shoving the pipe into the open hole, I attached the small crystal (not shown) using contact cement. Then, I covered the pipe in foam clay to give it width and texture. I then used the very last of my foam clay for the rock that goes over the big crystal.


Once the foam clay cured, I started carefully covering it with Worbla. For the twigs, I would cut strips of Worbla, curve it on itself to form another strip. Then, I’d take 2-3 of these strips and attach them to each other before attaching it to the pipe.


All the Worbla in place for both pipes, I finished it by carving some wood grain details into it with the soldering iron. Then, I coated all of it in wood glue, at the suggestion of liraelsayre. This would hopefully protect the Worbla from the Texas heat, which has been known to melt a prop or two.

After letting the glue dry, it was time to paint! First, I covered the crystals with painters tape. (For the large crystal, to save on tape, I covered it mostly with a plastic bag and then taped that bag to the crystal.)
Then, I took everything outside to prime it with a brown spraypaint (prime + paint combo).


I primed one side, let it dry, then primed the backside. After one more once over with primer to catch any spots I missed, it was time for a lot of hand painting!
I used a few different paints to get this done. The light cream was used for the swirl and bottom details. I used a mix of medium and dark brown for the base so that it didn’t look too flat from the primer’s brown. Then, going in with a very small brush, I painted the carvings with dark brown. Once that was done, I did a final pass with medium brown for highlights.


The rock was painted gray by mixing white and black paint. For staff 1.0, I had used big blobs of paint for the rock texture. It didn’t really translate well to a rock texture, so this time I used the end of a very bristly paint brush to paint small specs of slighter dark gray paint. This worked out much better!


Once everything was dry, I took the whole thing outside and sealed it in a few coats of sealer. Then, it was time for the strap.
The strap followed the exact same method as 1.0, but I made the strap itself both longer and wider. The initial strap had been too short, so I had ended up supplementing it by another (unsewn) strap of fabric underneath. This time, I wanted to be sure I could cover everything with one strap.
I followed the same method (and forgot to take pictures). I cut two strips of fabric, wrapped them around the staff handle so I could mark where to put velcro, attached the velcro to the correct spots, then stitched both strips right sides together. After painstakingly turning it right side out, I finished the ends.

After a brief bath in some tea and some drying, the strap was done!


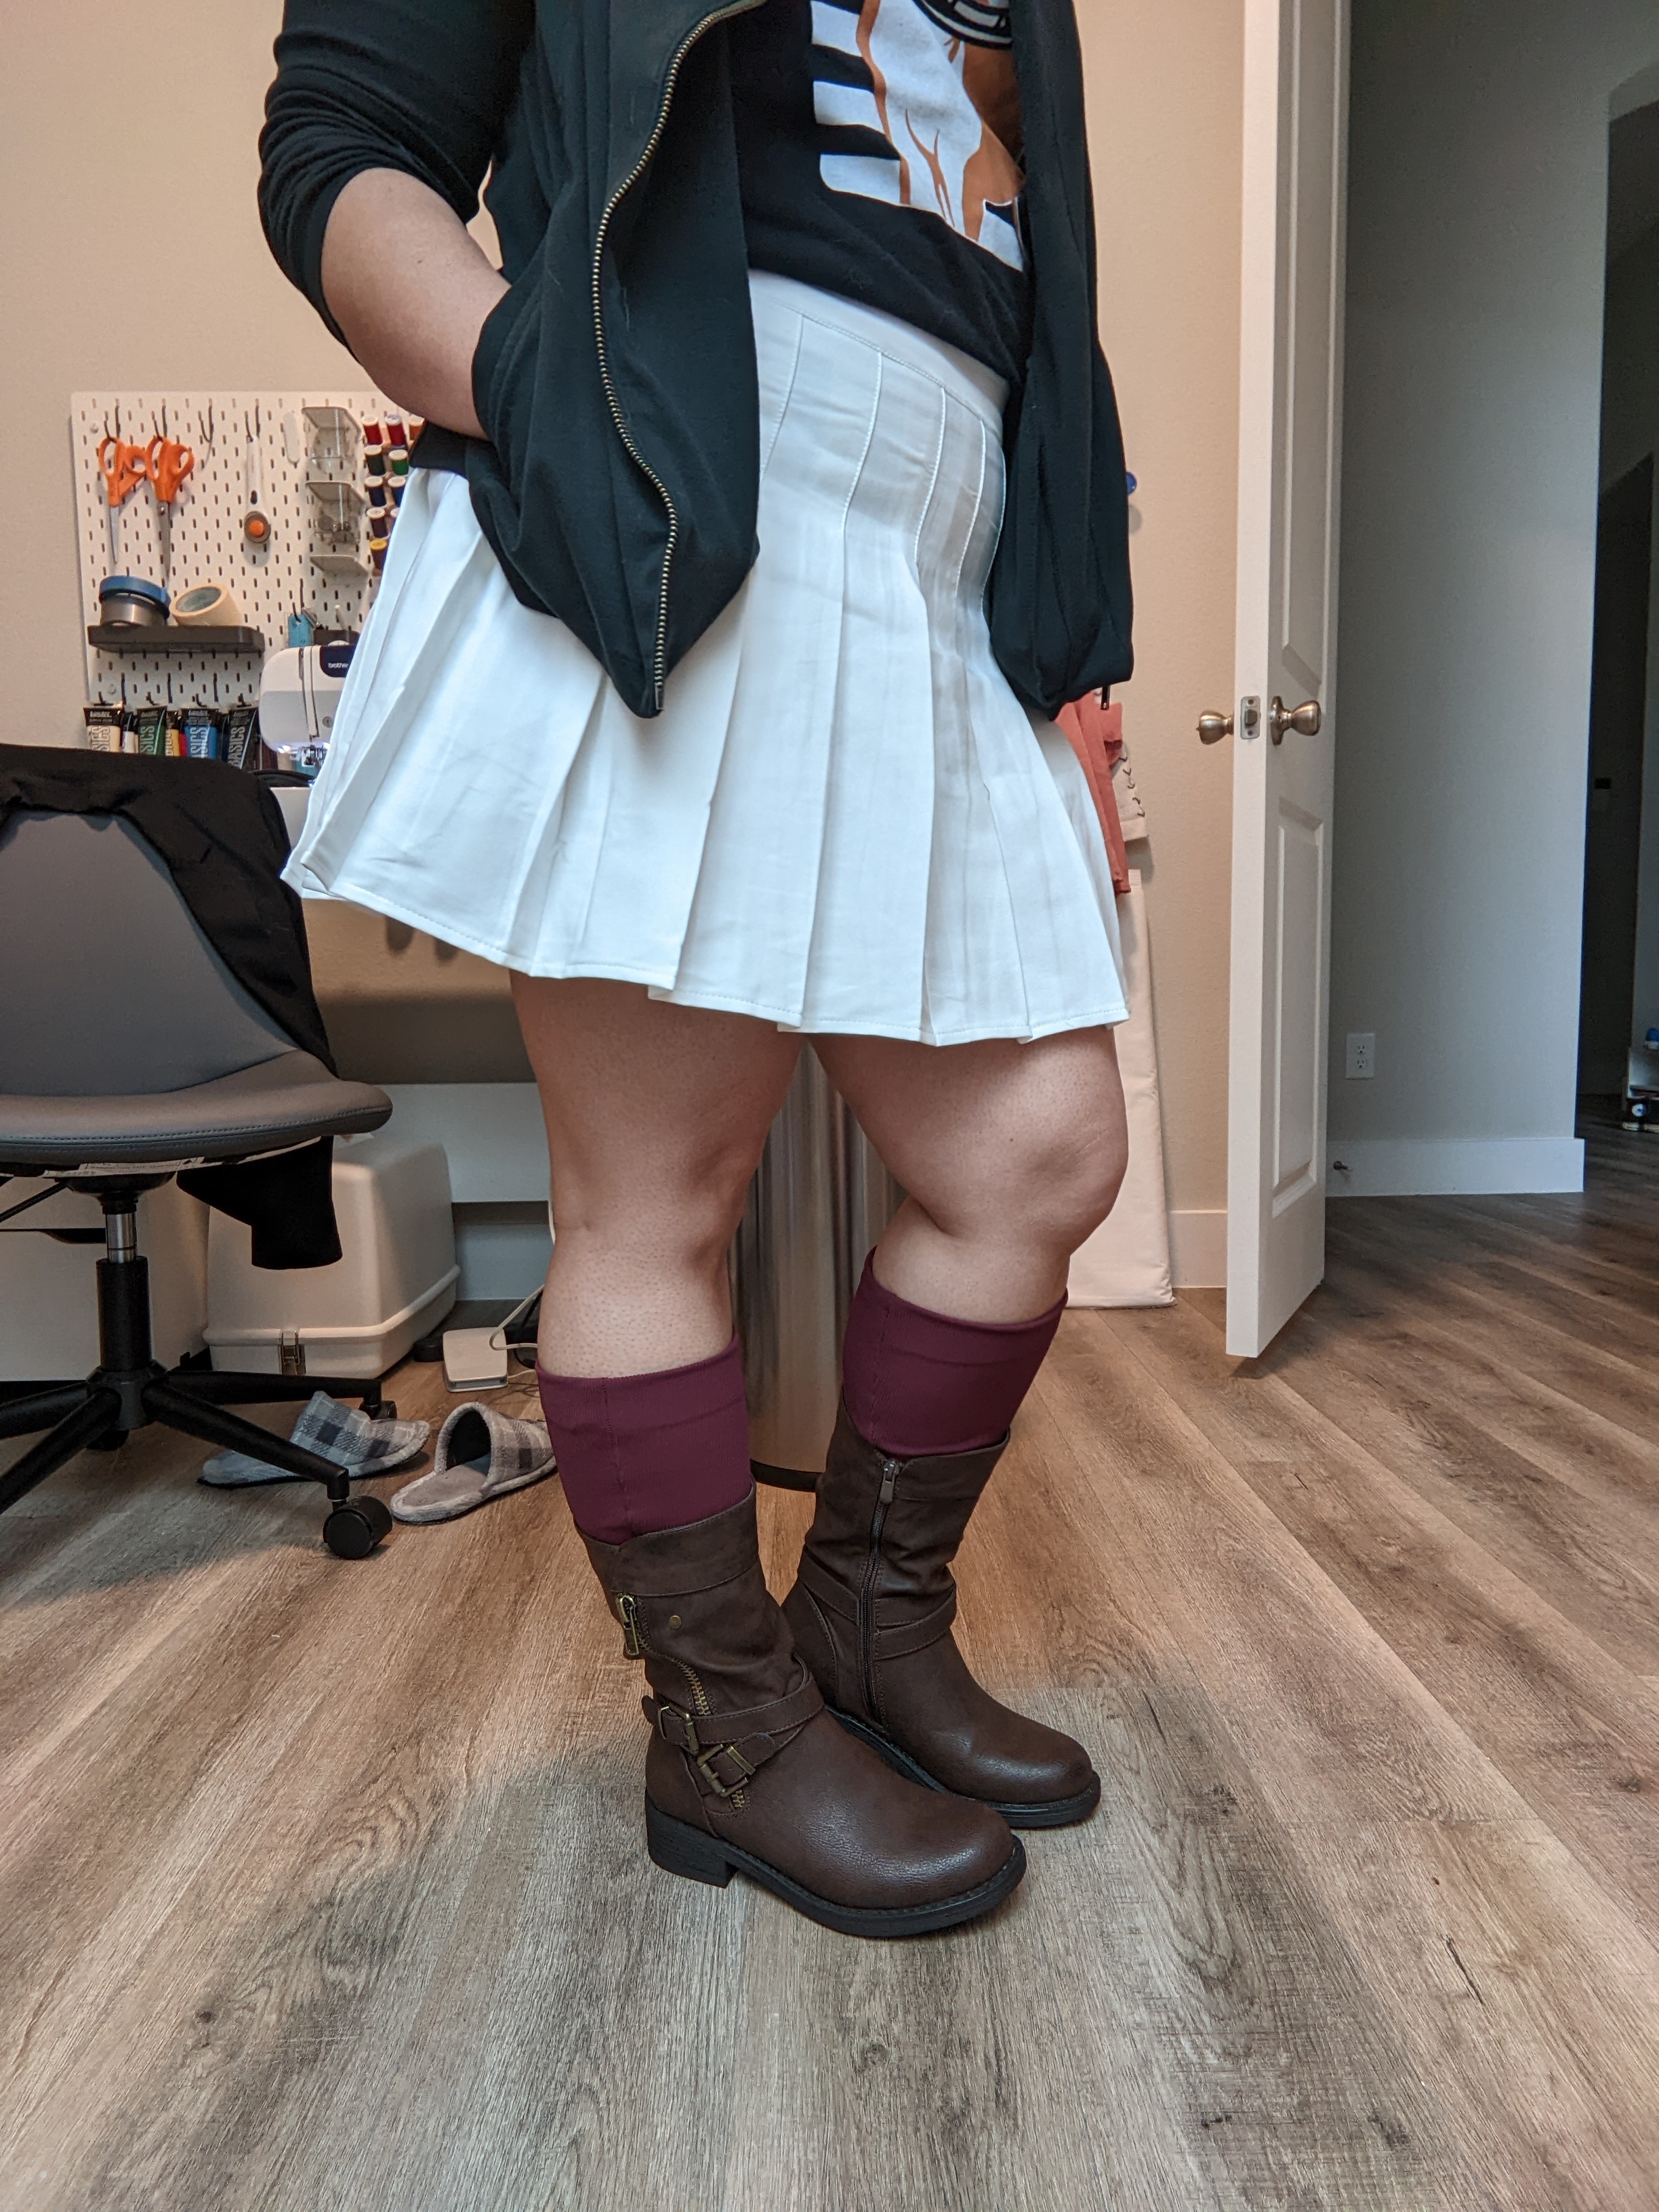
Socks & Boots
Upon further inspection (and seeing another Kena cosplayer’s progress), I realized that Kena did not in fact have knee-high boots with fur. Rather, she had knee-high maroon socks with fur and then a shorter pair of boots. Thankfully, I managed to find some perfect maroon knit fabric from Joann’s and some lovely black cord to do the trick! During another trip, I managed to find this faux fur sheet that was the perfect color and just the right amount.
I cut the fur by using an Xacto knife on the fabric side. I ended up messing up one of the four panels, but I’ll just make sure to use that piece on the back of the socks.


Once that was done, I carefully machine stitched the sides of each together, fur sides together. I did one more stitch just for some more security, cut the excess fur, and turned it right side out.
For the socks, I very awkwardly wrapped the fabric around my legs to get a general sense of how wide and long the pieces would be. Then, I cut the fabric around the right size and pinned them together. After (very carefully!) sliding on the pieces, I adjusted the placement of the pins so the fabric would be more flush with my calves. Leaving the pins in place, I cut the fabric to size and then cut matching fabric for the second sock.


Fabric cut, I stitched the pieces together and then finished the top raw edge of the socks by folding it over and hemming it.
At this point, I decided I wanted the socks to be machine-washable. Originally, I was going to just attach both the fur and black cording directly to the socks. But, realizing that I wanted to be able to very easily wash the socks after I wore them, I decided I would find a way to temporarily attach the pieces to the socks. This also meant skipping adding the X embroidery to the side seams. I had planned to do them the whole time, but once I got to that step, realized that I shouldn’t if I actually wanted the socks and the embroidery to survive the wash. (I really don’t like hand washing.)
So all that said, I needed a way to temporarily attach the fur and cord to the socks. For the fur, this meant adding snaps to both the socks and the underside of the fur. I was able to manage just using one snap per sock, tucking the rest of the fur into the sock.


Next was adding the black cord. I put the boots, socks, and fur on so I could see exactly where the cord would need to go, then started wrapping the cord around my leg. First, I did a shorter length that would just go straight around my leg. Once I figured out the length, I put scotch tape where I was going to cut so it wouldn’t fray, then cut. I did this for both legs.
The next cord was a little tougher: it needed to drape down both sides of the socks, meeting the fur in the middle at the front and back. To get the length, I figured out the length for one side (so middle front to middle back, with it draping down) and doubled that. I cut two pieces of cord at that length.
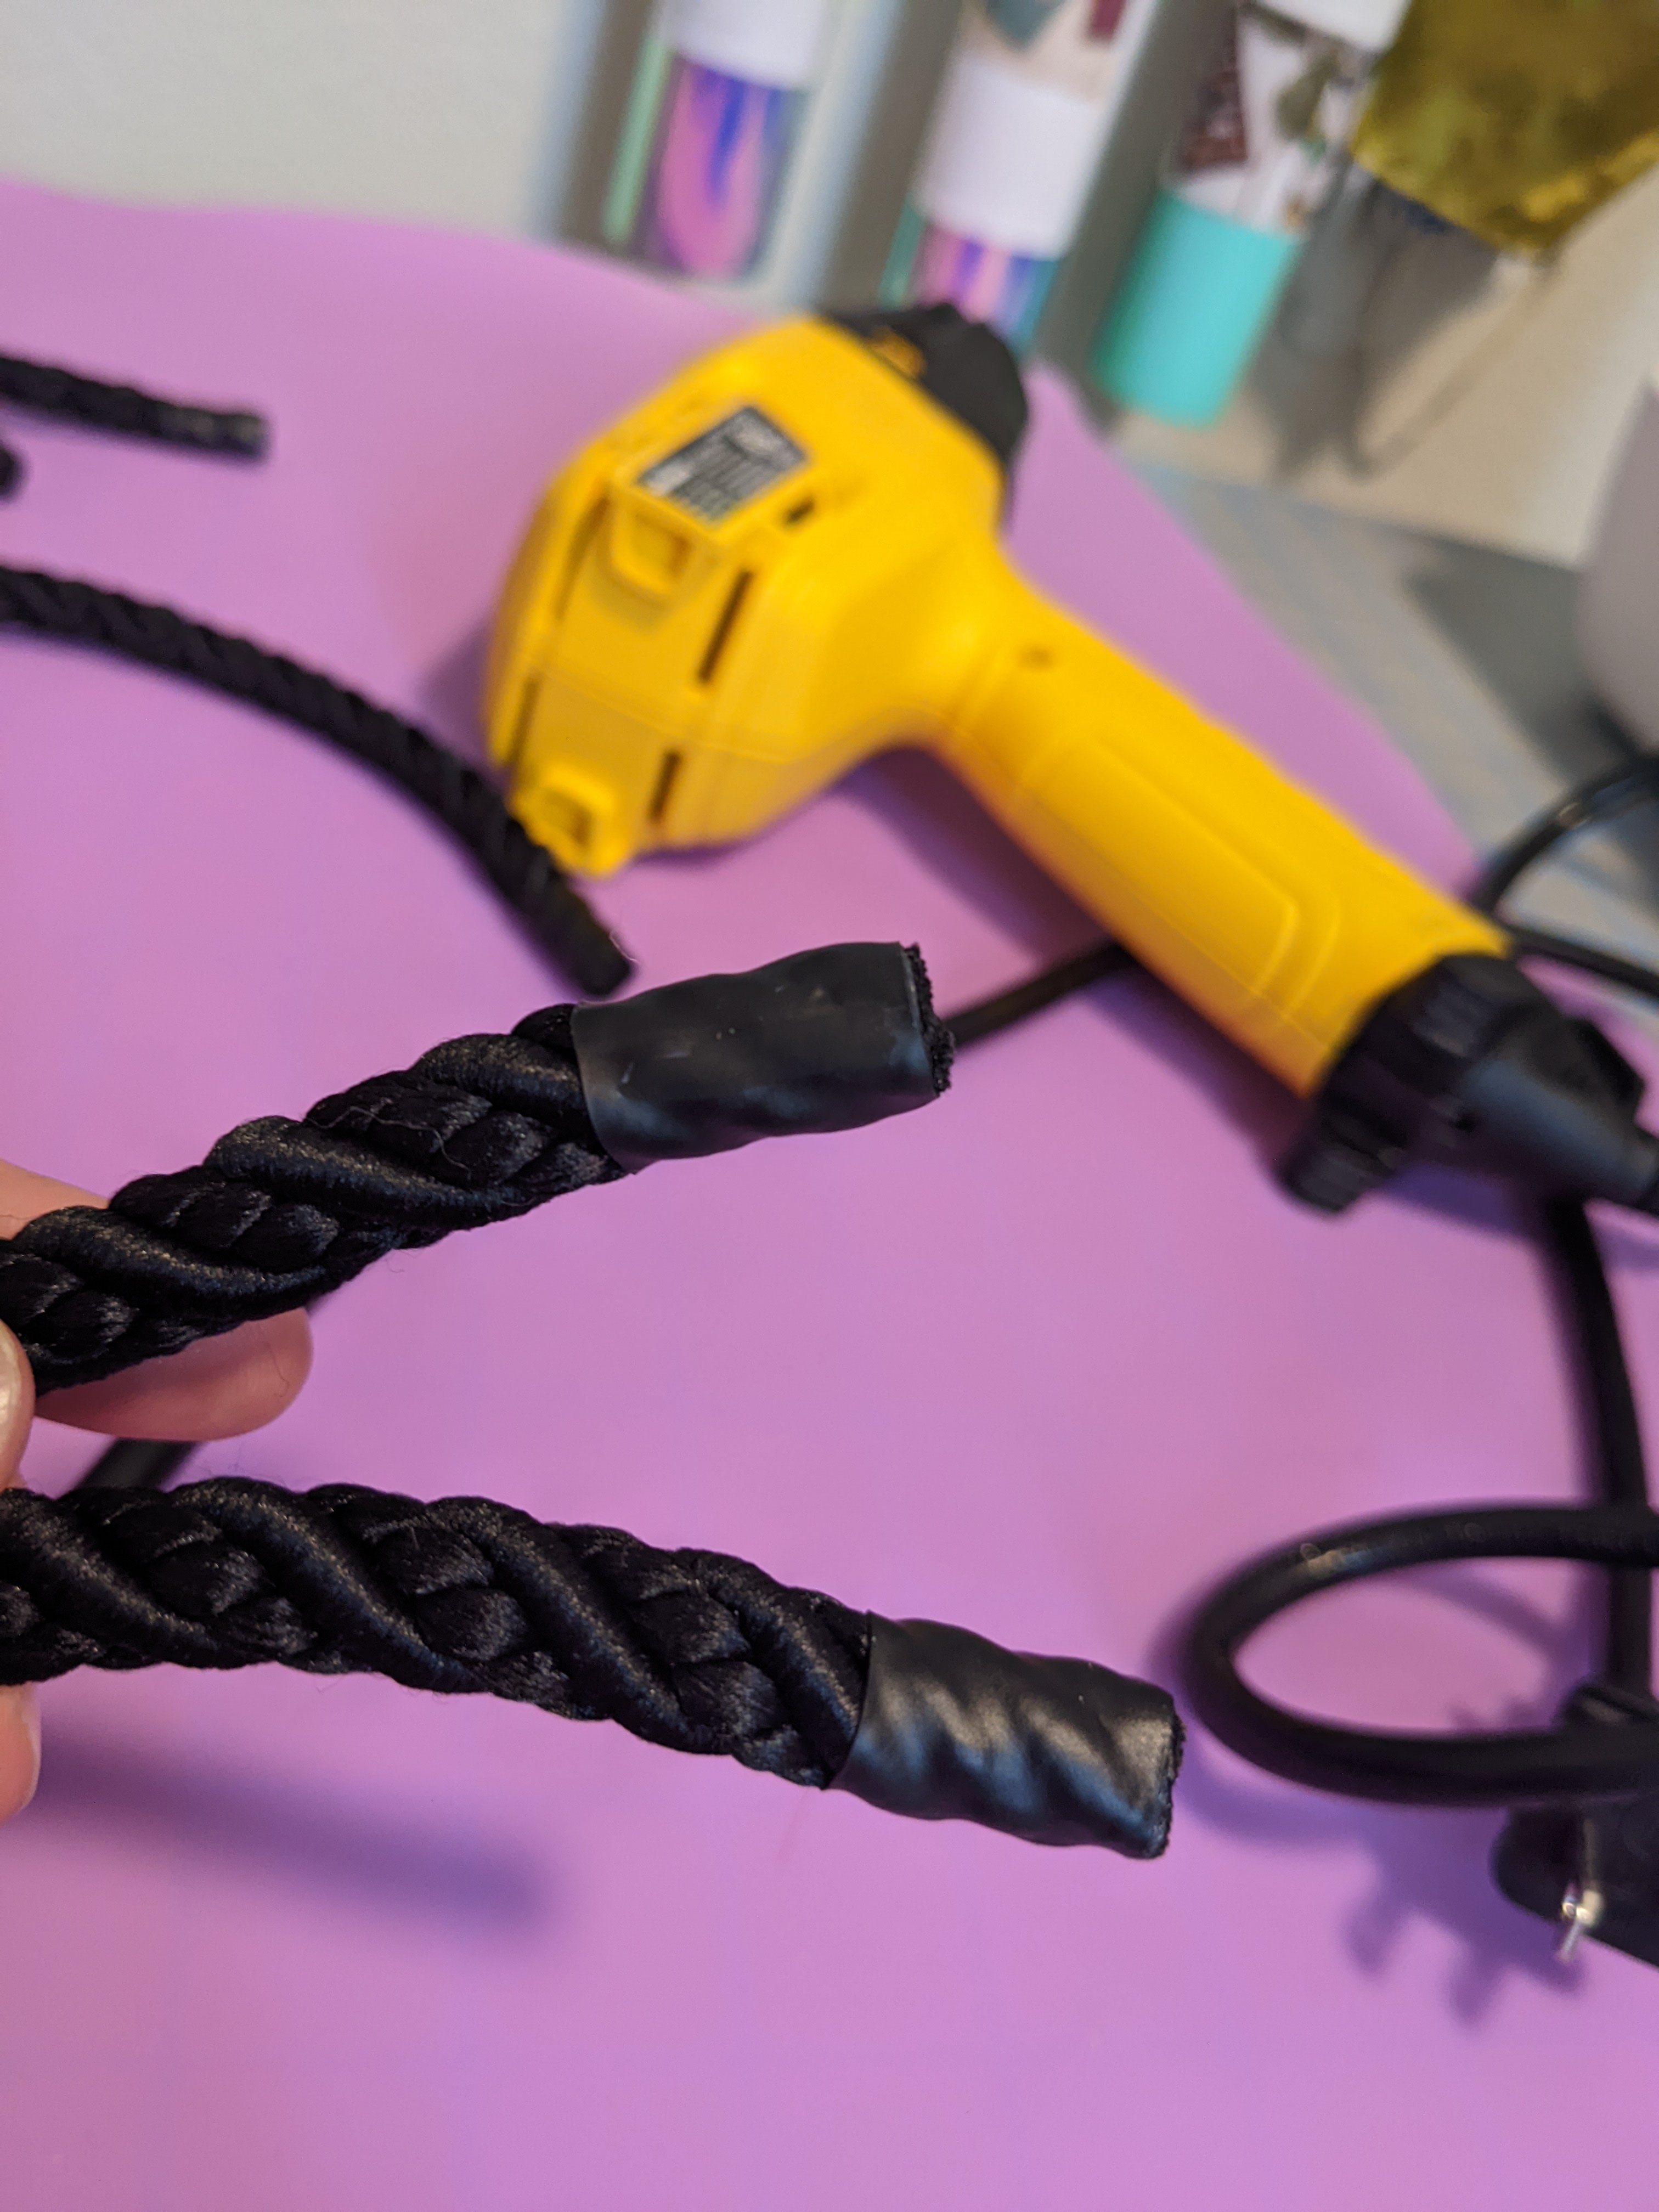
After that, I used the biggest width of shrinking tube I had and finished the ends. The shrinking tube itself was a little long, so I cut them in half for each of the ends. I then shrunk them using my heat gun.

The final step was adding the cords to the fur, this way it was all one piece and the cord will lay exactly as it needed to. I did this by stitching the cords into the backing of the fur by hand with black embroidery floss. (I previously tried with regular thread but it was too thin and just went right through both the fur backing and the cord.) Once I stitched the long draped piece to the fur, I stitched the small straight piece to that piece of cord.


Conclusion
I’m so glad that I didn’t settle for Staff 1.0. I knew even before I finished it that I wasn’t happy with it. It was a good first try, but crunching meant it was subpar. I really disliked how wobbly it was and how various (very rude) people commented on that fact at Nishi Fest. I’m also very pleased with my boots and sock upgrades.
I’m very excited to be bringing staff 2.0 to A-kon this coming weekend. And I’m excited to eventually do another on-location shoot with her. Funnily enough, this may not be the final Kena build post. I already have a google doc with steps for Kena 3.0, which would mean making the top and pants from scratch (as opposed to altering and modifying thrifted pieces) as well as making the bag from scratch. I don’t think I’ll compete with Kena until those upgrades are done. But for now, I’m savoring the improvements of 2.0! I don’t know what it is about this character and cosplay, but I just find myself wanting to improve her over and over, which is rare for me! I’m typically one and done, but I think with Kena being a little more obscure and Kena cosplayers being harder to come by, I really want to do her justice.
Here are some photos I shot myself! I can hopefully schedule a proper photoshoot some time soon to document the upgrades! And then, maybe start work on 3.0? We’ll see!

Finished photos by me!
Use my build post as inspiration? Let me know!
If you followed along with my build post to help you make your cosplay, I’d love to see it! Leave me a comment or send me an email at ashweezcosplay(at)gmail(dot)com. If you’re comfortable with it, I’d love to showcase your cosplay photo(s) in the blog! I will of course give you credit and link to any socials you may have.

Leave a comment