

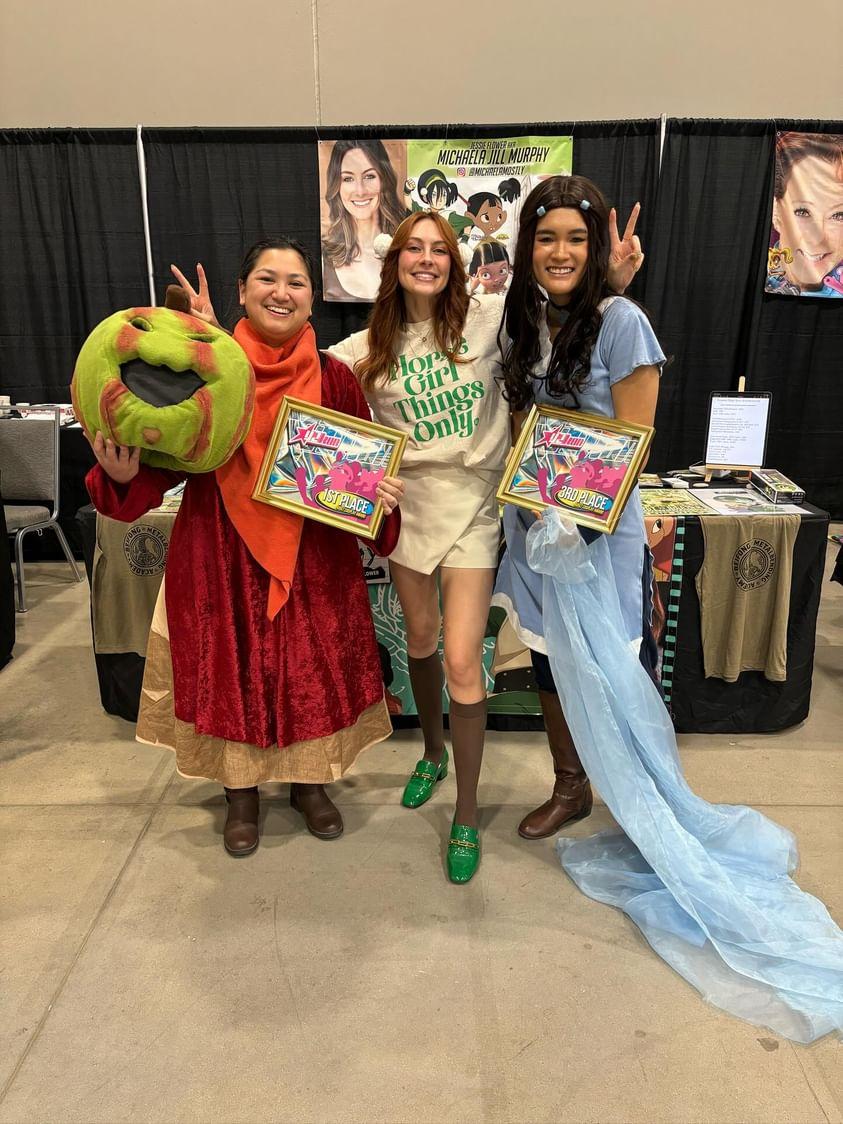
Much like my Elizabeth cosplay, this one came about because I wanted to do something funny with a voice actor at a con. Toph’s VA Michaela Murphy is coming to Y2Kon and while I didn’t think I could throw together a Toph cosplay in time, I thought of the next best thing: Melon Lord.
This cosplay was a fever dream filled with velvet lint and irresponsible timelines.


Items I Bought
- Green fleece (Joann’s)
- Foam brushes for painting (Joann’s)
- Tan tough cotton twill (Joann’s)
- Tobacco potting slab linen (Joann’s)
- Tan invisible zipper
What I Already Had
- A mascot head from my Overcooked Chefs cosplay
- Red velvet cloak from my Mae Borowski cosplay
- Orange fleece
- Red fabric paint
- Various threads
- PVC Pipe
- Brown packing paper
- EVA foam
- Brown fleece
Pieces Made & Modified
Unfortunately, I can’t link these like I used to so you’ll have to just scroll the old-fashioned way. My apologies!
- Stick arms
- Orange scarf
- Melon head
- Red robe
- “Rock” skirt
Stick arms
I thought it would be funny to have actual stick arms. After cutting PVC pipe to the length I wanted, I hot glued some brown packing paper that I crumpled up to look like bark texture. Then it was just a matter of painting shadows and highlights. Easy peasy!


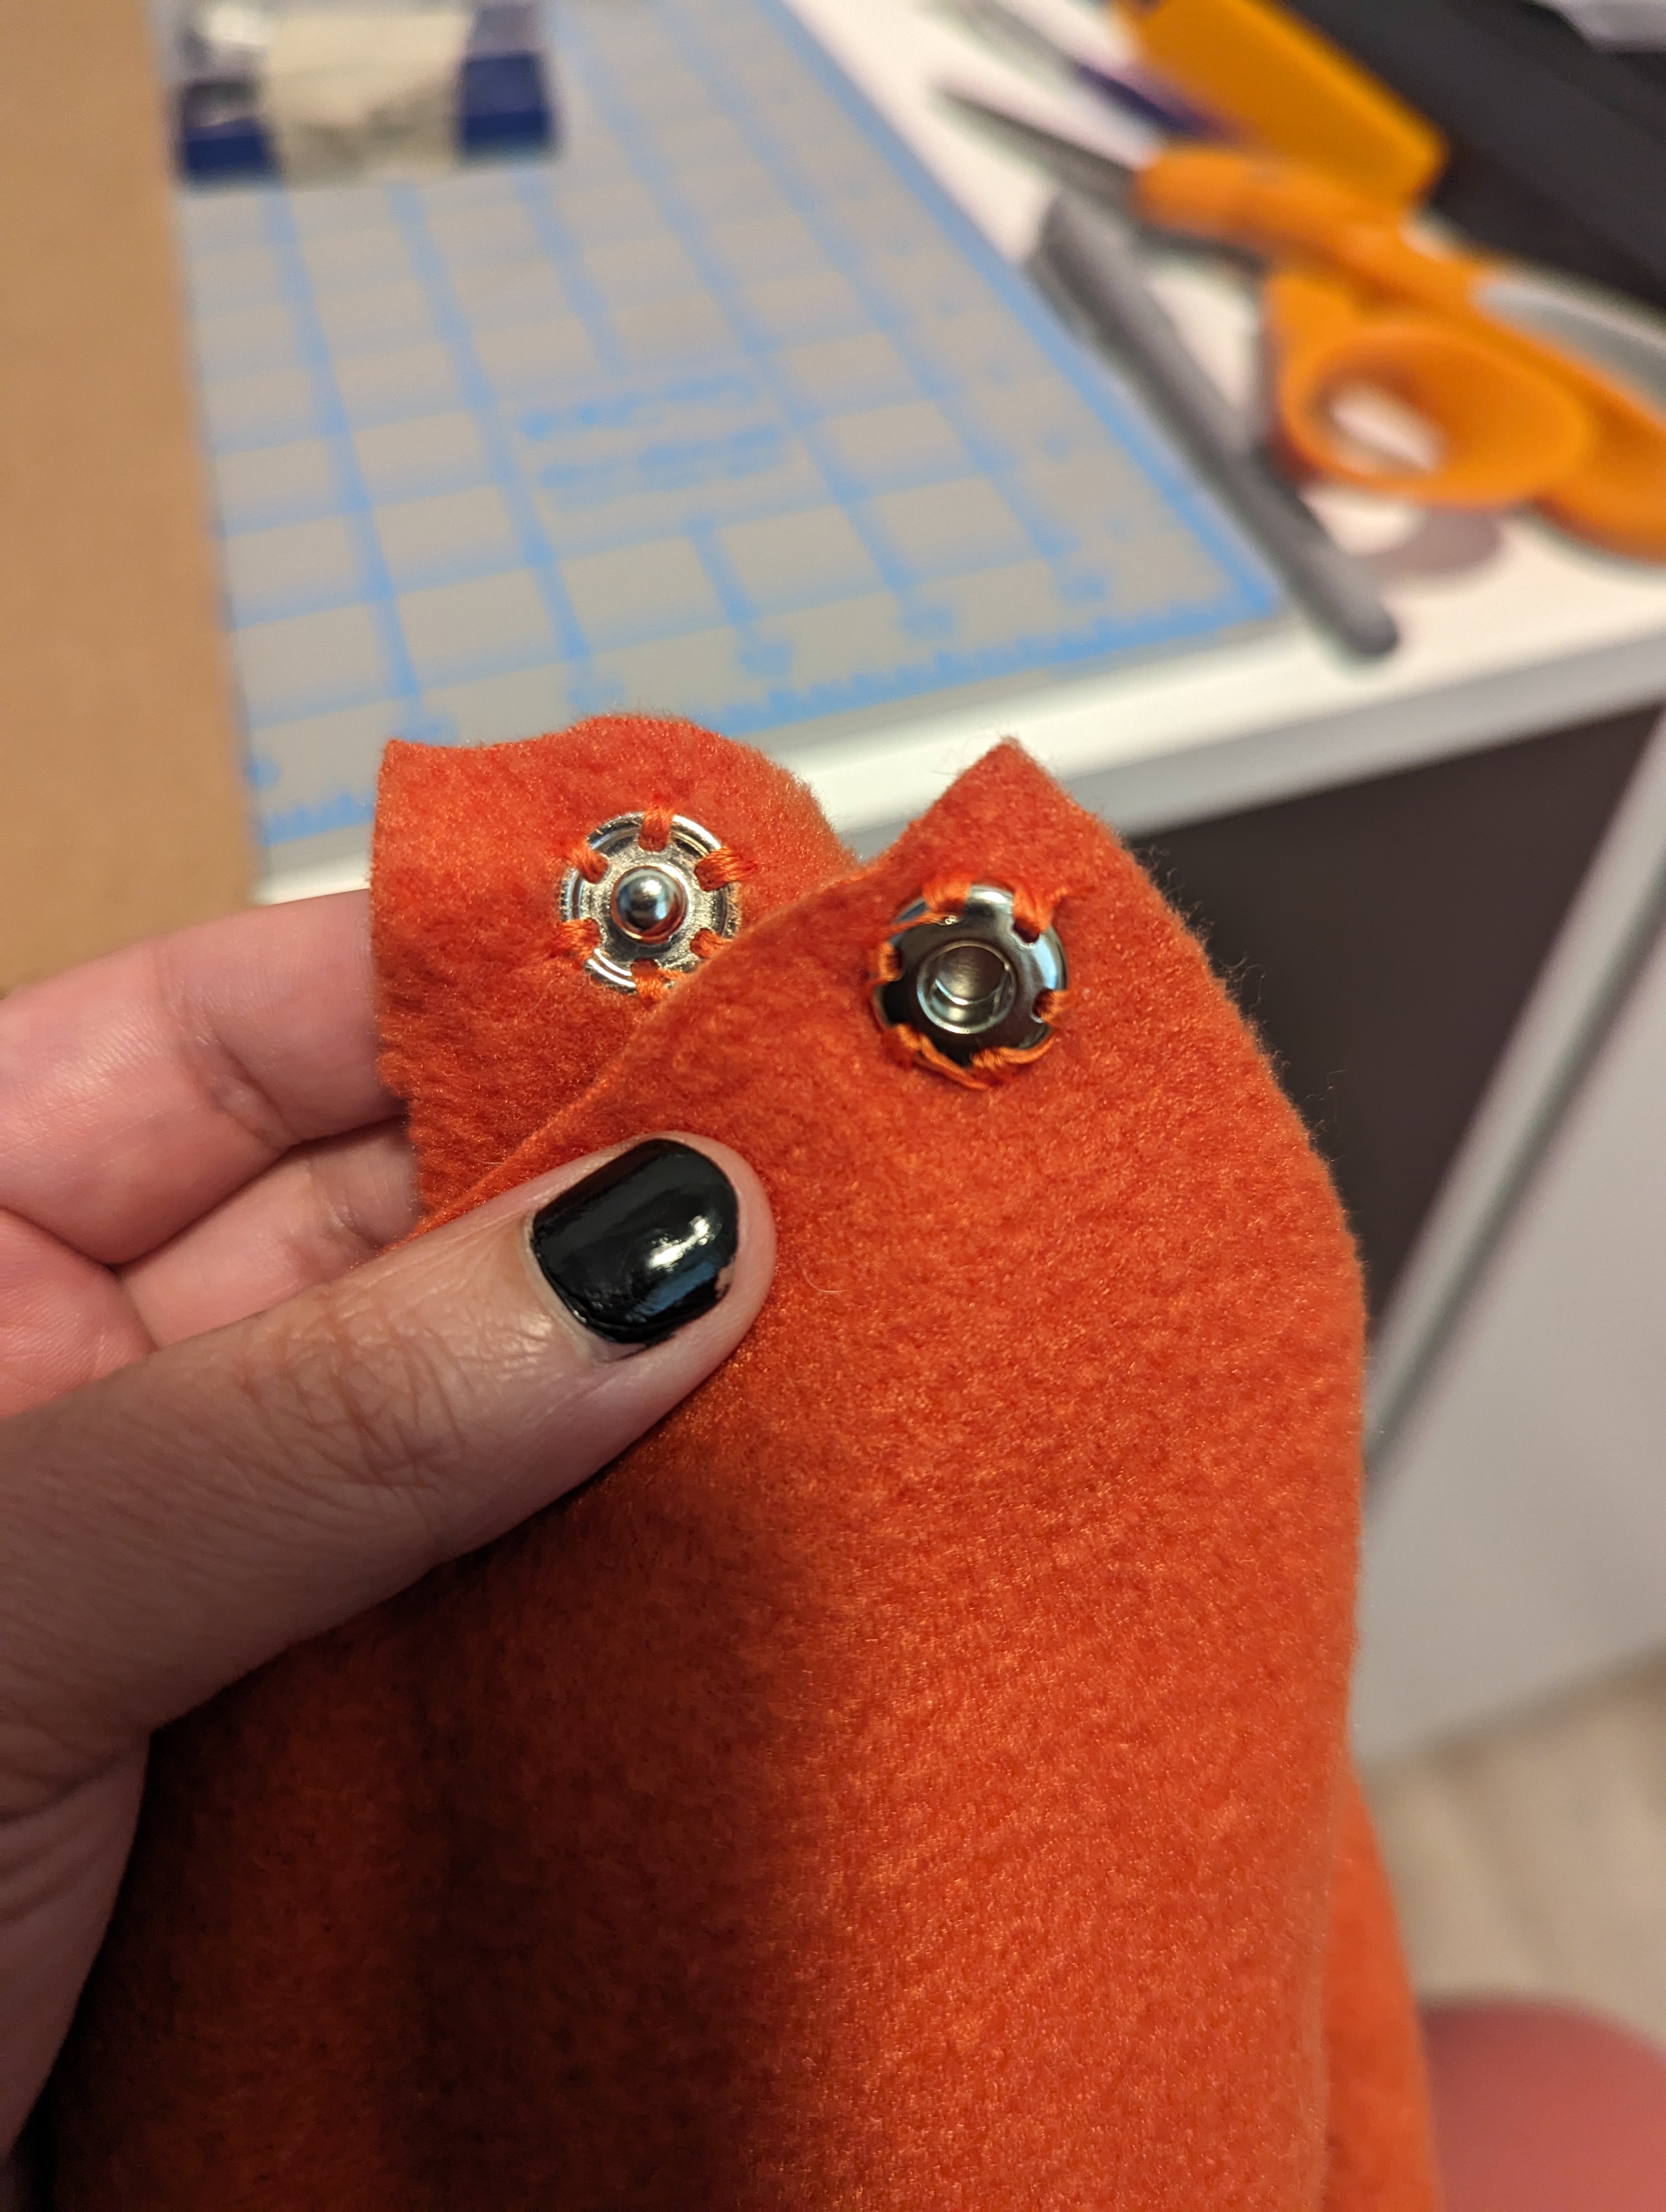
Orange scarf
This was super easy. I had some scrap orange fleece so I cut it to the right shape and then stitched on snaps so I can put it on easily.
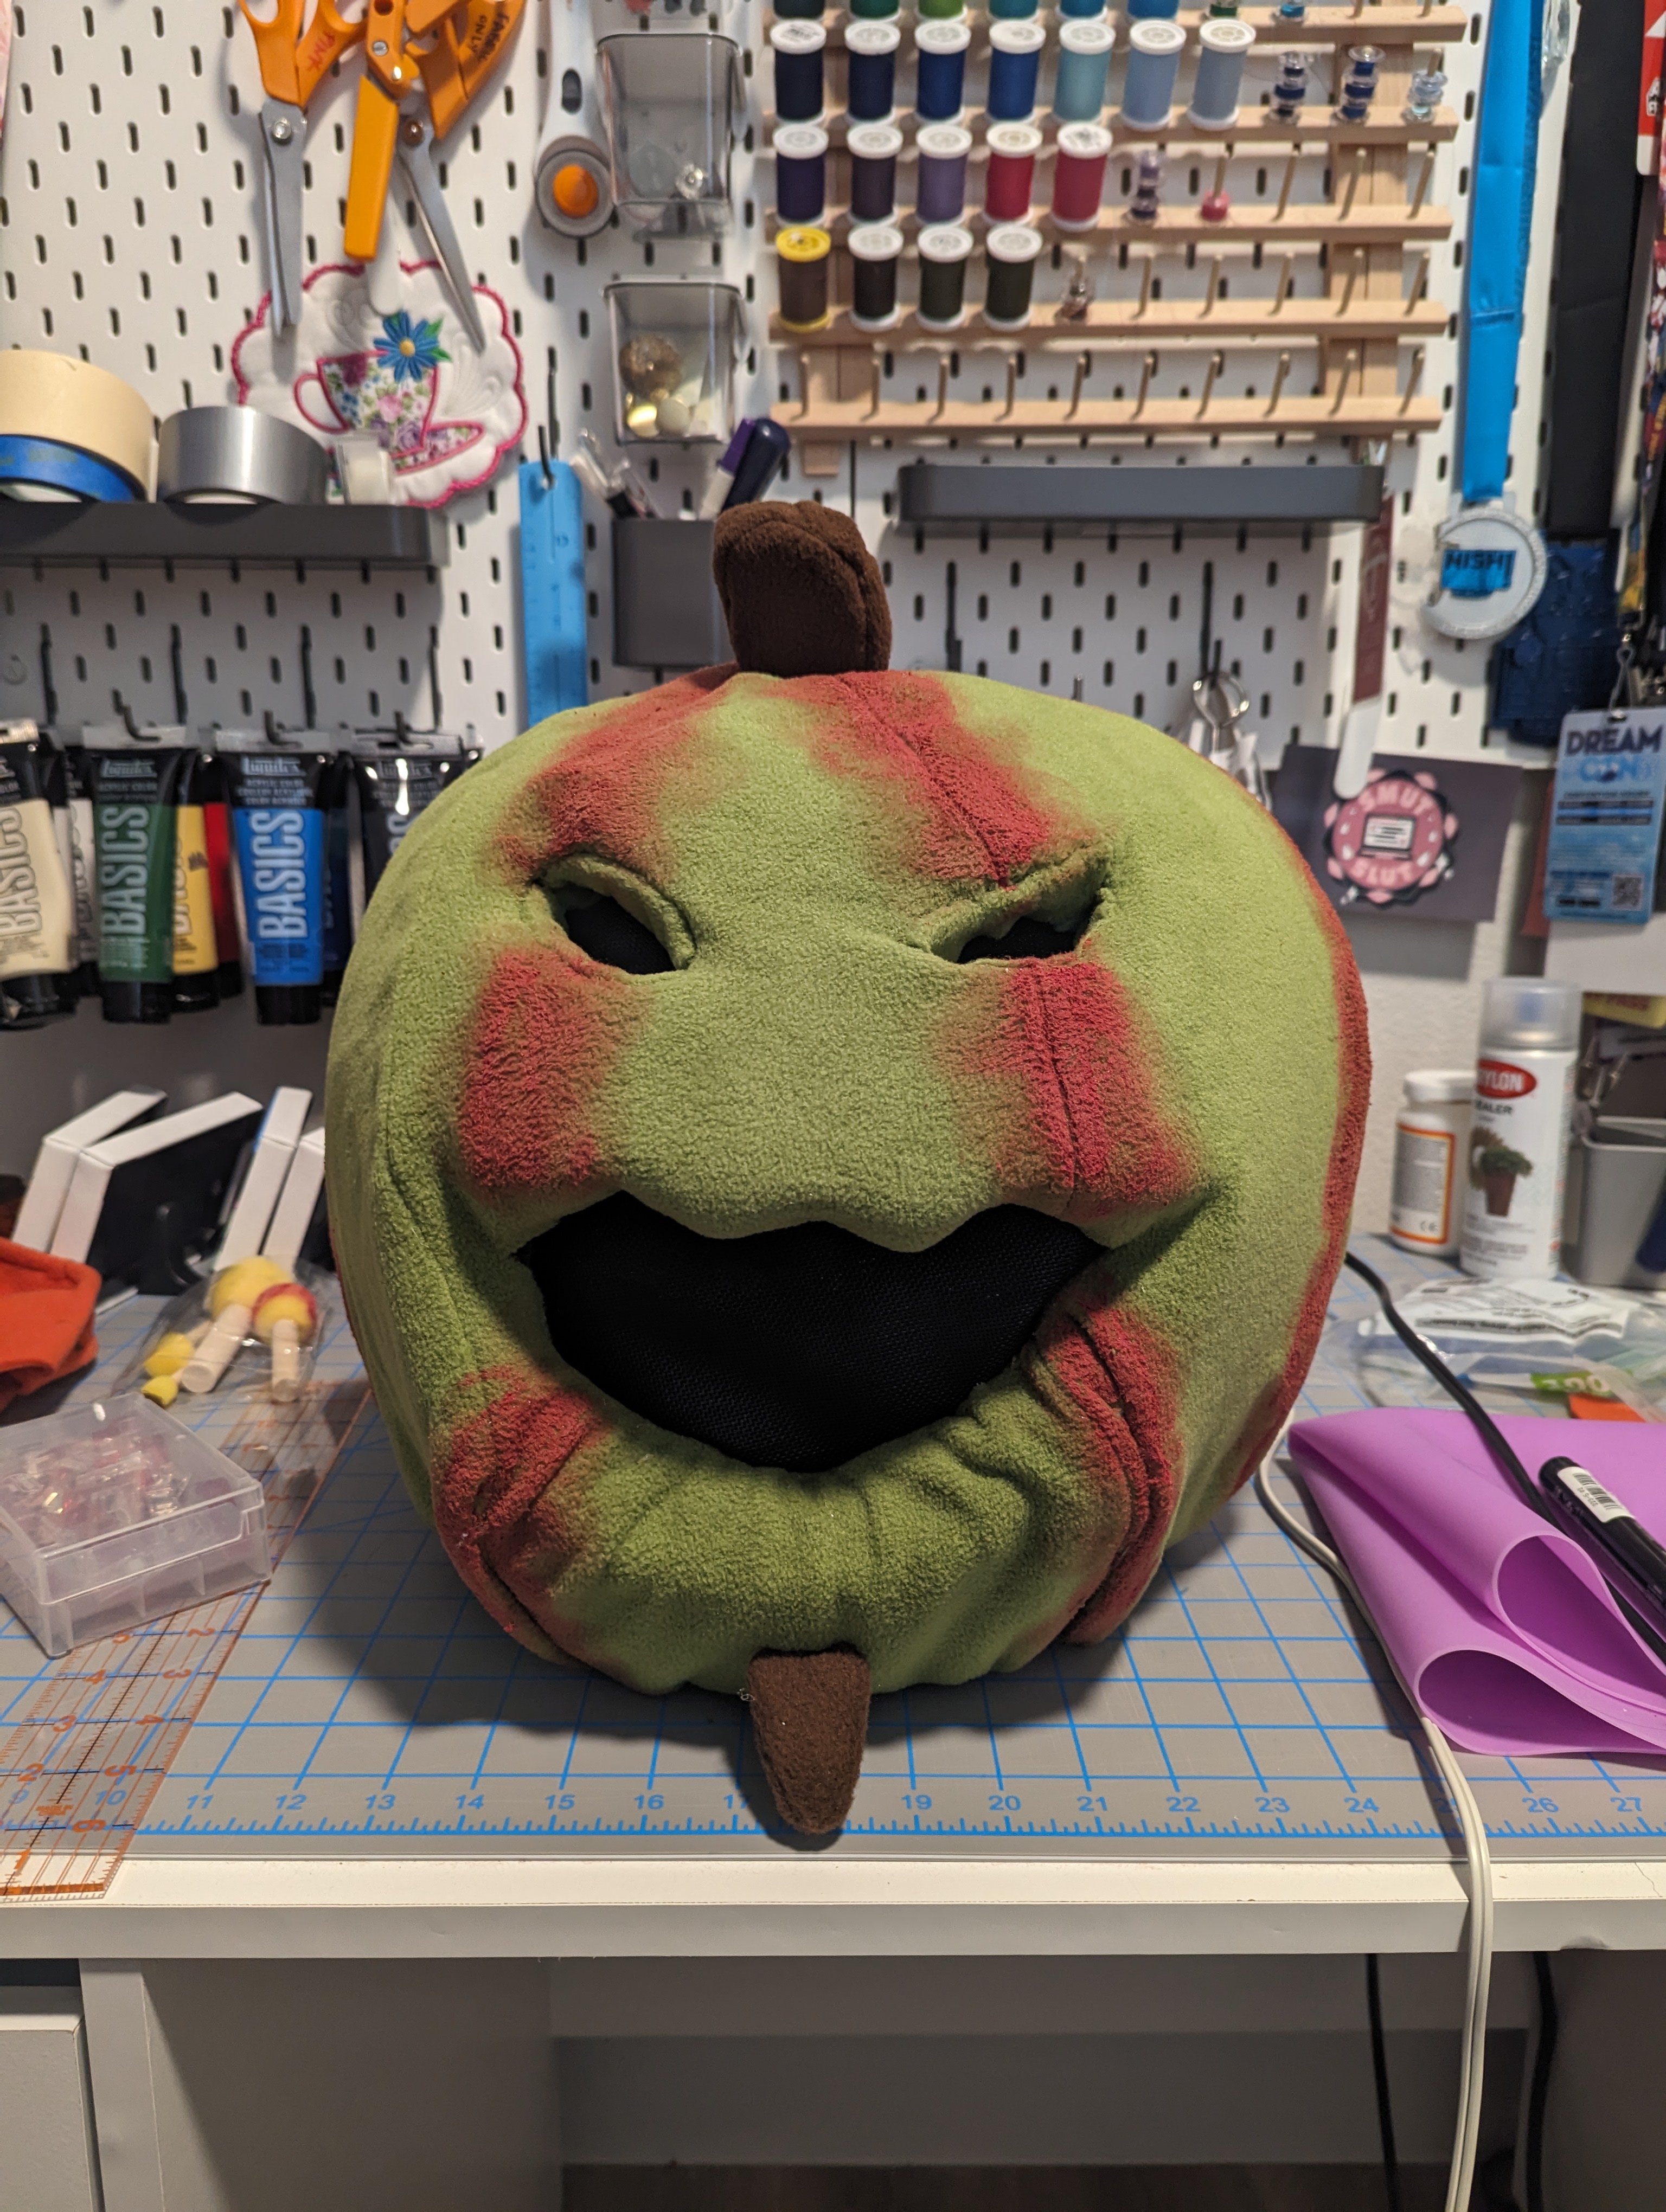
Melon Head
Please join me in bidding adieu to one of my Overcooked Chef mascot heads. My husband and I (as well as my bestie Kasey) had such a blast wearing these cosplays. But now the time has come for it to be harvested for parts. I needed to get to that sweet, sweet soft upholstery foam center.
To see how I originally made this mascot head, refer to this build post!
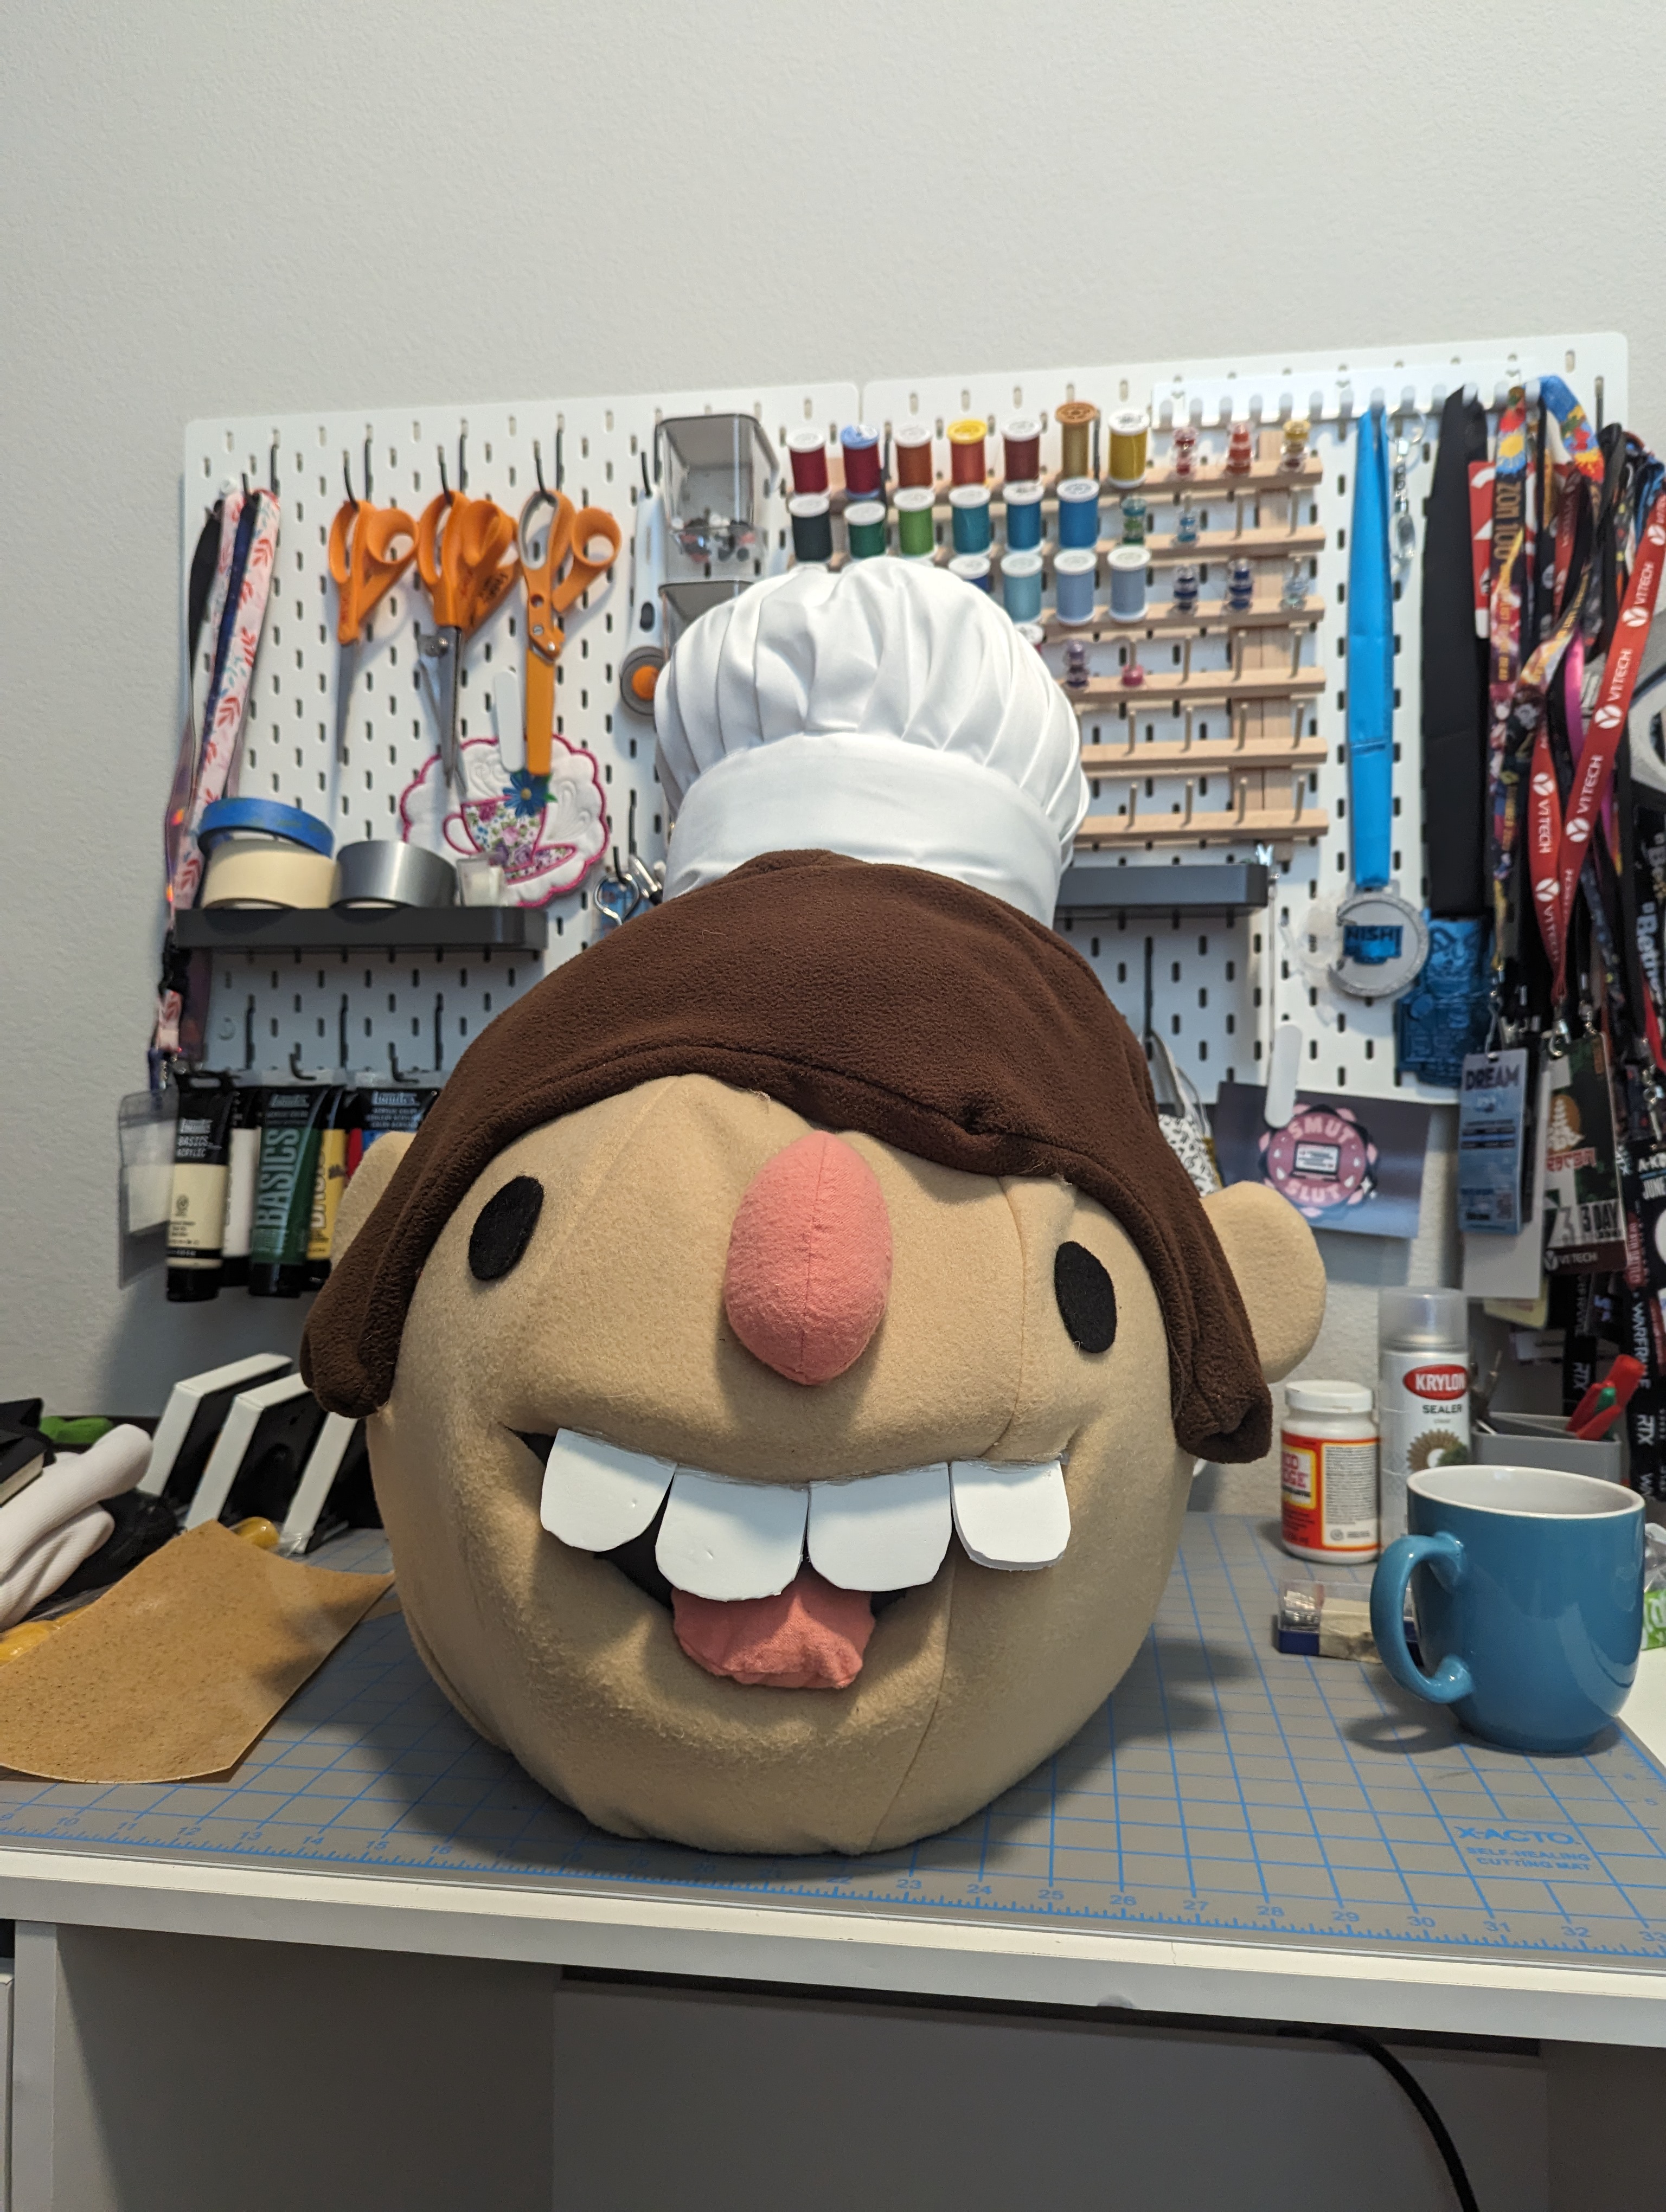


Once I was down to the base, I adjusted the mouth hole and then added eye holes.


Then, I made a quick pattern for one of the 6 panels. Using that, I stitched together a cover for the head and started cutting into it for the mouth and eye holes.


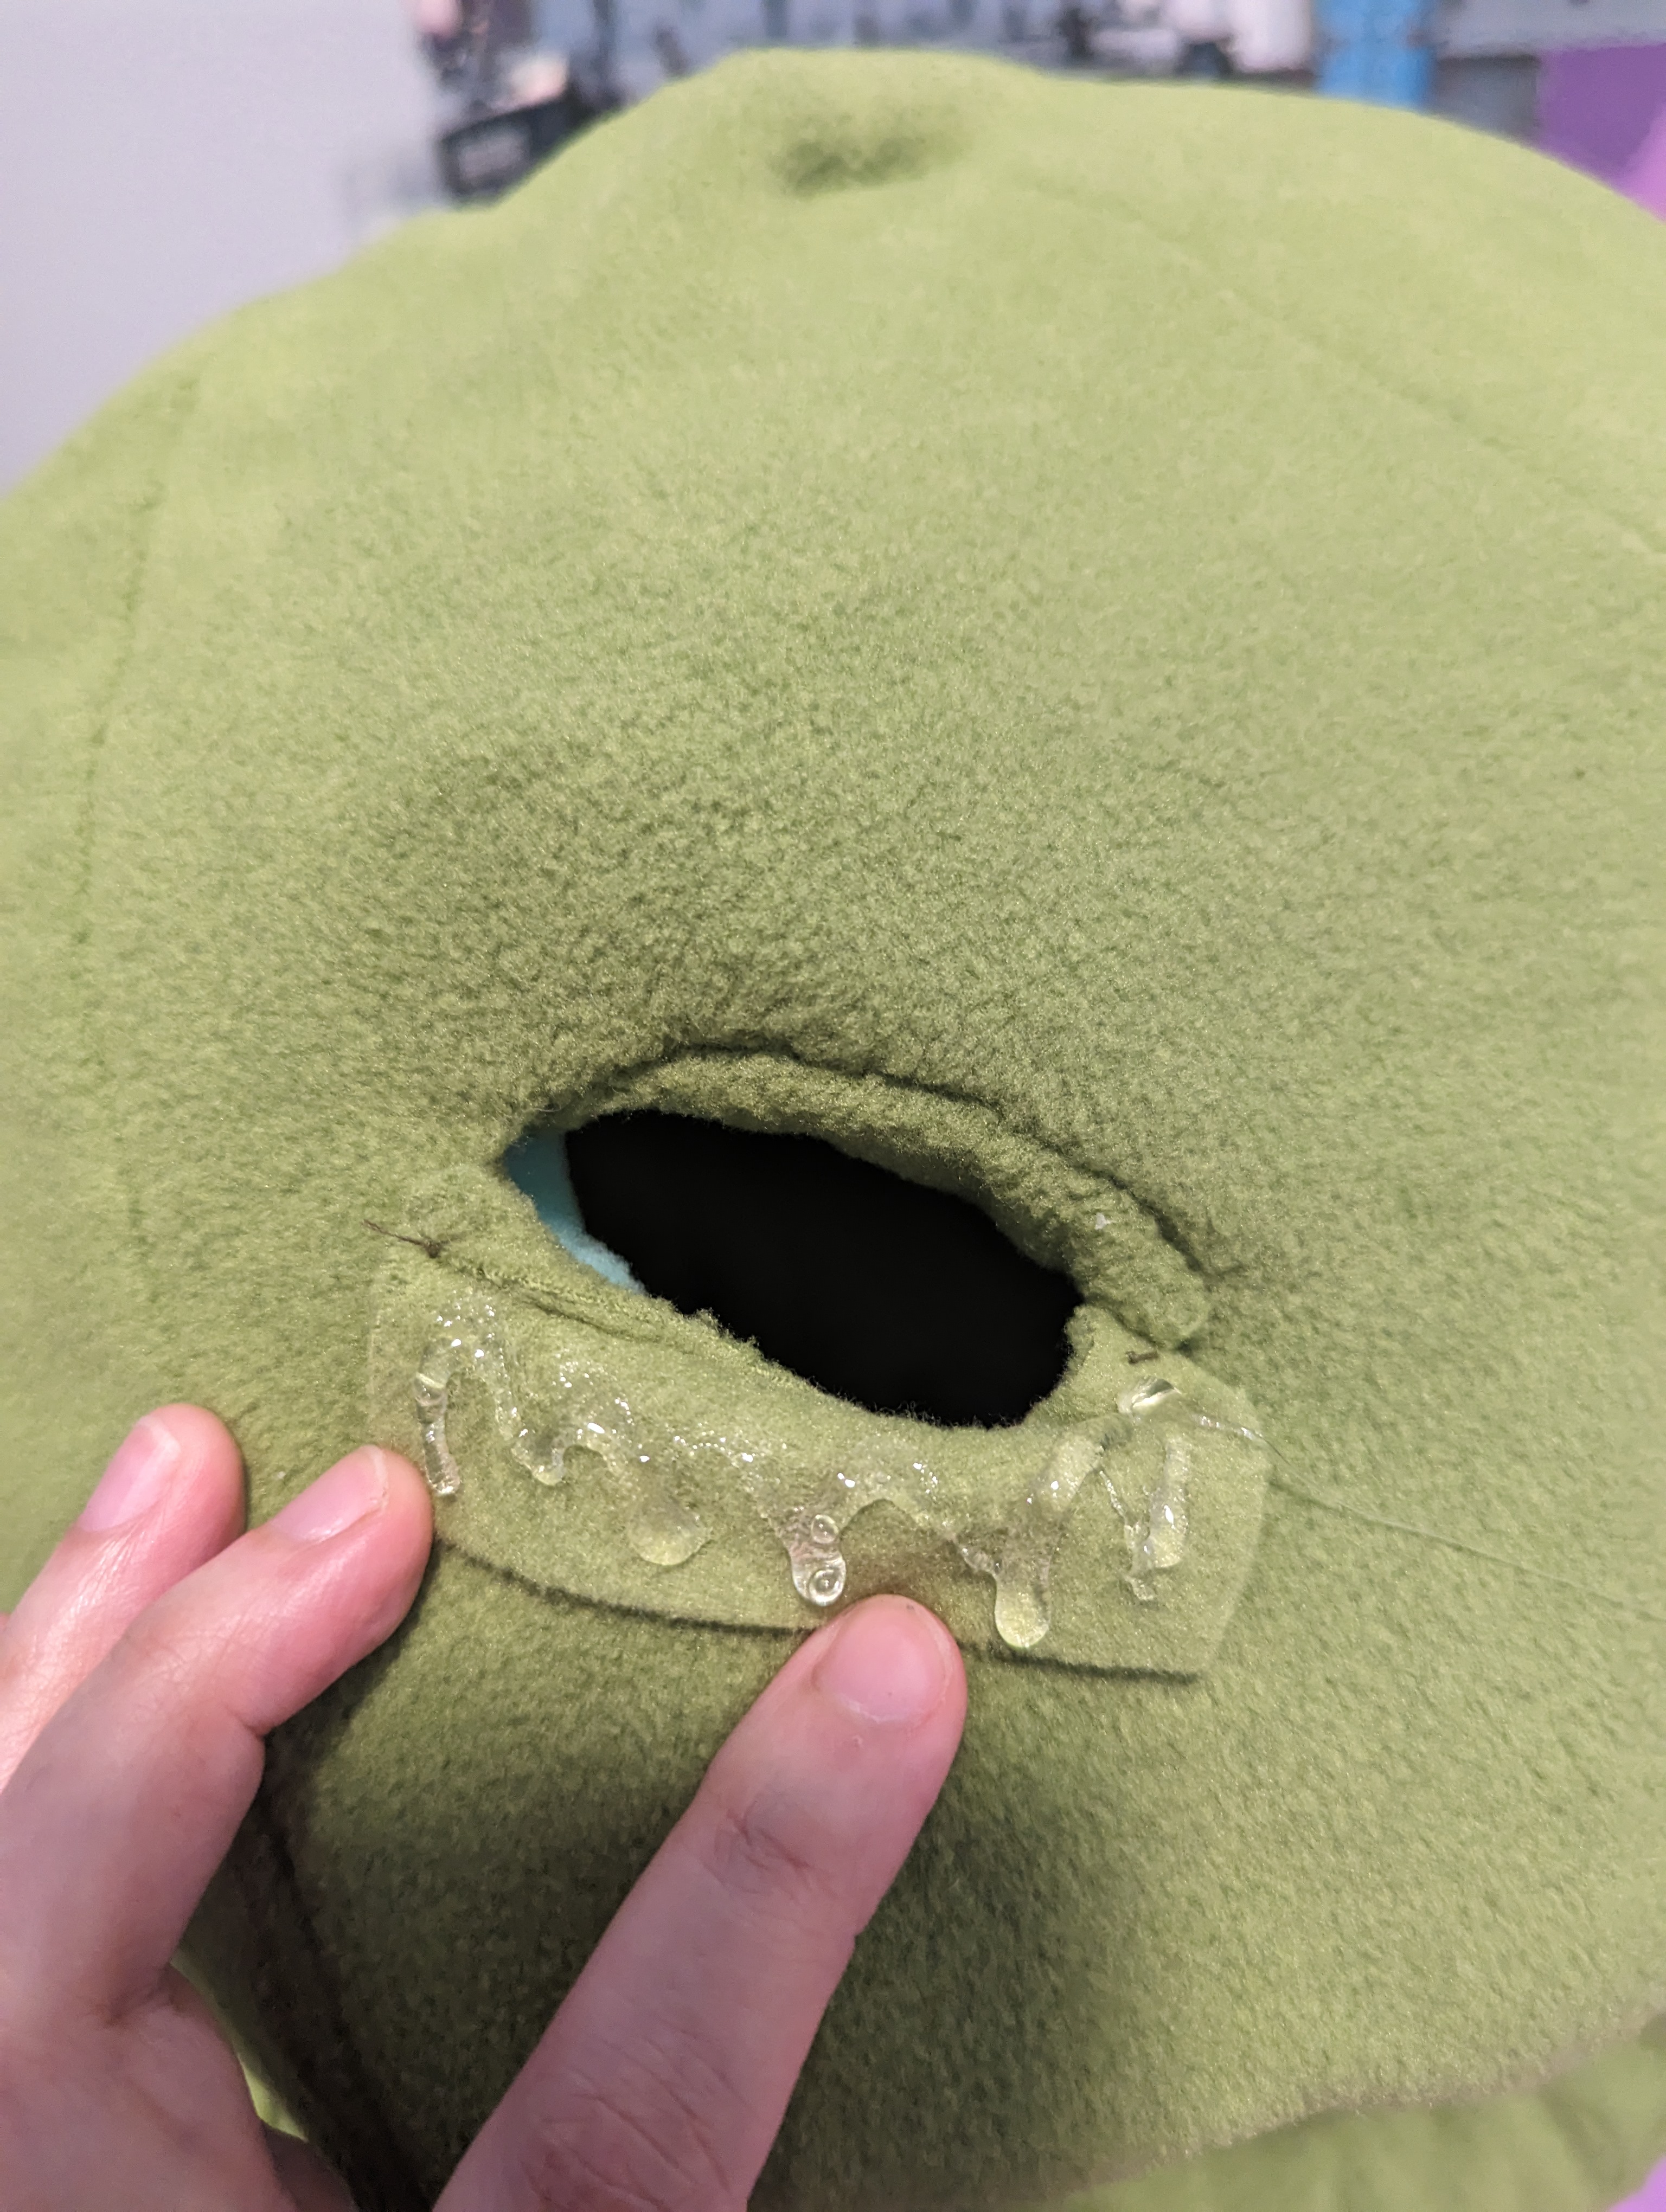
The eye holes were less than ideal, so I cut out strips of matching green fleece, hemmed one edge, then ladderstitched and hot glued in place to cover some of the exposed upholstery foam. Once the eye holes were done, it was just a matter of hot gluing the extra fabric edges into the inside of the head.

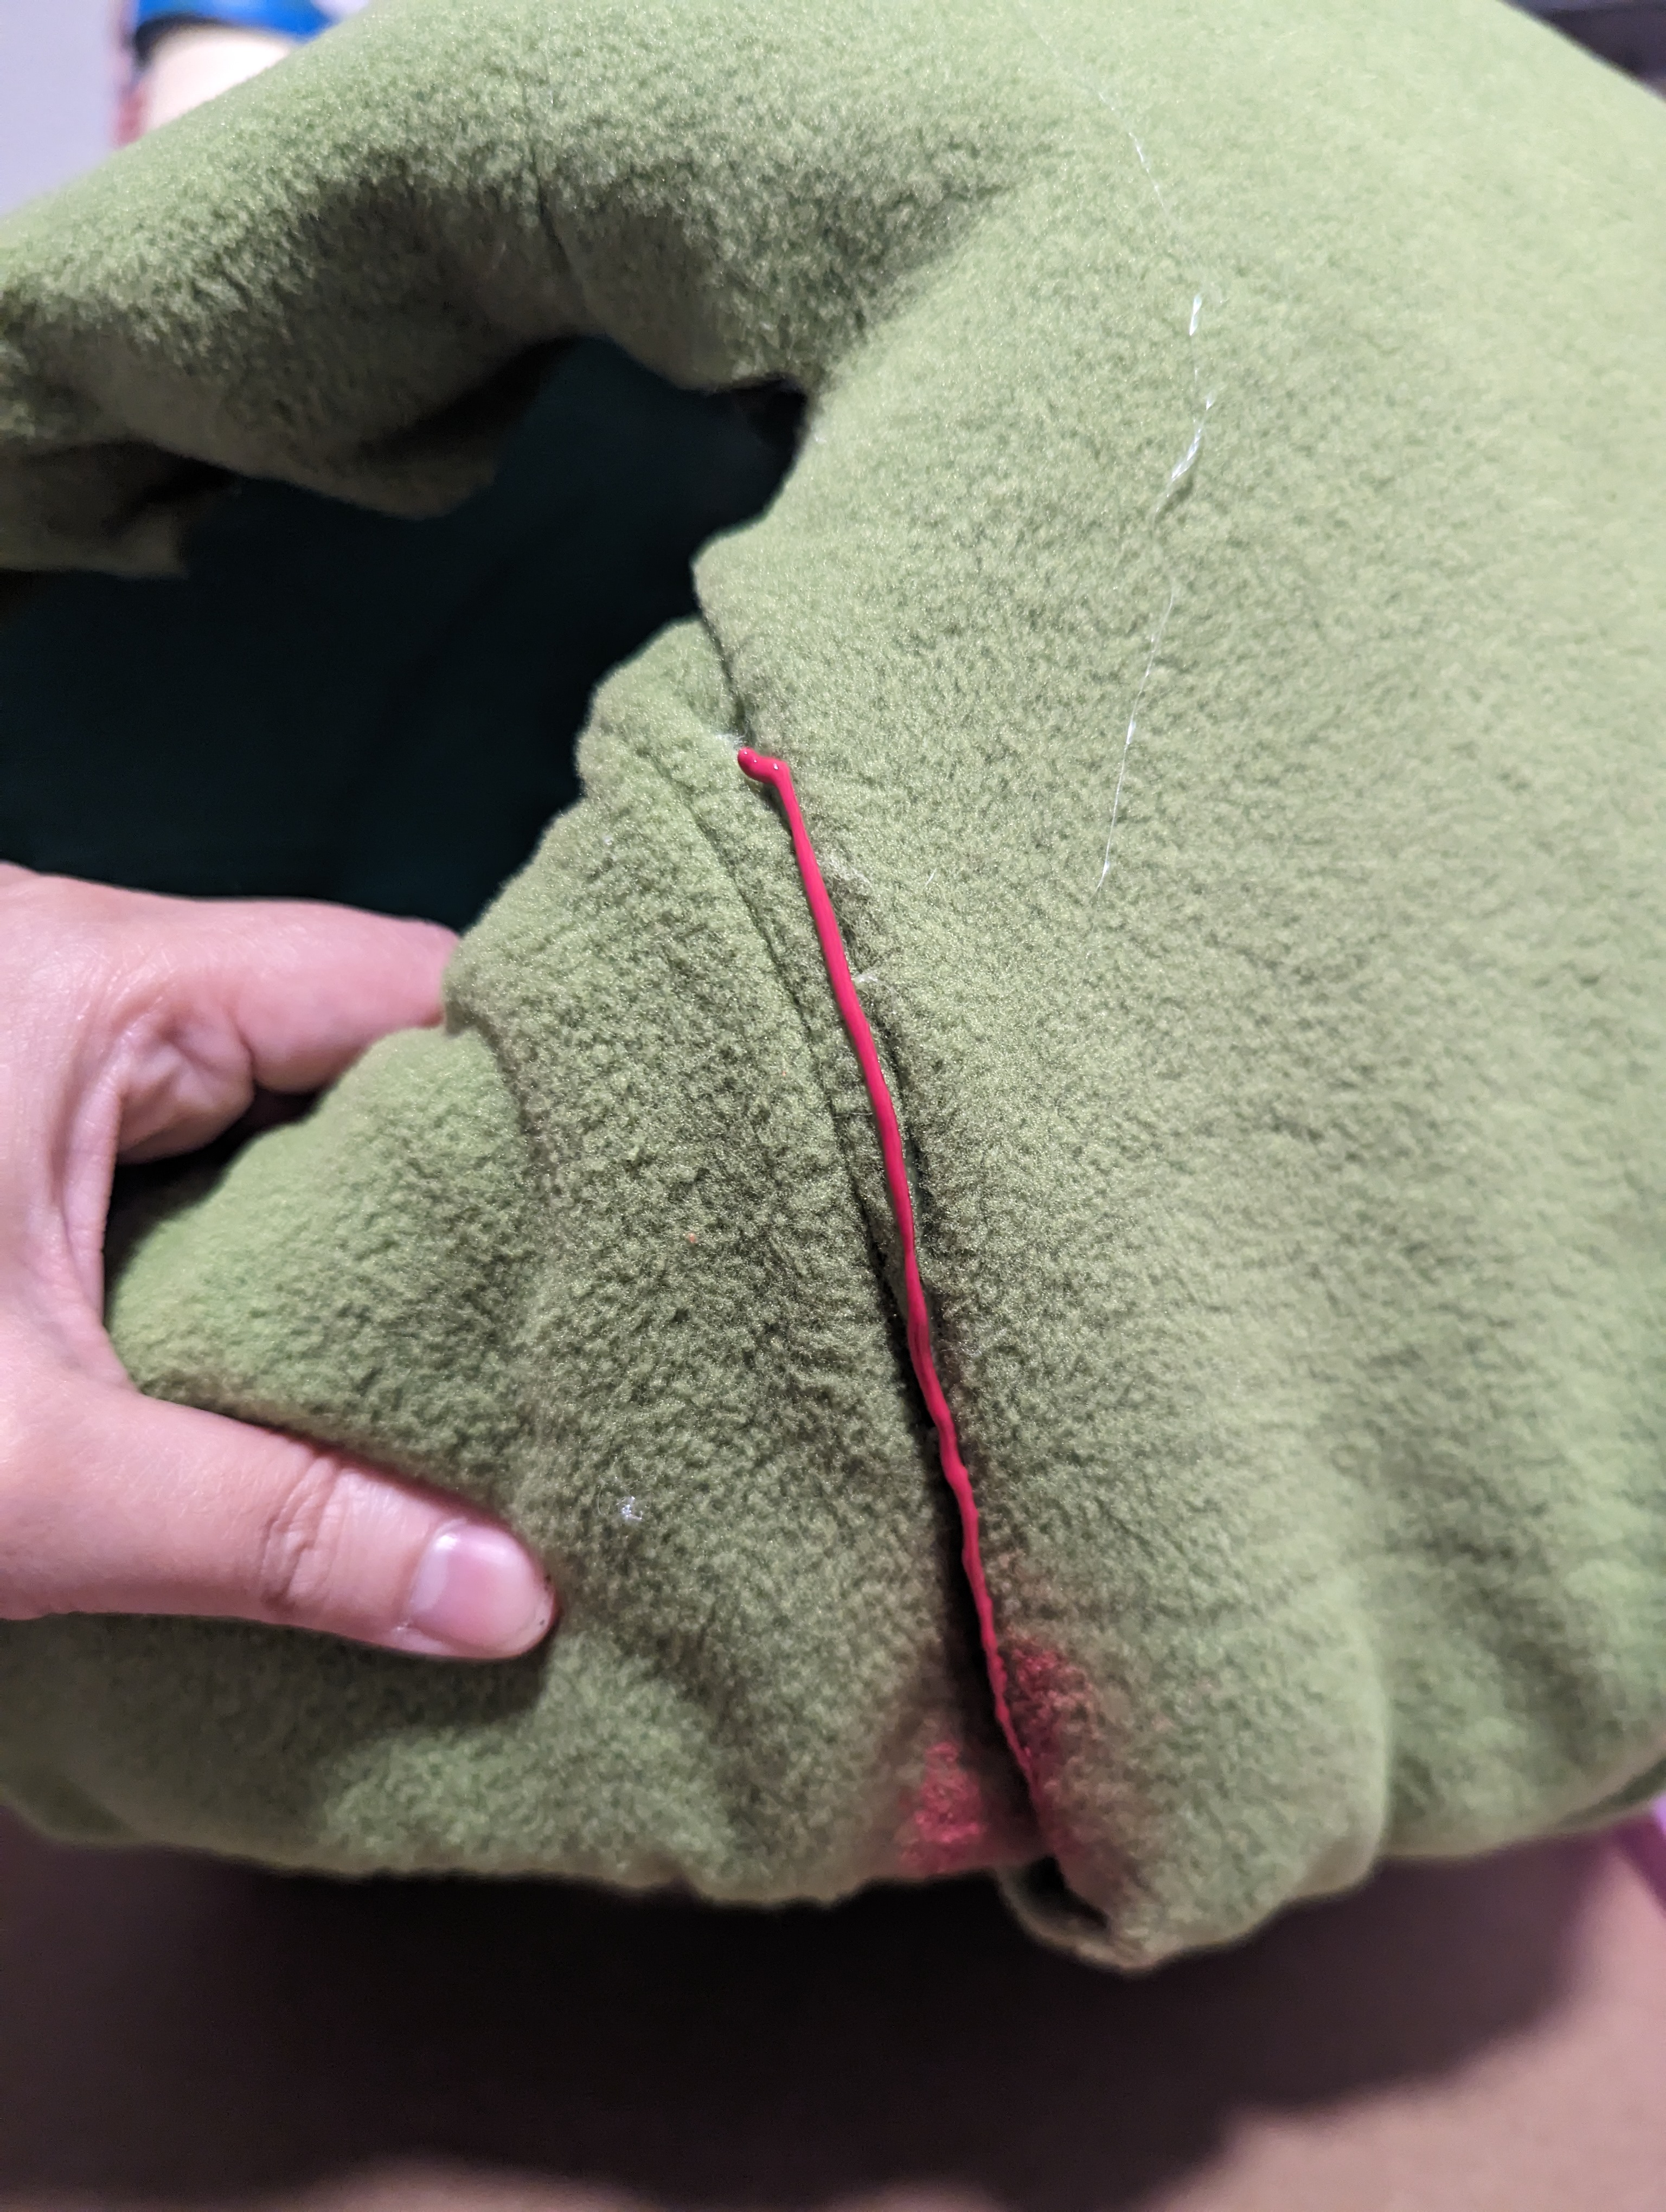
Then it was time to paint! I used a tiny bottle of red fabric paint, squeezed them down the seams and smeared them in with a sponge brush. Worked pretty nicely for that organic look!


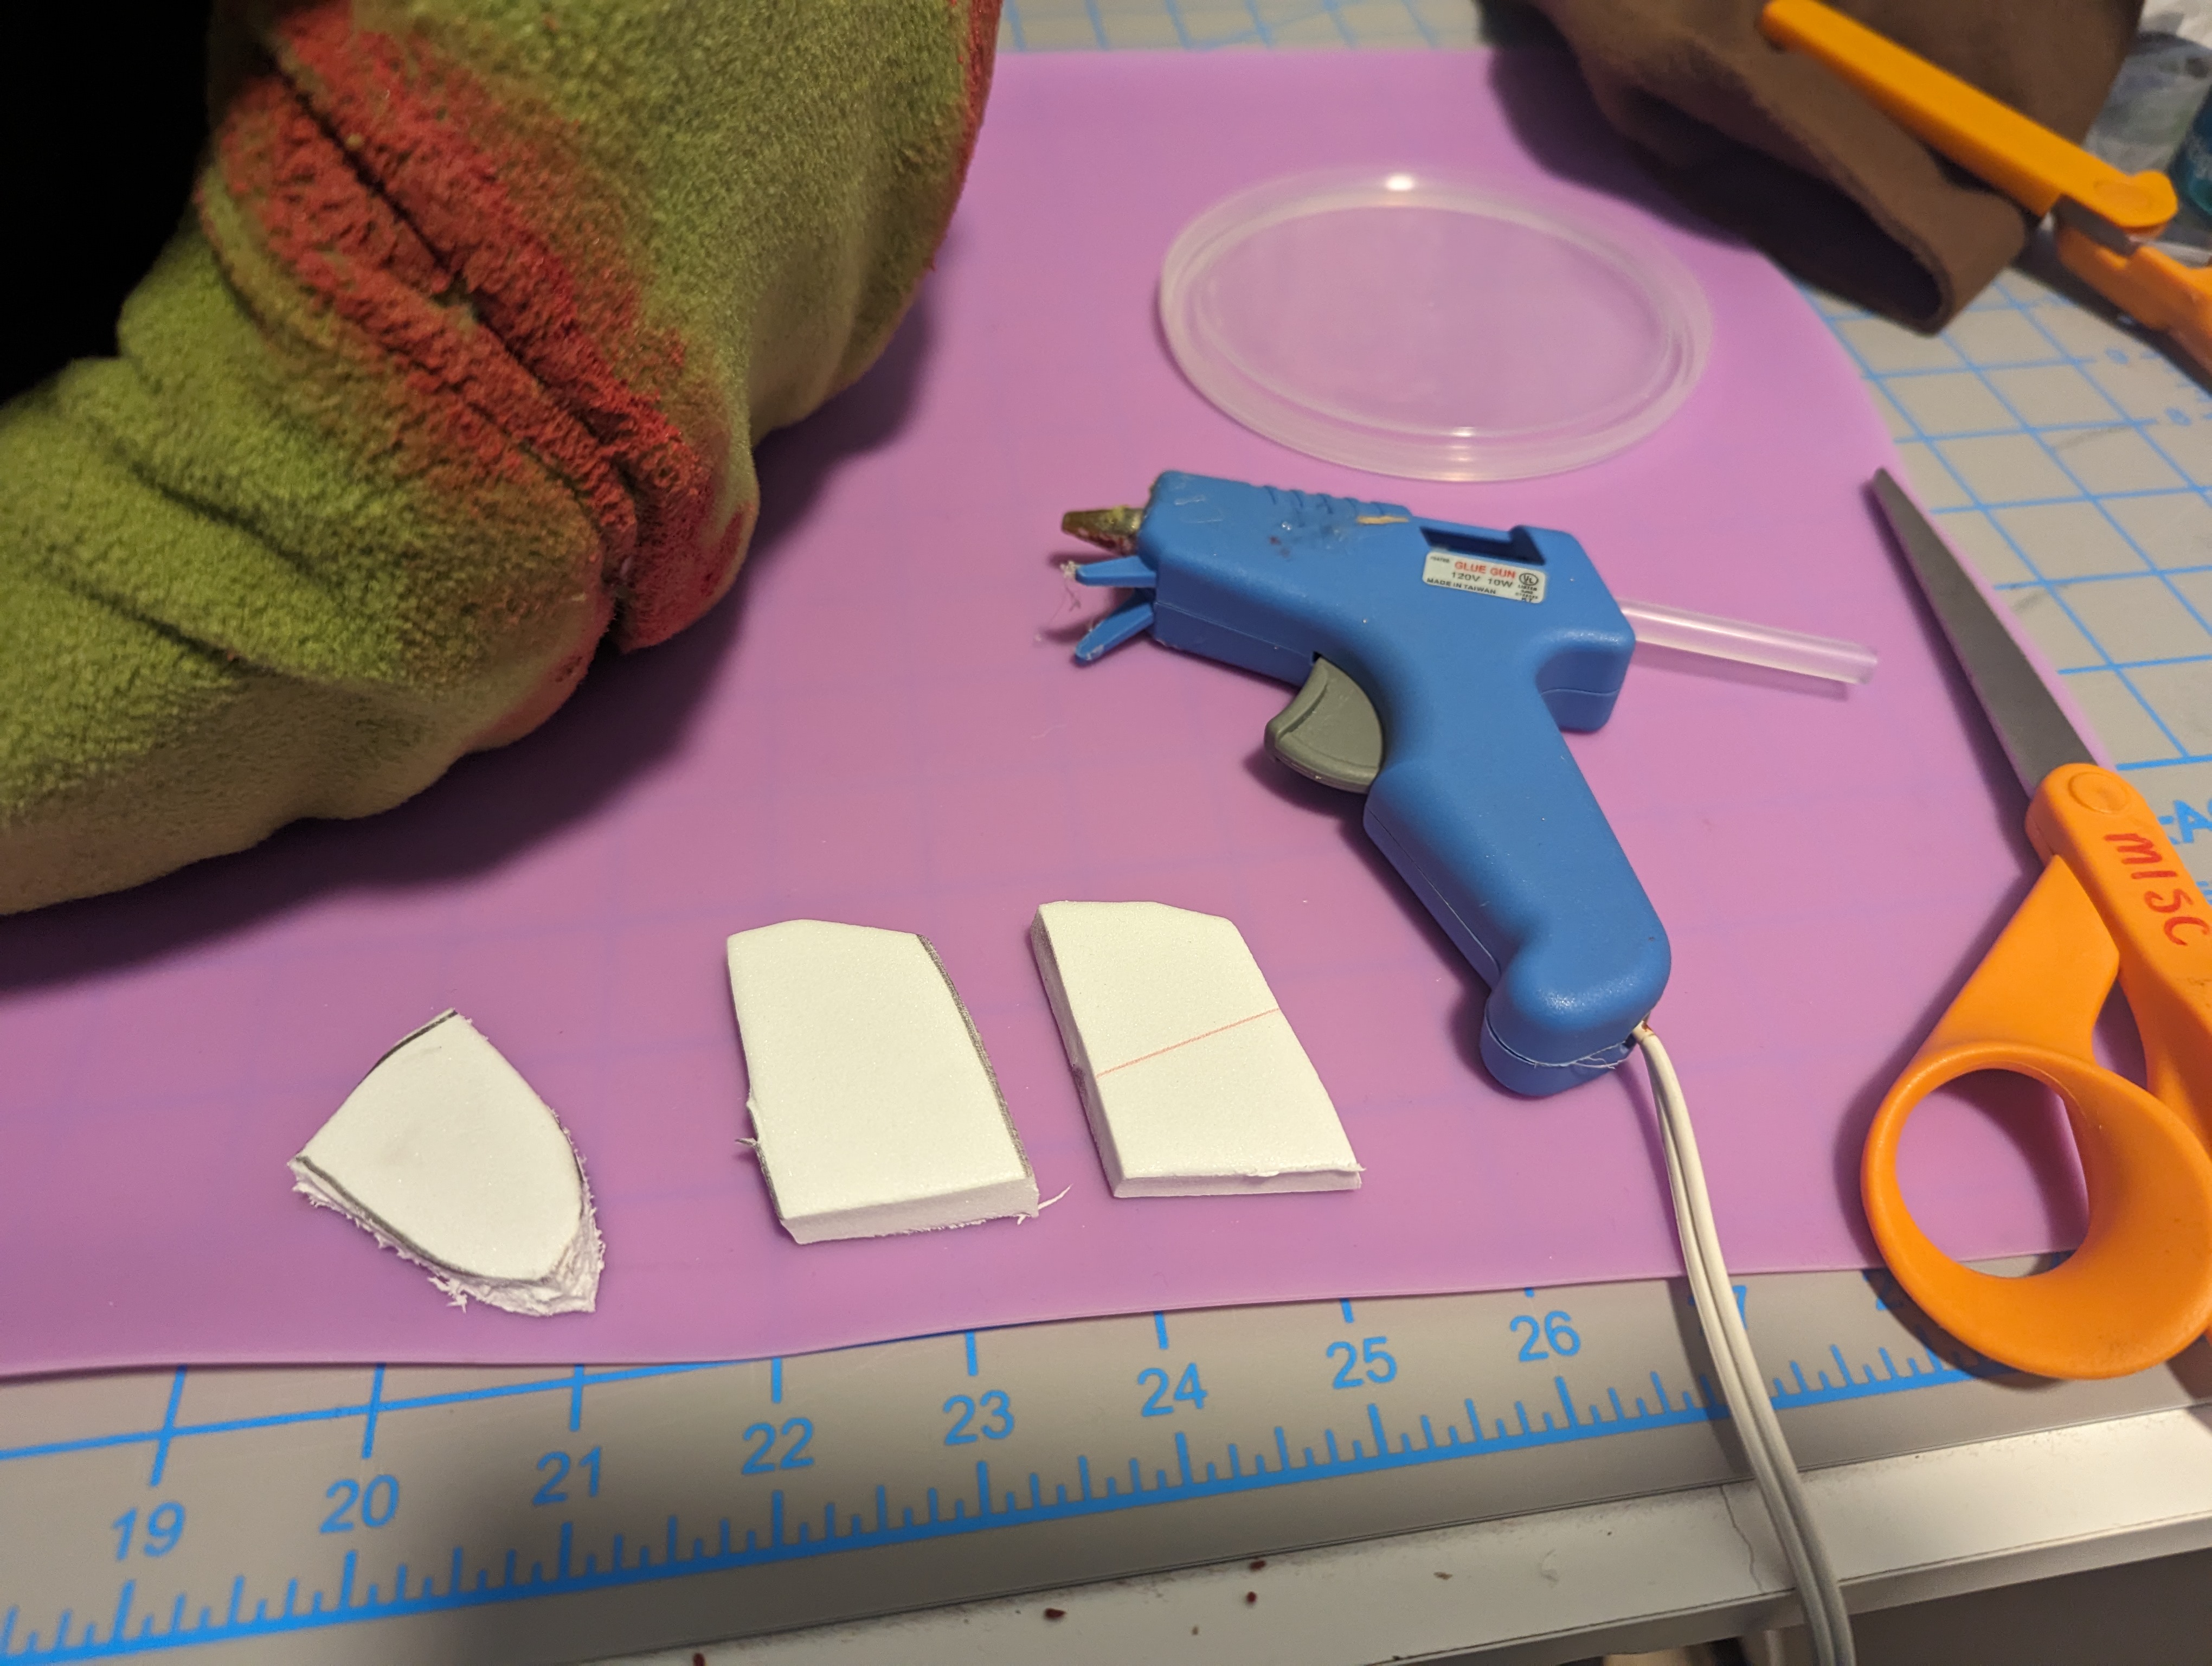
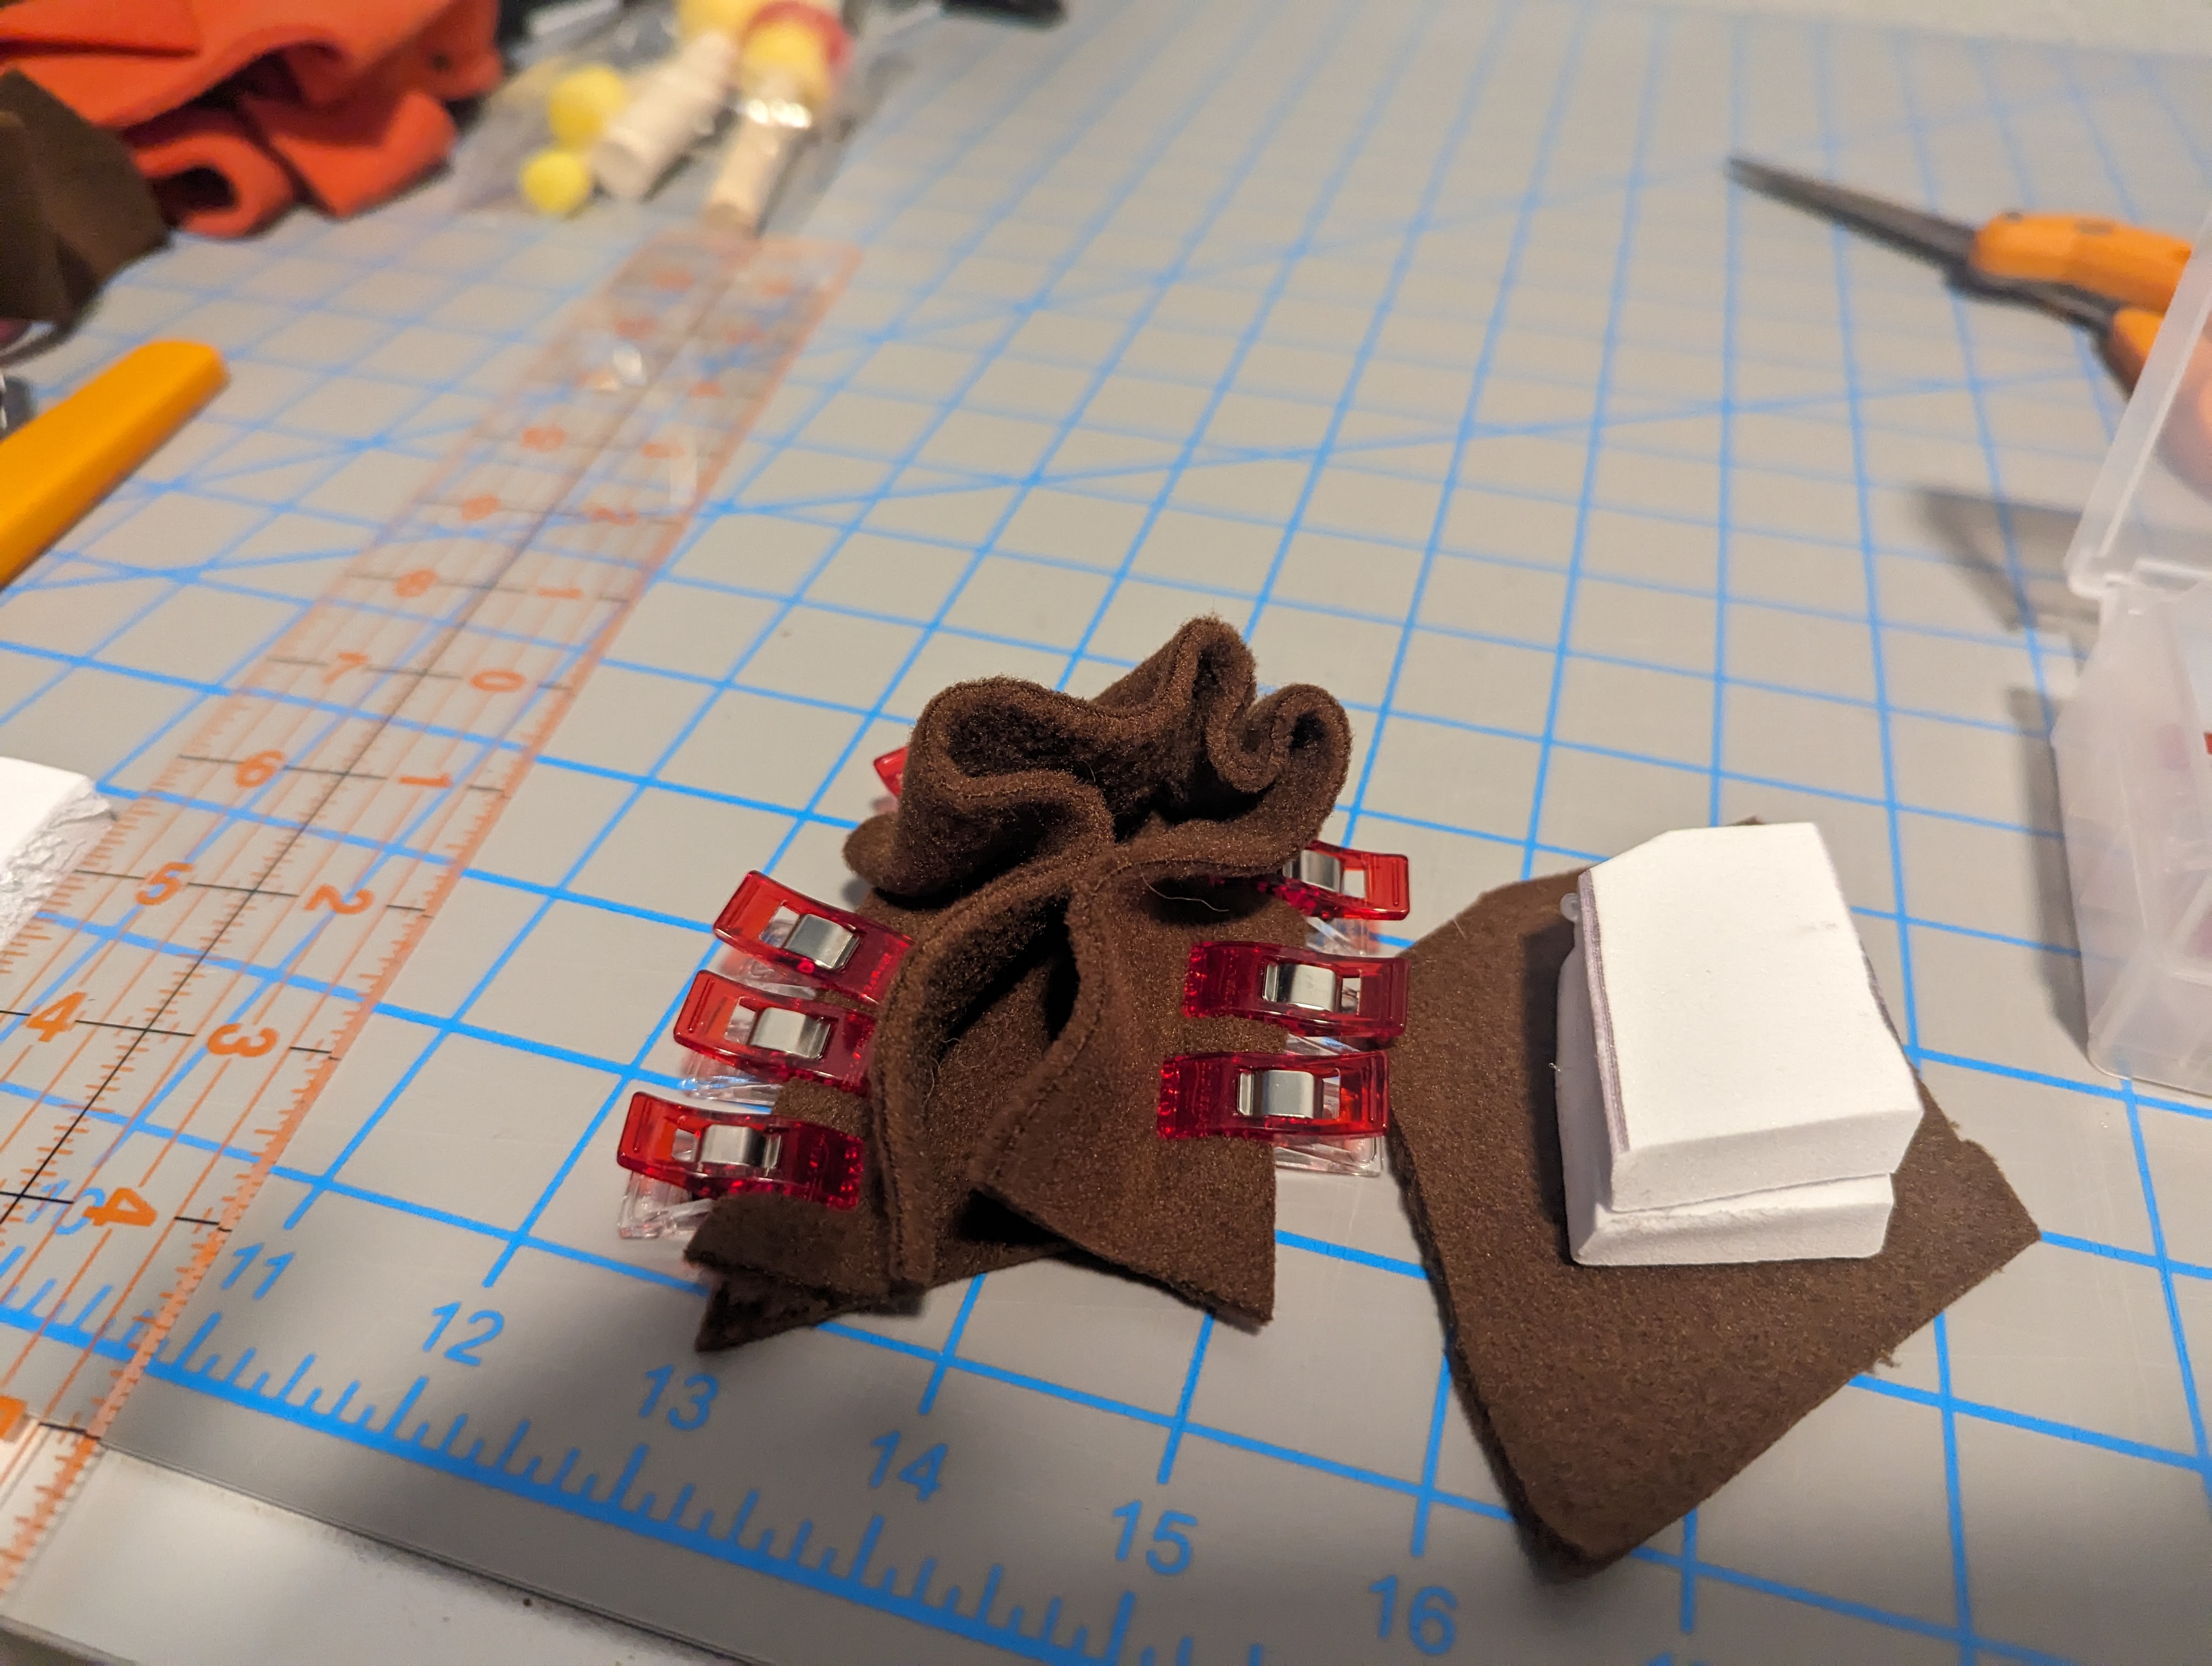
Next up, I used EVA foam to make both the goatee and stem. The ghoatee was one small piece of EVA foam covered in fleece while the steam was two EVA foam pieces glued to each other and then covered.


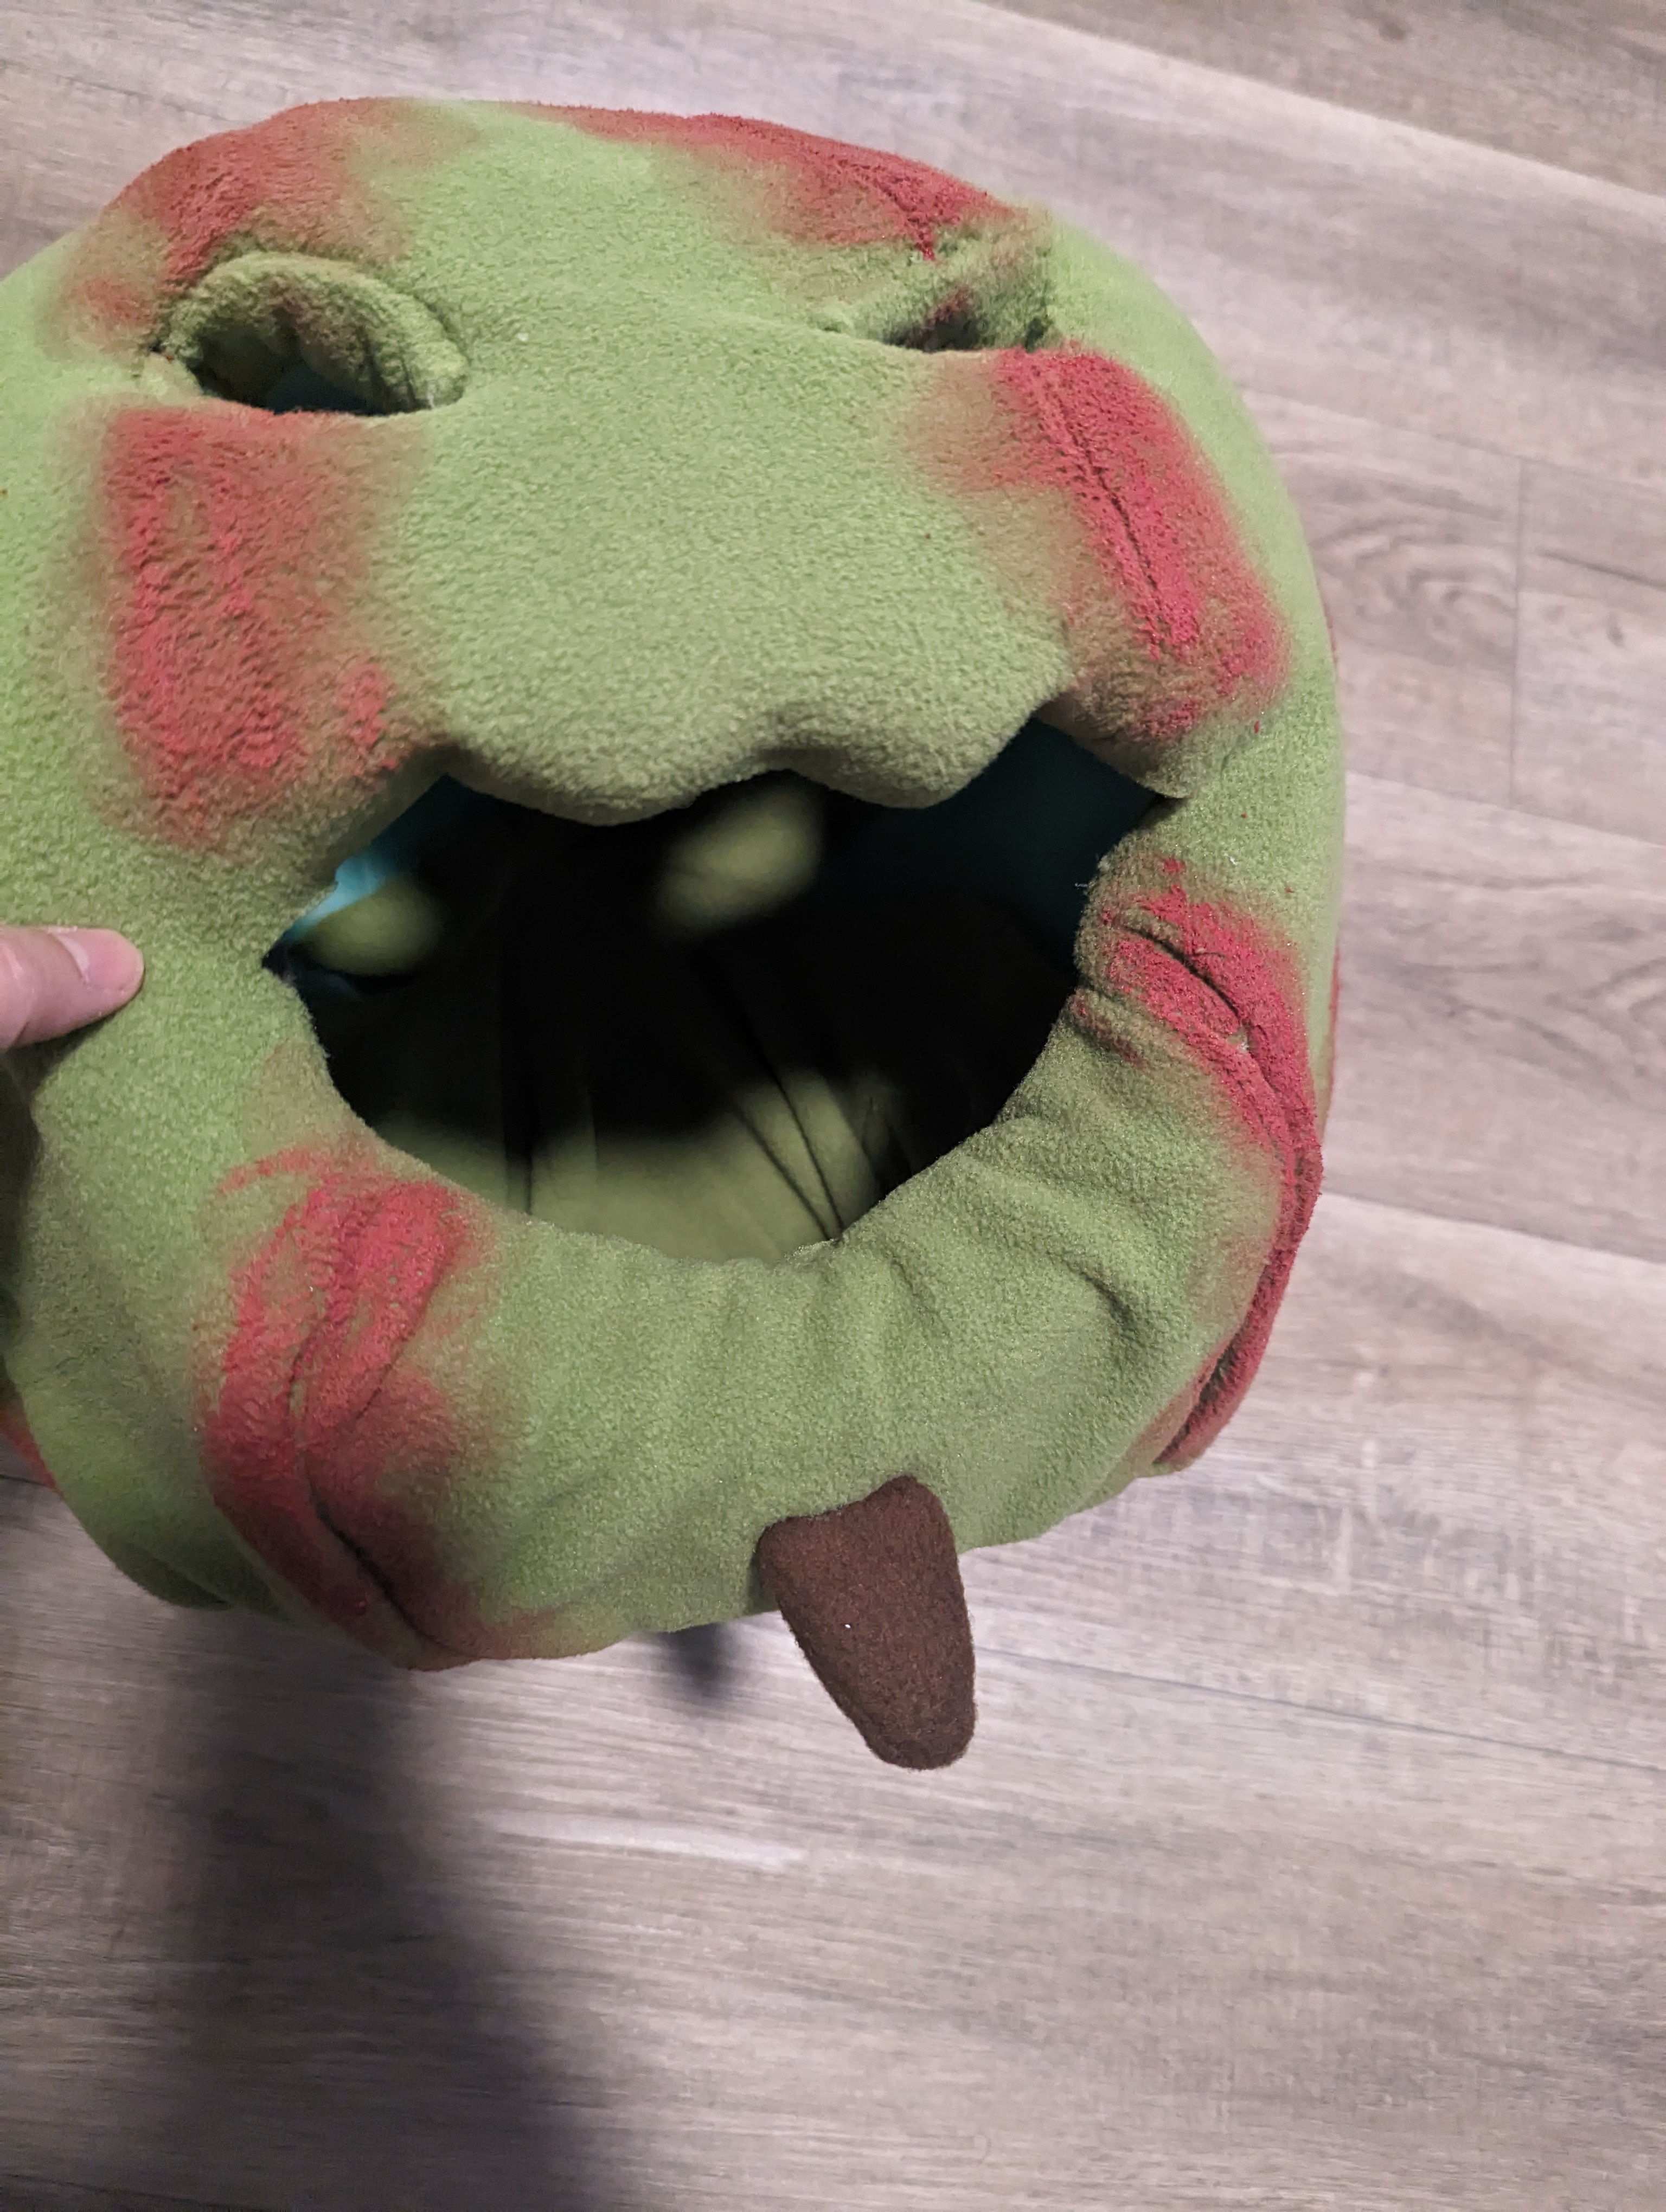

The last step for the head was adding buckram to the holes. I used the buckam from both of my chef heads, one for the mouth and then one cut in half for the eyes.


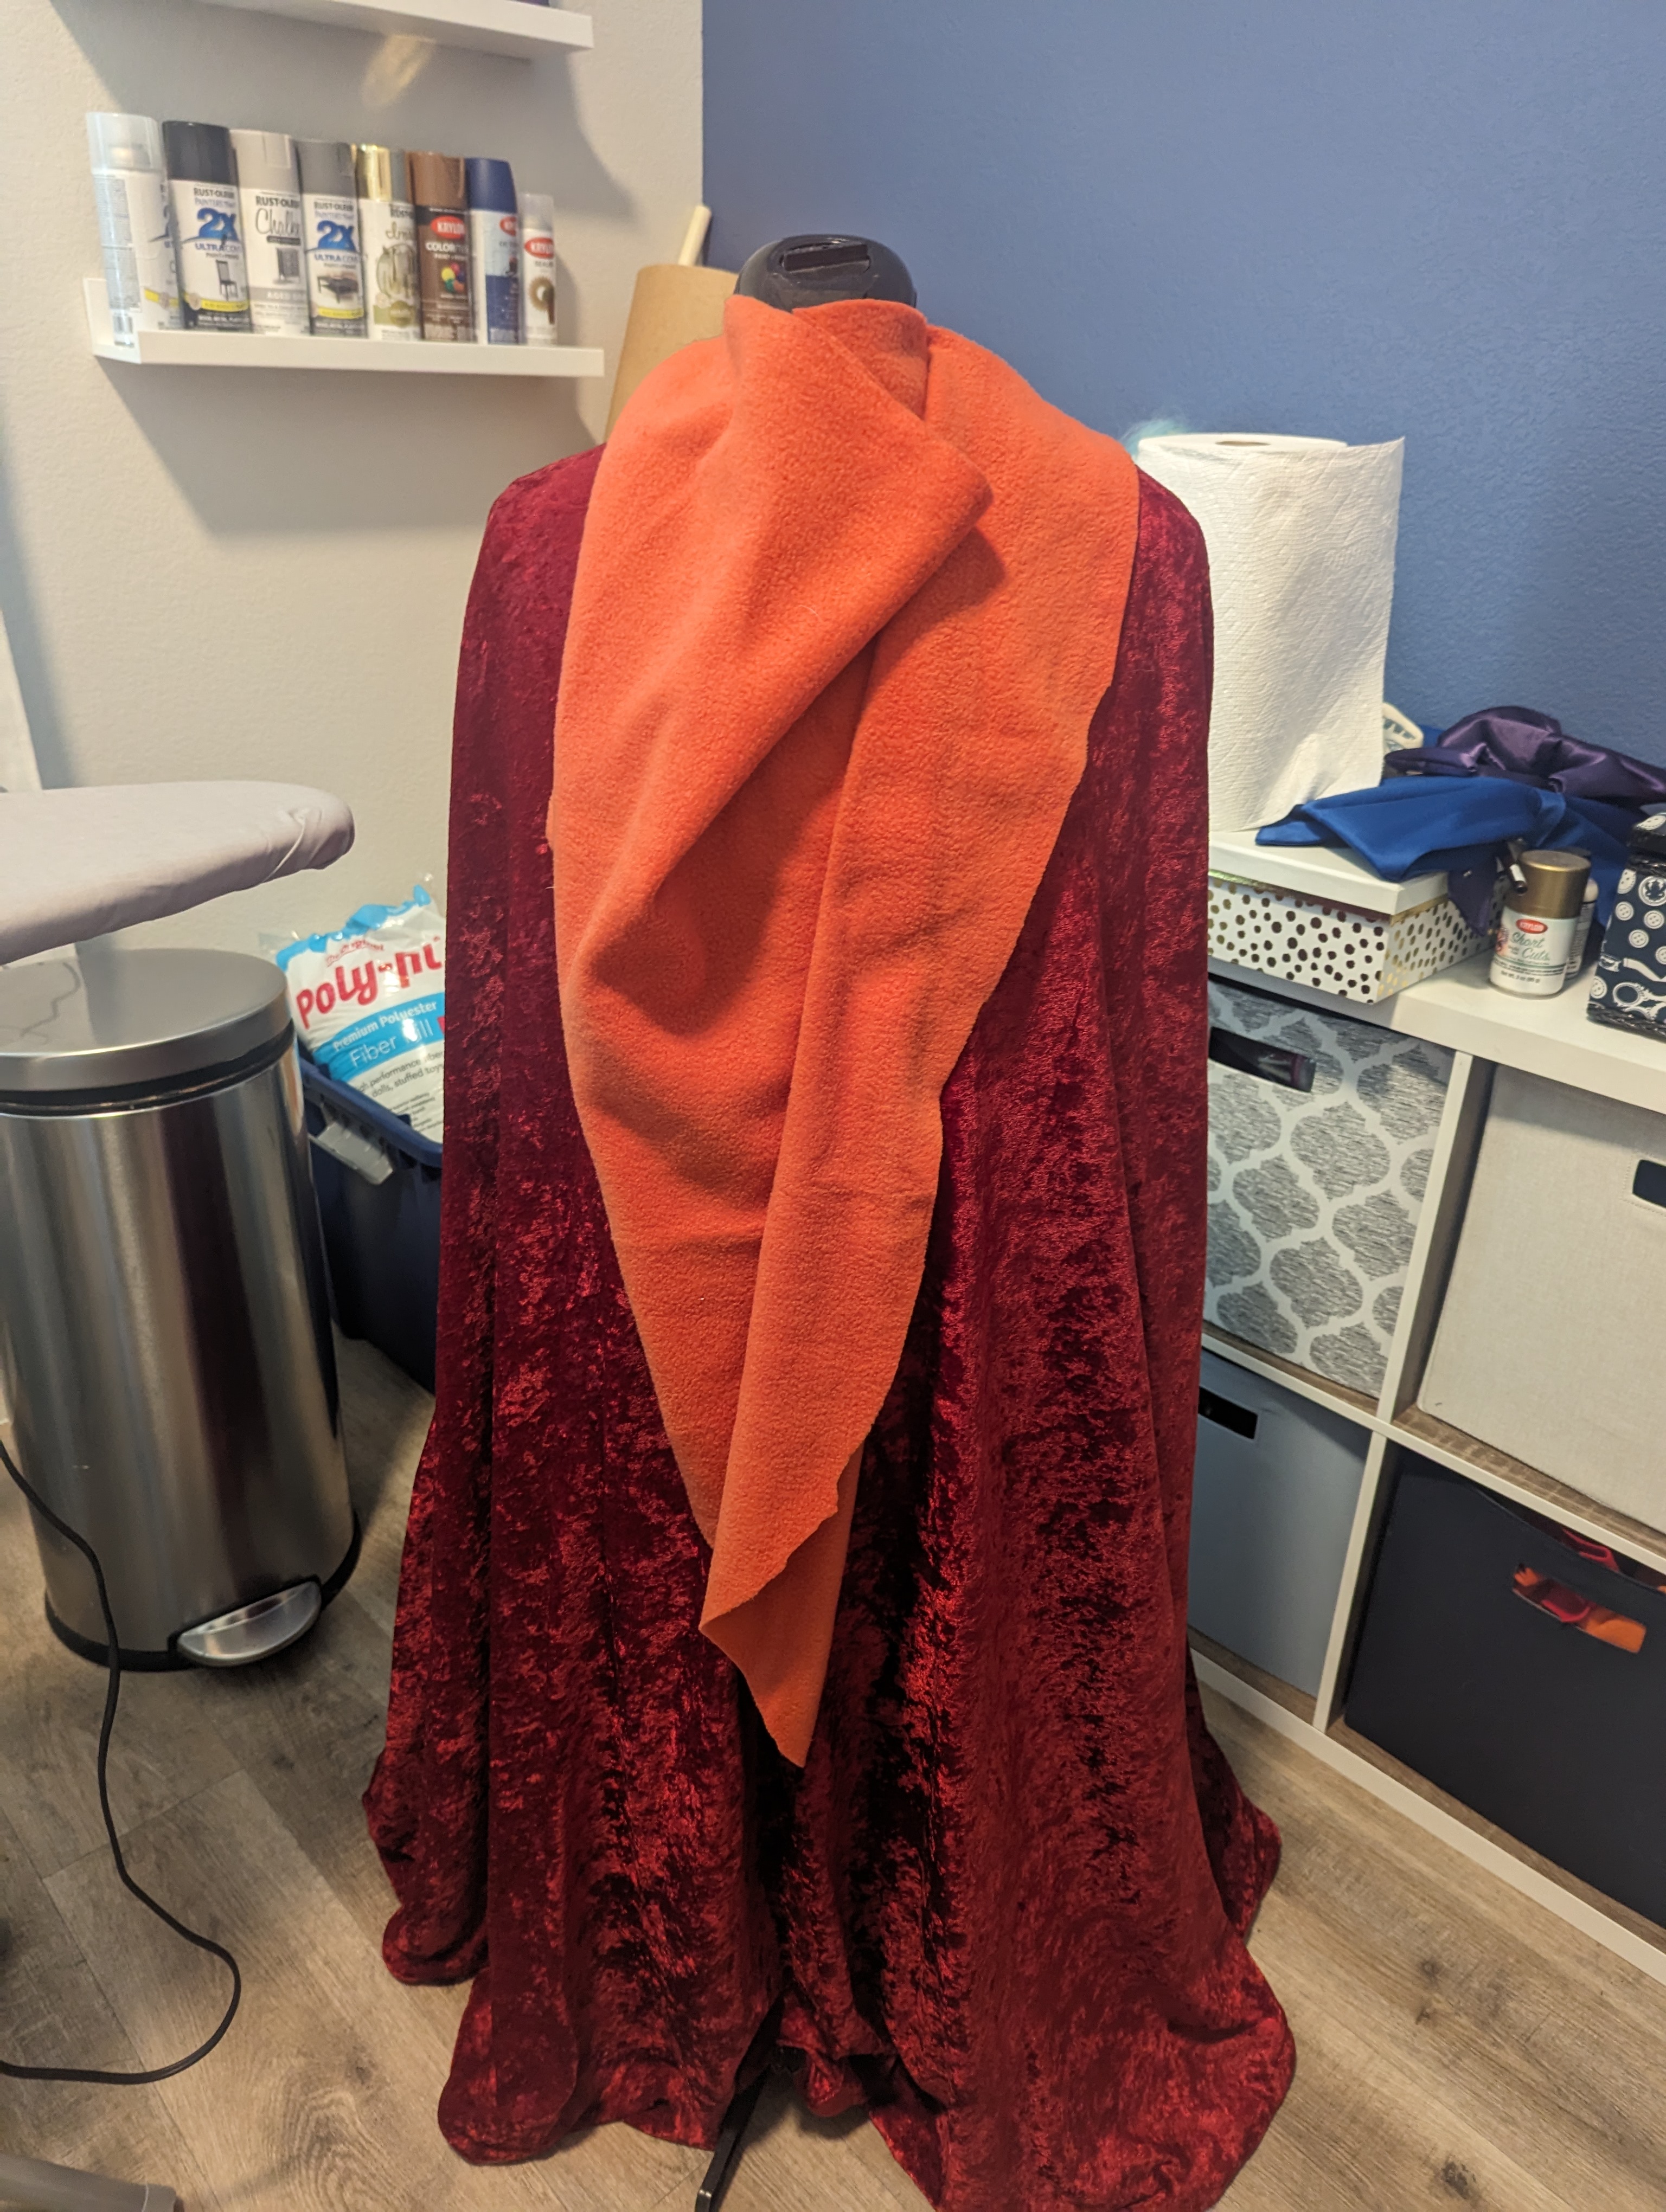
Red robe
The red robe was a lot of improvising. At first, I tried to make a pattern based on my husband’s bath robe, but I was getting frustrated with it.
If you remember from my Mae cosplay, this cape is made up of eight panels, with clear curves following the shoulder seams. With this in mind, I separate the lining from the fashion layer. Then, by cutting out the seams (I didn’t feel like painstakingly seam-ripping), I kept two panels in tact for the front piece and two panels in tact for the back piece. That left me four more panels to work with for the sleeves. I ended up using one panel per sleeve.After making a sleeve pattern, I cut out the last remaining fabric I would need and started assembling. I used french seams throughout so I wouldn’t have to zigzag stitch or serge to finish the raw edges.


“Rock” skirt
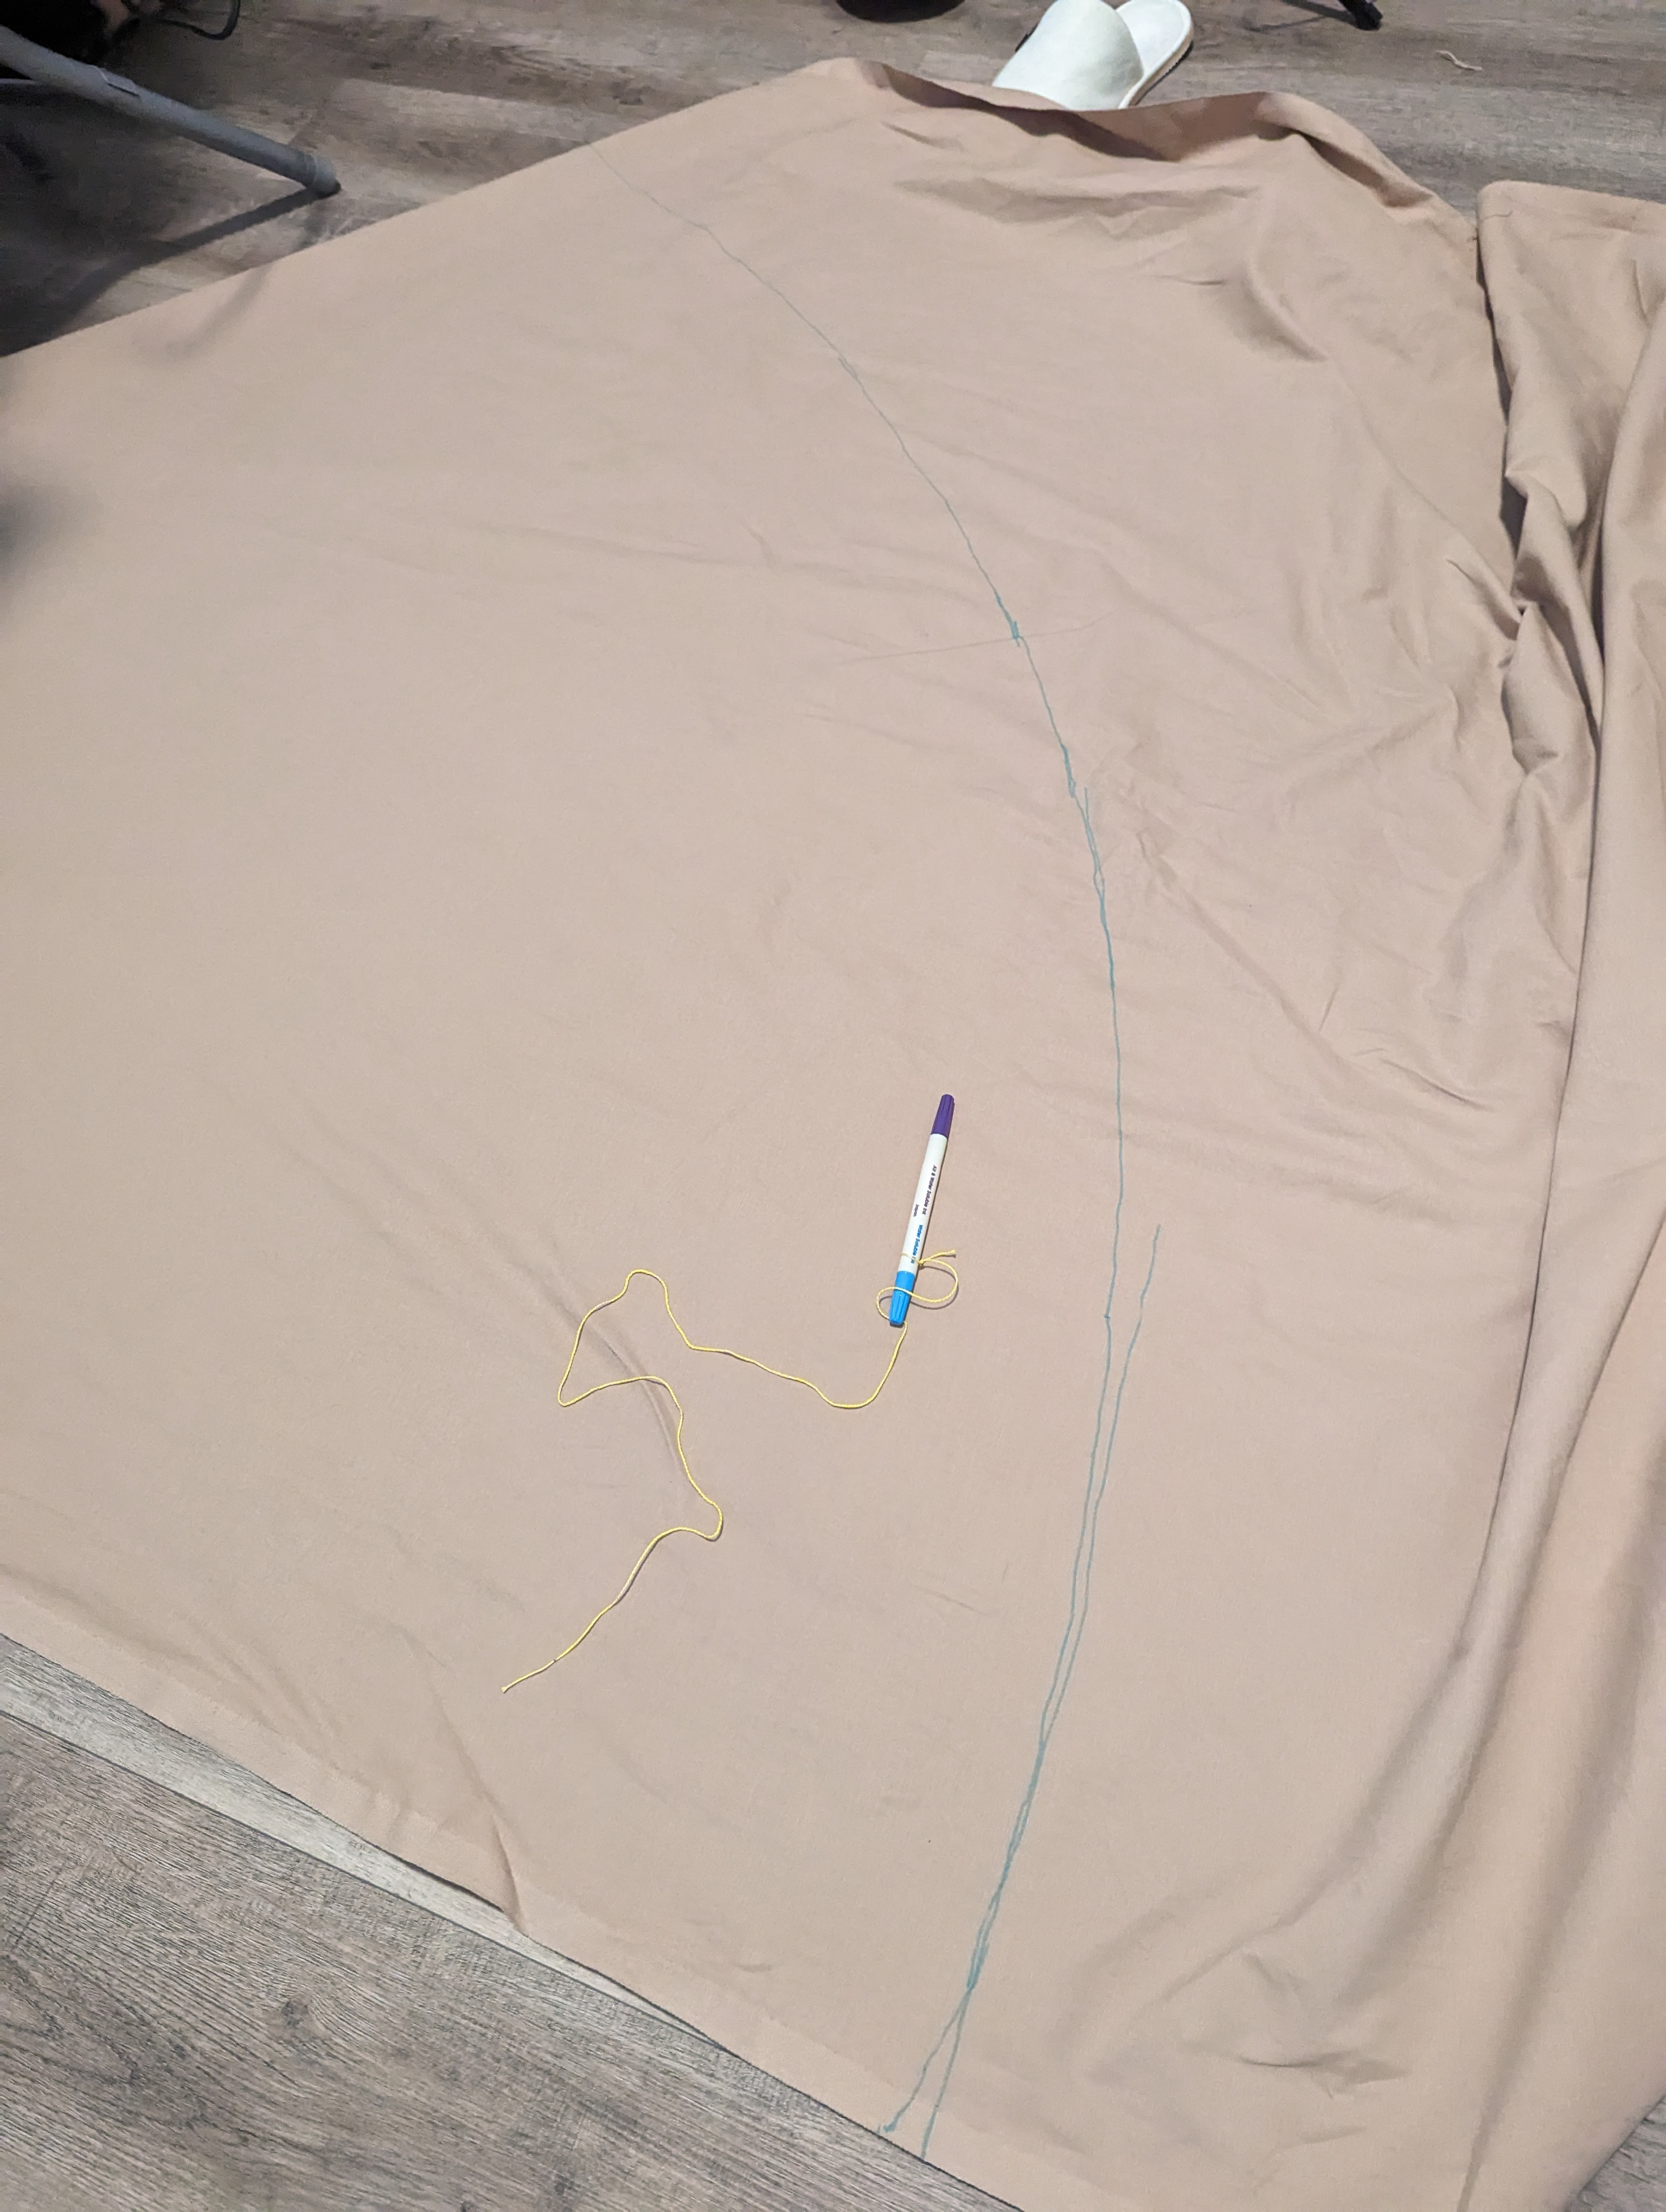
This was a stretch goal. I wanted a skirt to mimic the pile of rocks. Initially, I wanted to use chicken wire and paper mache. But due to time constraints, I opted for fabric instead. I decided to go with a quarter circle skirt so that it had that nice silhouette but wasn’t too bulky. Using this calculator, I got my measurements and cut out my one panel of fabric.
I was pretty pleased with my method for getting the pattern down. I cut a length of embroidery floss that I had tied to my pen to give me an anchor. As long as I pulled the string taut, the measurements would be right! I did this for both the waist and hem.


Here’s the part where I forgot to take pictures because I was just doing the work. I cut out two strips of 3″ wide fabric for the waistband, stitched those together then stitched them to the skirt (again, using french seams. They’re clean and easy!) I also put together a rough proof on concept for how I would do the rocks.


After basting the zipper in place, I installed it and finished the back seam. Then it was time for the time-consuming process of making rocks for the skirt.


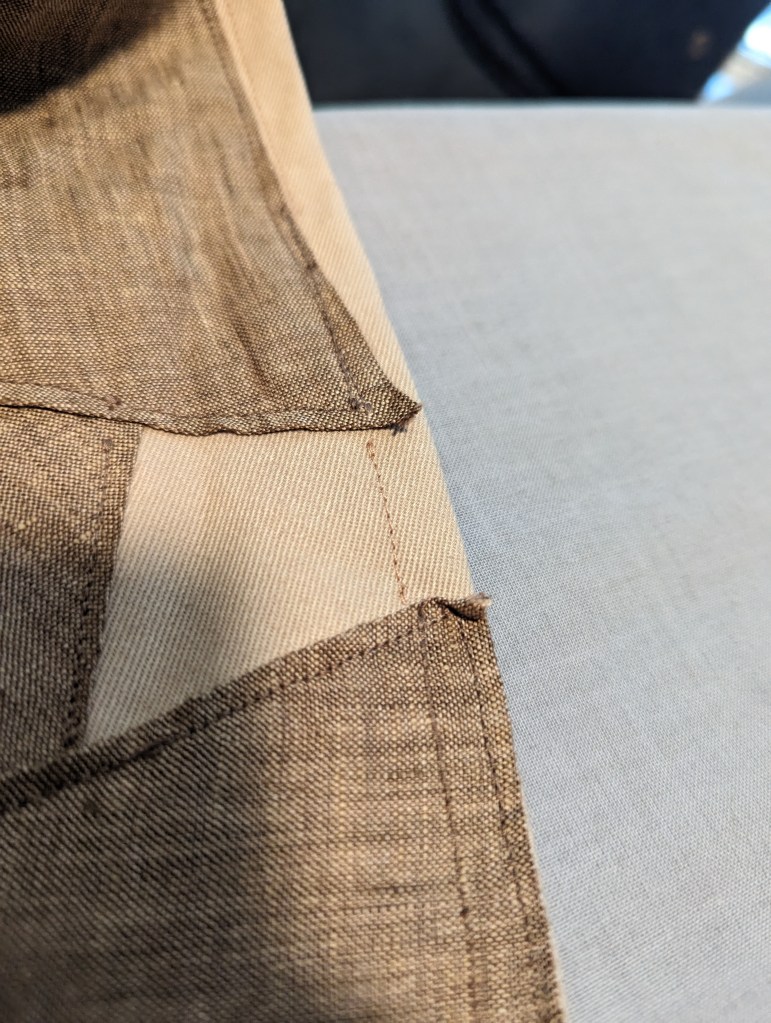
Initially, I cut out these shapes for rocks but I quickly learned that these were going to be too small. Not only would they not look proportional , but it would take forever to cover the bottom half of the skirt.


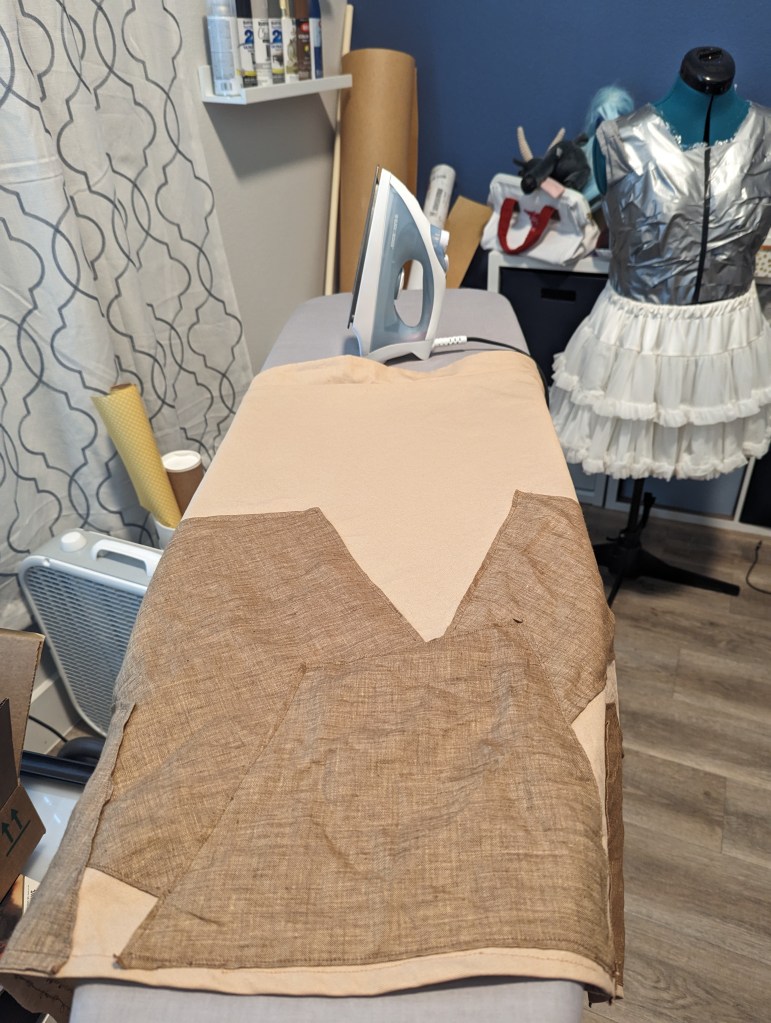
So, I cut out much larger pieces. After ironing down the edges, I pinned them all in place and stitched them down directly onto the skirt.


During the process, the fabric got pretty wrinkled but I actually kind of liked how it looked on the rocks, so after finishing the bottom hem of the skirt (after letting it hang for as long as I possibly could while still giving myself enough time to finish), I ironed just the light fabric and kept the rocks wrinkled.

Conclusion
This was a fun but frenzied build, reiminiscent of crunching on my Kena cosplay last-minute for Nishi Fest. My only regret is that I didn’t have the idea for the cosplay until a little over two weeks before the con. I didn’t have as much time, either, because the week of September 10 was a very good—and social—week for me, so my evenings and weekends were occupied.
That said, I’m really happy with how this turned out! And that I was able to give old cosplay pieces new life. Also my first ever circle skirt. (My only other regret is not starting sooner so the circle skirt had more time to hang.)


Use my build post as inspiration? Let me know!
If you followed along with my build post to help you make your cosplay, I’d love to see it! Leave me a comment or send me an email at ashweezcosplay(at)gmail(dot)com. If you’re comfortable with it, I’d love to showcase your cosplay photo(s) in the blog! I will of course give you credit and link to any socials you may have.
