

Last year, Night in the Woods came out and I had the pleasure of watching Jason play through it. It’s a charming game full of heart, humor, and fun mini games. Recently, I finally got to play it myself and purposefully picked story lines that Jason didn’t so that I could see more of the game. It has amazing replay value because of this and I would love to play it again.
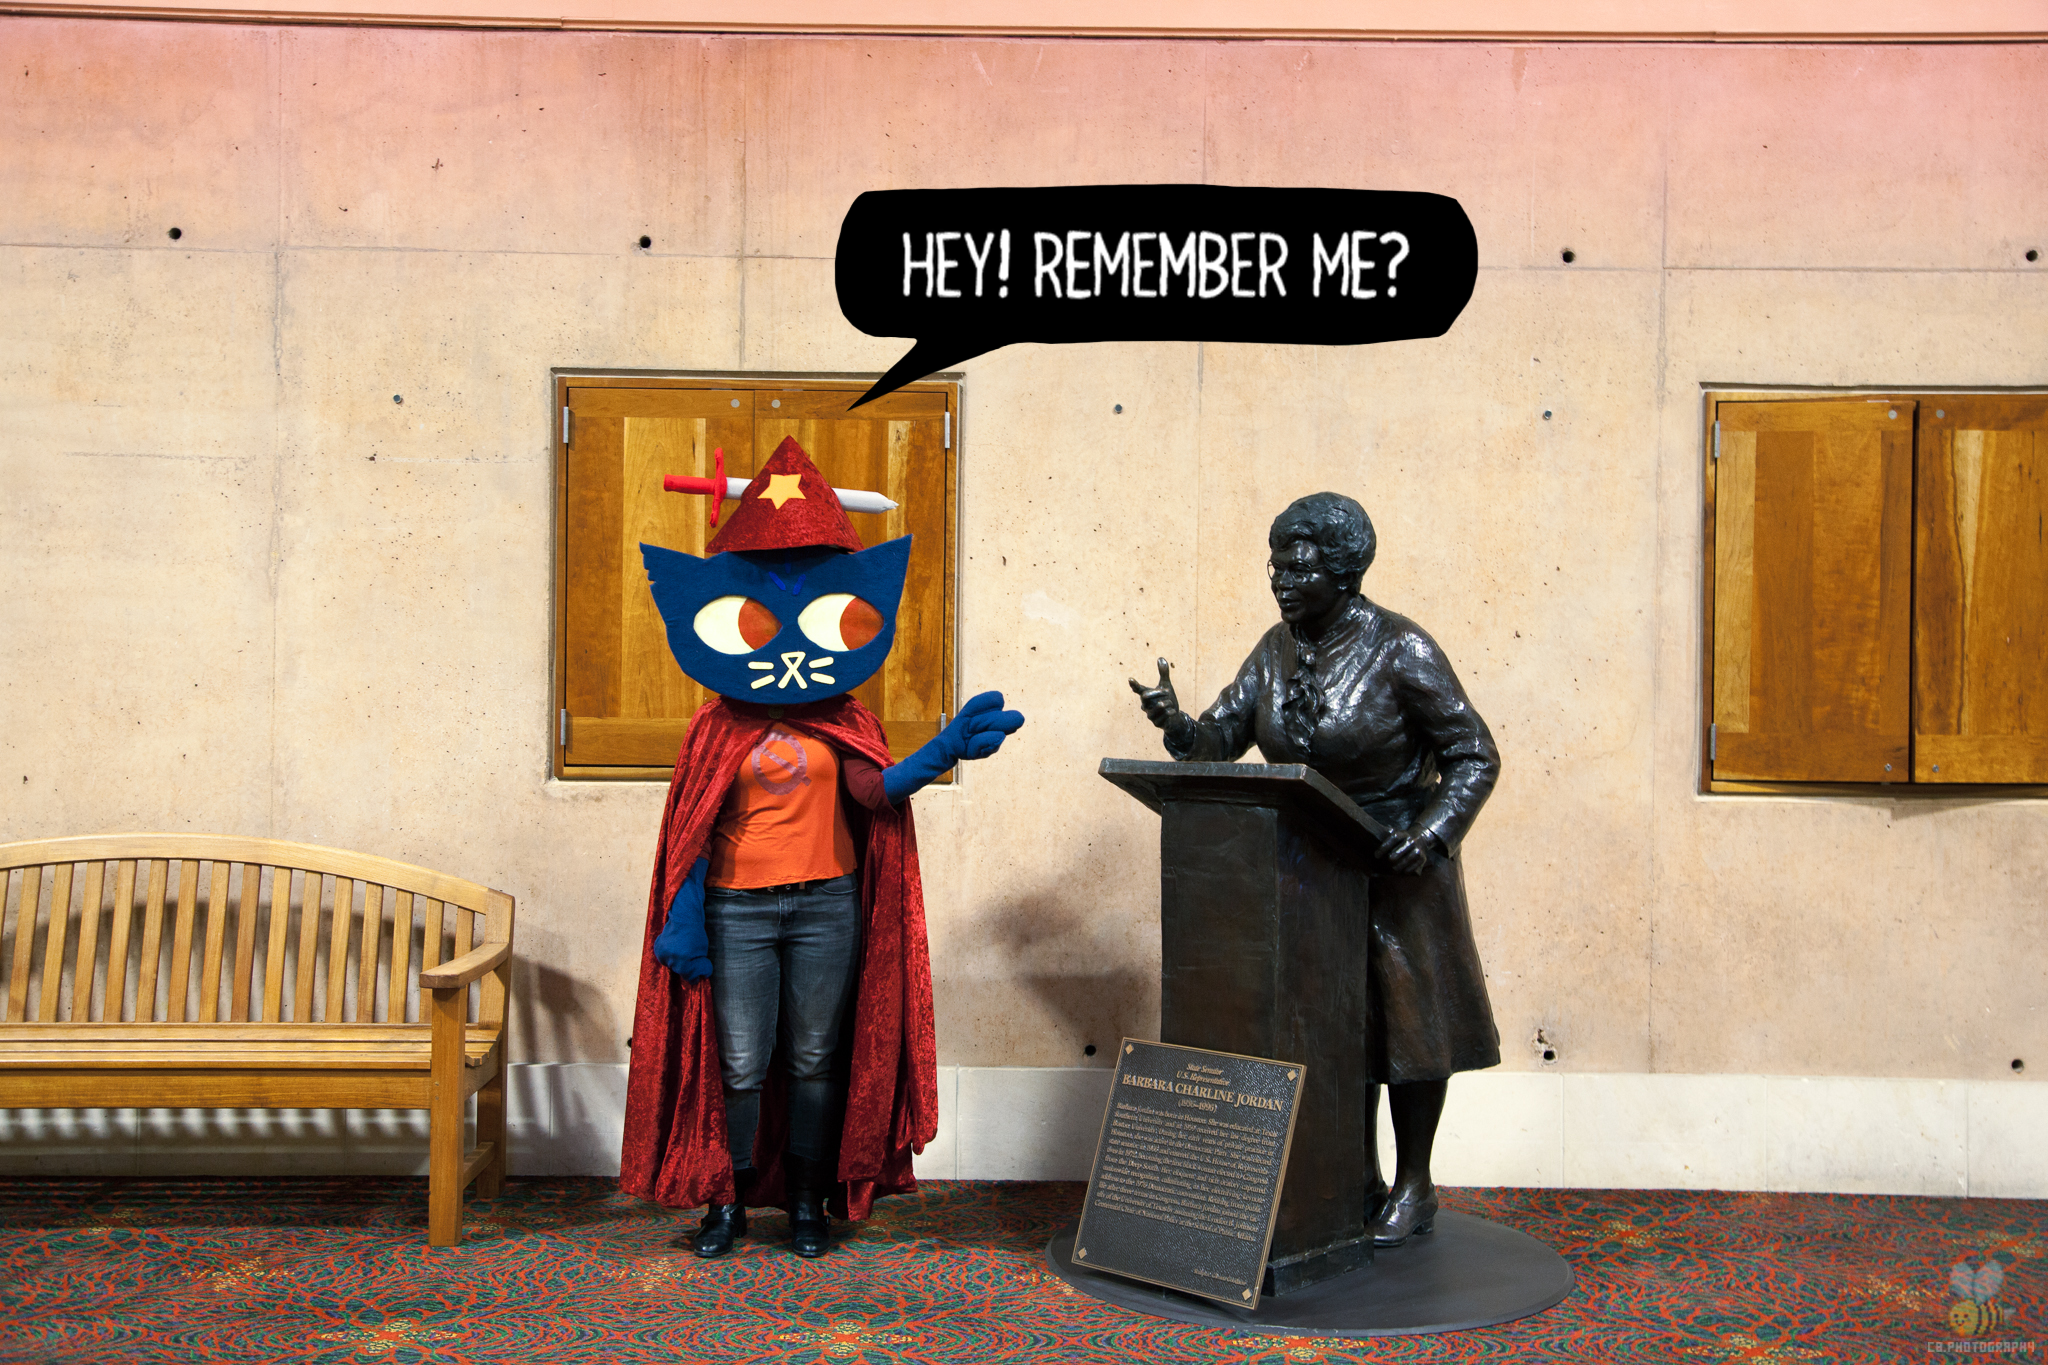


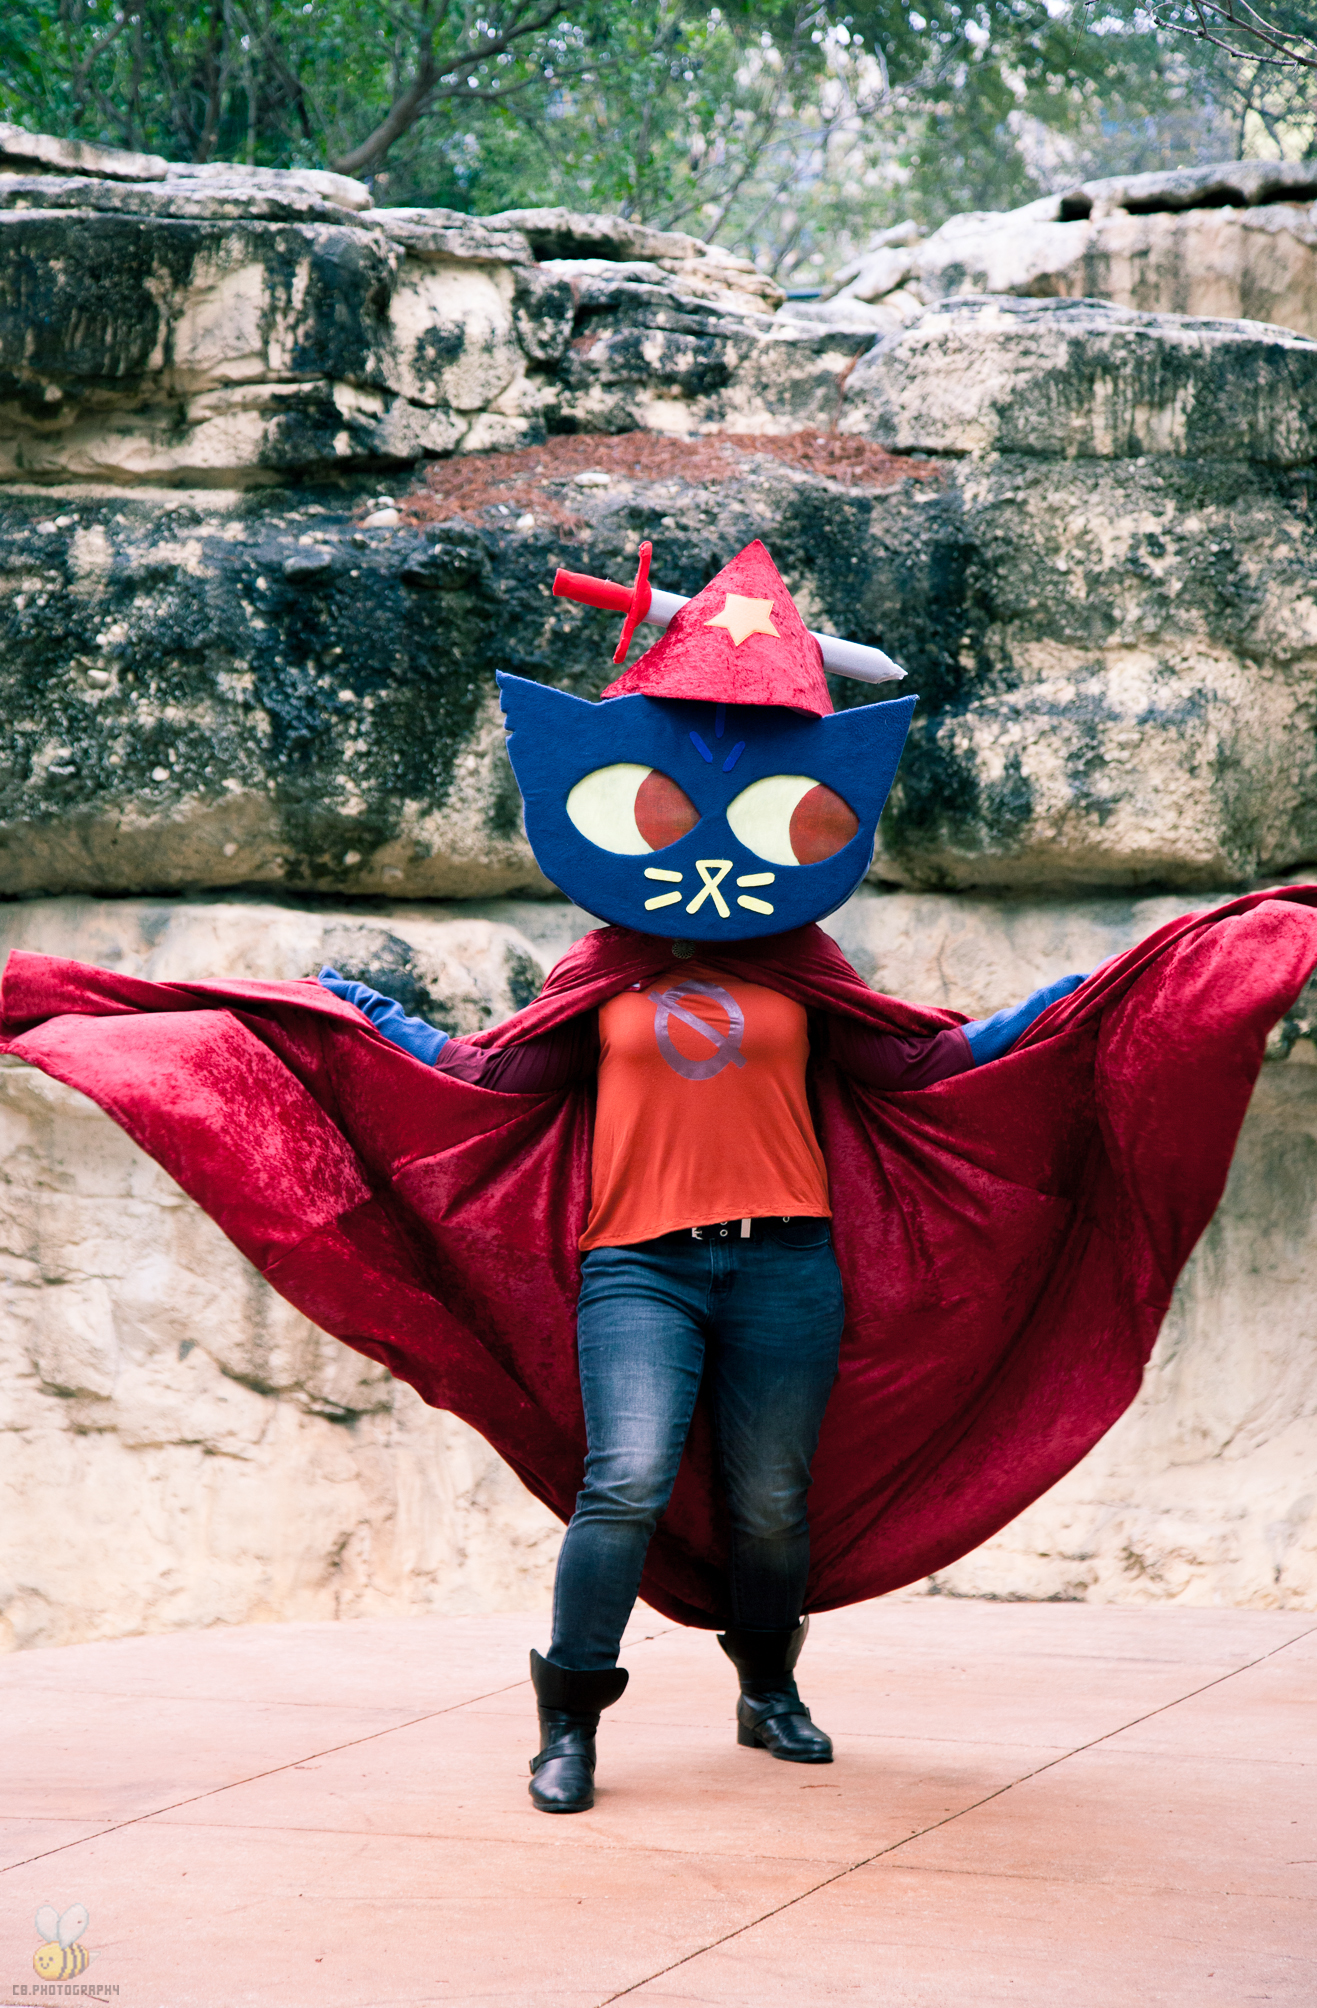

Photo credit to PancakeRemix


Maybe it’s just cause I’m feeling cats this year (finally finished Kali), but I wanted to cosplay Mae. And not just Mae, but her Witch Dagger costume. (A costume of a costume!) At first, I thought I’d just reuse Kali’s wig and ears but then I saw this:

While perusing the Instagram hashtags #MaeBorowskiCosplay and #NITWcosplay, I came across these amazing cosplays. I loved how instantly recognizable they were. I have been wanting to do a mascot style cosplay for a while, ever since watching Commander Holly’s video of her Animal Crossing cosplay. While I didn’t have the space to make a cosplay like that, I could definitely get my feet wet by making a head!
These heads in the above picture were all made by Frack Attack, who was gracious enough to post a tutorial on his tumblr! I definitely referenced this quite a bit, especially for the mascot head. I pretty much followed it to a tee except the shirt, so if you want, pop on over to that tutorial if you want to get it from the source!
But if you wanna read my (slightly different) process that includes adding the Witch Dagger elements, read on! And, as always, feel free to jump to the section you’re interested in:
Mascot head
I followed Frack Attack’s tutorial really closely. At first, I tried drawing out the face by hand. I quickly learned that I am not good at that, so instead decided to use my graphic design skills to recreate it digitally.
After tracing the face in Adobe Illustrator, I scaled it up to the correct size. I wanted the head to be proportional to my body and Mae’s head is very wide compared to her shoulders. So I measured it out and it needed to be around 20 inches wide. I scaled it up appropriately in Illustrator, then split them into tabloid sized sections so that I could print them out and tape them together into one big piece.
Once that was done, I traced and cut out the main head shape as well as a matching oval shape using black foam board. (It’s the same foam I used for Black Belladonna’s Gambol Shroud and can be found at Joann’s.) At this stage, I deviated from Frack Attack’s tutorial slightly to go ahead and cut out the eyeholes now rather than after covering it in fabric.
Once I had those two shapes, I covered them in blue anti pill fleece. I cut the fabric into pieces larger than the boards, then hot glued them on. For the face, I hotglued the whole front surface and the edge. For the back, I just did the edges only and it seemed to work out fine.
For the face, I used yellow felt that I carefully cut into her nose and whiskers. This part I did freehand while referencing the digital pattern. I did the same thing for her furrowed brow, this time using white felt that I had painted blue. (I thought white would work but in hindsight didn’t like it, so I painted them blue. If I were to go back in time, I would’ve just bought blue felt to save myself the trouble.)
Taking a leaf out of Frack Attack’s book, I got a hard hat from Home Depot (technically Jason got it lol). I’m pretty sure it was this one. Having the hard hat at this stage was very important, because I needed to make sure that it would fit into the head properly. Hard hat in hand and some cardboard from Joann’s, I determined that two fabric bolts’ worth of cardboard would be enough for the sides. (Joann’s keeps all the empty fabric bolts at the cutting counter. If you ask, they’ll give you some. They just toss them out at the end of the night anyway.) I hot glued them together (one bolt would not be wide enough for both my head and the hard hat) then bent them to match the curve of the head. Once I was happy with the shape, I covered the whole piece in blue fleece to match the rest of the head. At this point, I glued the back piece to the sides and switched gears to the eyes.
I used the same buckram fabric that Frack Attack mentioned in his tutorial. I bought 4 sheets of it and then painted them yellow and red to match Mae’s eyes. I decided to go for her looking to the side instead of straight forward, just cause I hadn’t really seen that much in the cosplay I saw. Also cause straight forward really is NIGHTMARE EYES. Once done painting and drying, I hot glued the eyes to the interior of the face piece and reinforced it with duct tape.
Eyes now complete, I attached the face to the rest of the head. I then used duct tape to attach a small piece of foam to the top of my hard hat for some padding. On top of that foam, I put on some industrial strength velcro. I put the opposite part of the velcro on the interior of the top of the head so that it all sticks. The velcro is so strong that it can hold the hard hat completely, which is what I needed since I need to make sure it didn’t slide all over my head.
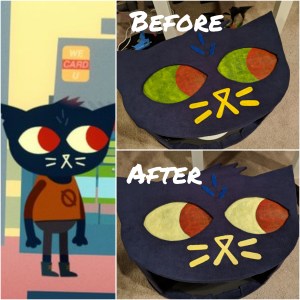
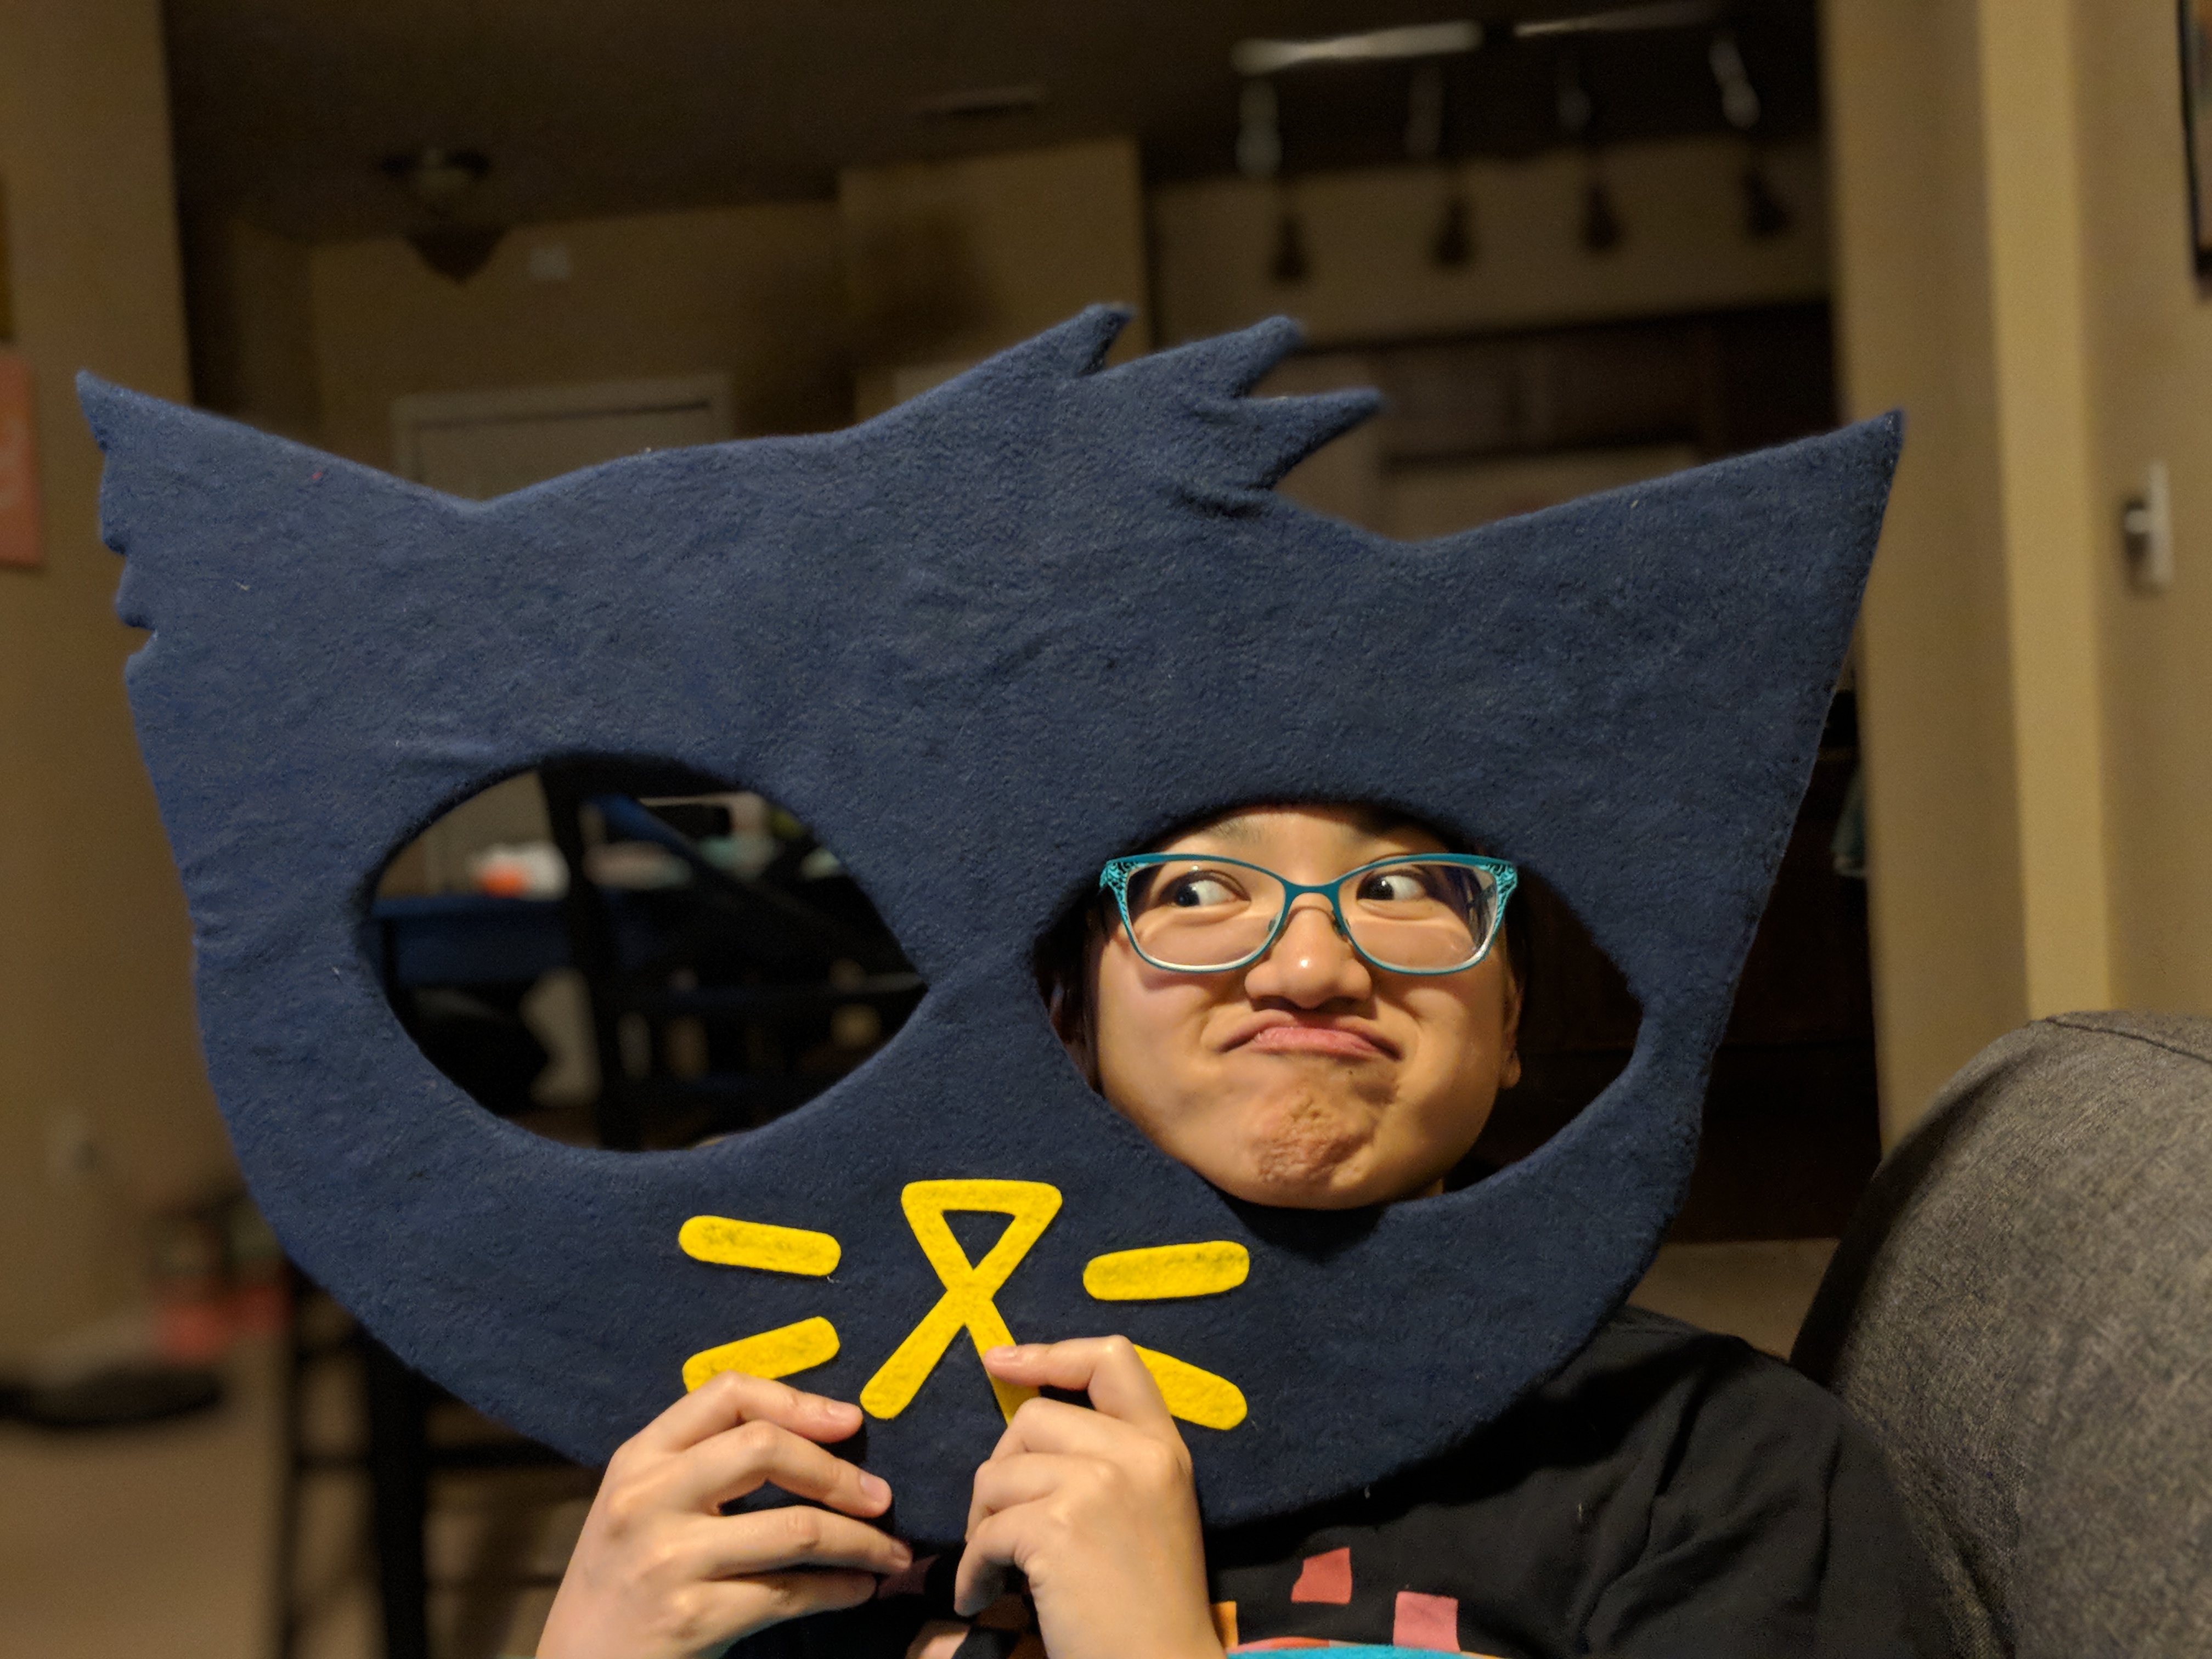
After putting all the pieces together, I realized I really didn’t like the colors of Mae’s face, specifically her greenish Jaundice-looking eyes and how they were drastically different in color from her yellow mouth/whiskers. So, mixing a little bit of yellow paint to a lot of white paint, I repainted the eyes and the felt that made up her face. The results made me super happy! Much better!
Last was painting the little pink highlights in her tuft of hair. I mixed white and pink paint and then brushed it on. I wiped it down with a paper towel so it wasn’t so bright and looked more like on ombré effect. Lastly, I reinforced the velcro on both the hard hat and the interior of the head by hot gluing the edges. This should keep the velcro from peeling off with continued use.
Paws
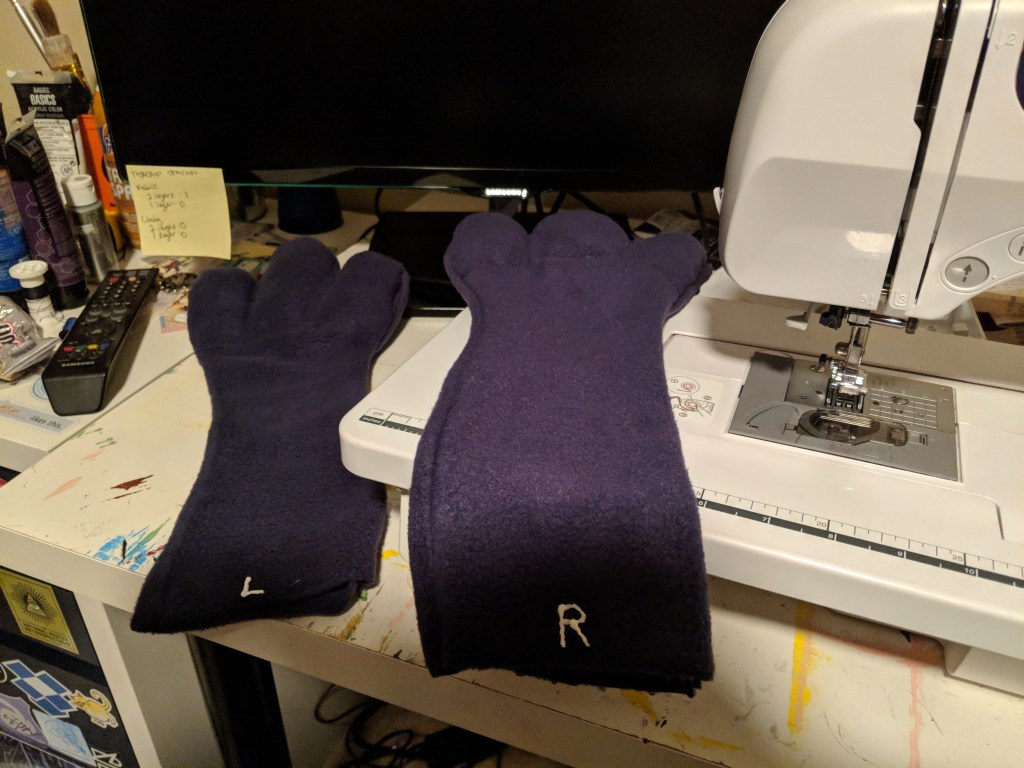
I followed Frack Attack’s tutorial pretty closely. I had to do the pattern twice because the first time, I made it way too small. The second time around was much better. I made sure to measure the width of my arm and then cut the measurement in half to get the proper sizing for the forearm part. Making it bigger also made turning it right-side-out much easier. I used leftover pillow stuffing from previous plushie projects to fill the paws. I also went ahead and marked them L and R with white fabric paint so that I don’t get them confused.
Shirt
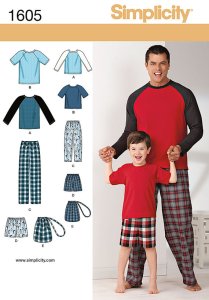
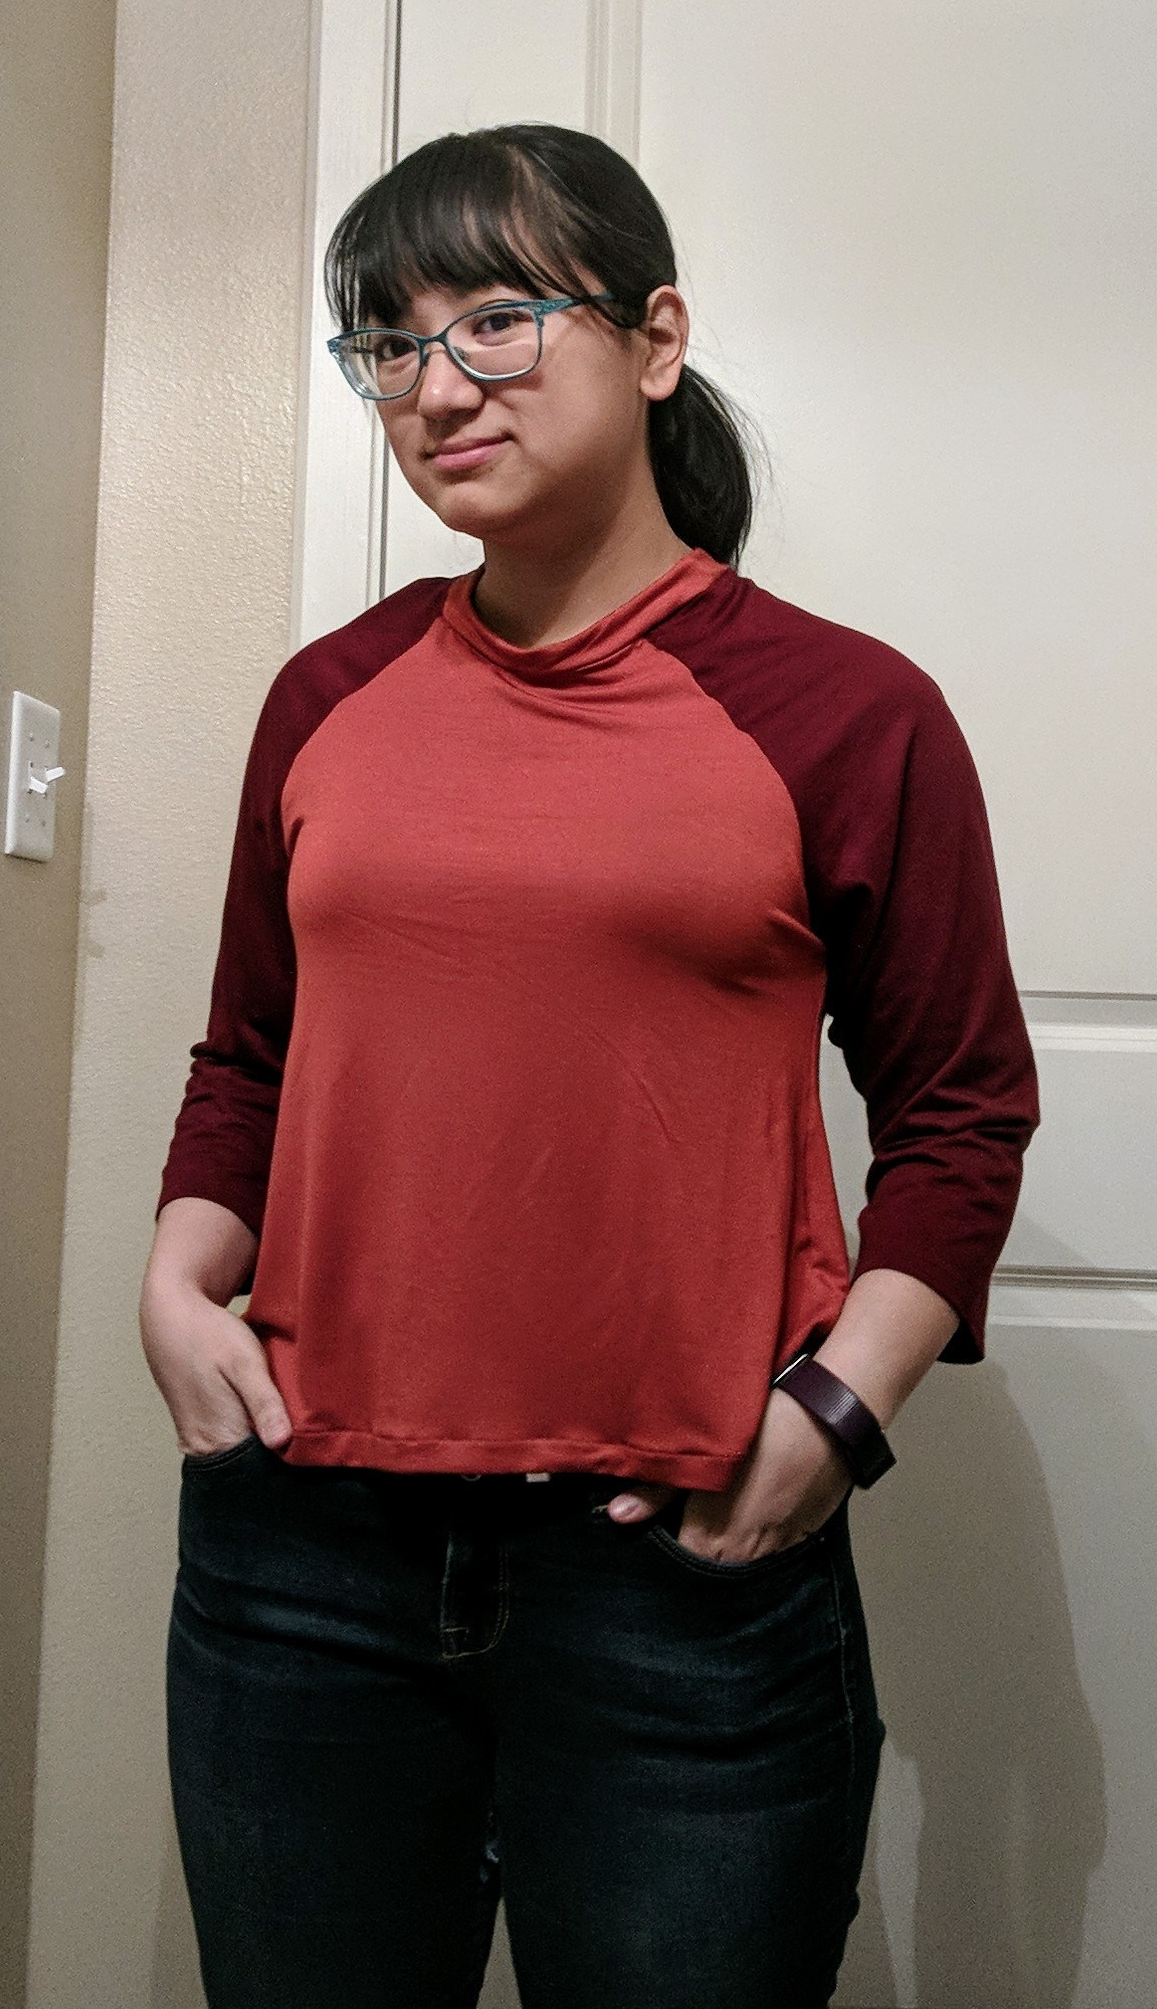
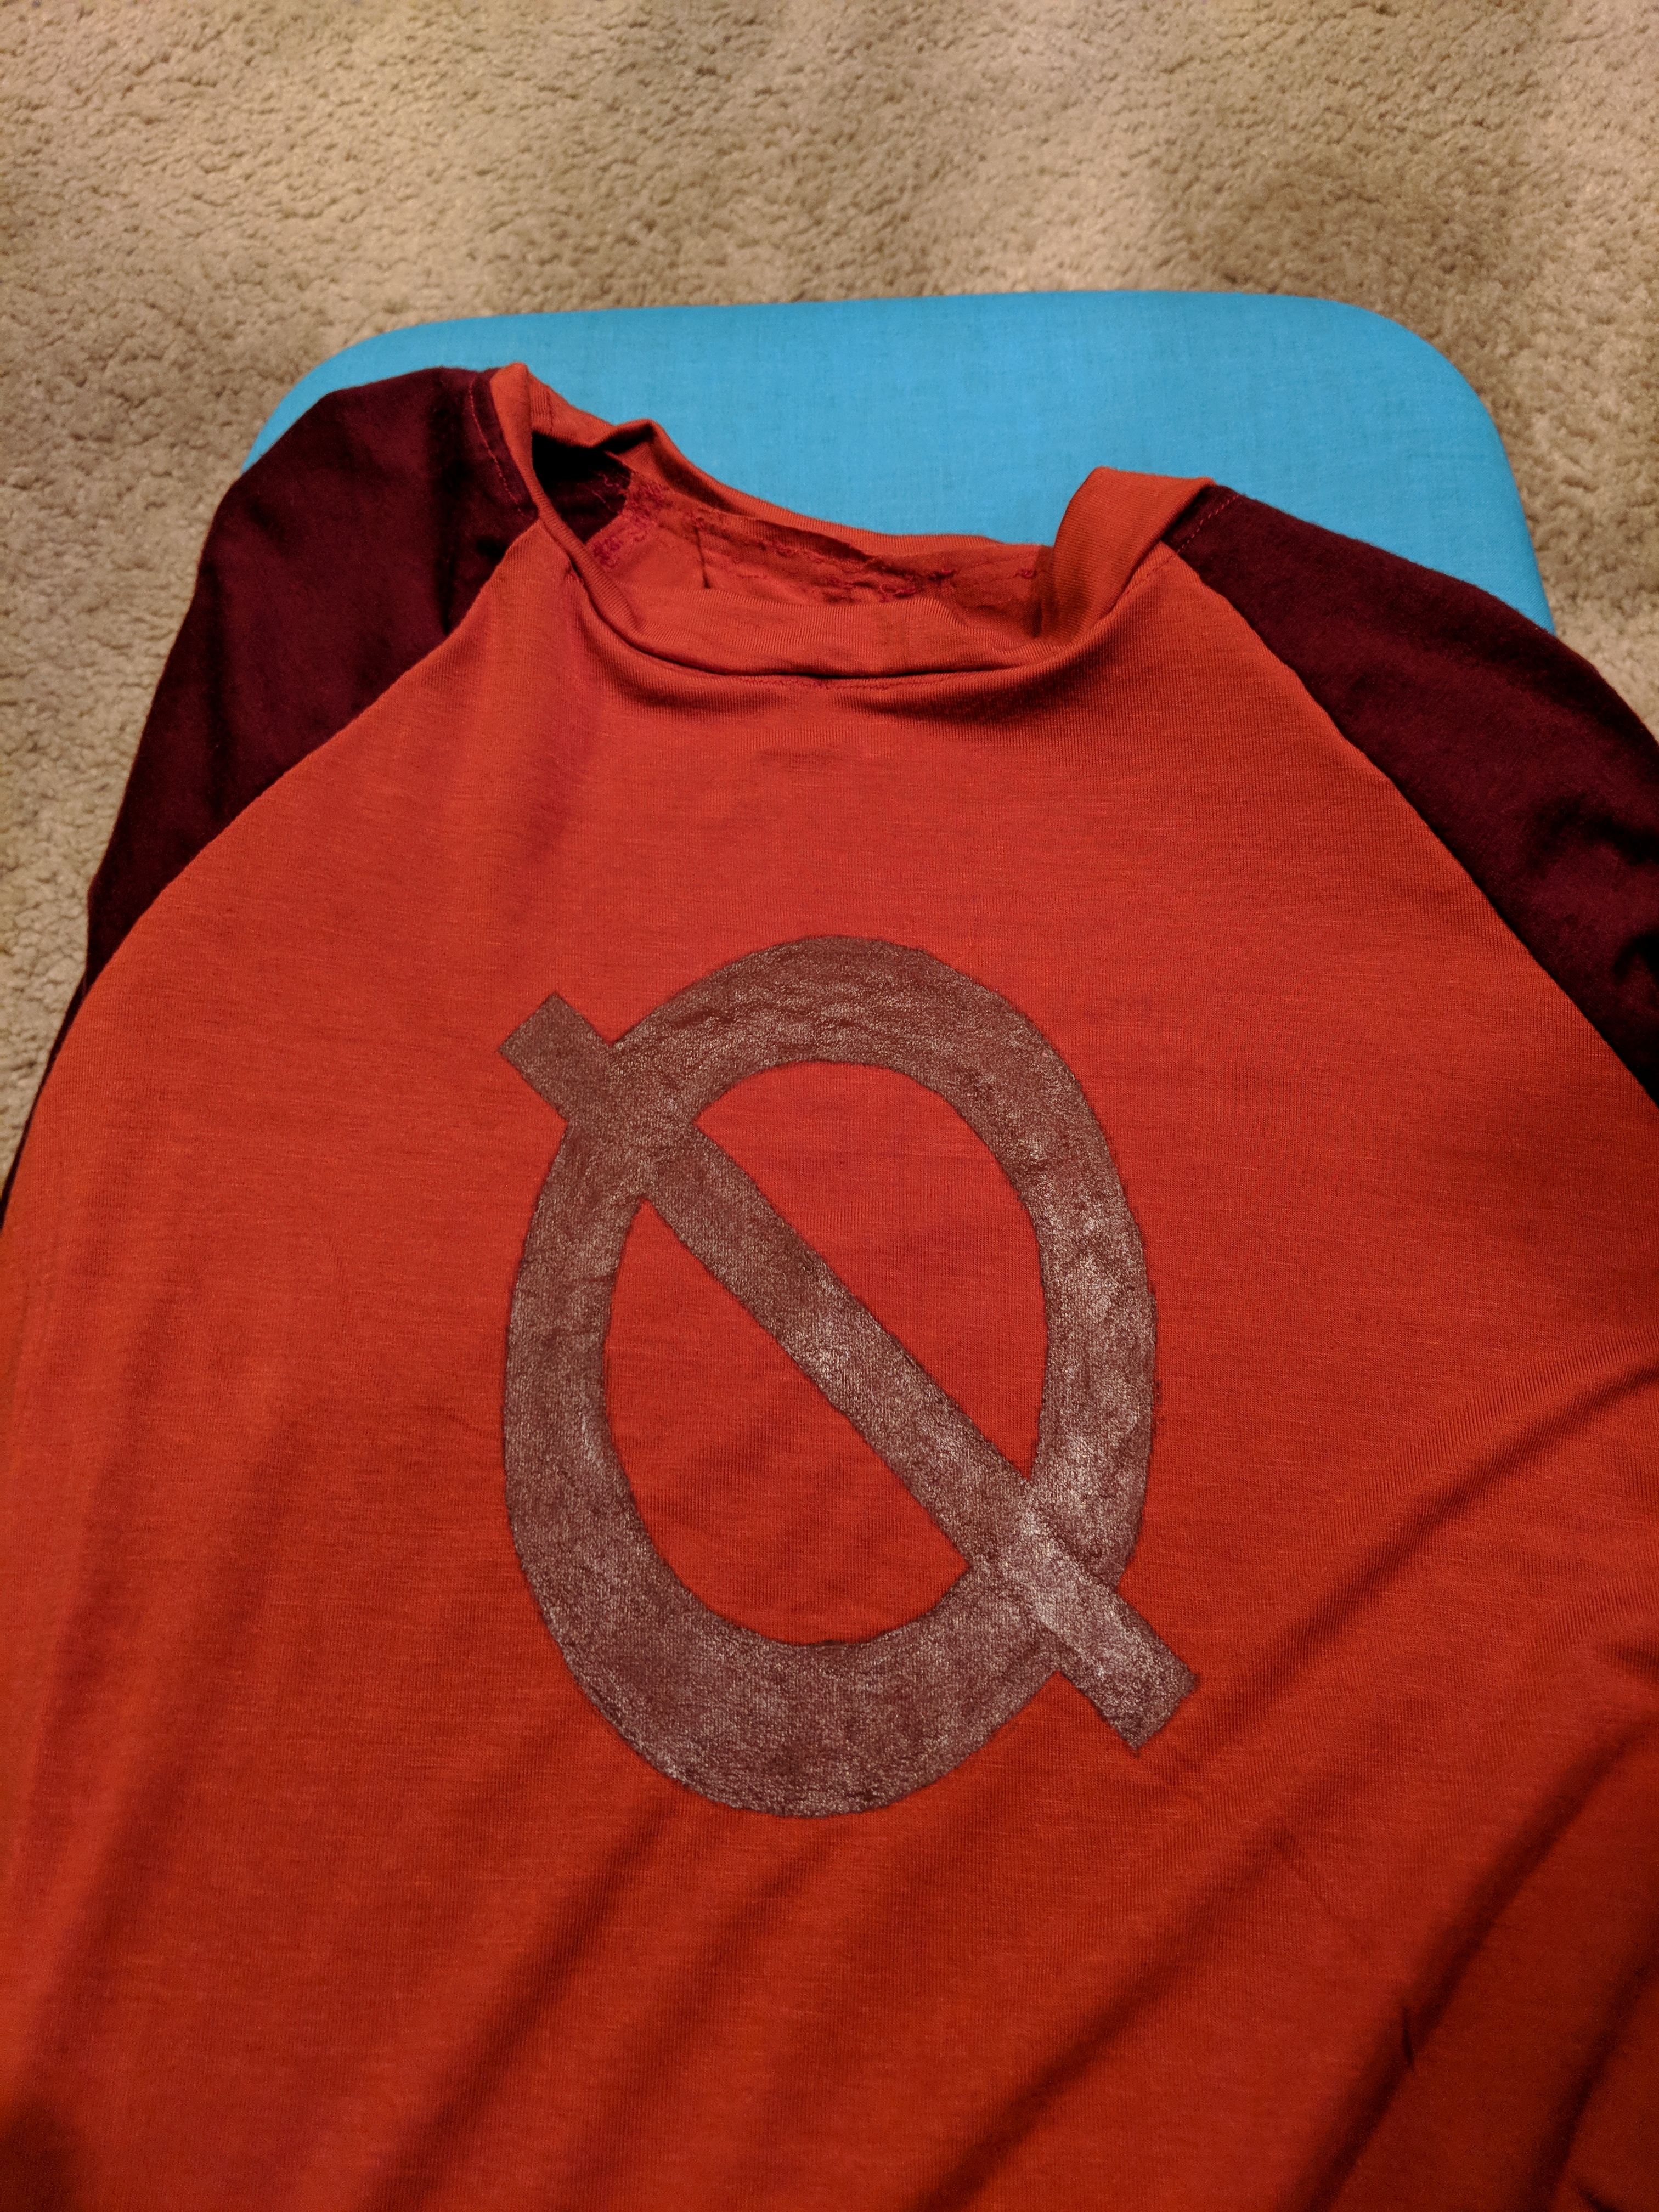
I bought the Simplicity Pattern #1605 to make the shirt (Pattern A). For the fabric, I hit up a thrift store and found two long-sleeved shirts that were the perfect colors. I cut those up and then followed the pattern exactly.
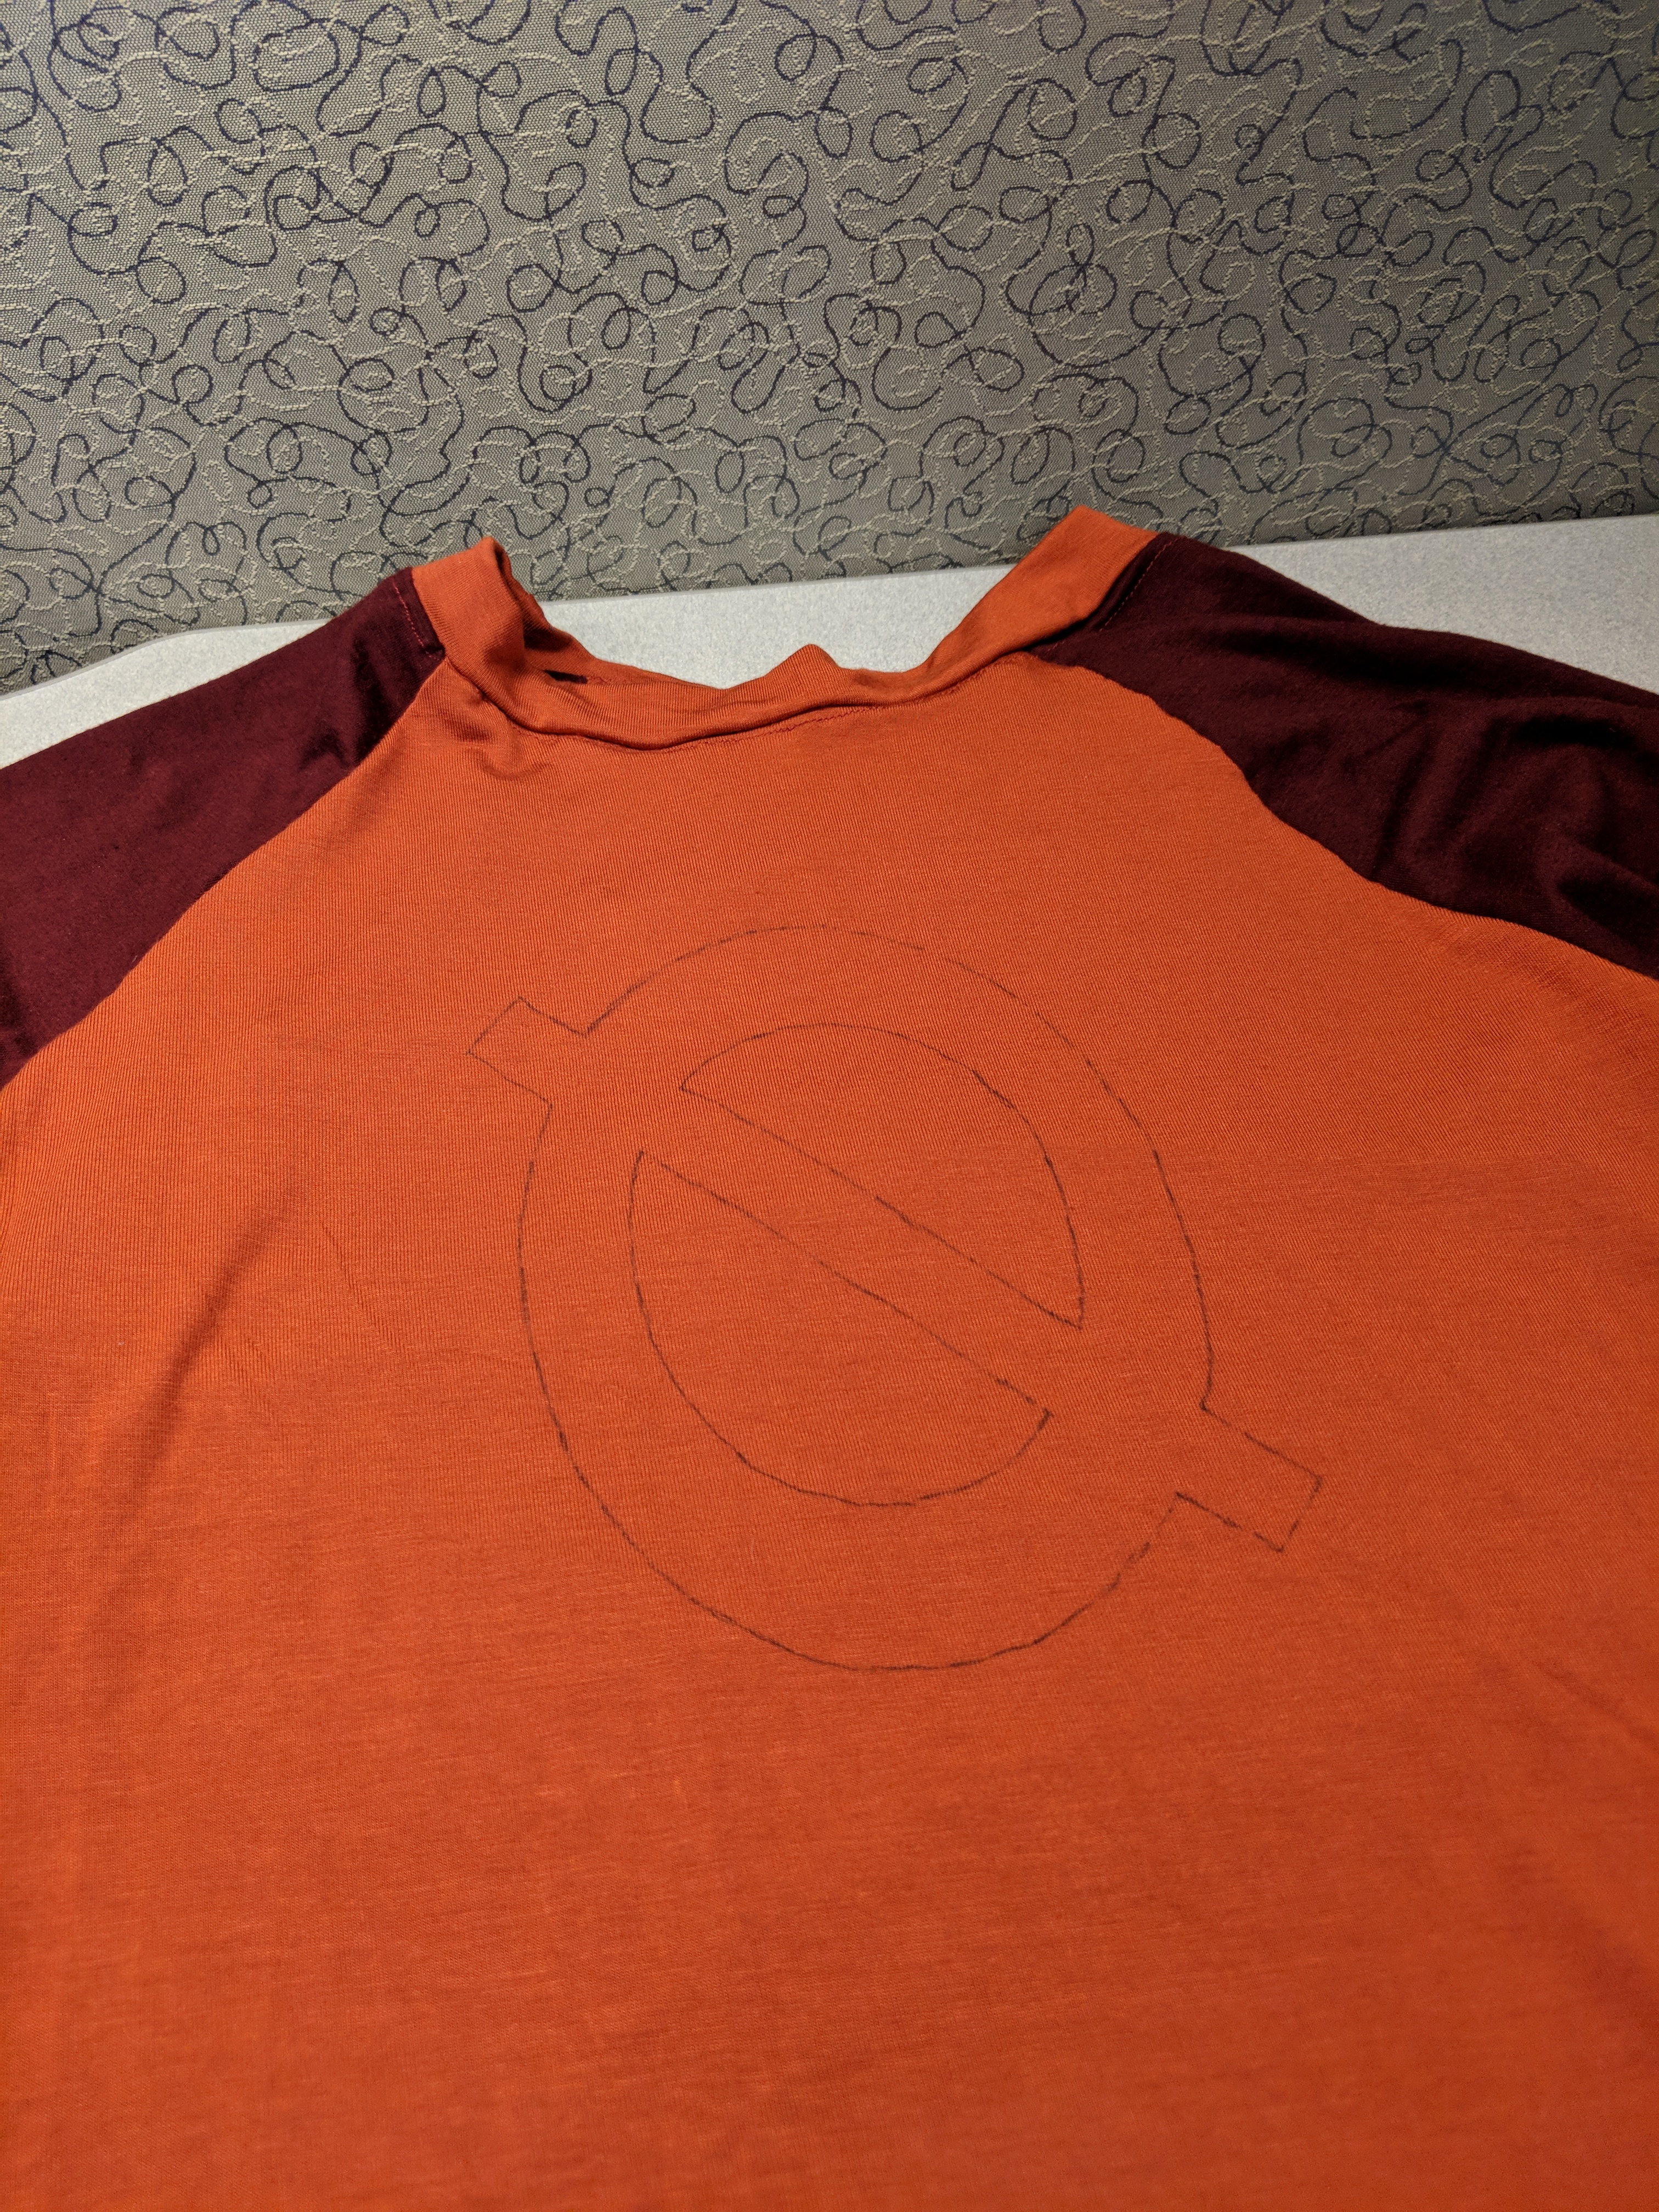
Once the shirt sewing was done, it was time to finish it with the null symbol on the front. Again, using Illustrator, I traced out the symbol, scaled it up to the right size, then printed it on paper. I cut it out to double-check that the size looked right, then printed another one for tracing. At this point, I borrowed my coworkers light box to trace out the null symbol on the front of the shirt with a sewing marker. Another way to do this if you don’t have access to a lightbox is to tape the pattern and shirt up to a window and trace it that way. If you’re using this method, it actually might be easier to add the null symbol onto the fabric first before stitching it all together. Food for thought.
Null symbol traced out, I used fabric paint to fill in the shape. I wasn’t happy with one coat, so I went ahead and did a second coat on to of the first one. Then, I set it using an iron.

Witch Dagger cloak
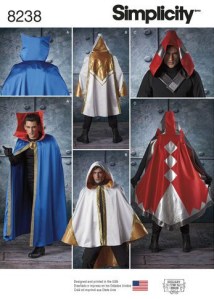
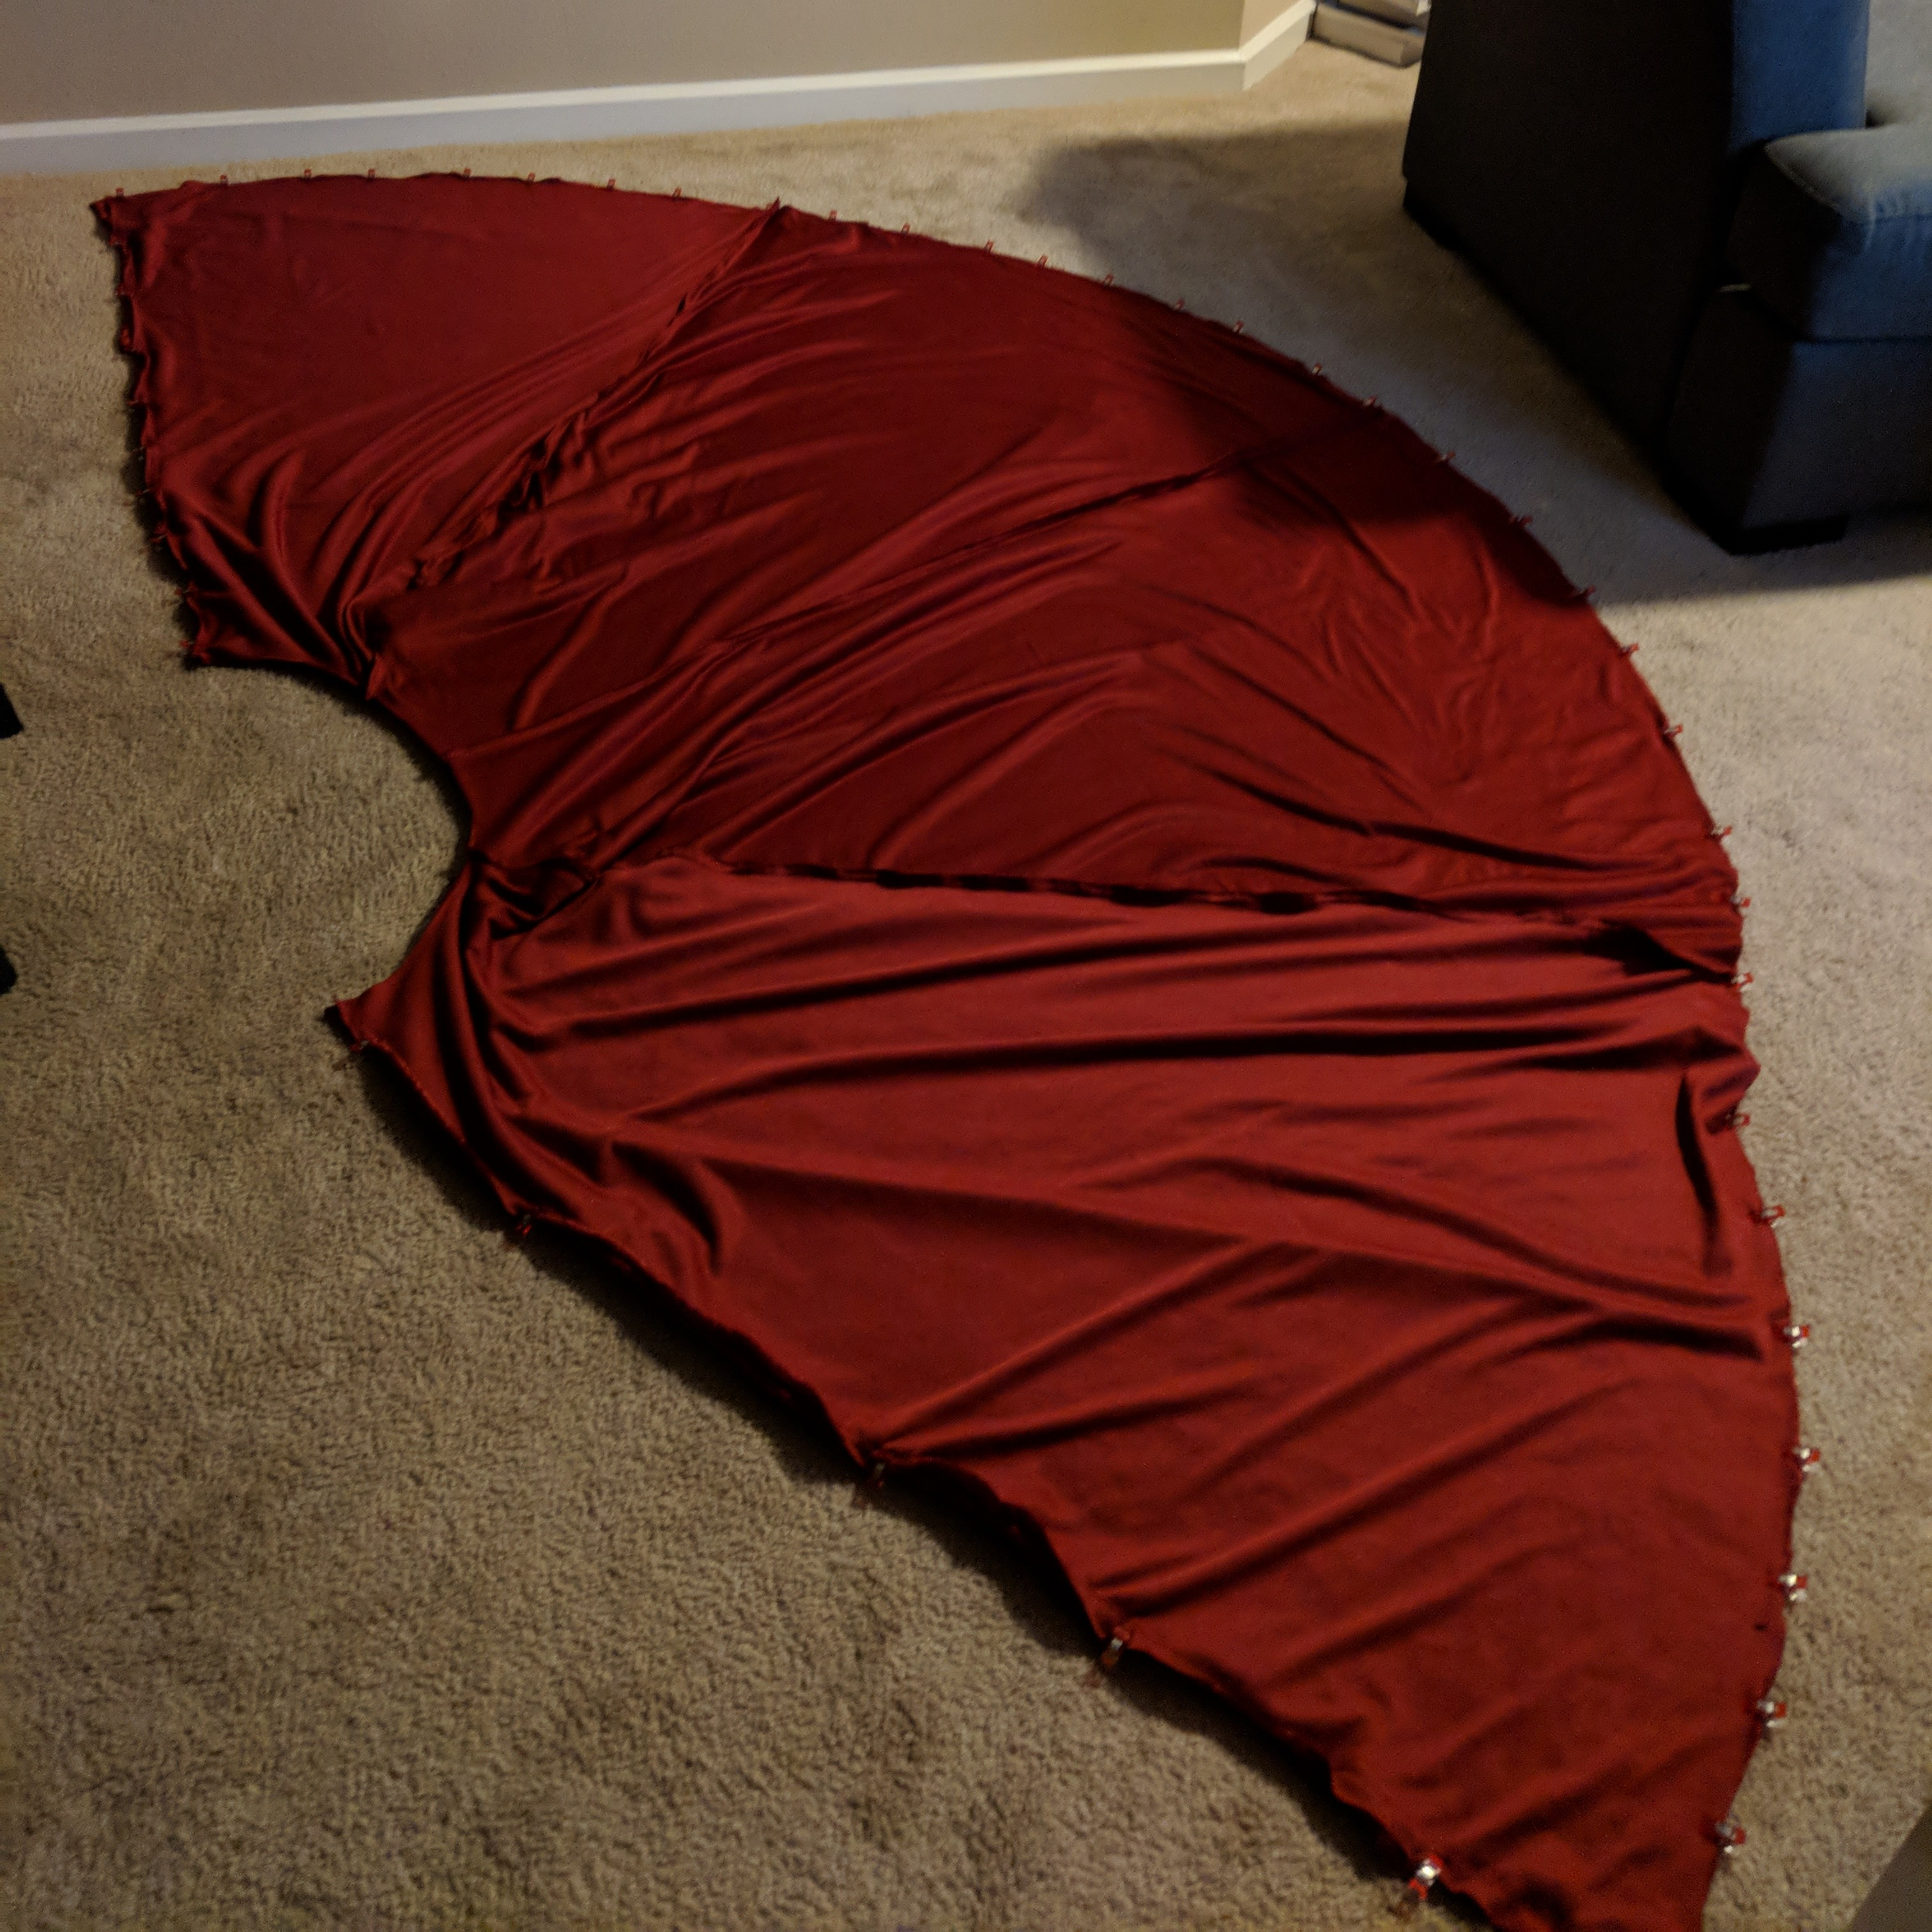
Using the Simplicity Pattern #8238 (Pattern A) and a ton of velvety red fabric, I made Mae’s Witch Dagger cloak. I followed the pattern all the way through except for the giant collar, which I ignored. I also didn’t bother with adding trimming to the front cause I didn’t think it was super necessary. The pattern itself is easy enough to follow, it’s just a pain in the butt working with such giant pieces of fabric.
Pro-tip: Make sure you mark your fabric pieces and triple-check before stitching pieces together! I made the mistake of stitching some pieces together incorrectly because I didn’t bother labelling pieces and I had to spent lots of time seam-ripping and redoing it.
I used a big gold button and then a hook and eye to close the front. I ended up just sewing the button directly onto both sides because it wasn’t wanting to stay attached. So, instead of undoing the button and redoing it to put the cloak on, I just slip it over my head. *shrug*
Witch Dagger hat
For the witch hat, I used the same red velvet fabric used for the cloak along with some orange felt and heavyweight interfacing. First, I cut out 3 square pieces of interfacing, 13″x13″. I cut all 3 to have one curved corner, so that put together, they’d make a 3/4 circle. I stitched the pieces together to form the 3/4 circle and then cut out one large piece of velvet fabric. The velvet fabric I cut a little bit larger than the interfacing so that i could fold it over the edges of the interfacing. Because of the size of this, I didn’t bother ironing the interfacing onto the fabric. Instead, I clipped down the edges all around so that the whole thing was covered and then just stitched down the edges. This both covered the raw edges of the interfacing and kept everything in place. Worked out just fine.
Using my pattern, I cut out a small star out of orange felt and stitched that onto the hat. It was super awkward maneuvering the interfacing because it was so stiff and large. But it worked!
The dagger was made using a foam sword I bought from Joann’s. It seems to be made from the same material as pool noodles. I cut it to the correct length with a box cutter, wrapped the handle with red felt, then hot glued the felt in place. I was worried that painting it would warp the foam, so this was my solution.
After cutting slits into the sides of the witch hat, I pushed the dagger through and hot glued it in place. Once that was done, I hot glued the hat all together (up until this point, clips were holding it in place). The hat sits surprisingly easily on the head; only if I lean over at extreme angles does the witch hat fall off.

Miscellaneous
I ended up buying a lot of things from the same thrift store, not just the fabric for Mae’s shirt. I used black boots I had bought previously from there for a Jessica Jones cosplay and bought some gray pants to go with them. Not only that, I bought a navy blue body suit that I saw while waiting in line for the fitting rooms. It was perfect because the shirt is a little short, so having the blue body suit underneath prevents my fleshy human skin from popping out and ruining the immersion. Now I can raise my arms without worry that someone will find out I am not in fact an anthropomorphic cat with nightmare eyes.
Conclusion
What looked like a simple cosplay ended up being very involved, probably because I chose to make the shirt from scratch instead of just buying one. The cloak was the most annoying thing to work on and the mascot head was the most rewarding. I’m really happy with how it came out (and very glad I decided not to settle on the face colors and fixed them).
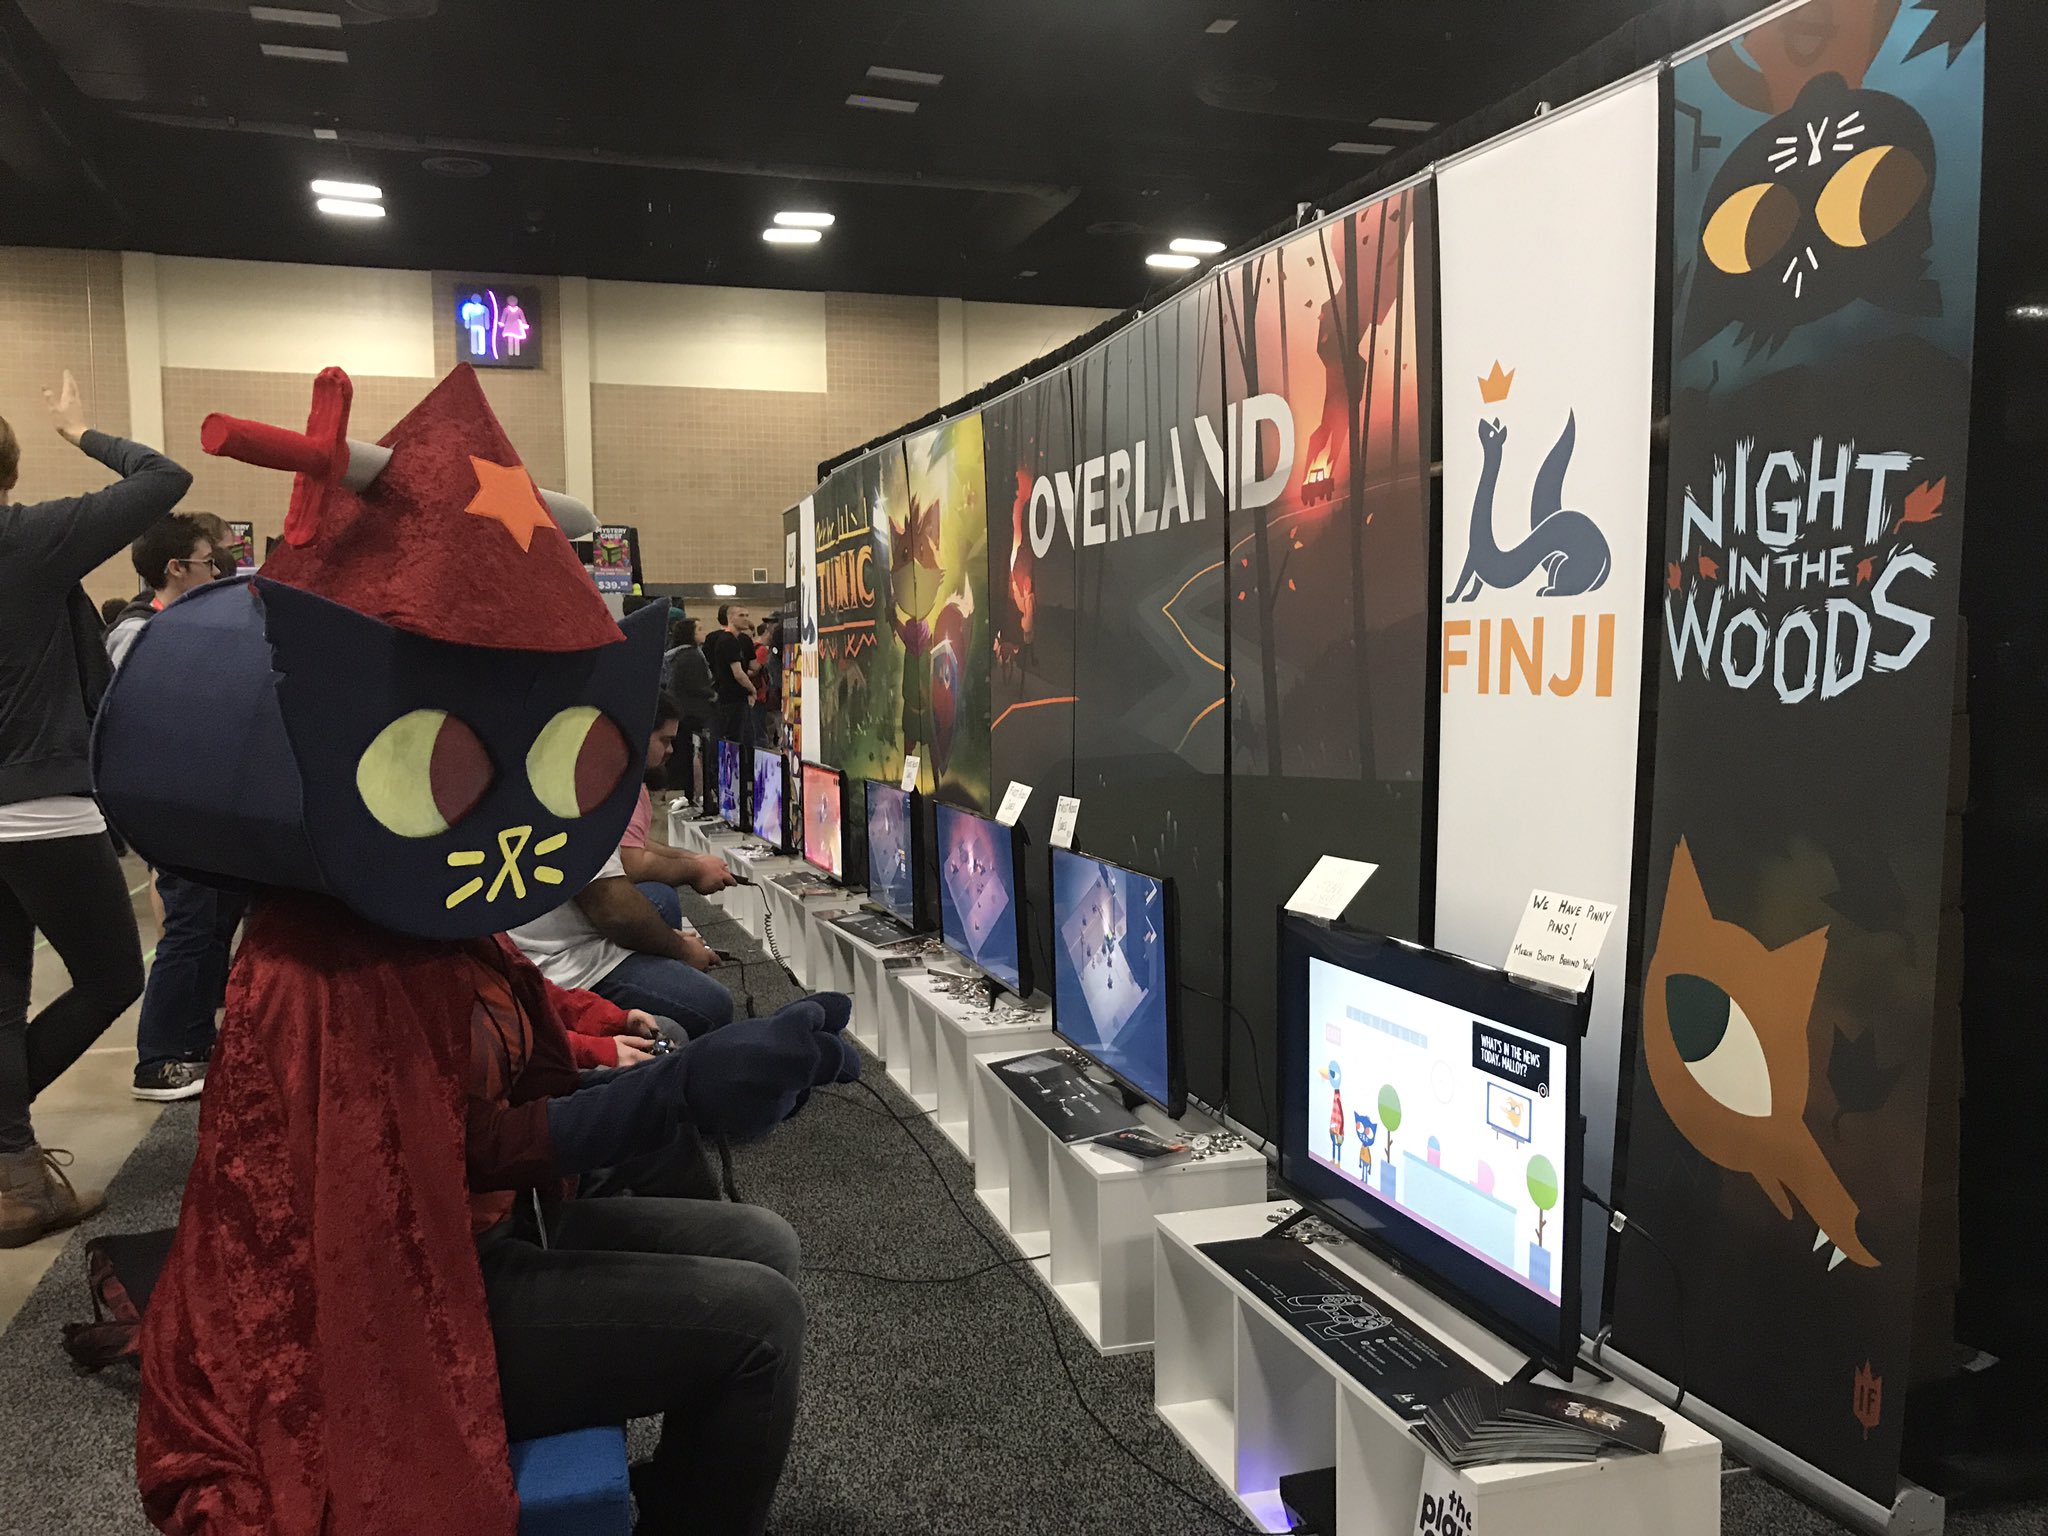
I wore Mae to PAX South and snagged this great photo of me playing Night in the Woods at the Finji booth. Picture taken by FrackAttack! Sound familiar? It should! He’s the guy whose tutorial I used for the head and paws! How cool is that?

Use my build post as inspiration? Let me know!
If you followed along with my build post to help you make your cosplay, I’d love to see it! Leave me a comment or send me an email at ashweezcosplay(at)gmail(dot)com. If you’re comfortable with it, I’d love to showcase your cosplay photo(s) in the blog! I will of course give you credit and link to any socials you may have.
