

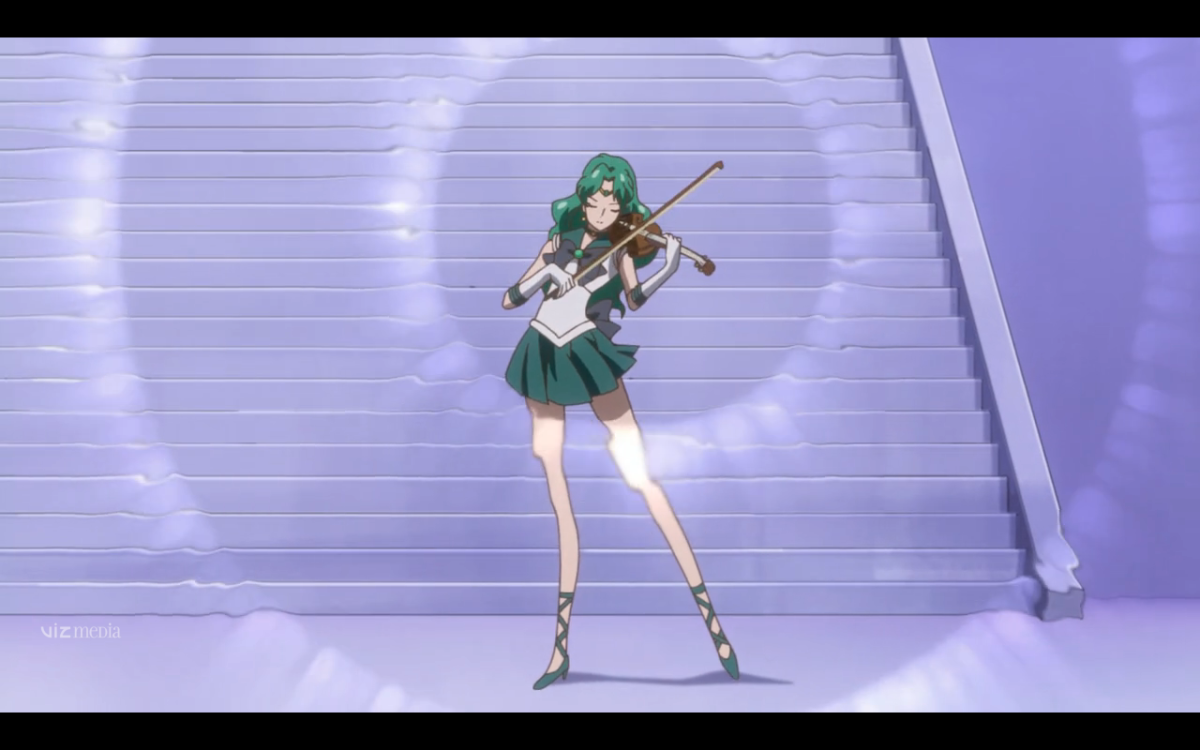
20 years after watching Sailor Moon, I’m finally cosplaying from one of my very first animes.


Items I bought
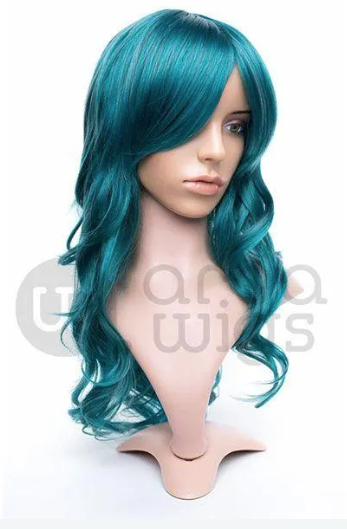
- Ferrari wig in mako green (Arda Wigs)
- White spandex (Joann’s)
- White upholstery foam (Joann’s)
- Tiara (Etsy)
- Choker charm (Etsy)
- Teal fabric (Fabrictopia)
- Choker chain (Joann’s)
- Chest bow gem (Fairchild Cosplay)
- White ballet flats (Amazon)
- Angelus dark green leather paint (Amazon)
- Angelus acrylic finisher (Angelus)
Items I Made & Modified
Click an item to jump to its build section:
Wig
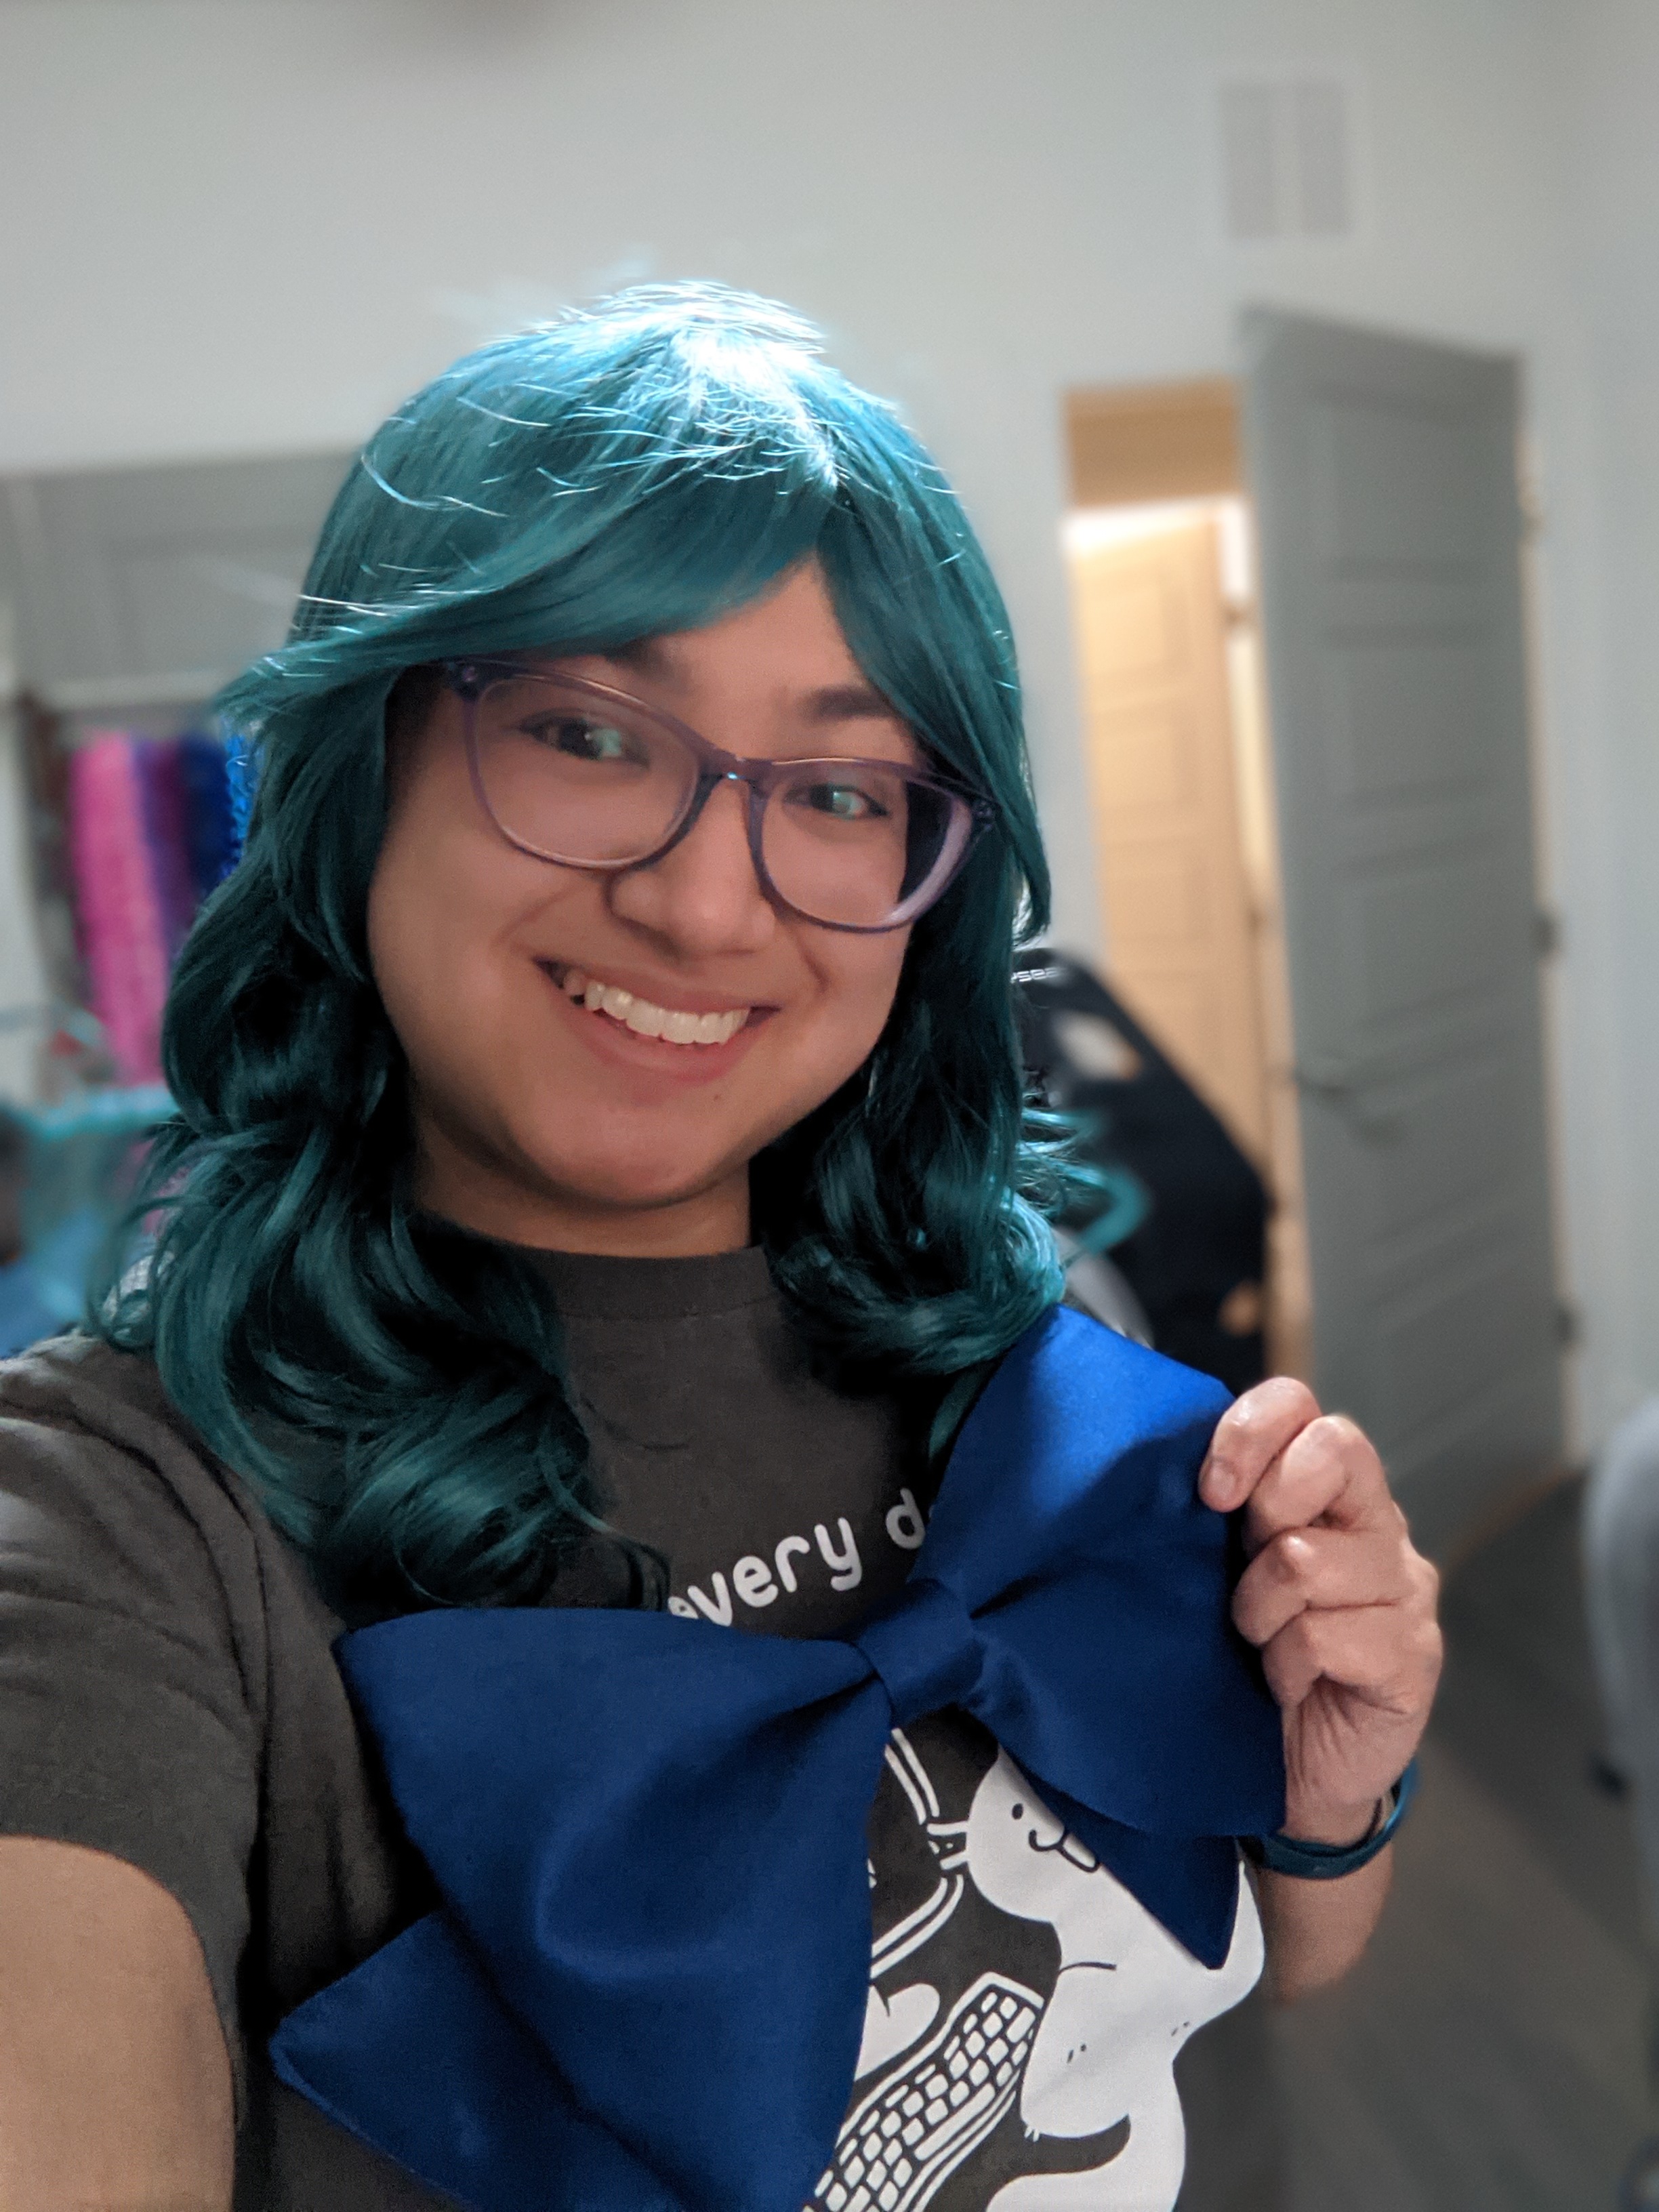
I bought my wig from Arda Wigs and got the Ferrari wig in mako green. The wig was perfect straight out of the bag. Didn’t need to style or trim it at all. My favorite kind of wig.
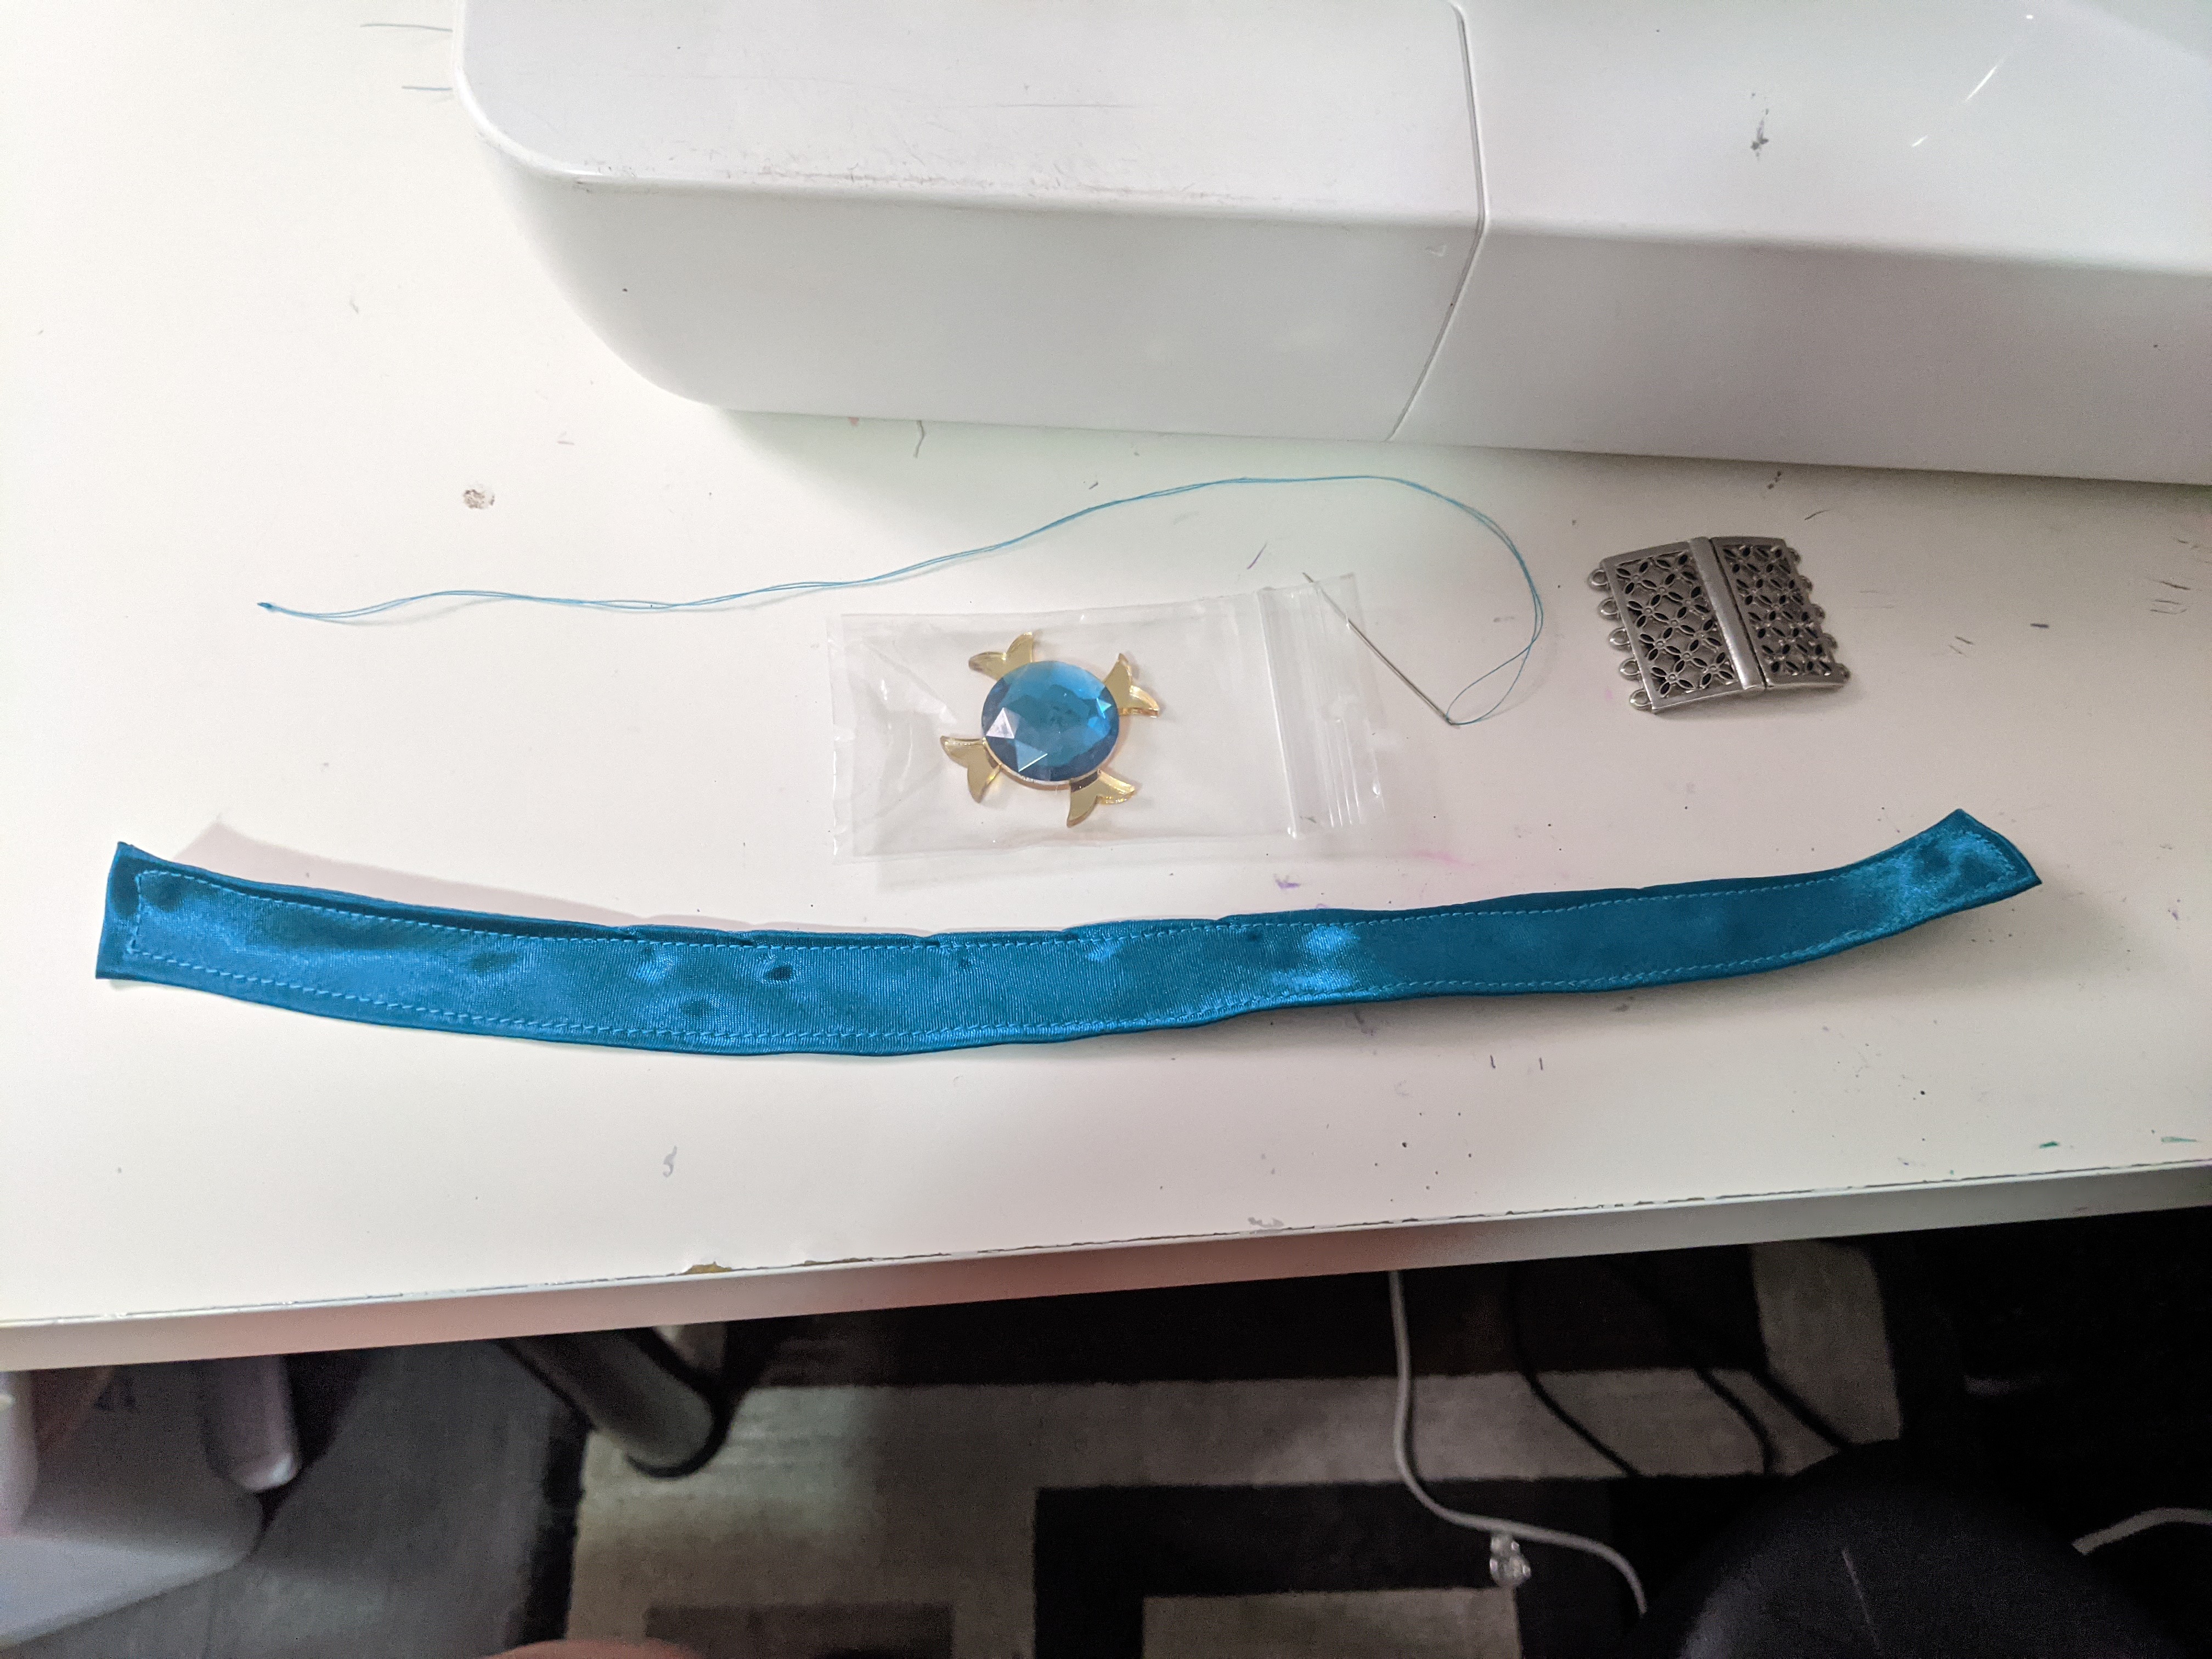
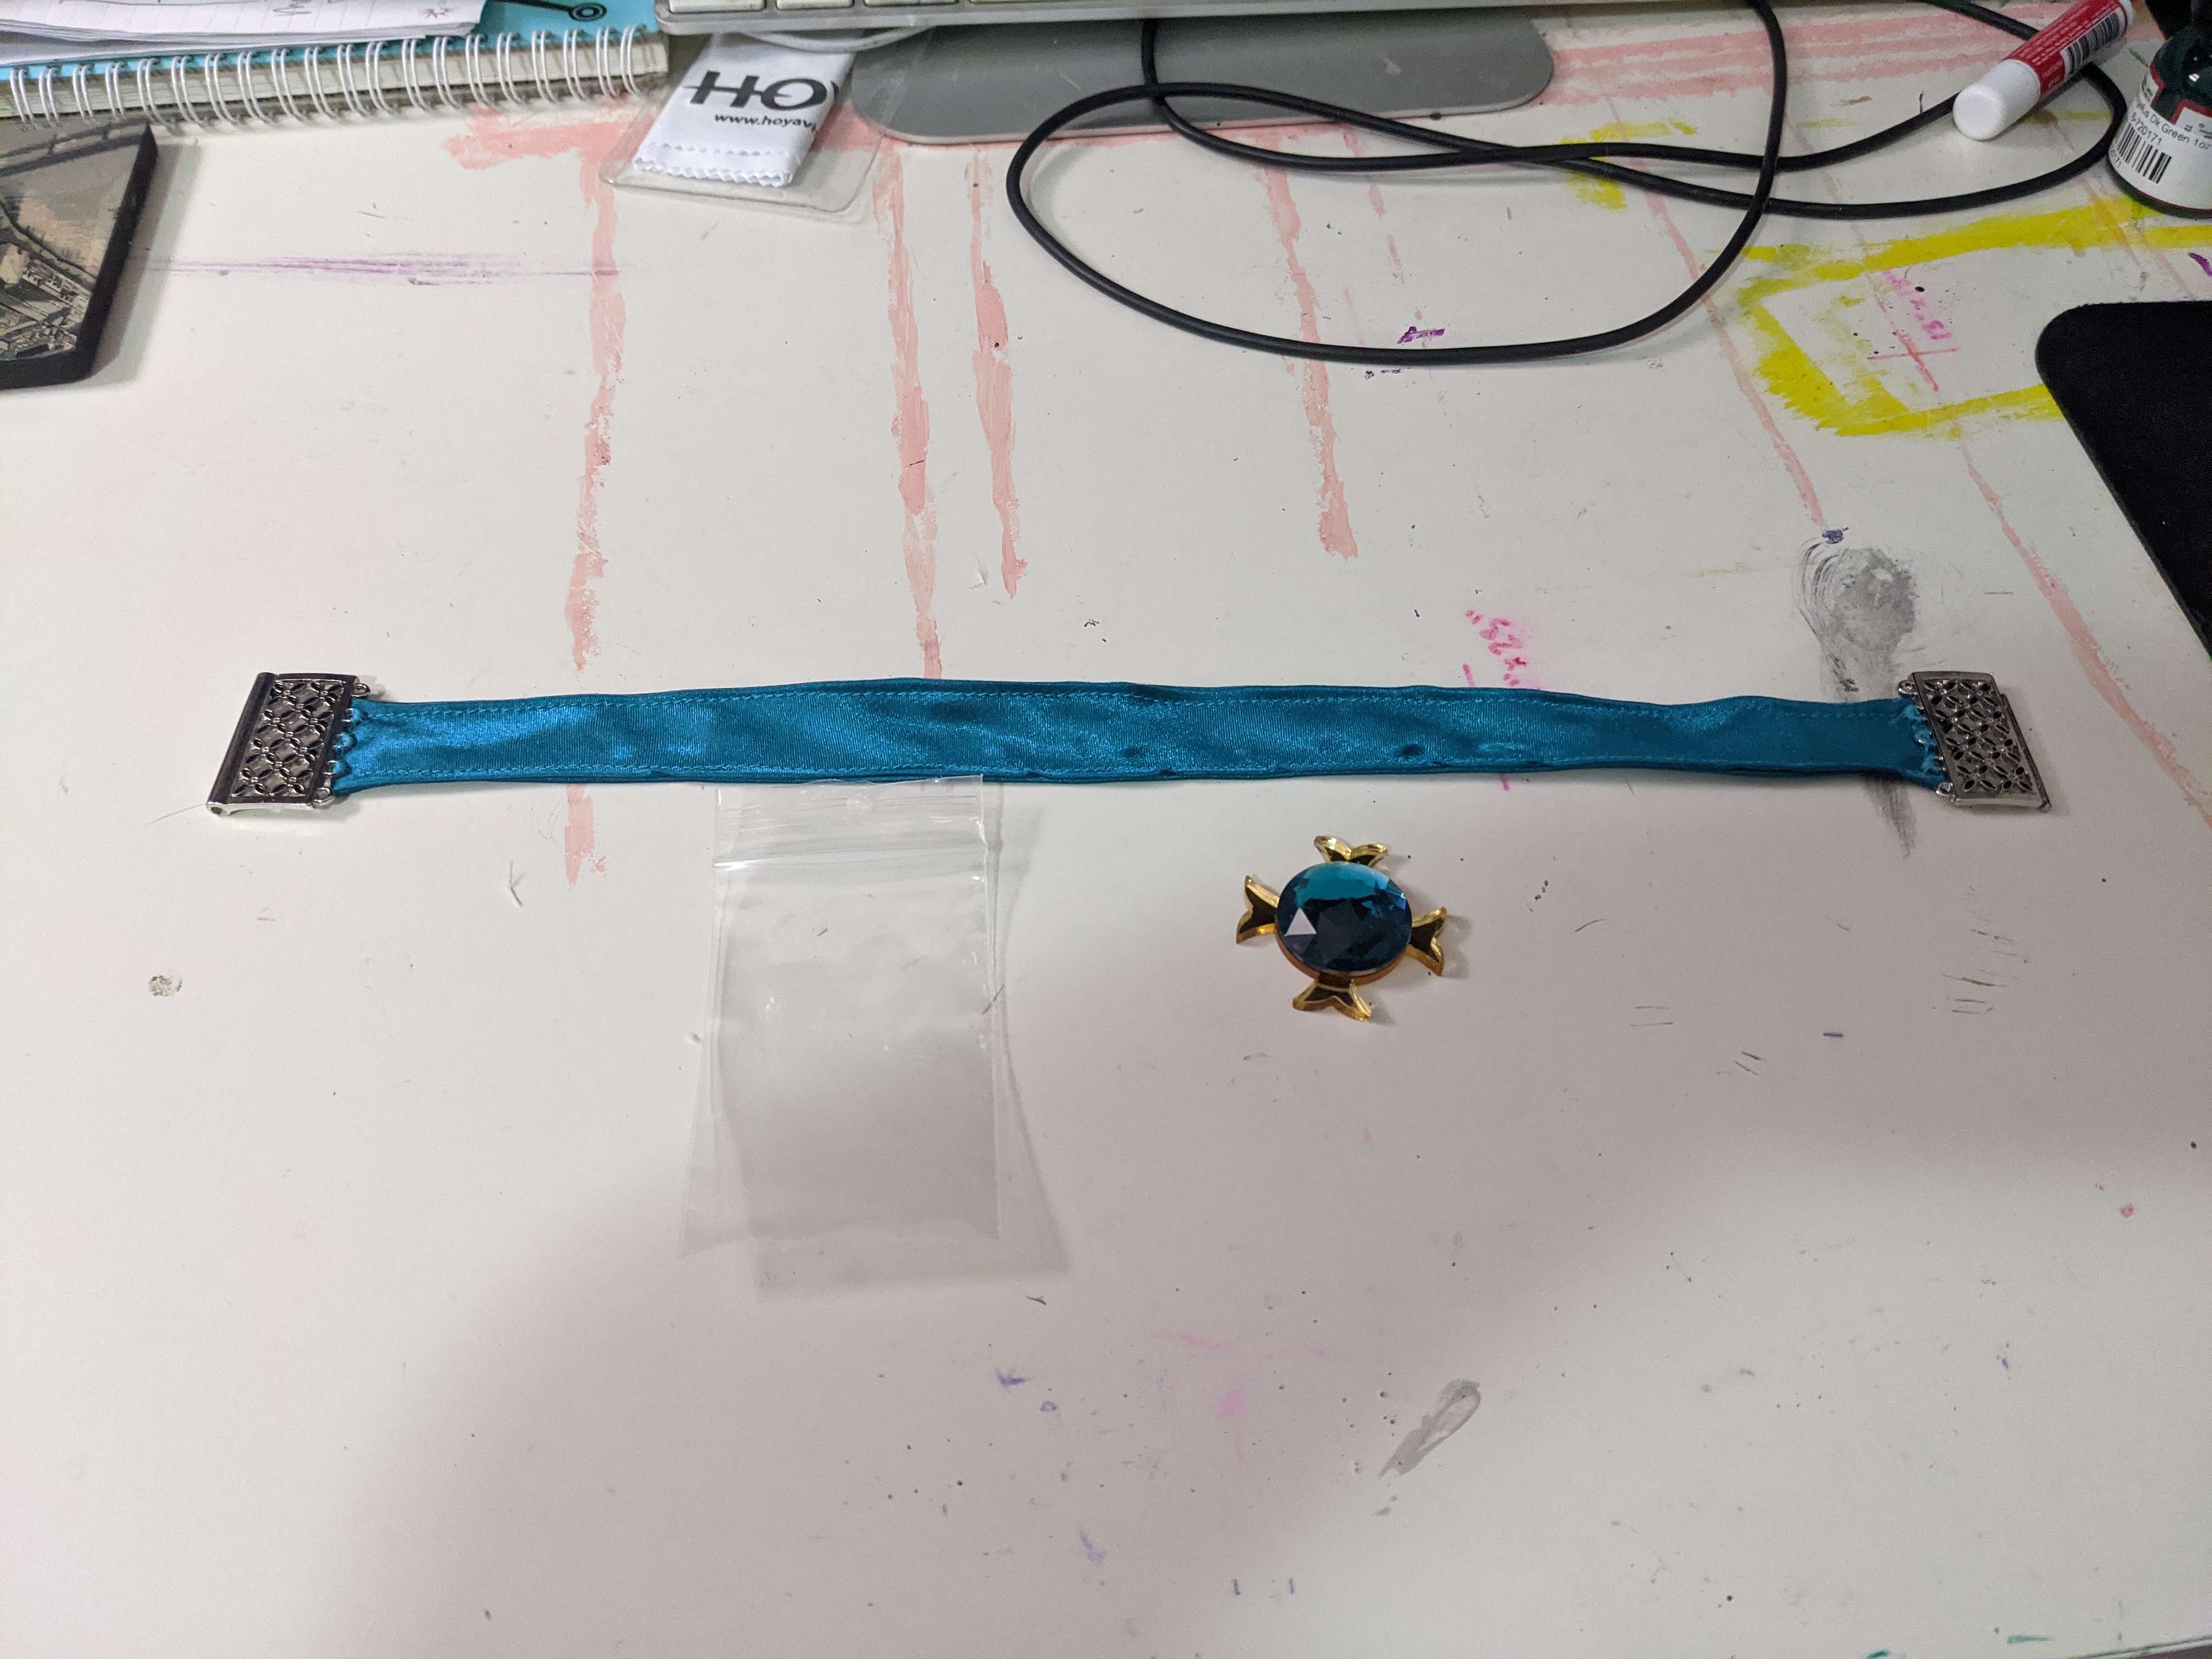
Tiara & choker
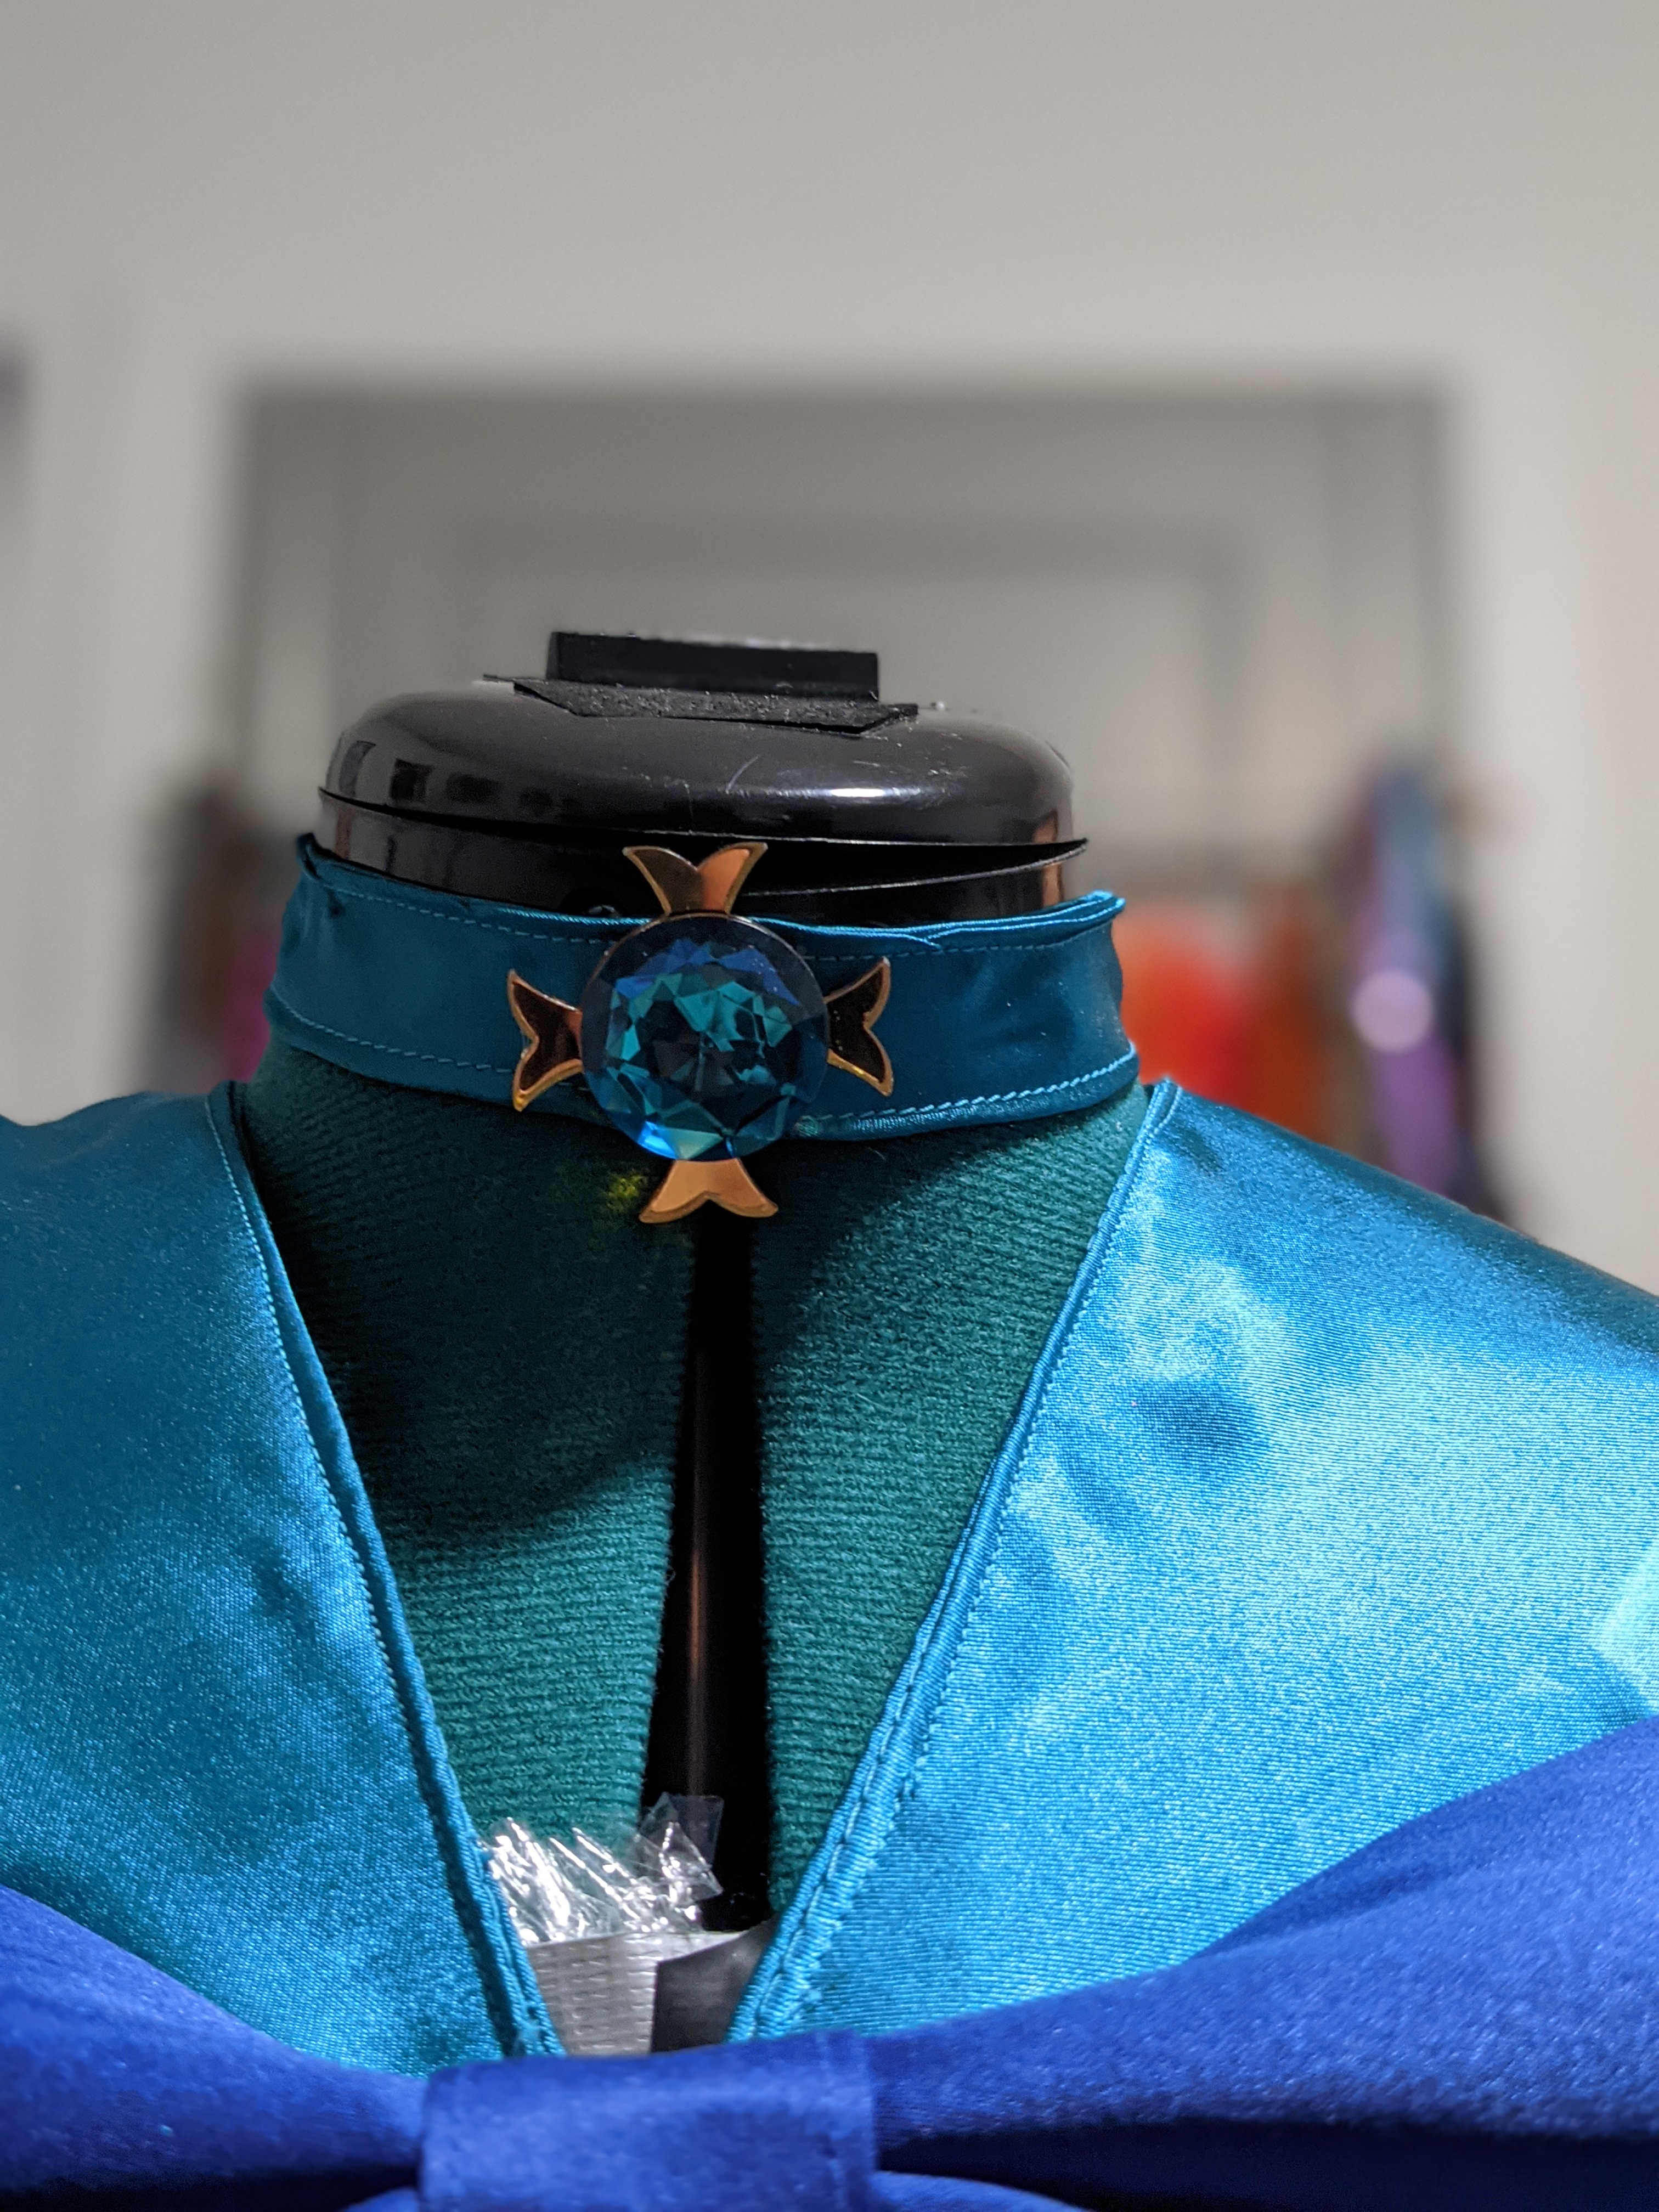
For the tiara, I purchased that from CatziasCollectibles on Etsy. The tiara quality is so nice and the elastic band is really good at keeping it in place! From the same shop, I was able to also buy Sailor Neptune’s choker charm.
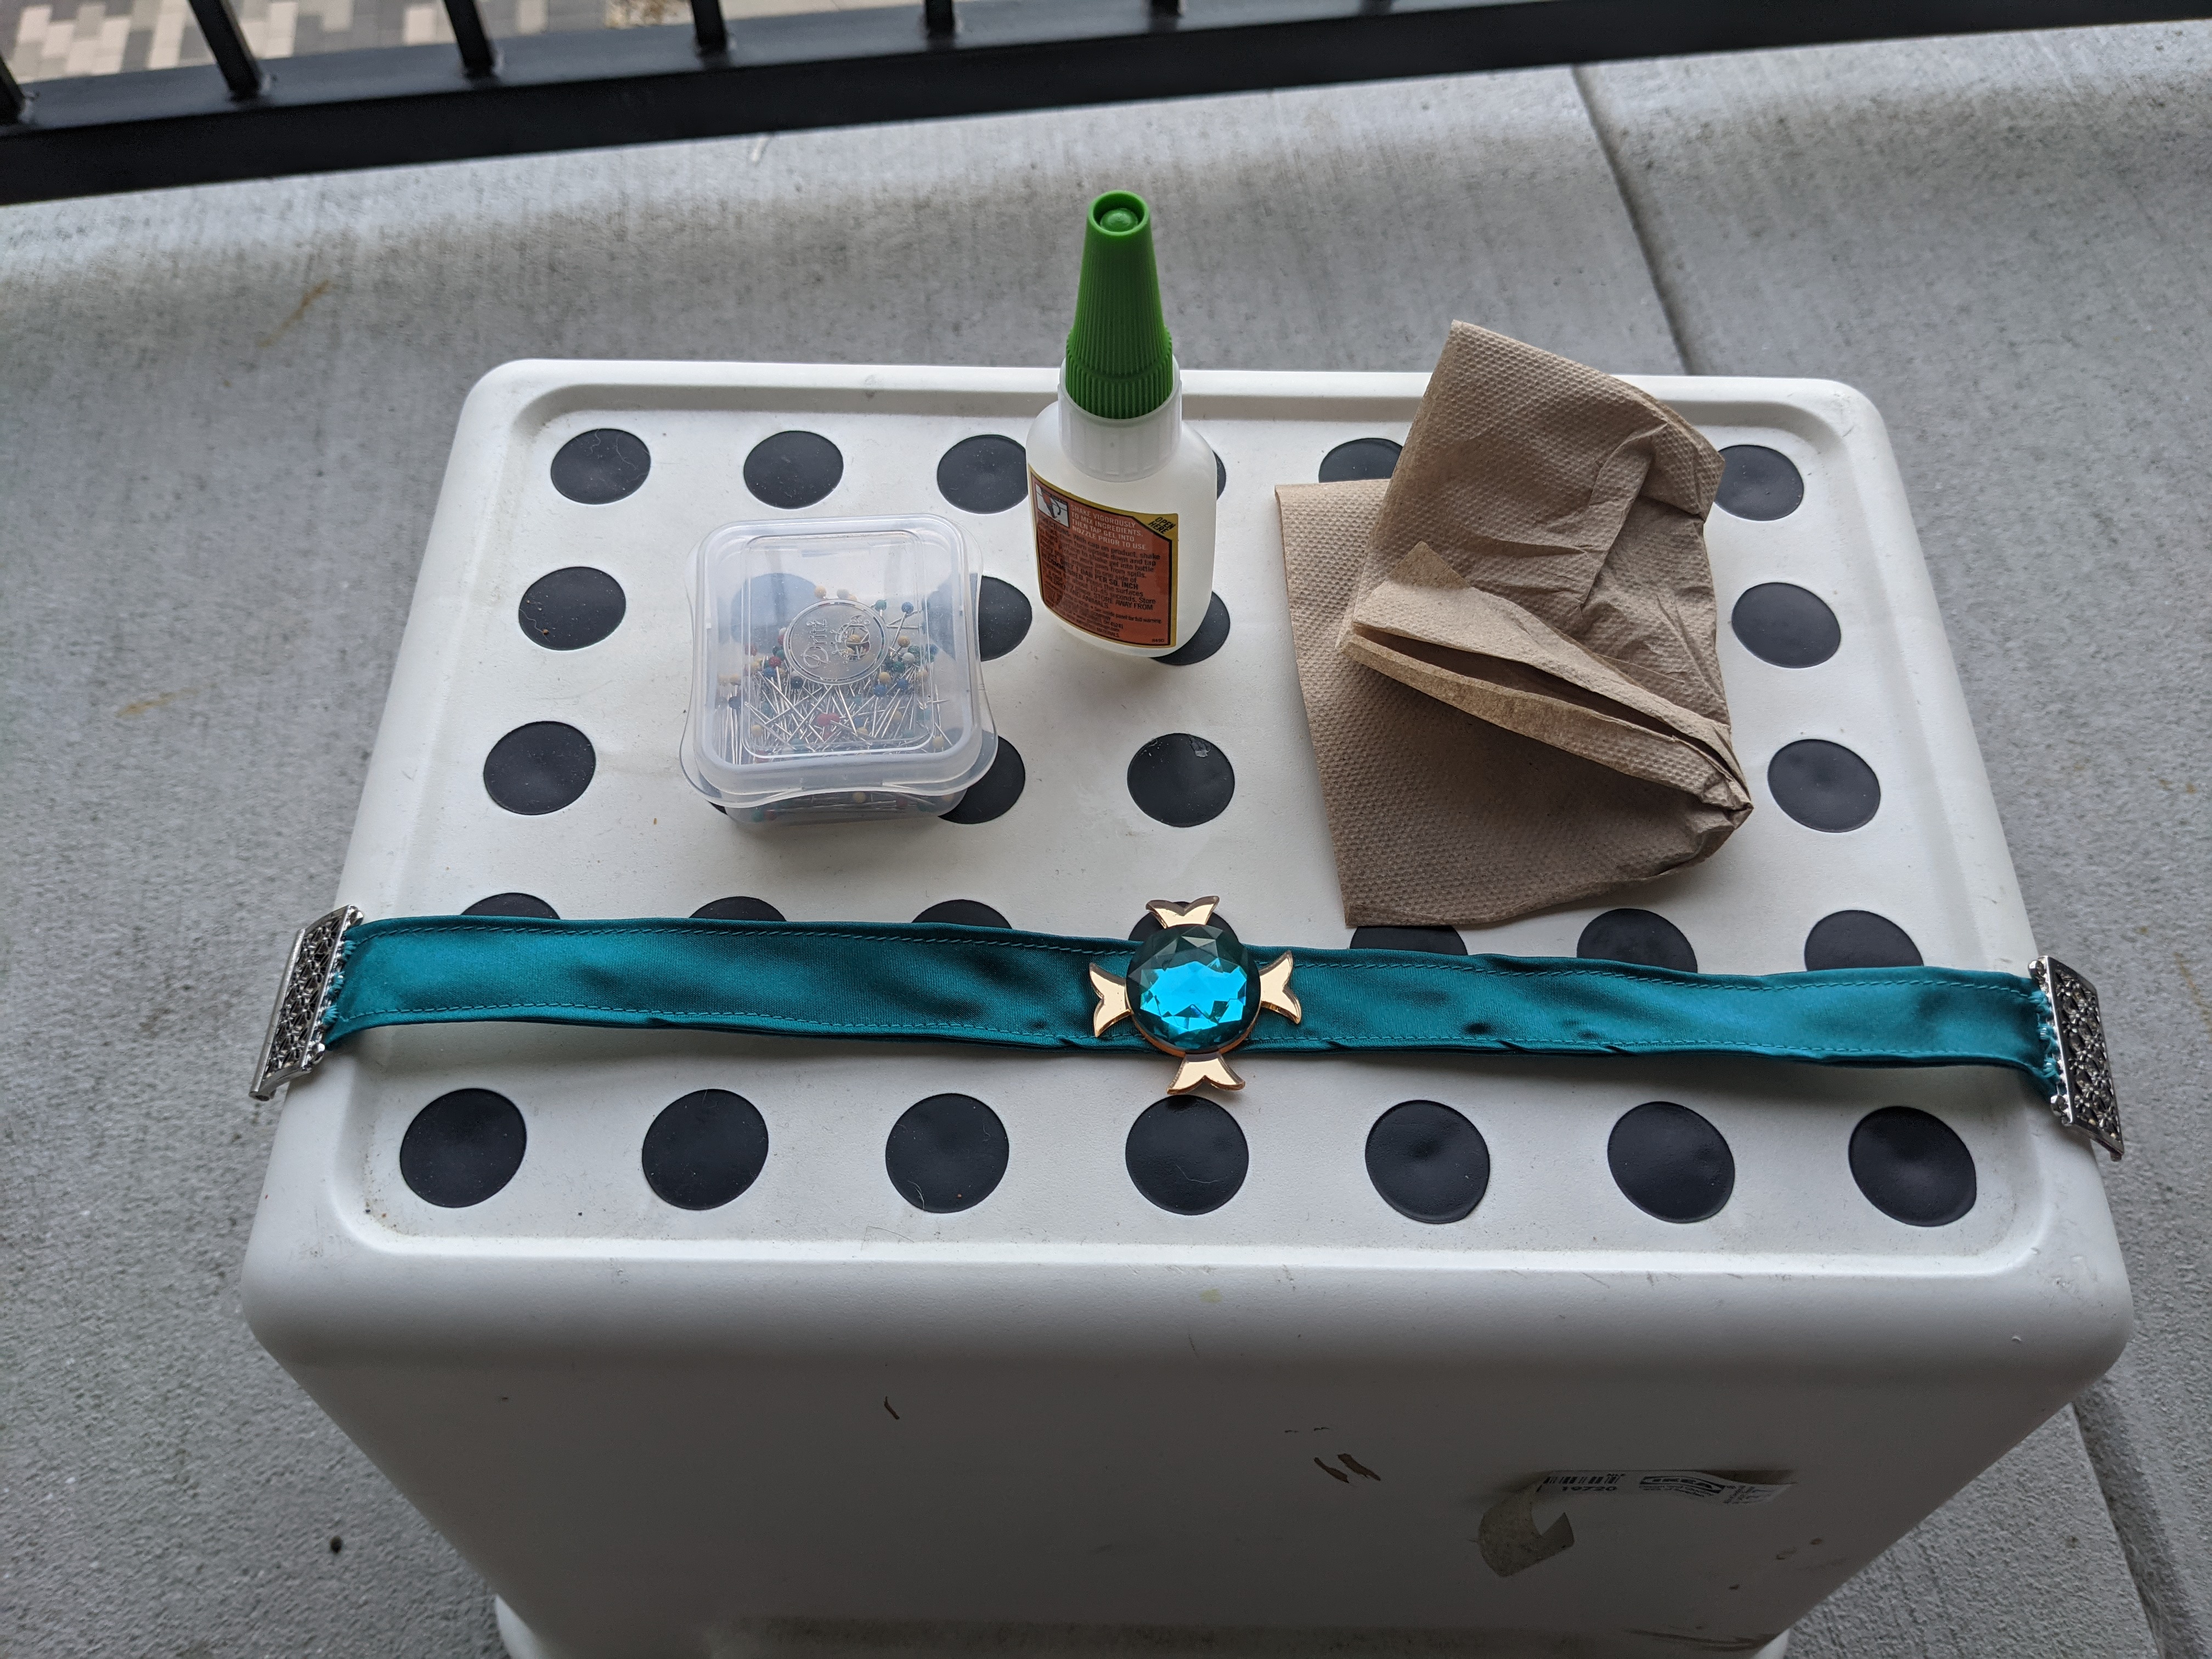
To make the choker, I cut out a strip of fabric, folded it over with right sides together, and stitched it shut along the long edges. After turning it right side out, I topstitched around all four edges. I stitched on the choker ends by hand, then superglued the charm to the center. Easy peasy!
Leotard
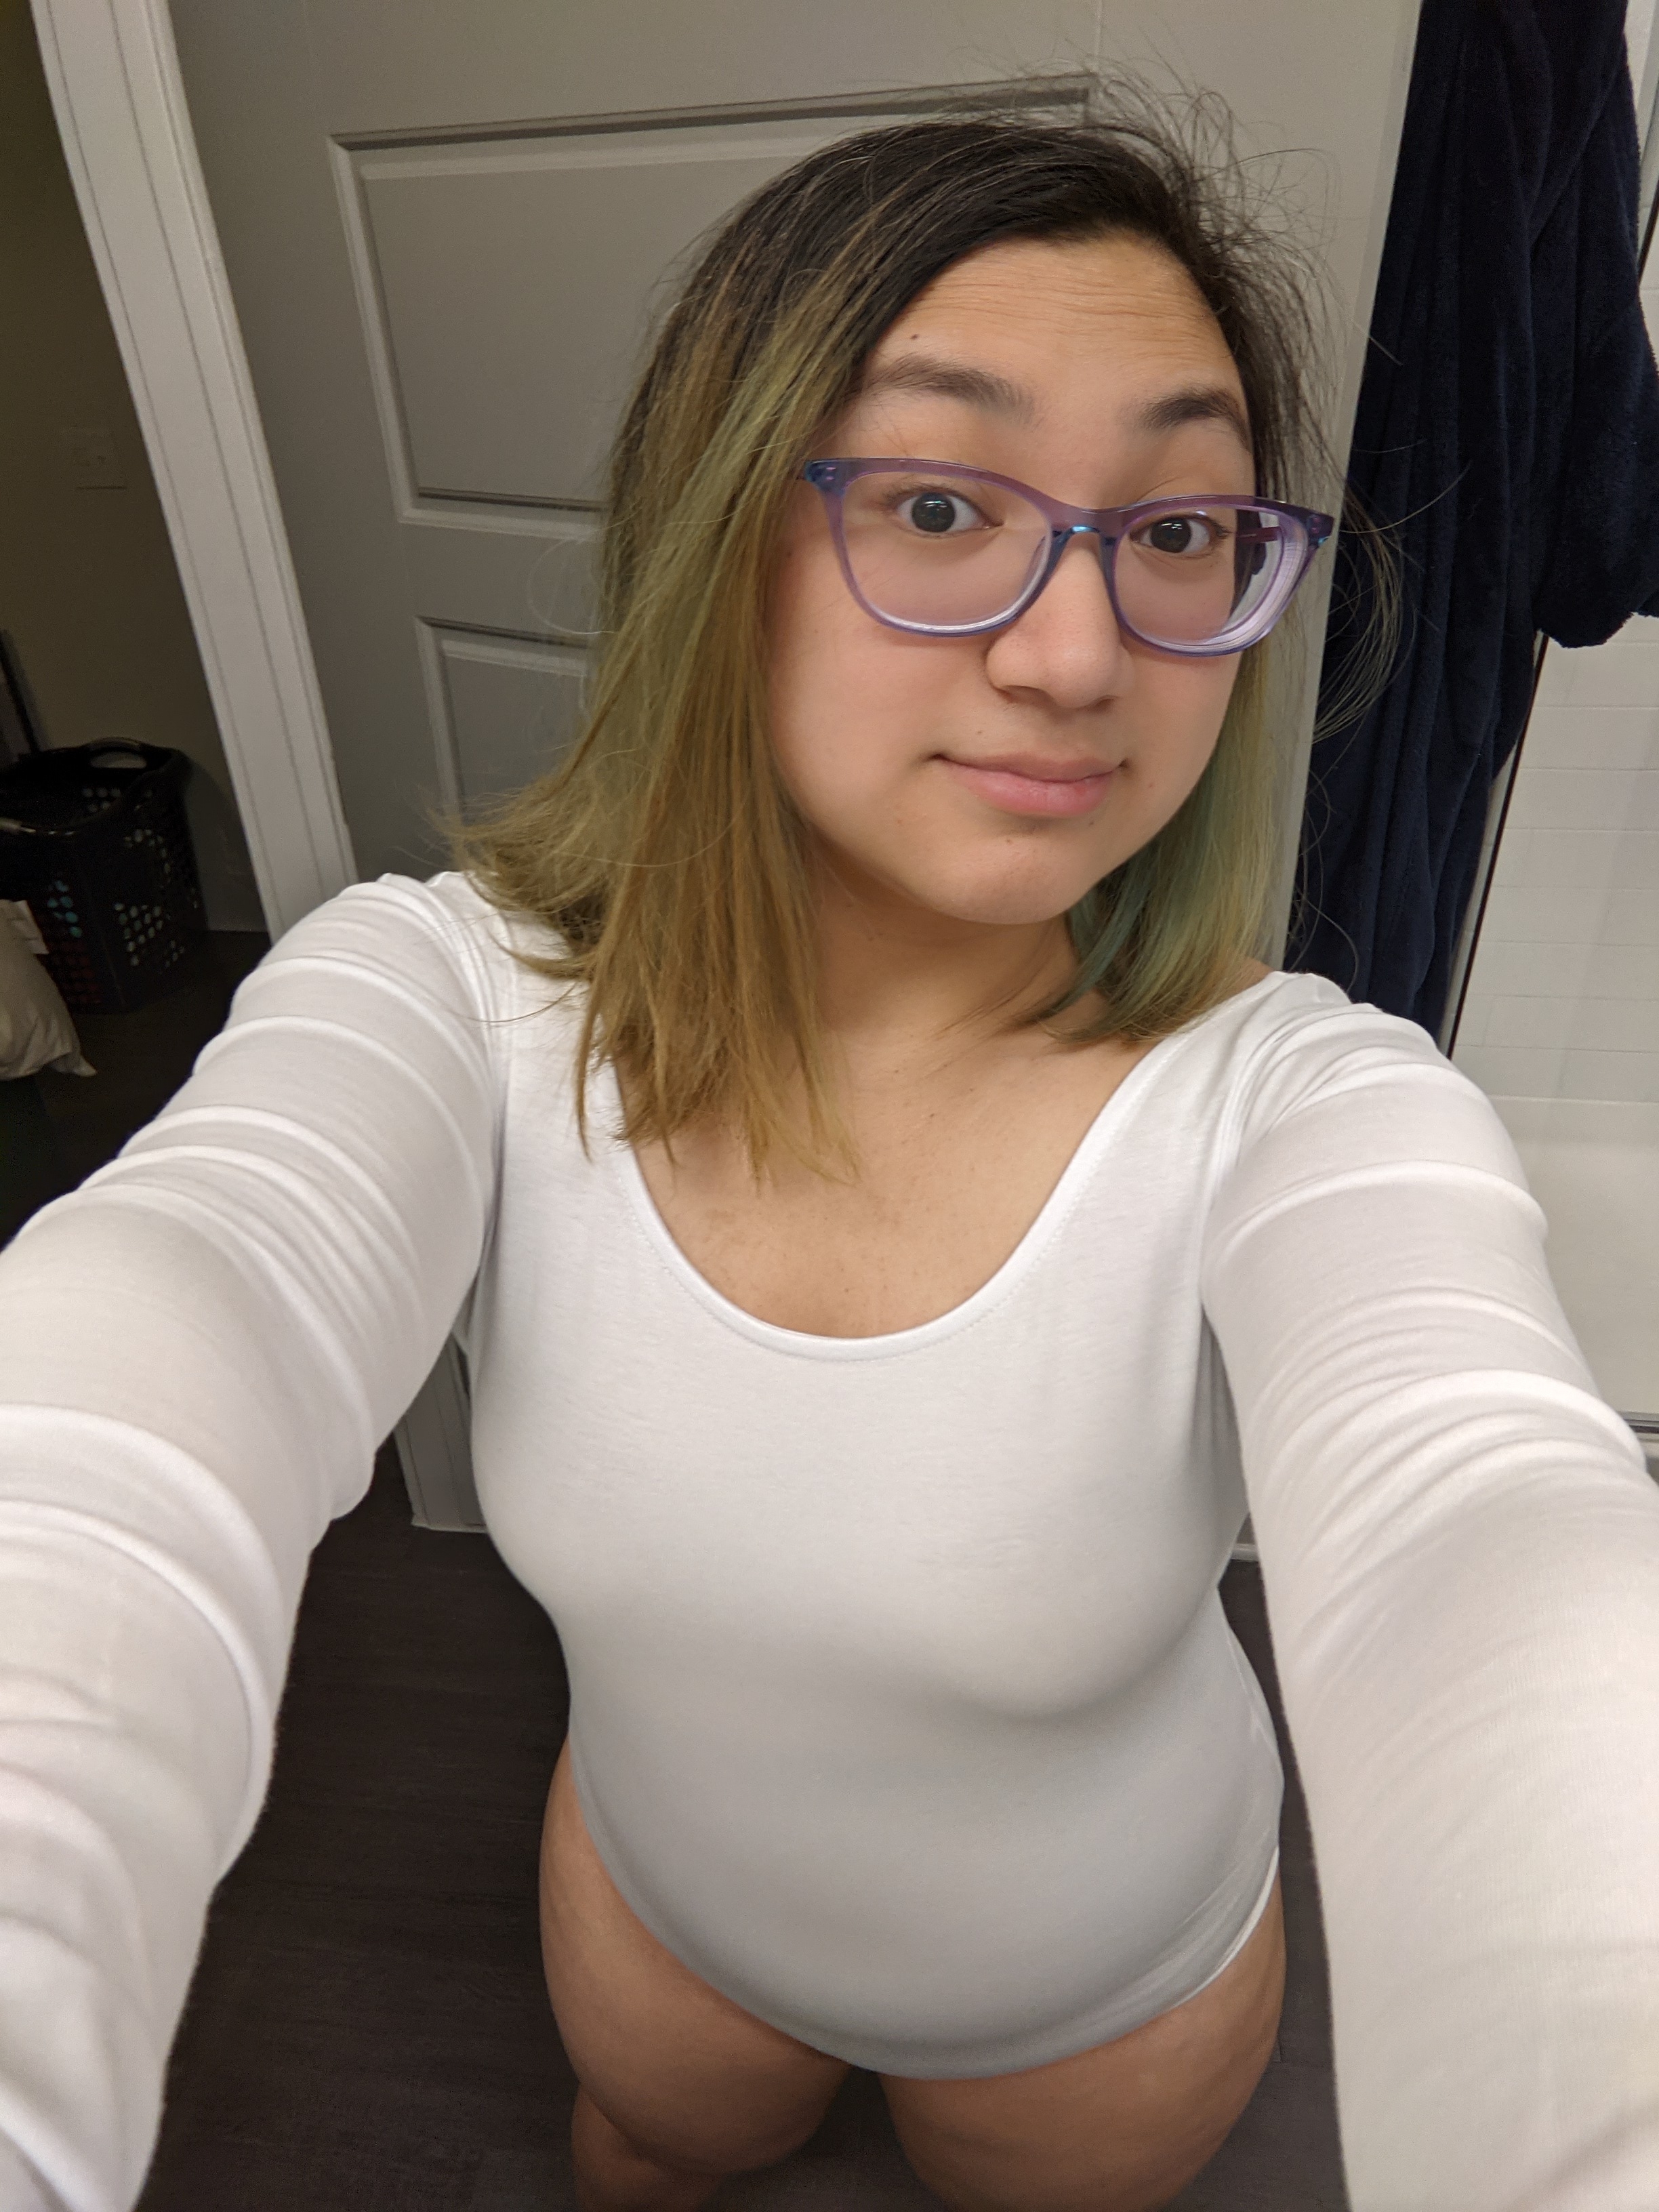
Original, I purchased by leotard off Amazon. I wanted something quick and was not in the mood for patterning (or modifying an existing pattern) to make a leotard from scratch. I made sure to get one with snaps at the crotch to make trips to the restroom easy. Once the leotard arrived, I removed the sleeves and hemmed the arm holes. I started working on the other pieces of the cosplay when I decided at the end that I wanted to make my leotard after all.
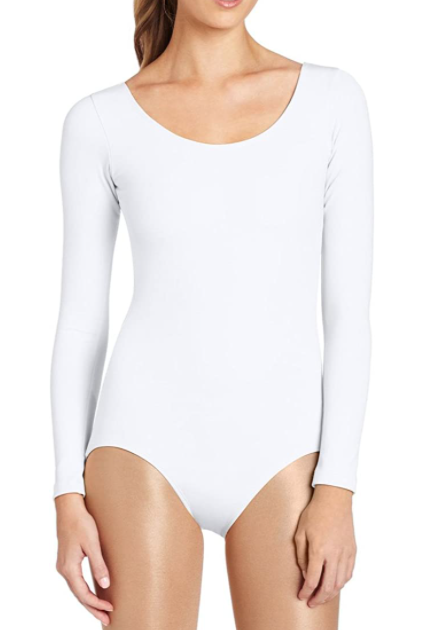
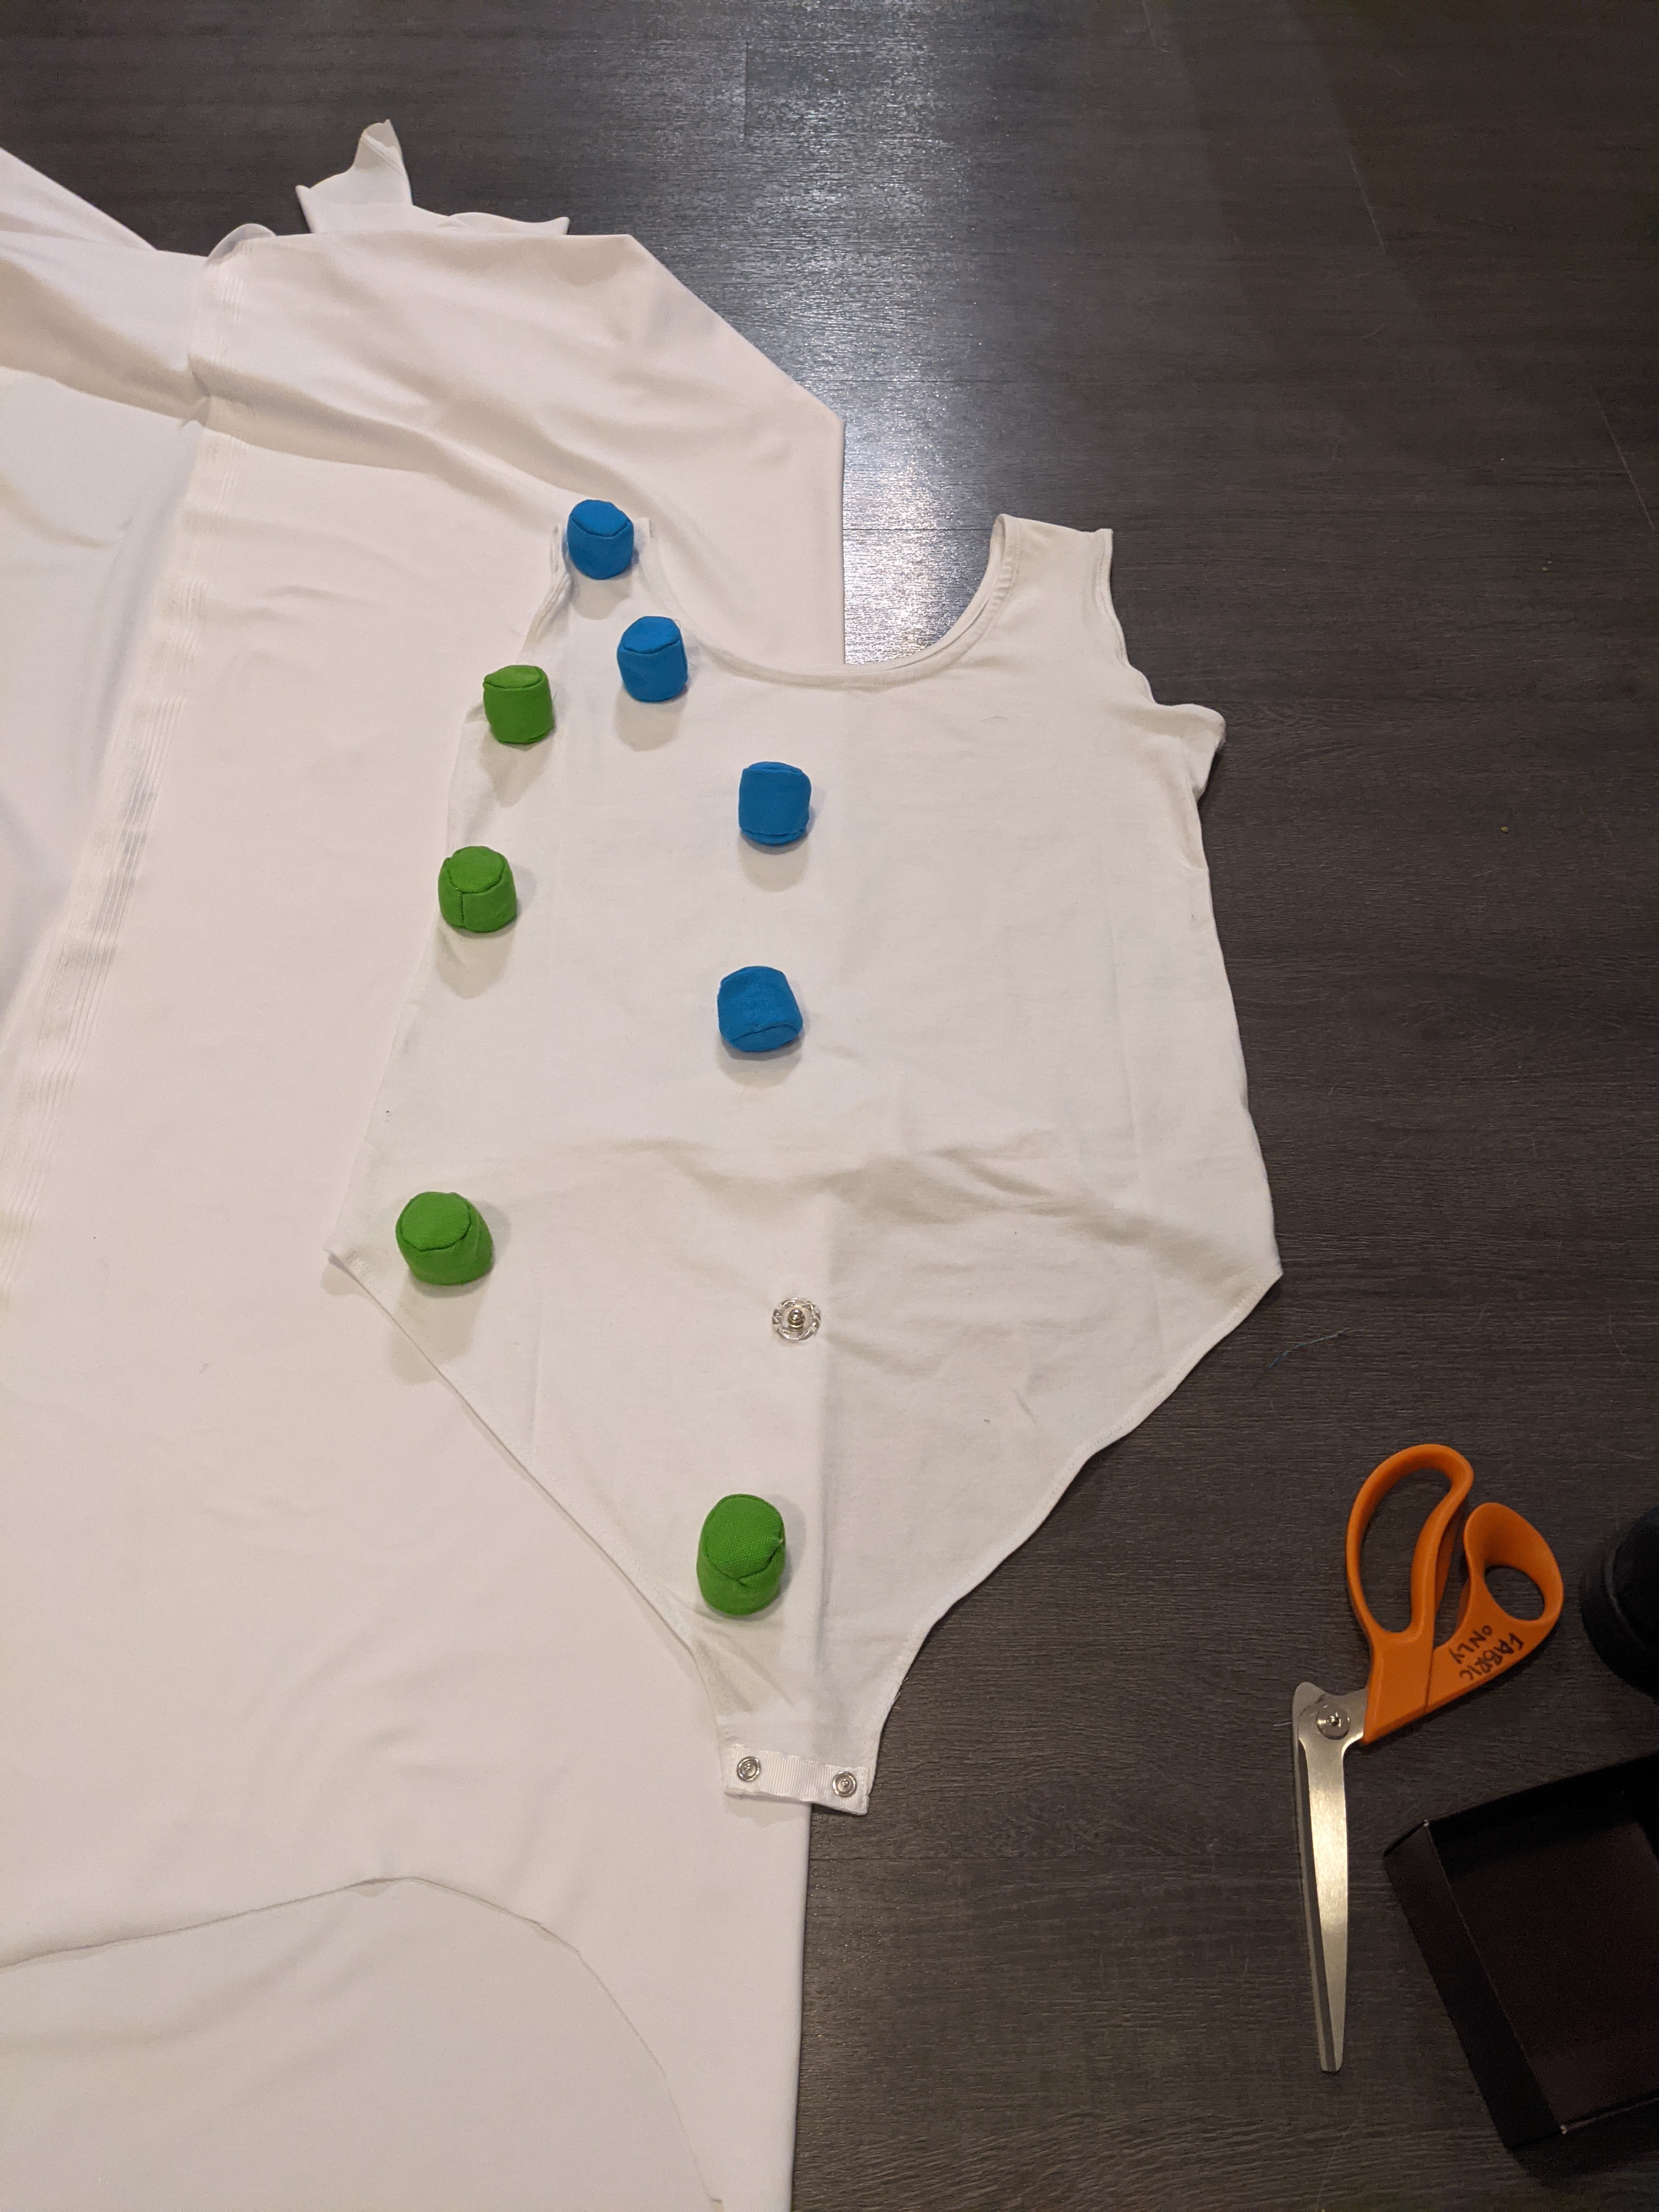
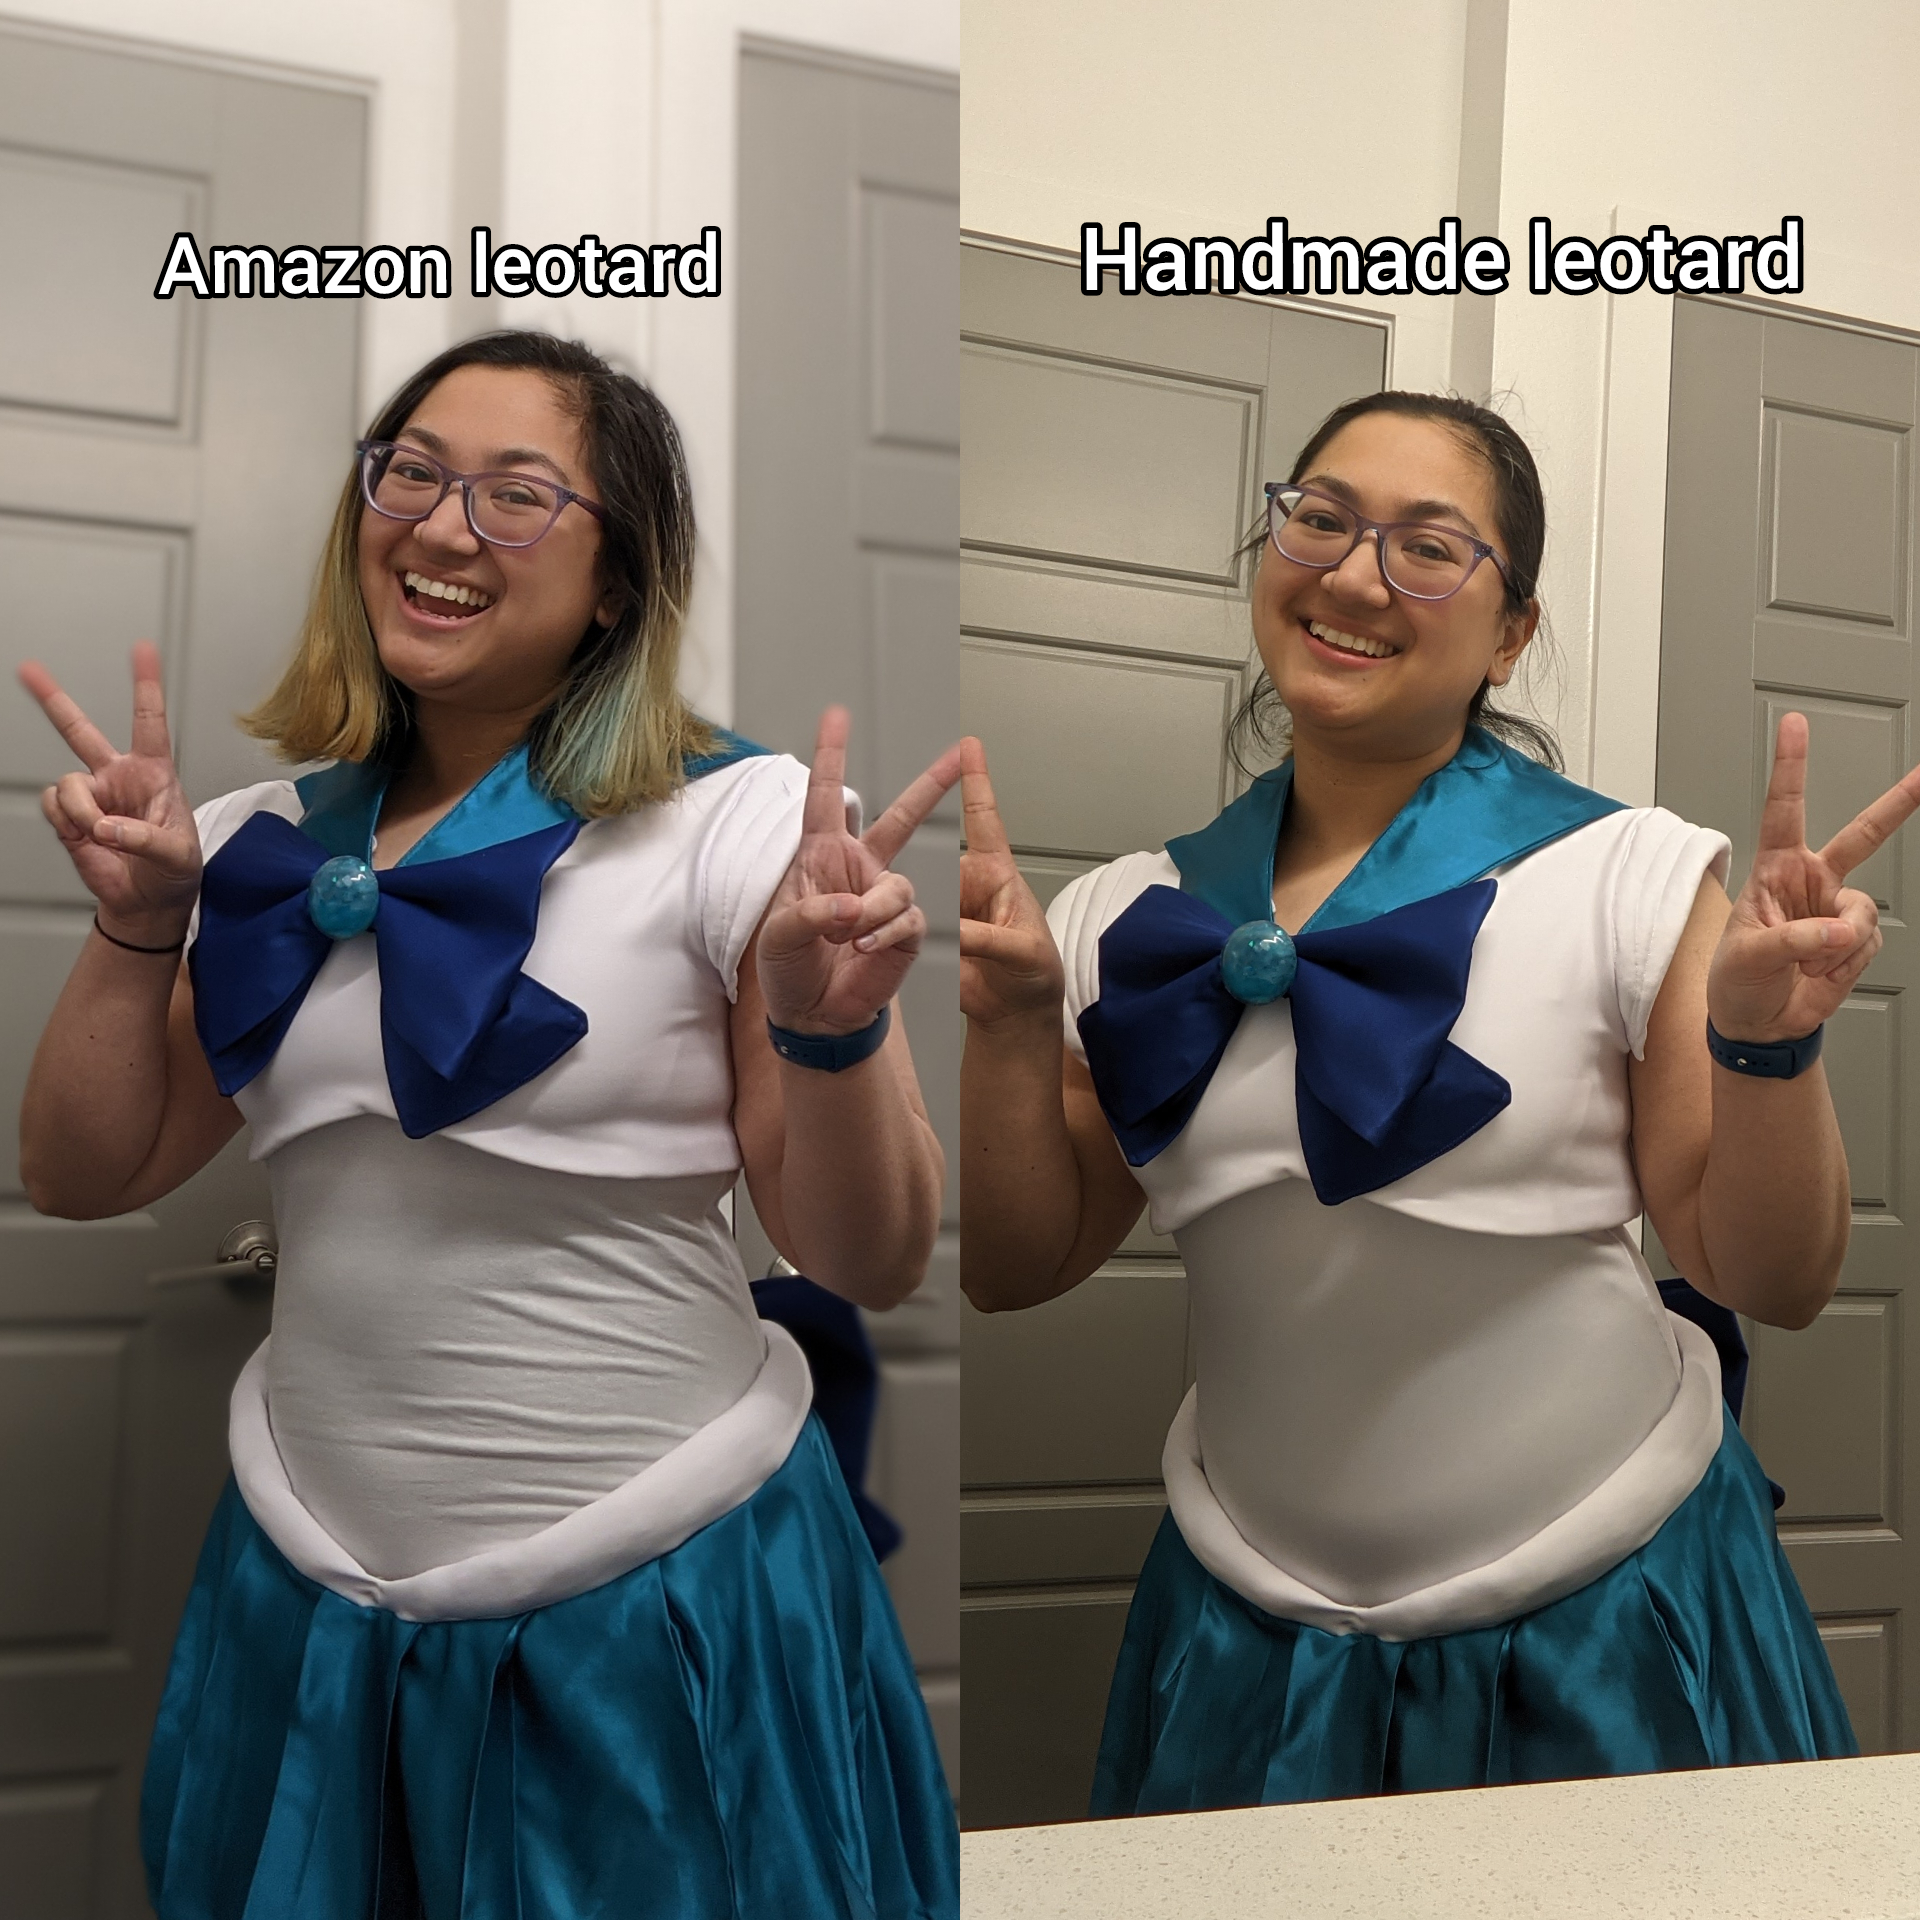
Unhappy that the Amazon leotard fabric was cheap and wrinkly compared to the armor, I decided to use it as a pattern to make my own leotard with the same spandex as the armor. It was as simple as cutting the spandex out following the leotard (folded in half for symmetry). I cut it out with a seam allowance that I ended up not needing because the added width actually made the leotard too loose.
Sewing was as simple as attaching the front and back pieces via the two side seams and the two shoulder seams. Then finishing the neckline, arm holes, and leg holes with zigzag stitching. After removing the snaps from the Amazon leotard, I attached them to the new handmade leotard!
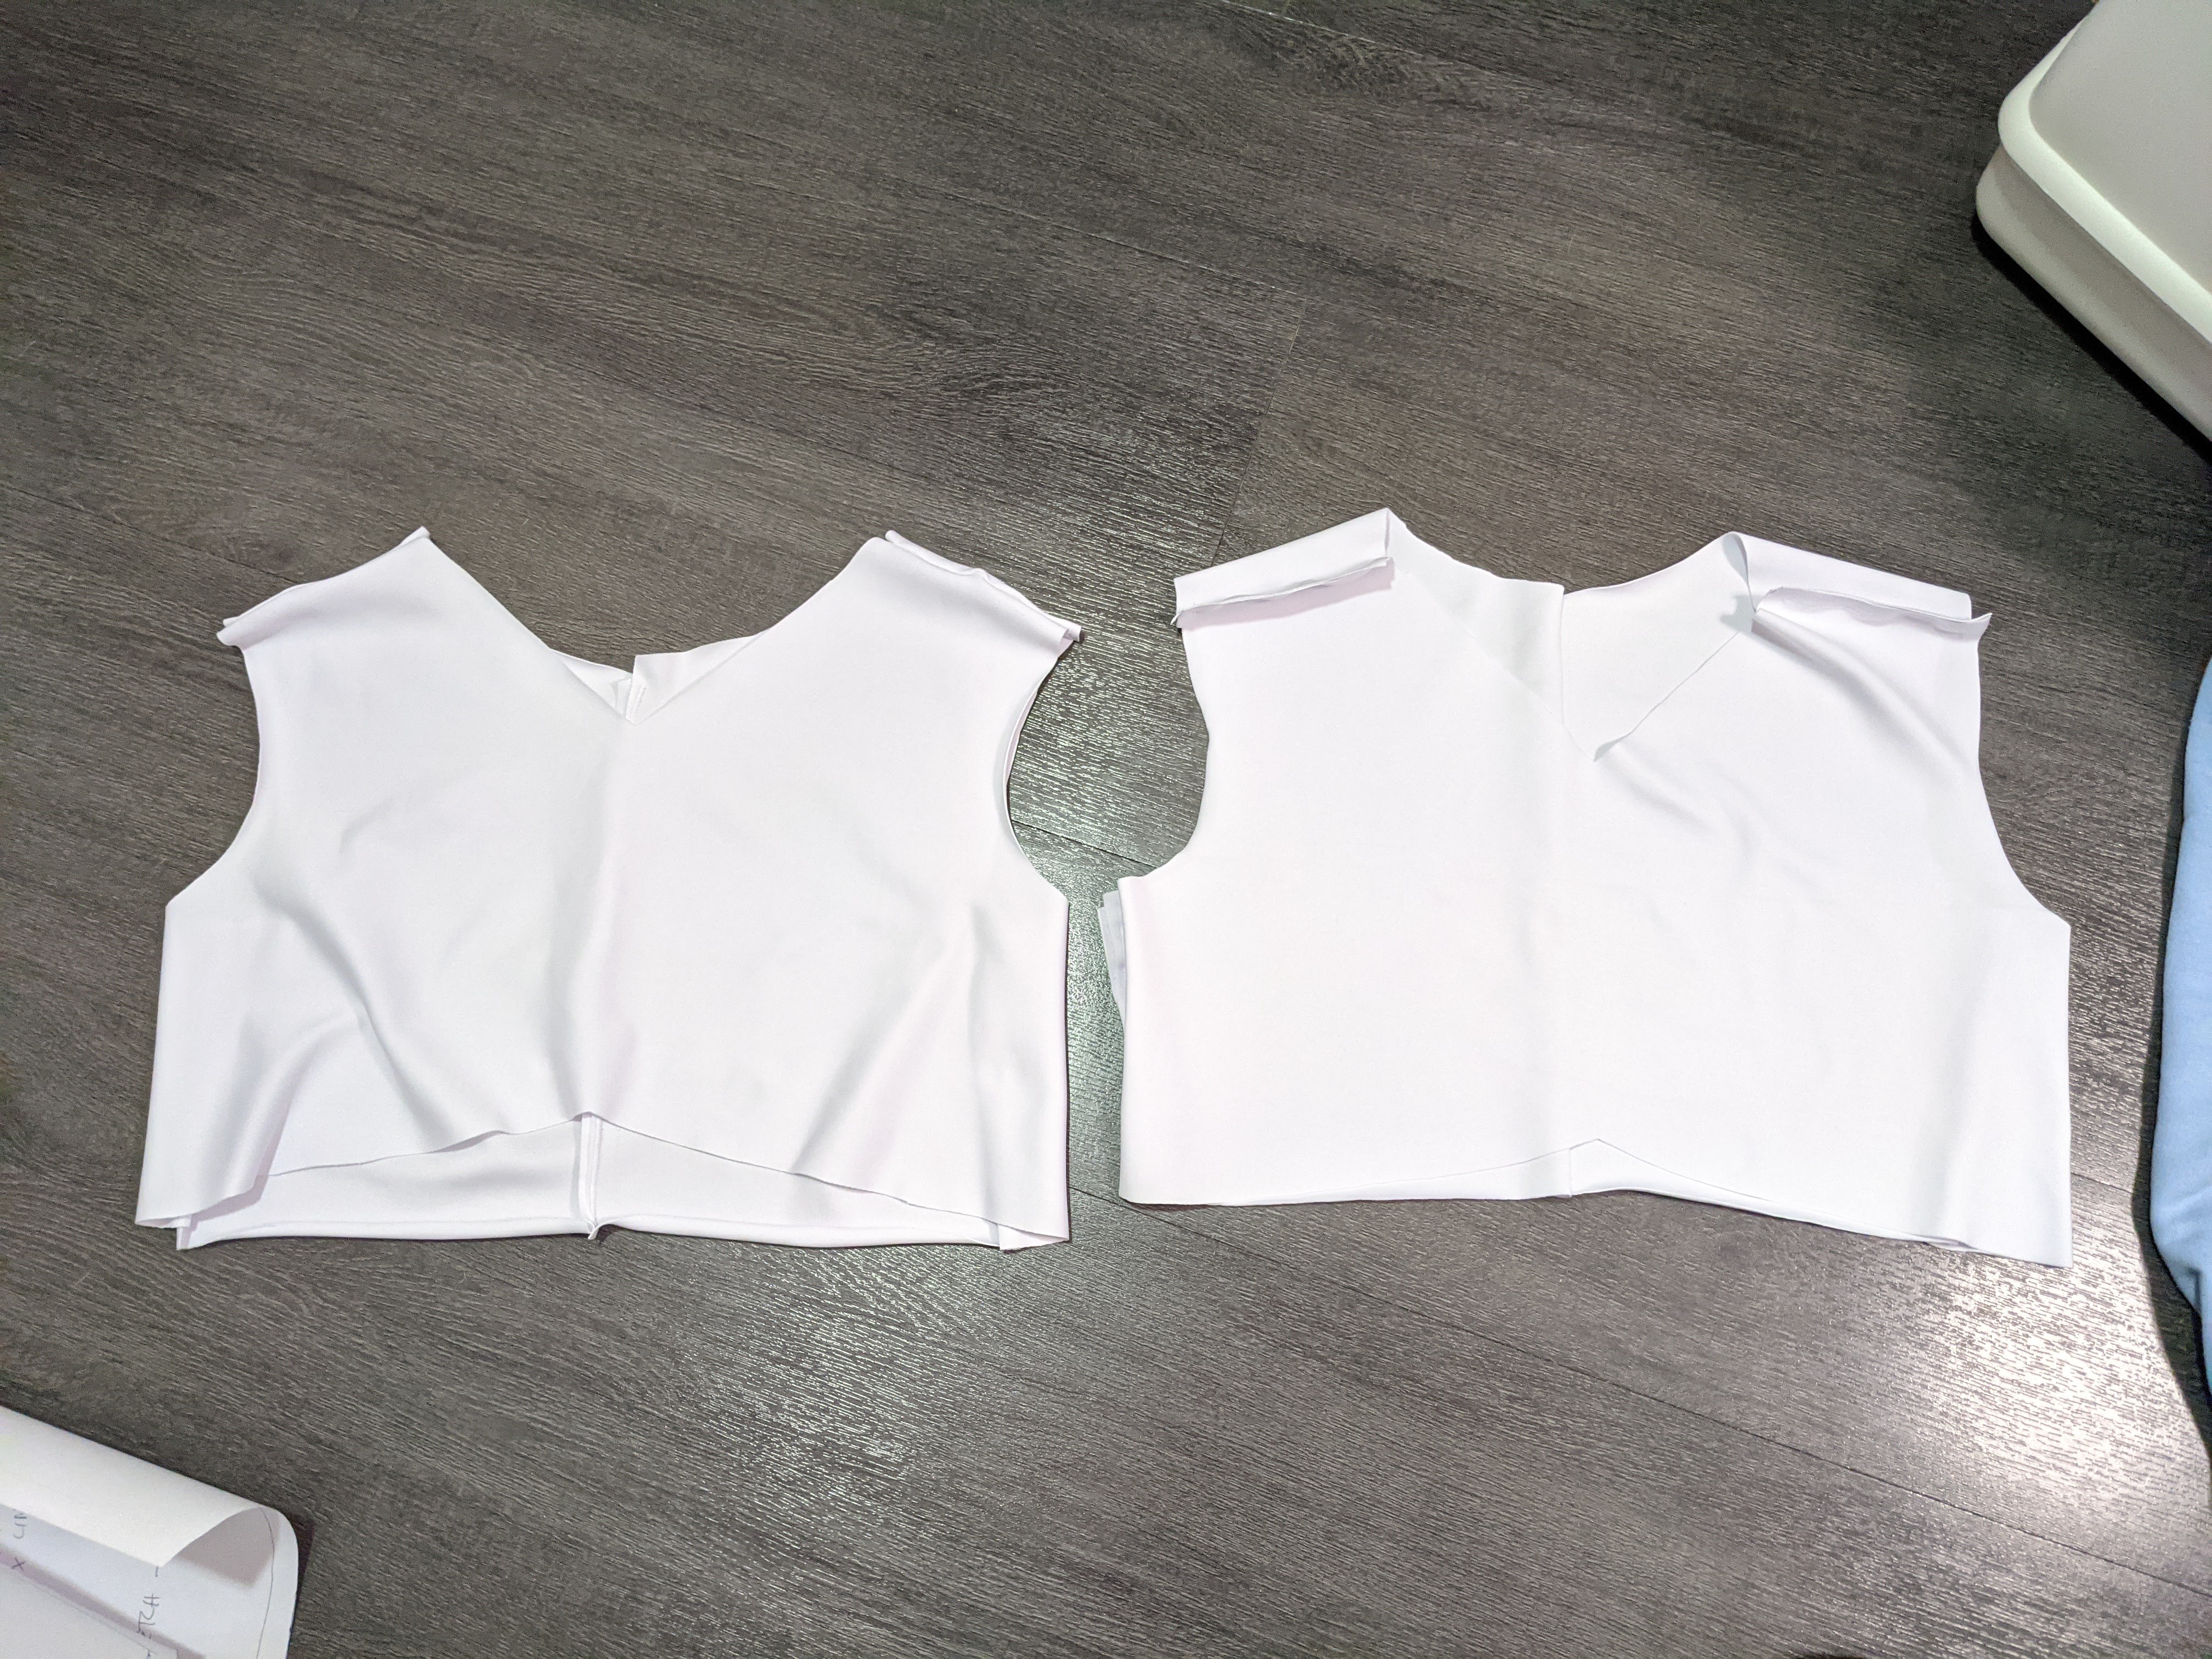
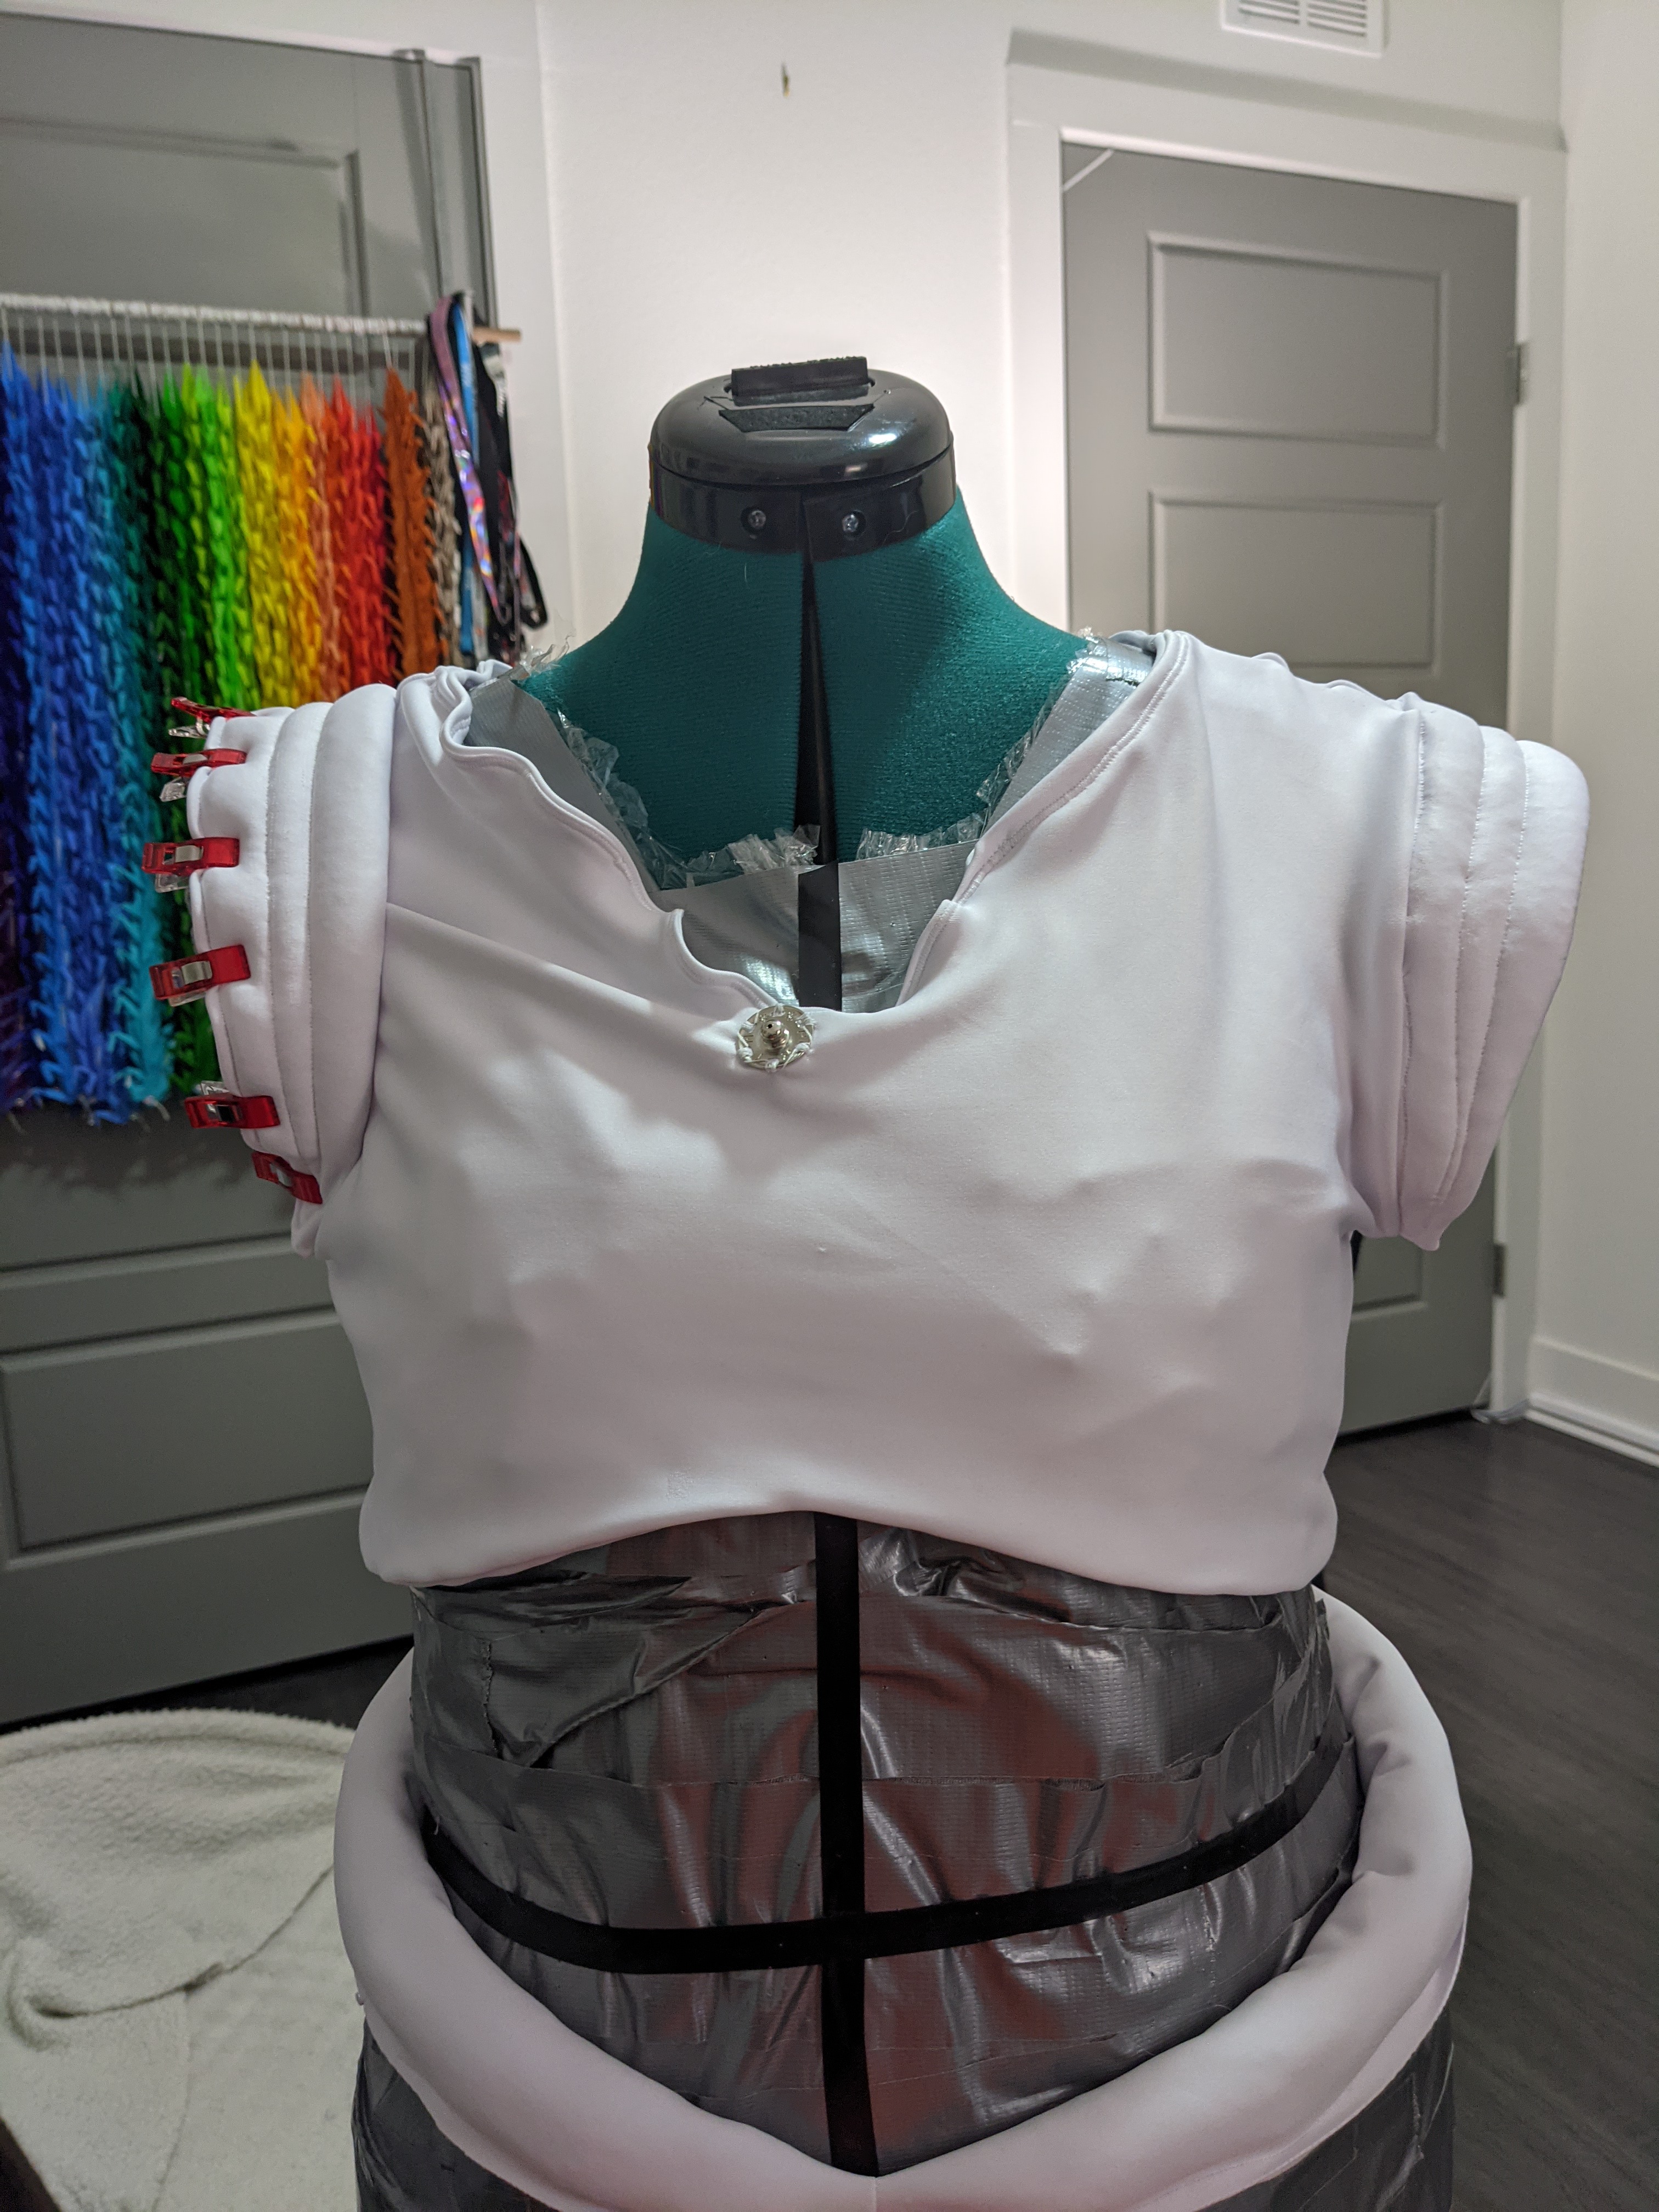
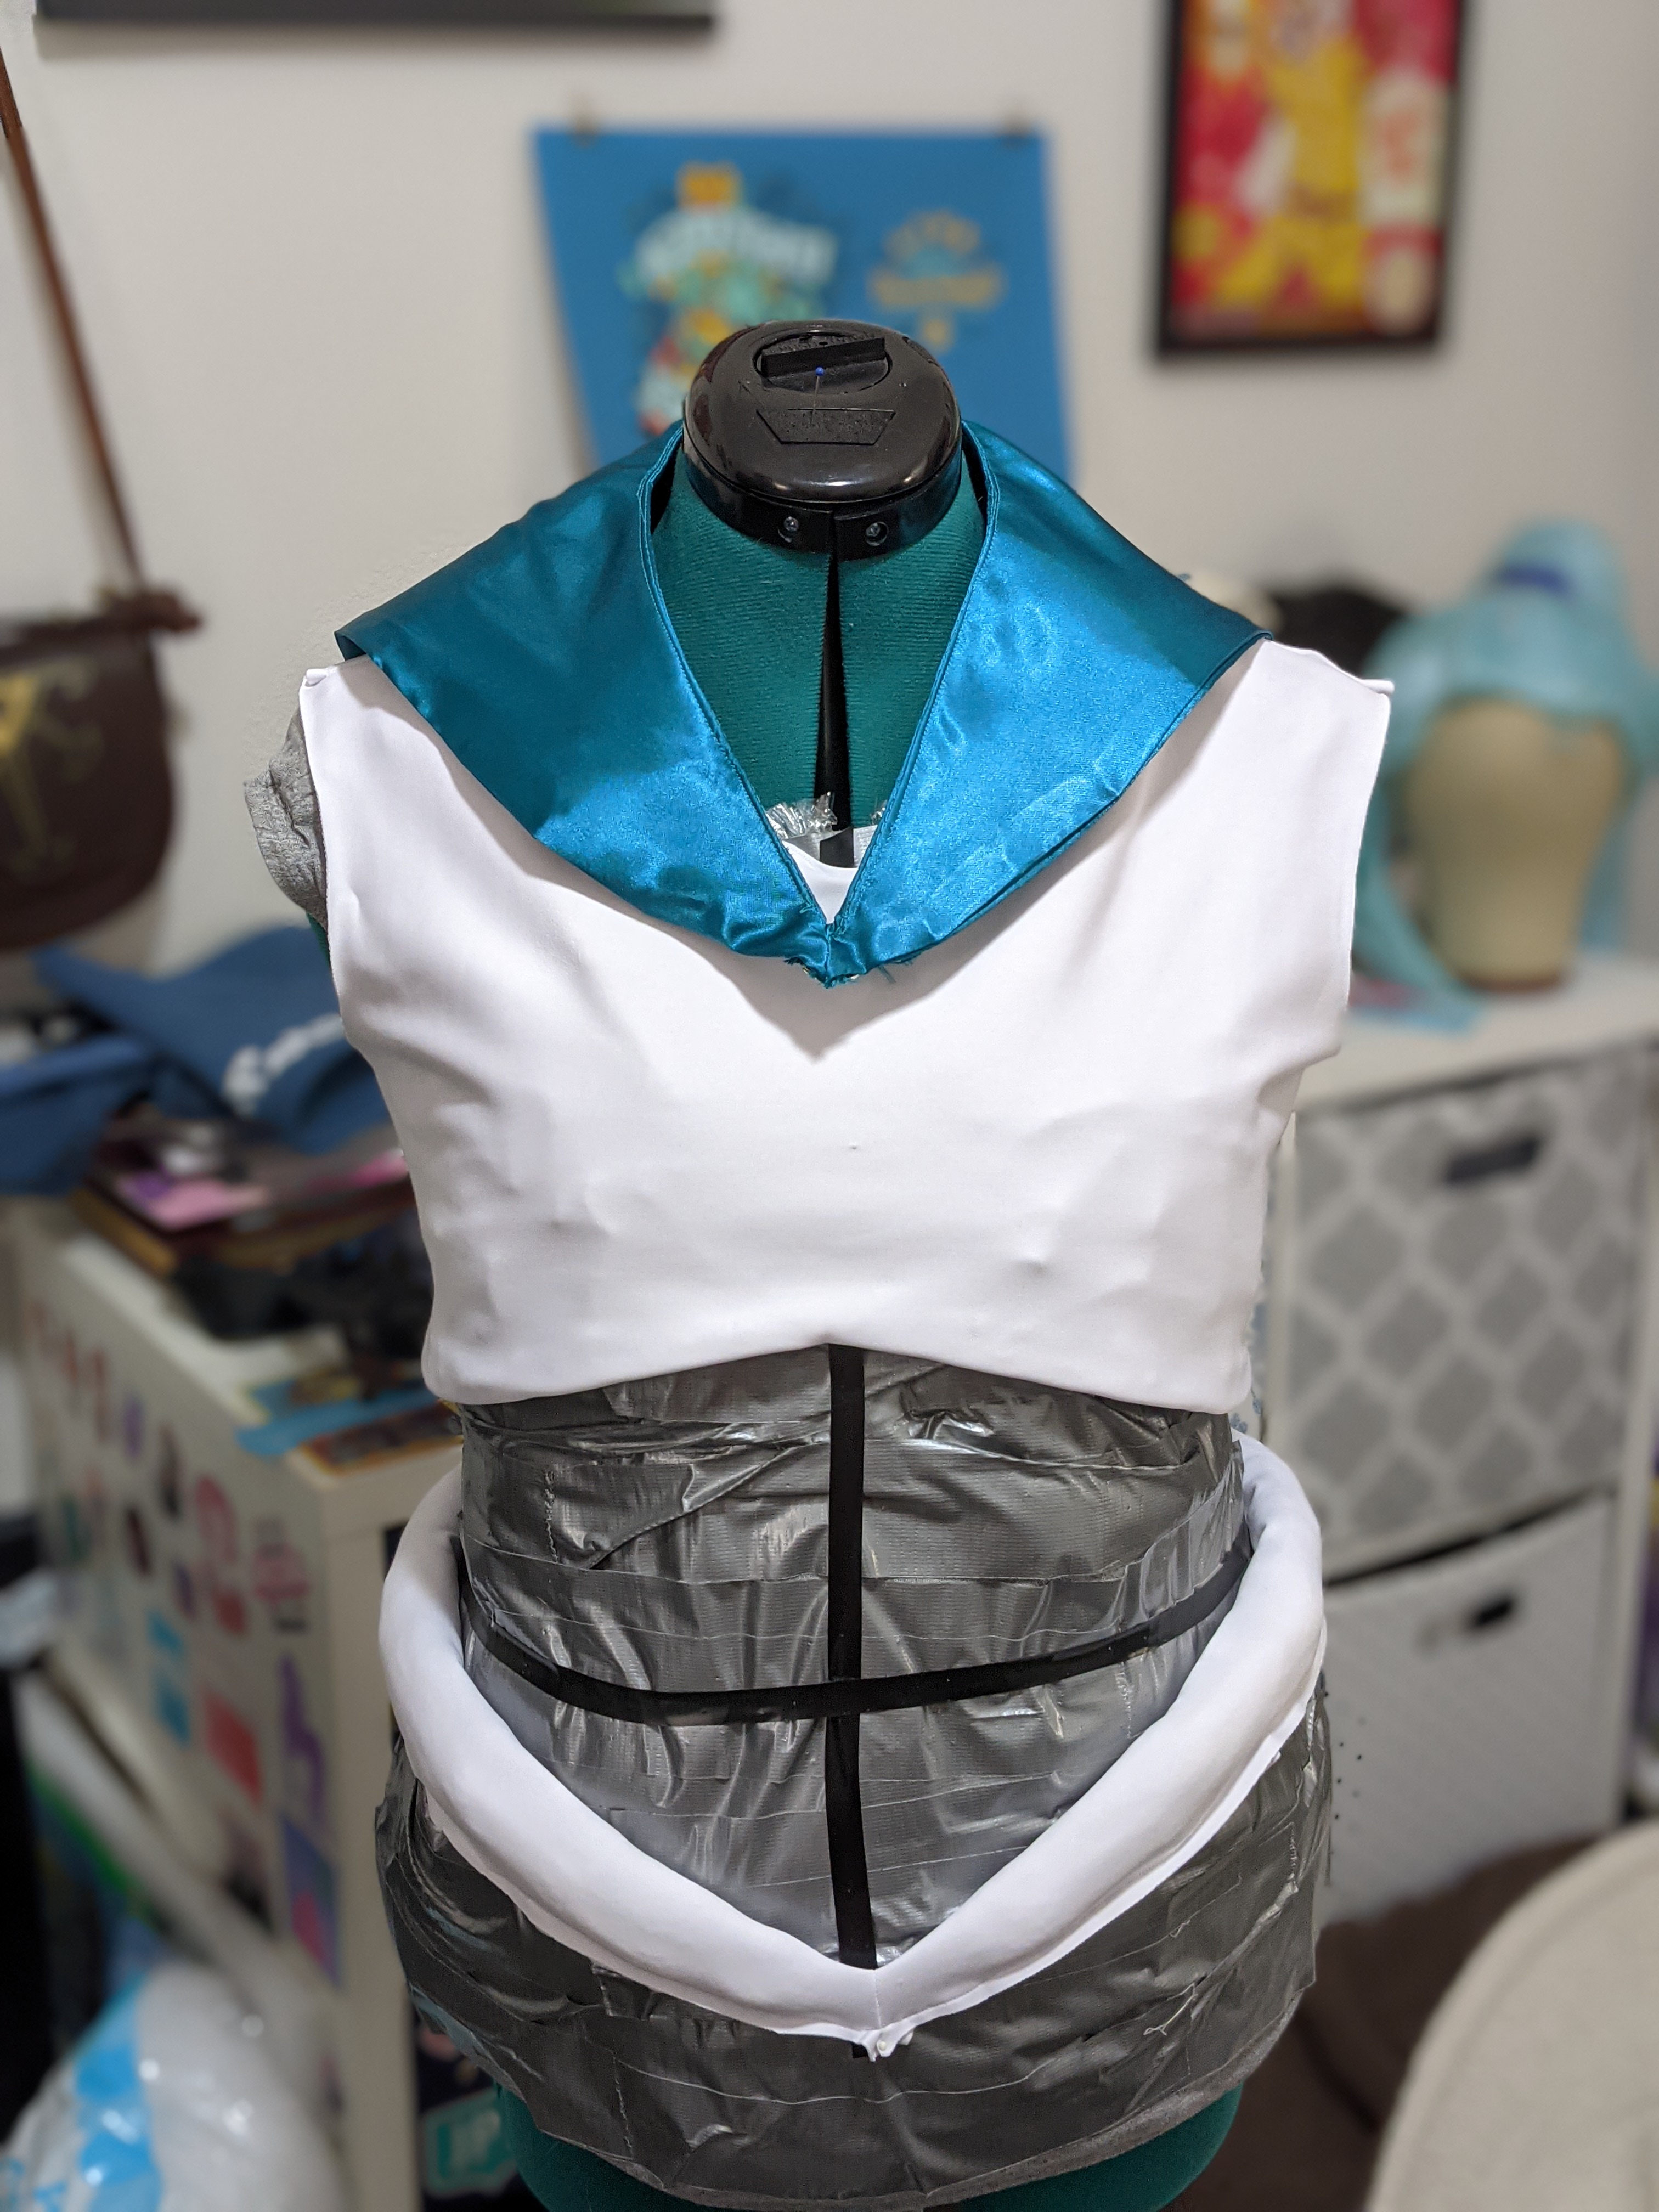
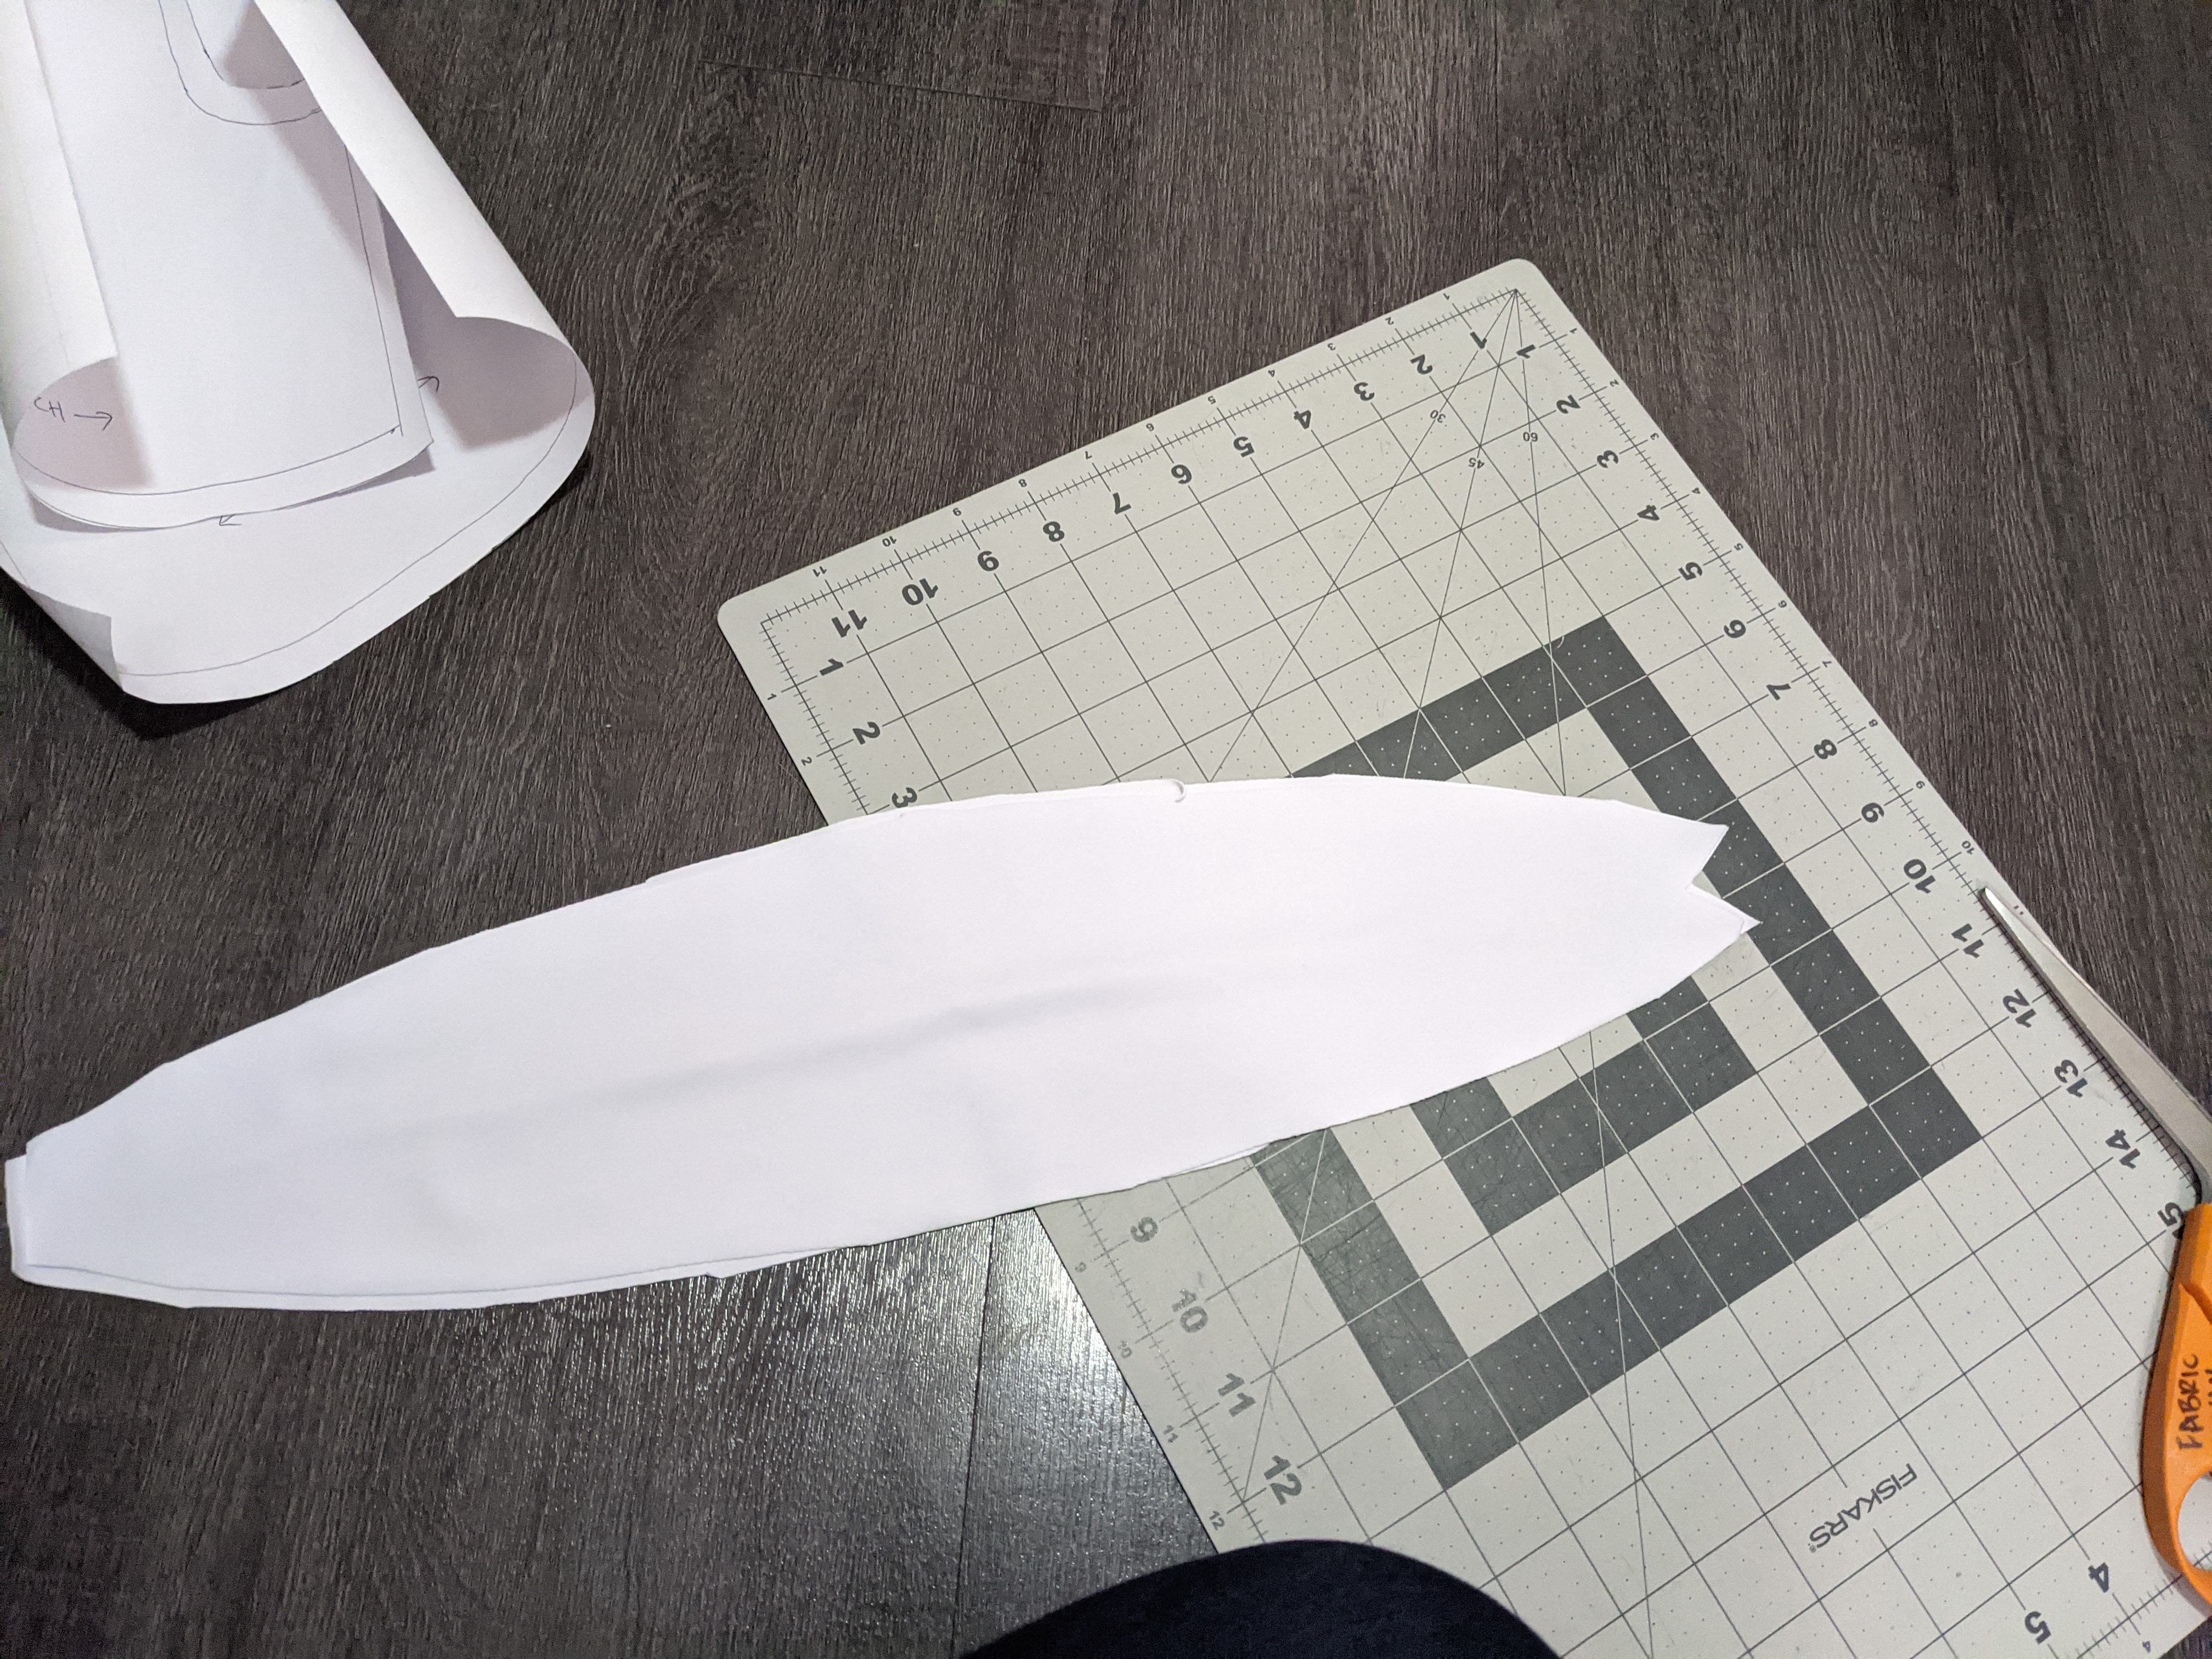
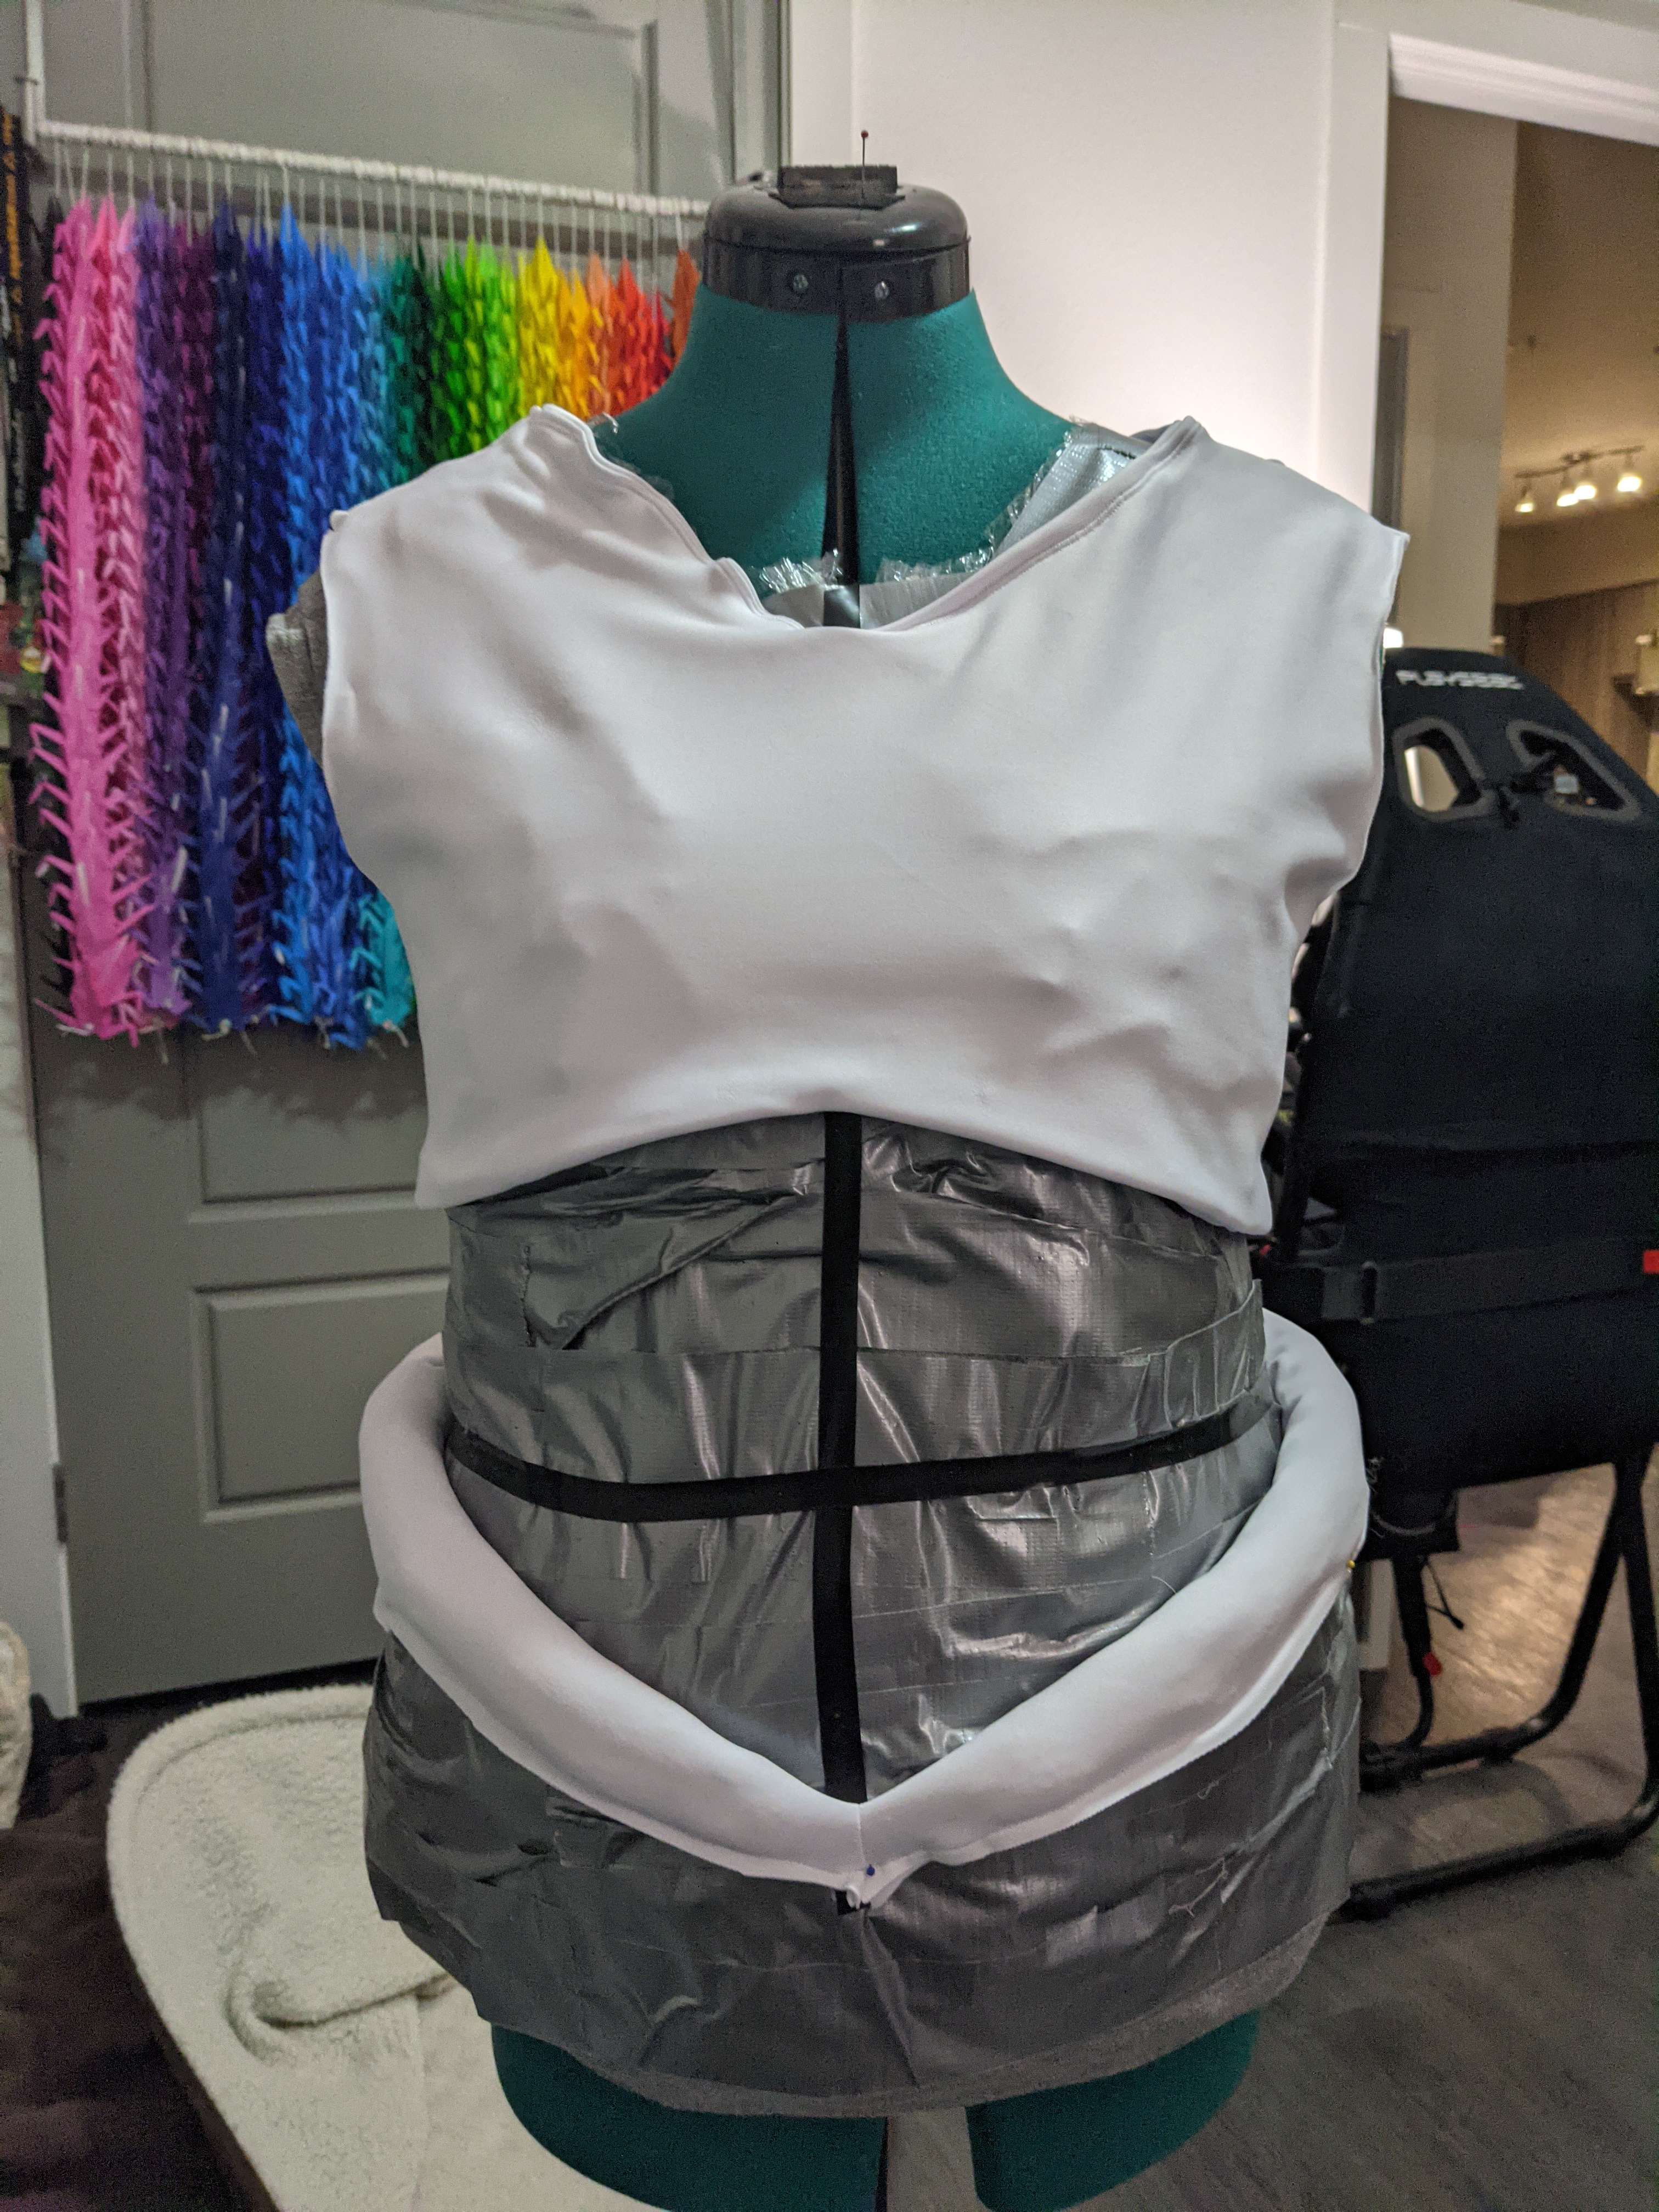
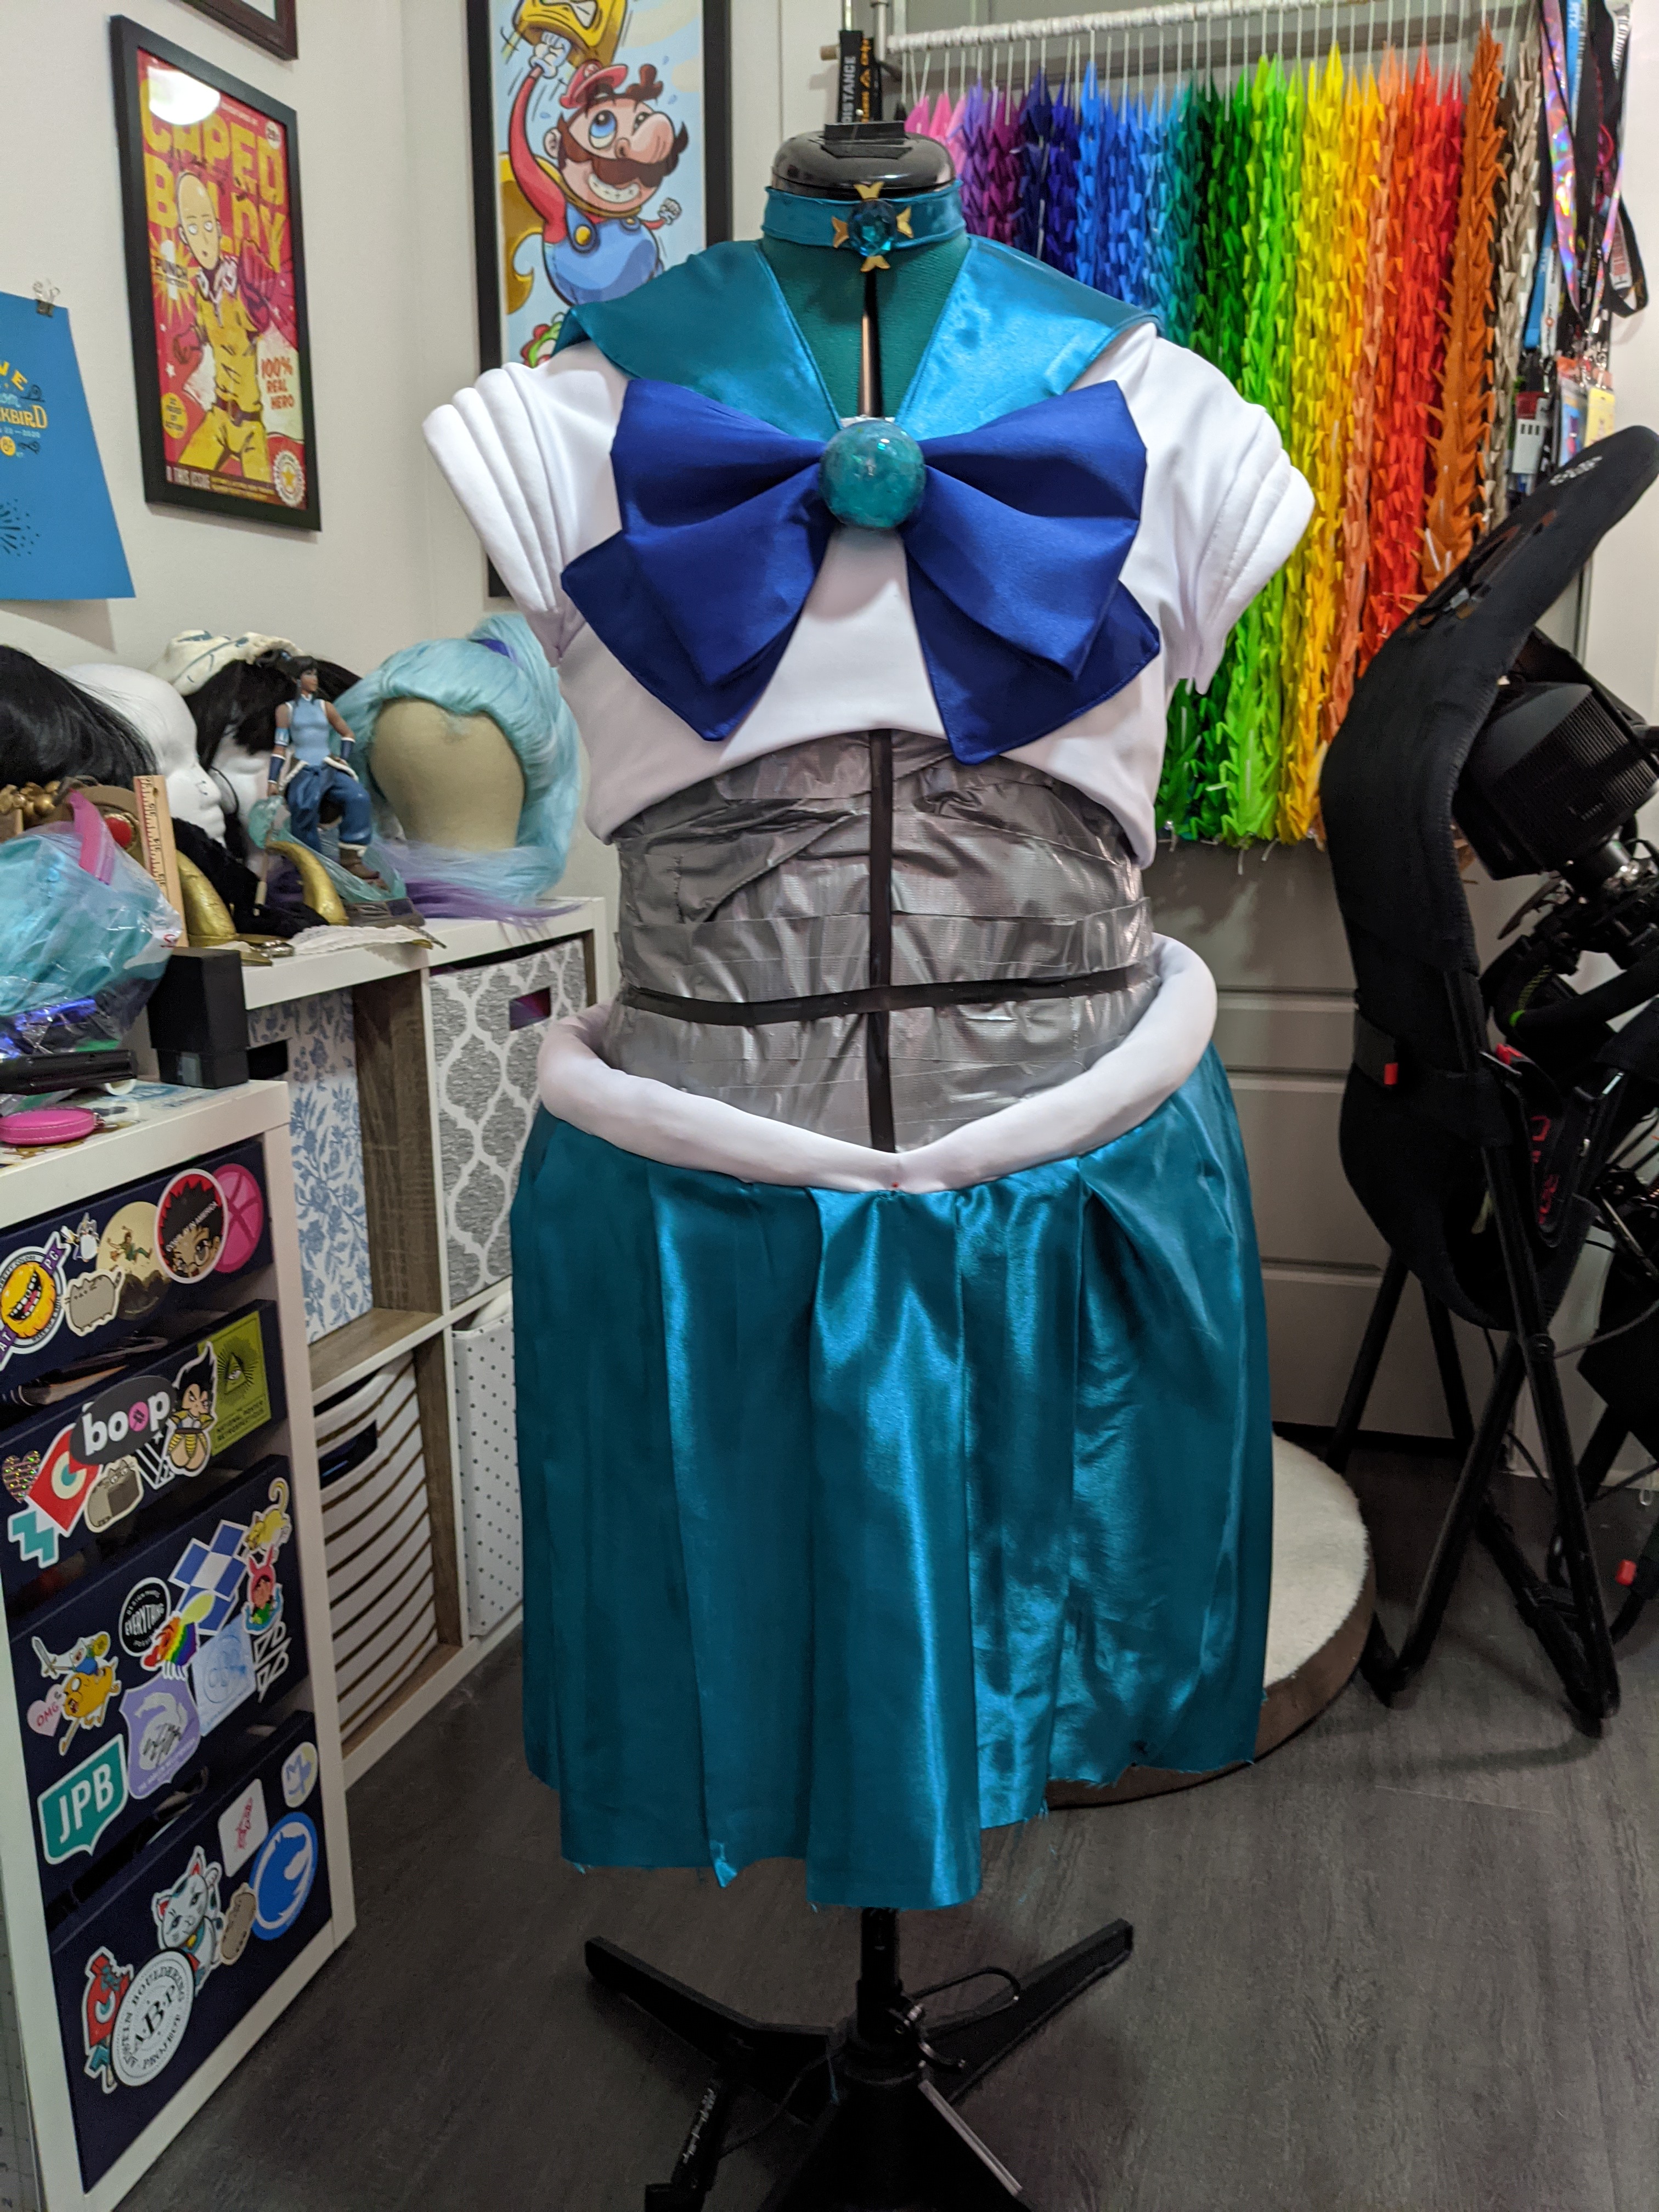
Armor with shoulder rolls
I actually did this before I did the leotard. I used a white spandex I found at Joann’s. It’s a really nice quality fabric that doesn’t wrinkle too much and stretches well!
To pattern, I took some scrap stretchy fabric I had on hand and use it to drape on my dress form. (It needed to be a stretchy fabric and not a typical muslin fabric so that the dimensions would be right since the final fabric stretches.) Once happy with the fabric pattern, I transferred it to paper by tracing the fabric pieces and then adding half an inch around all the edges.
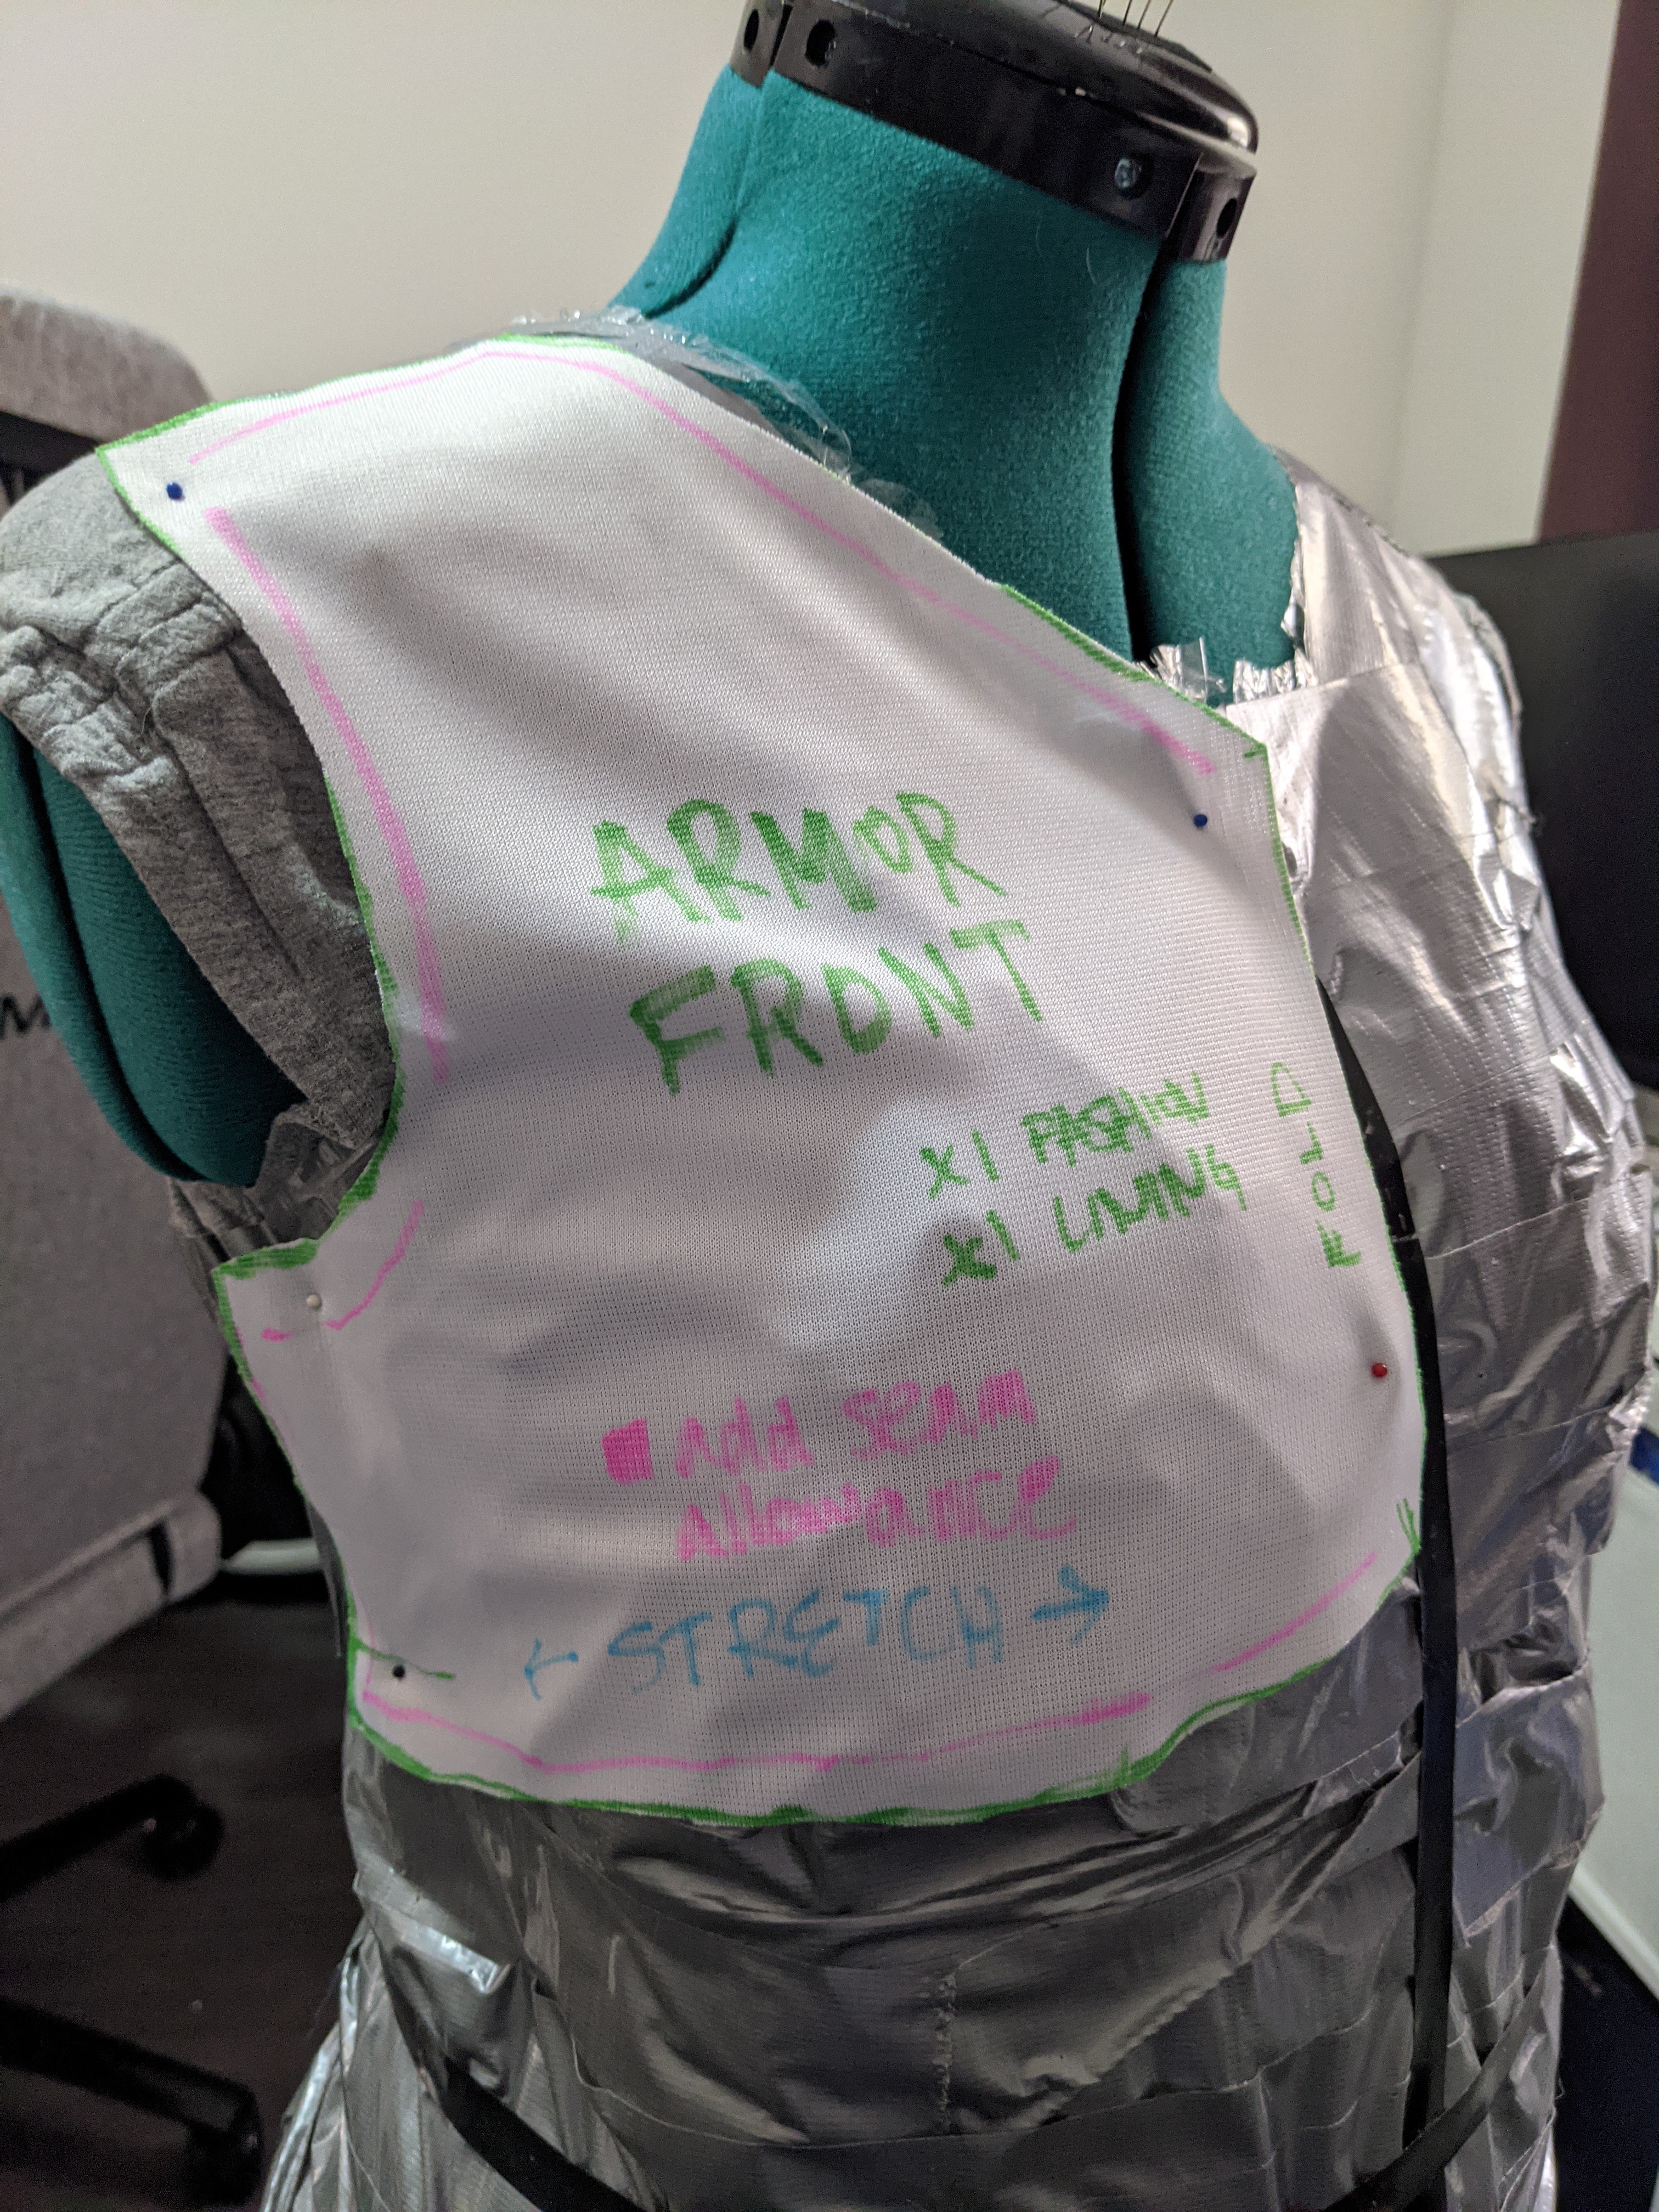
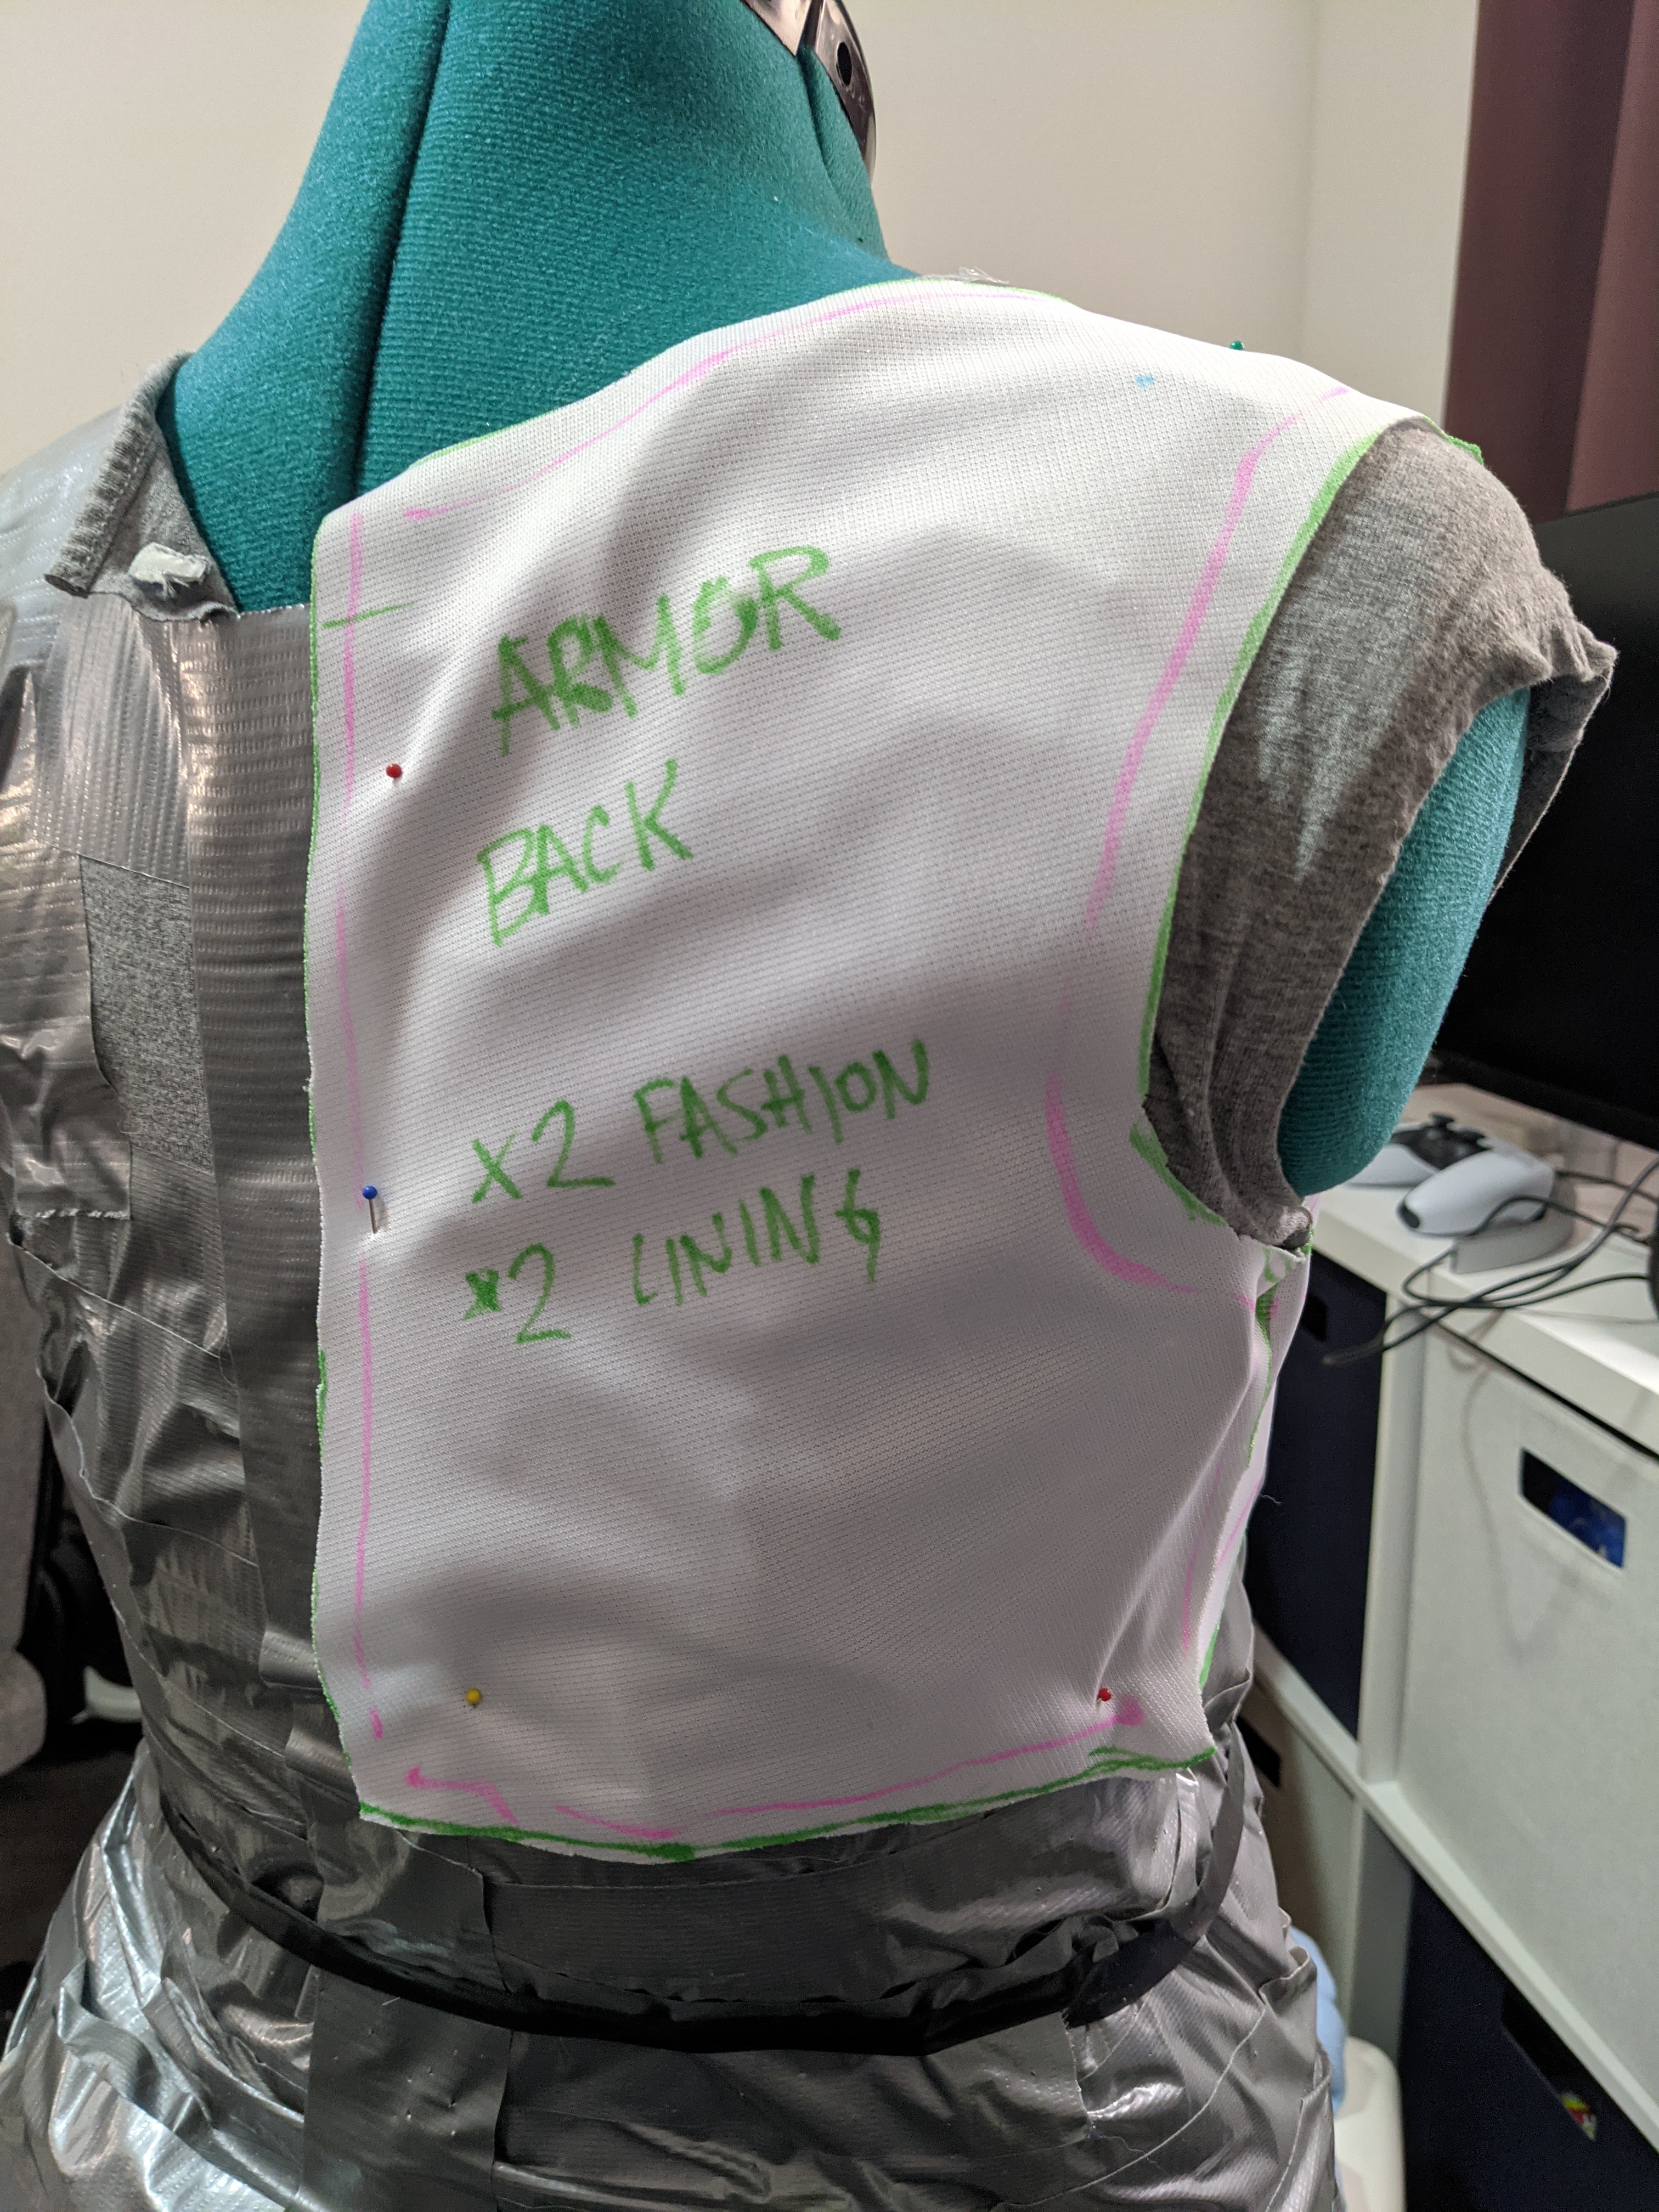
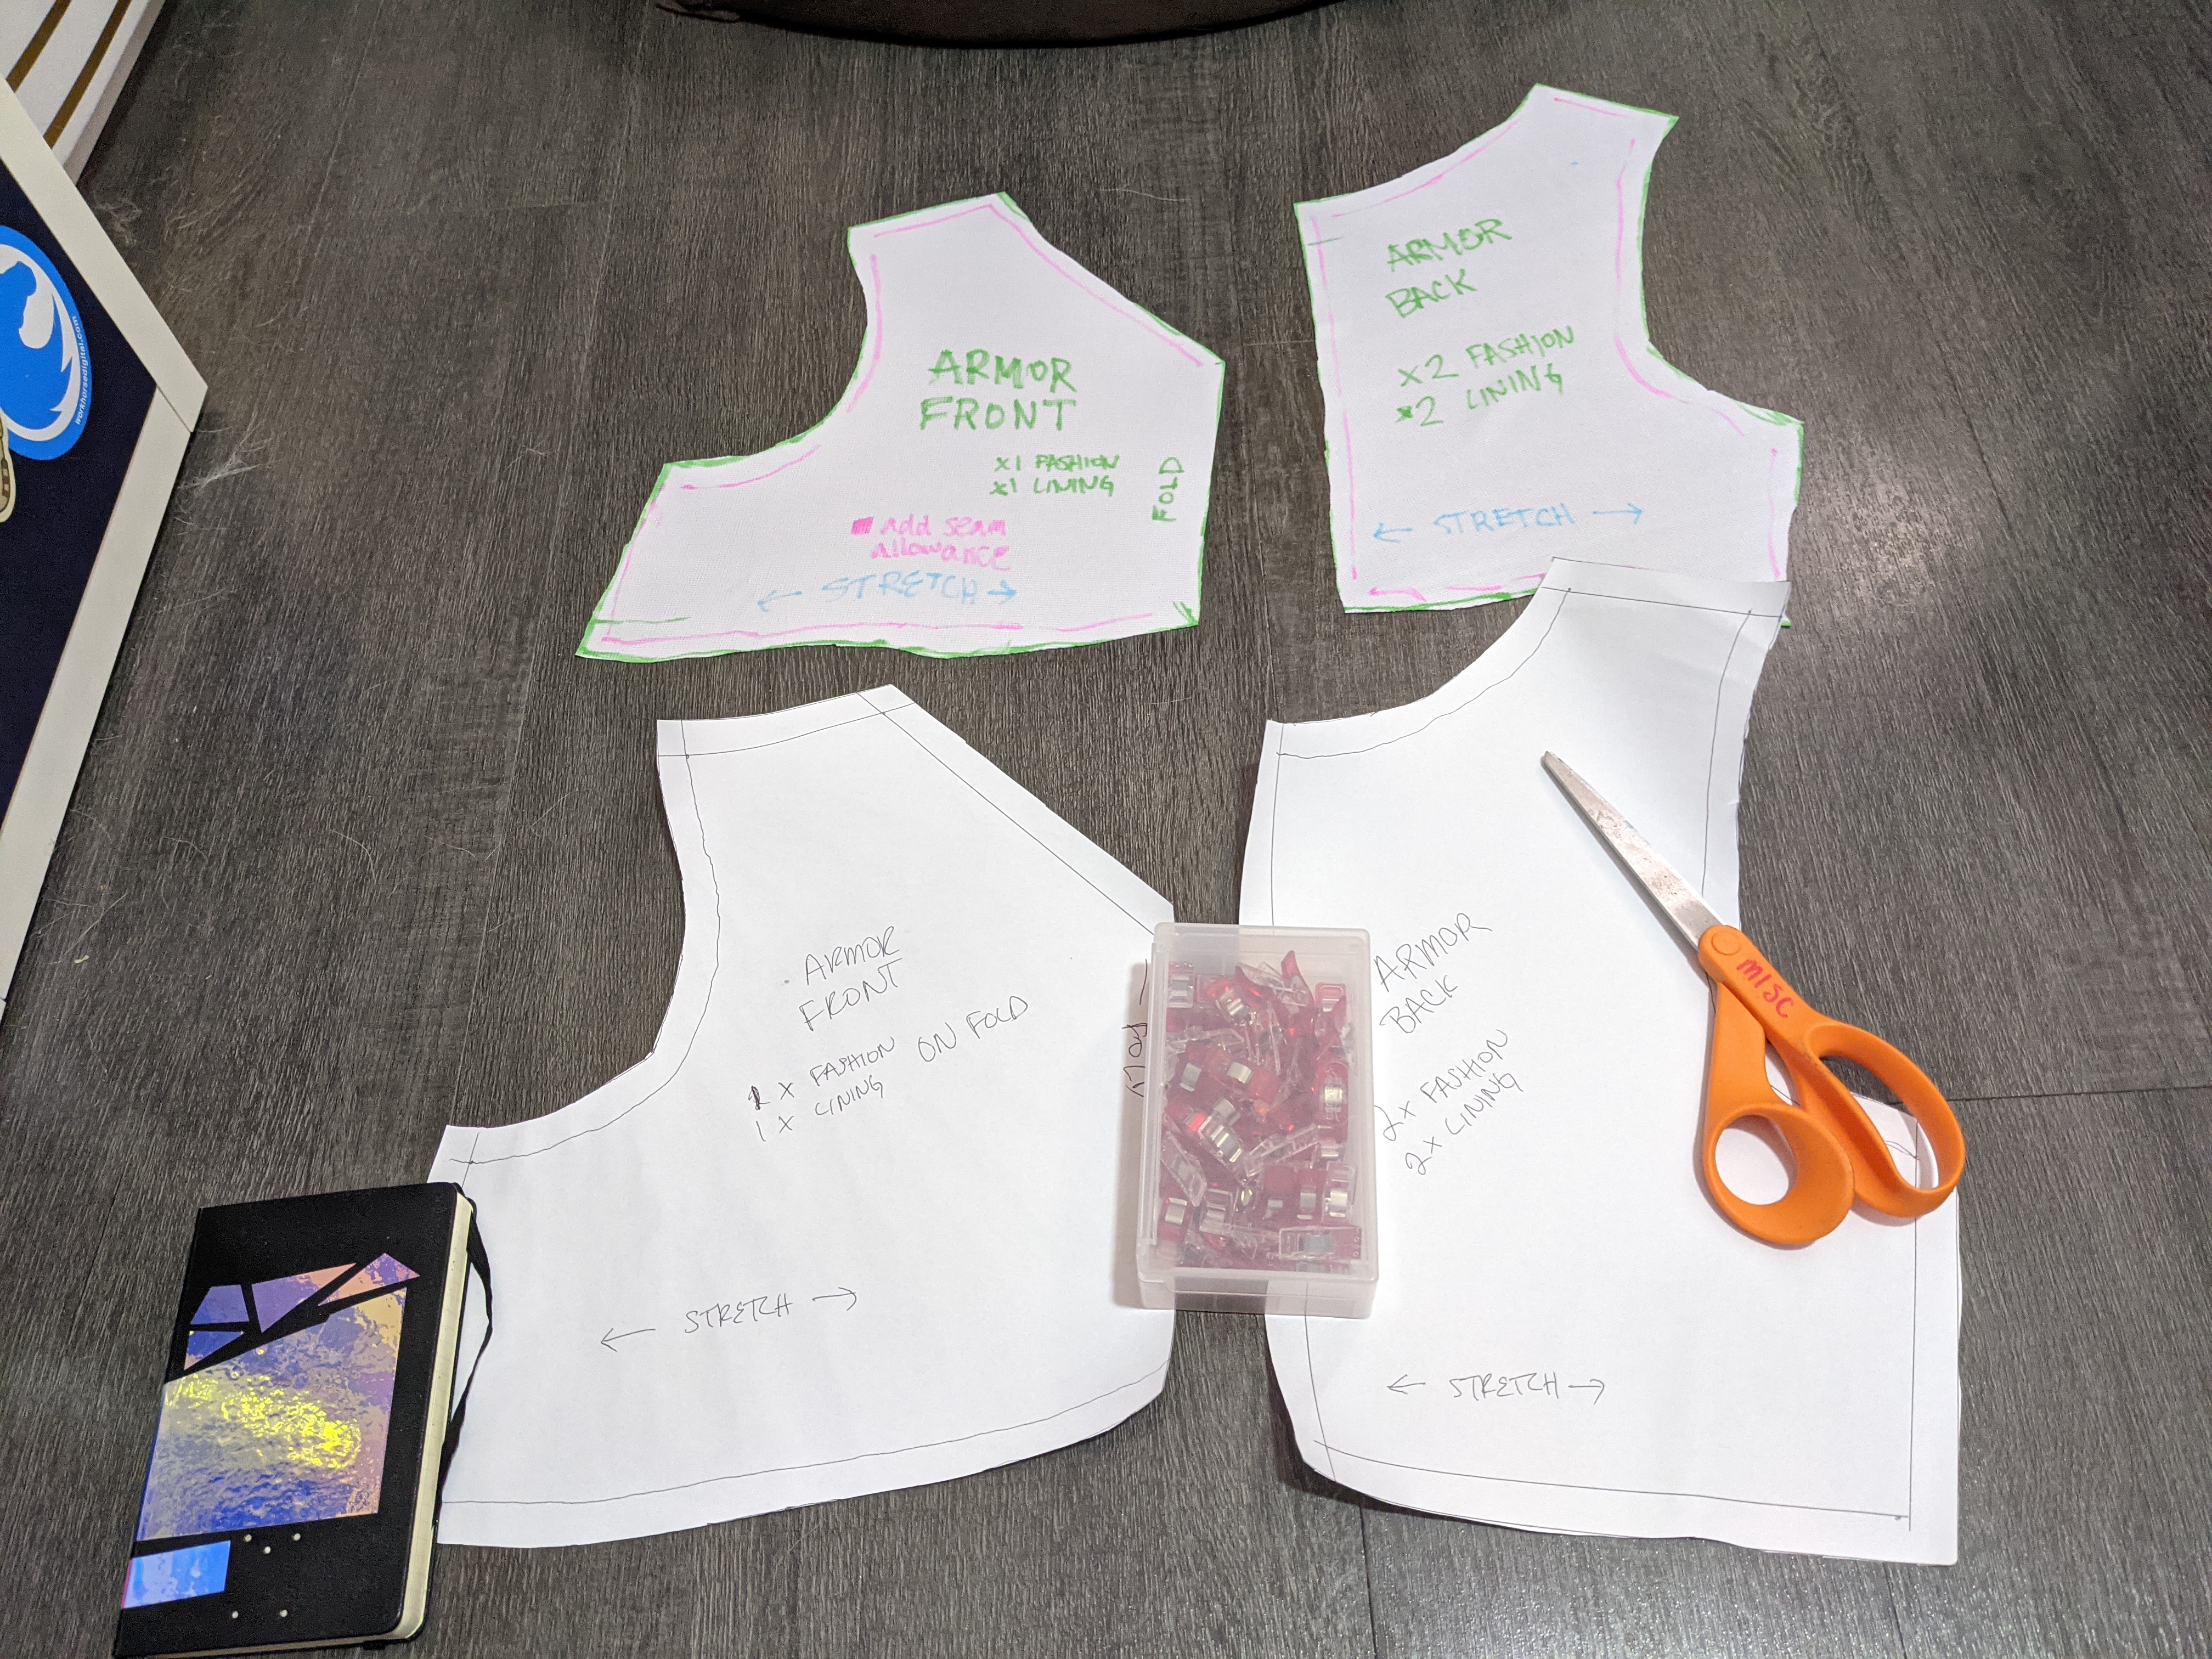
Using my new paper pattern, I made the mockup using the final spandex. I did this knowing that, if it worked well, it would become my armor lining. And thankfully, it did! I made it again for the fashion layer, then stitched the two pieces together at the bottom hem. I finished the neckline with a zigzag stitch and left the armholes raw since they’d be finished with the shoulder rolls.
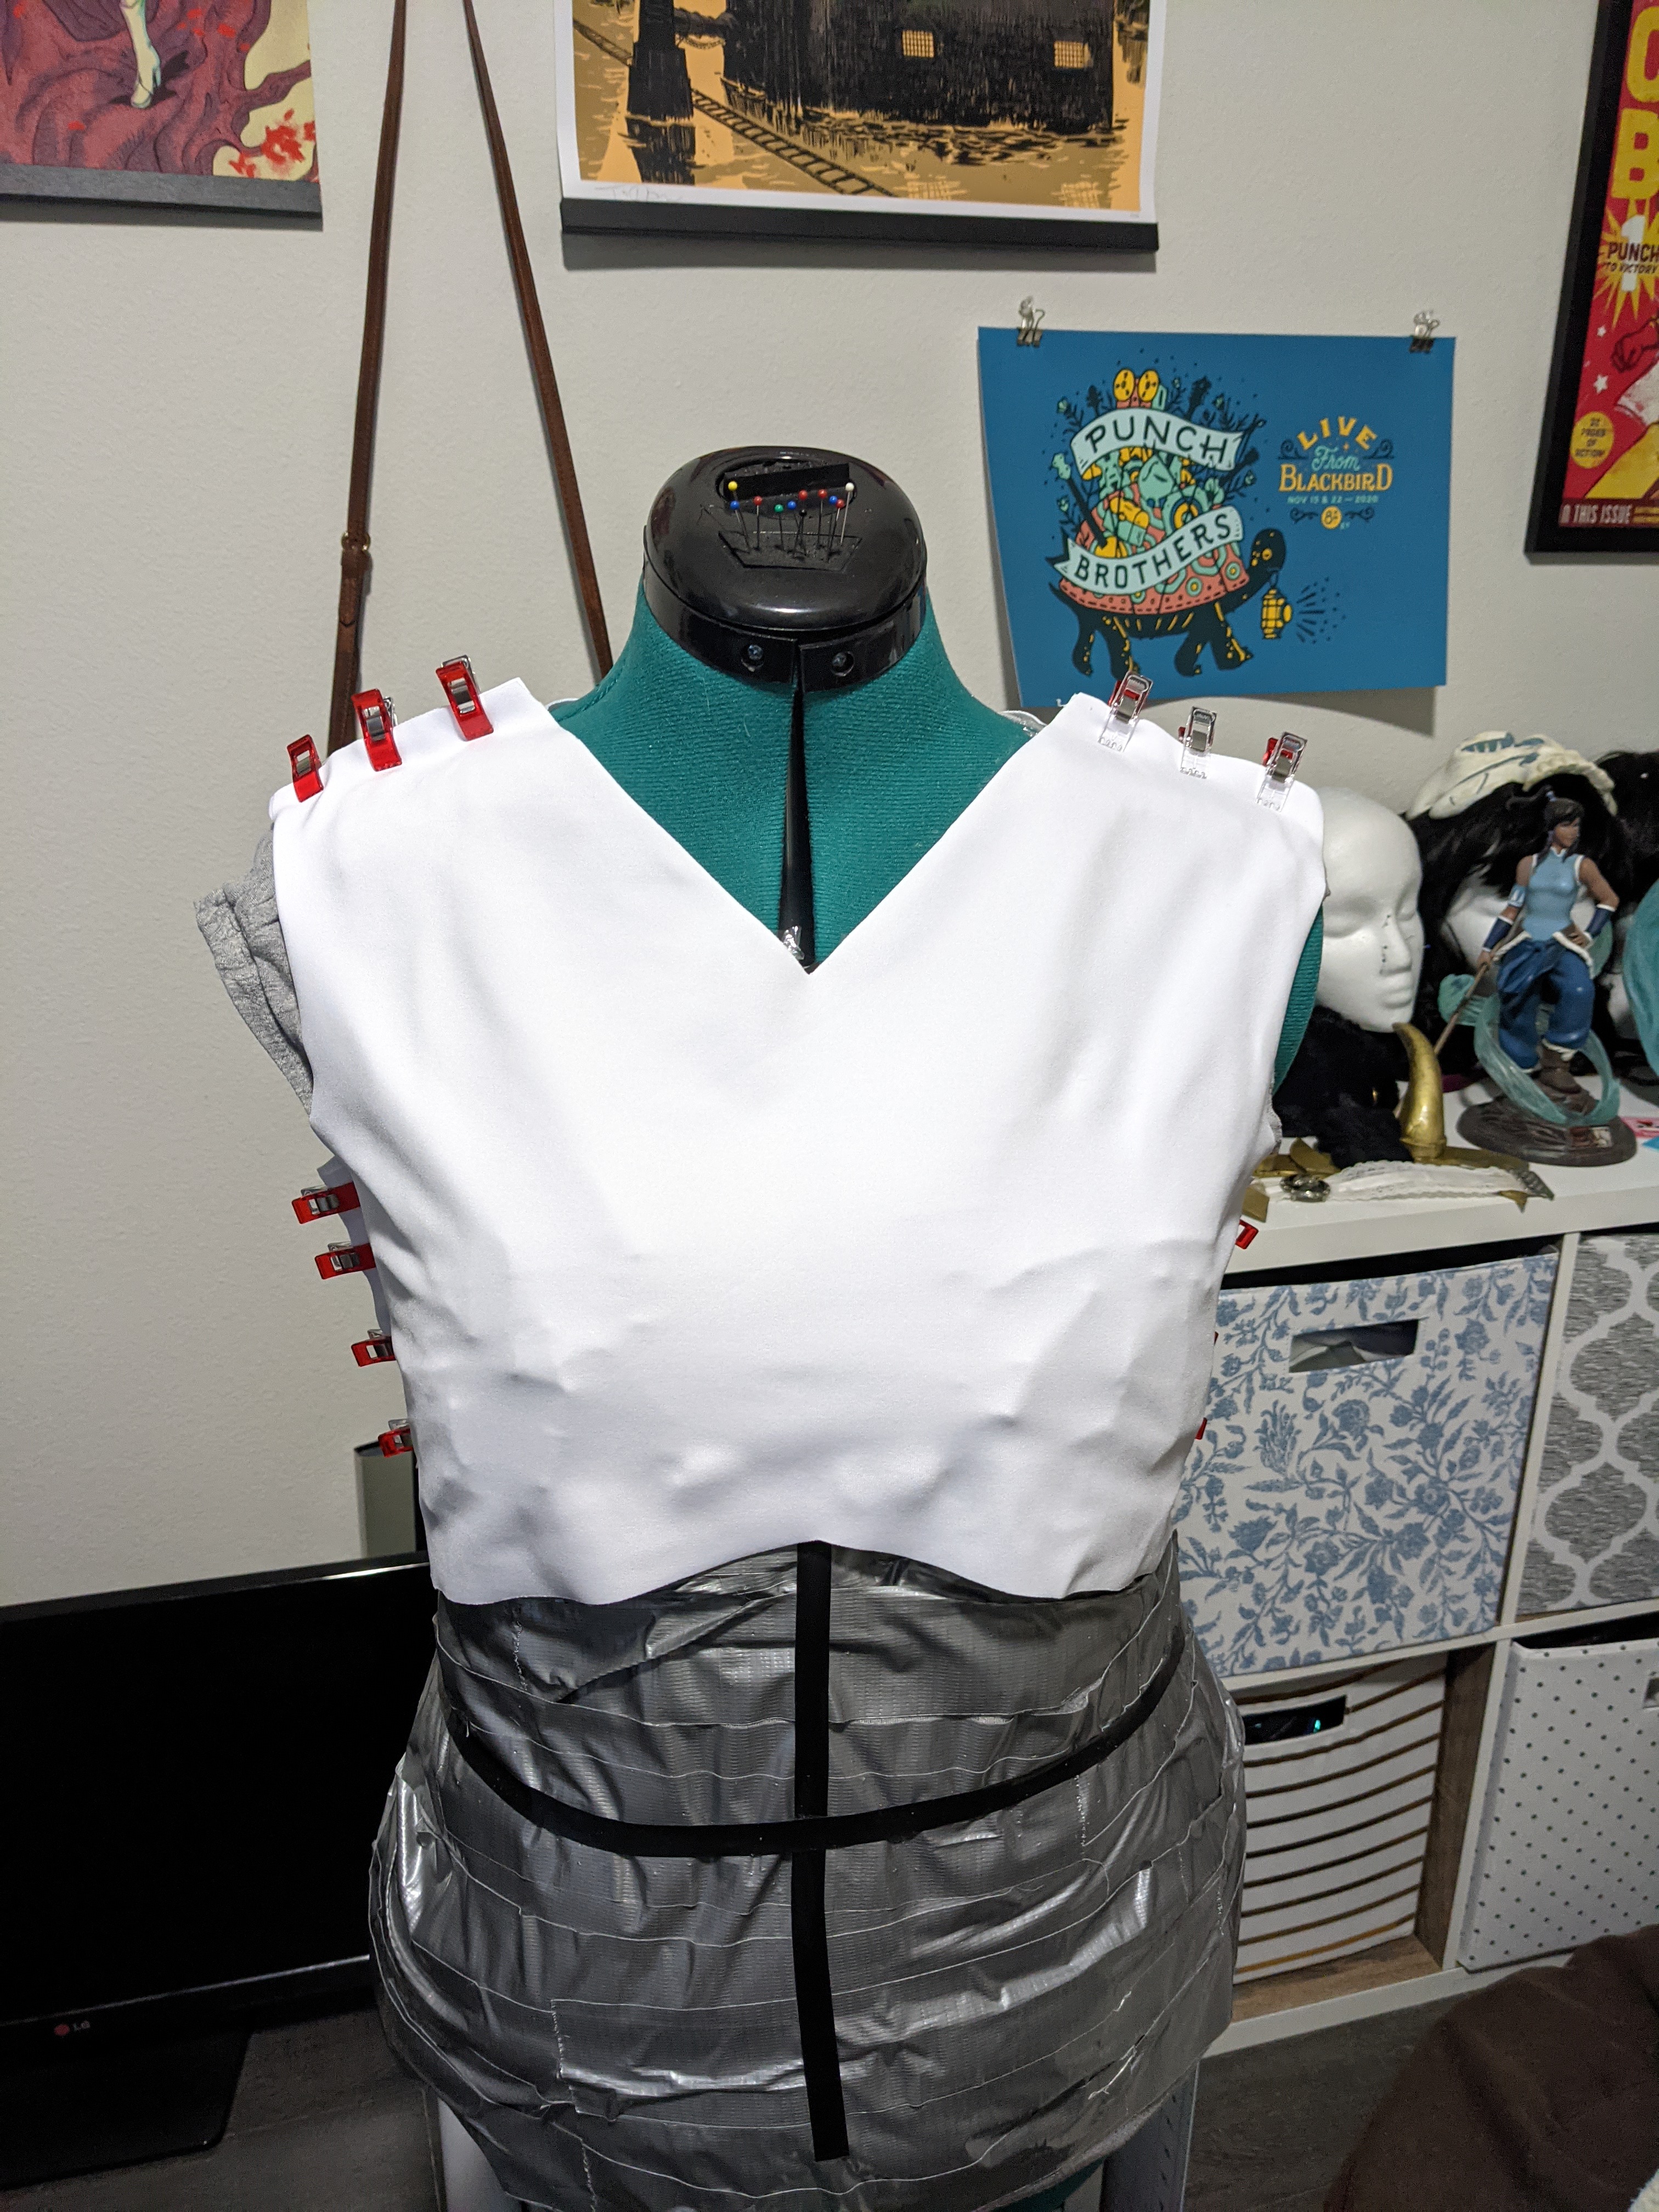
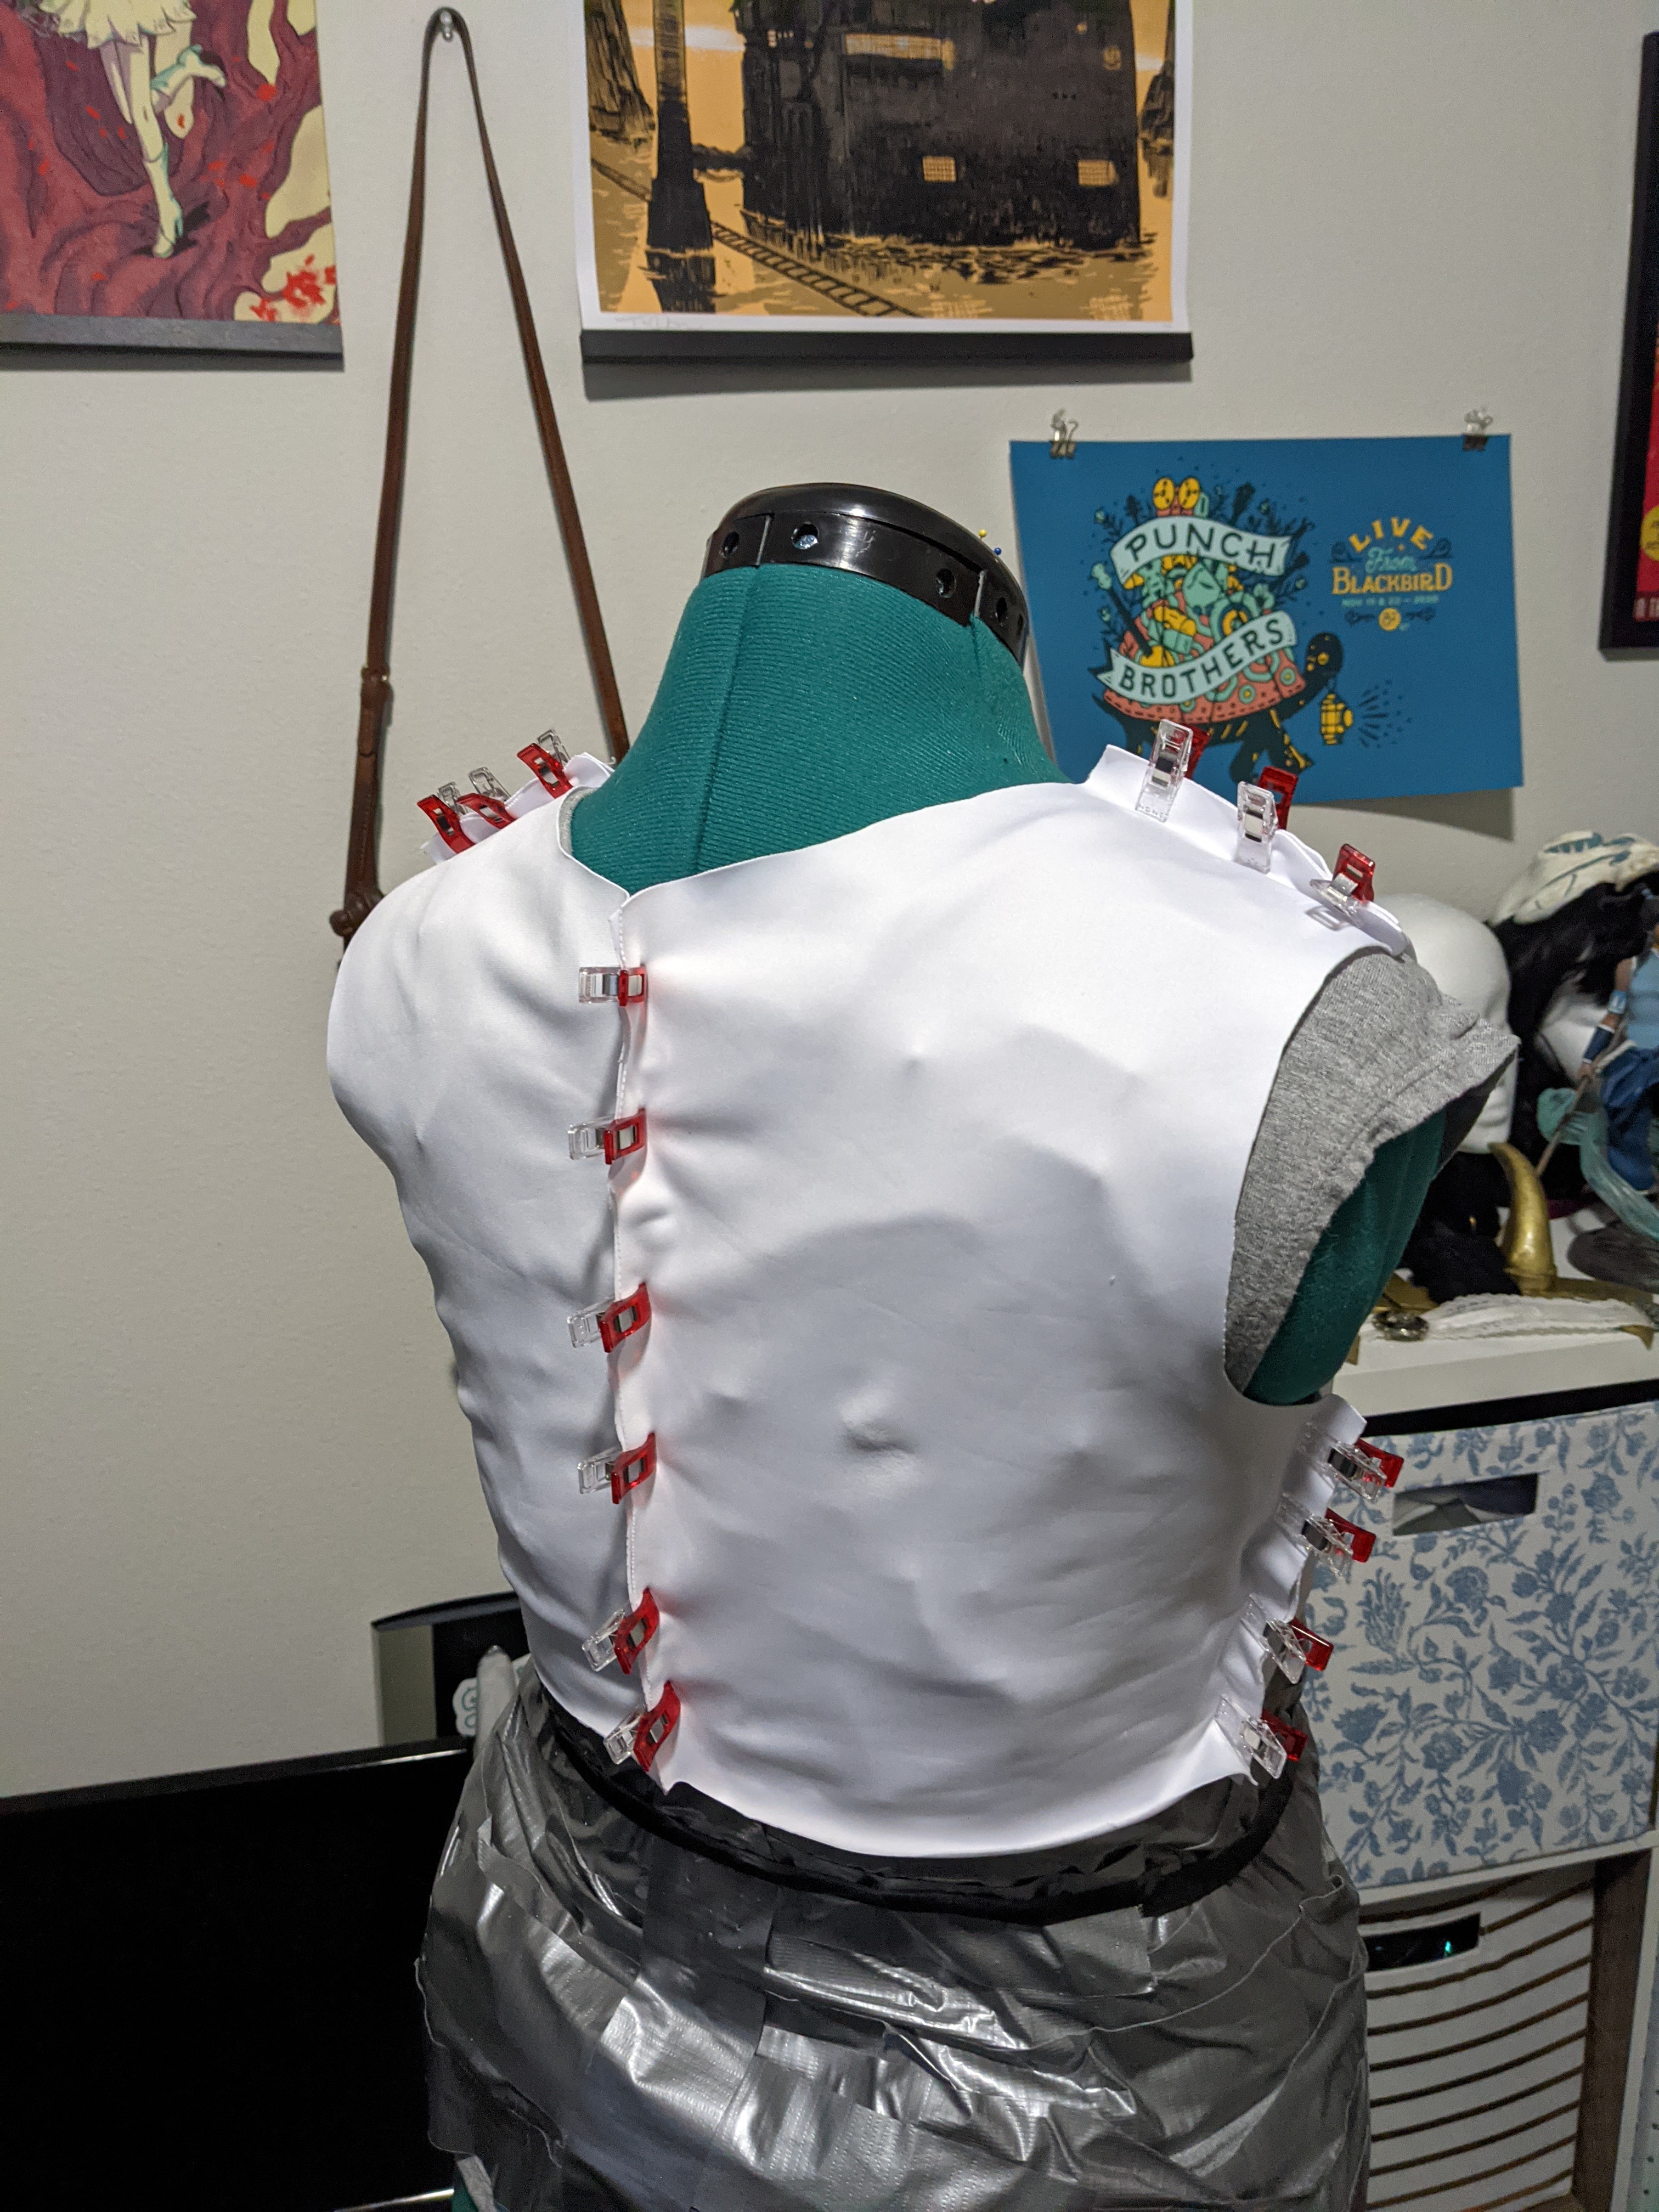
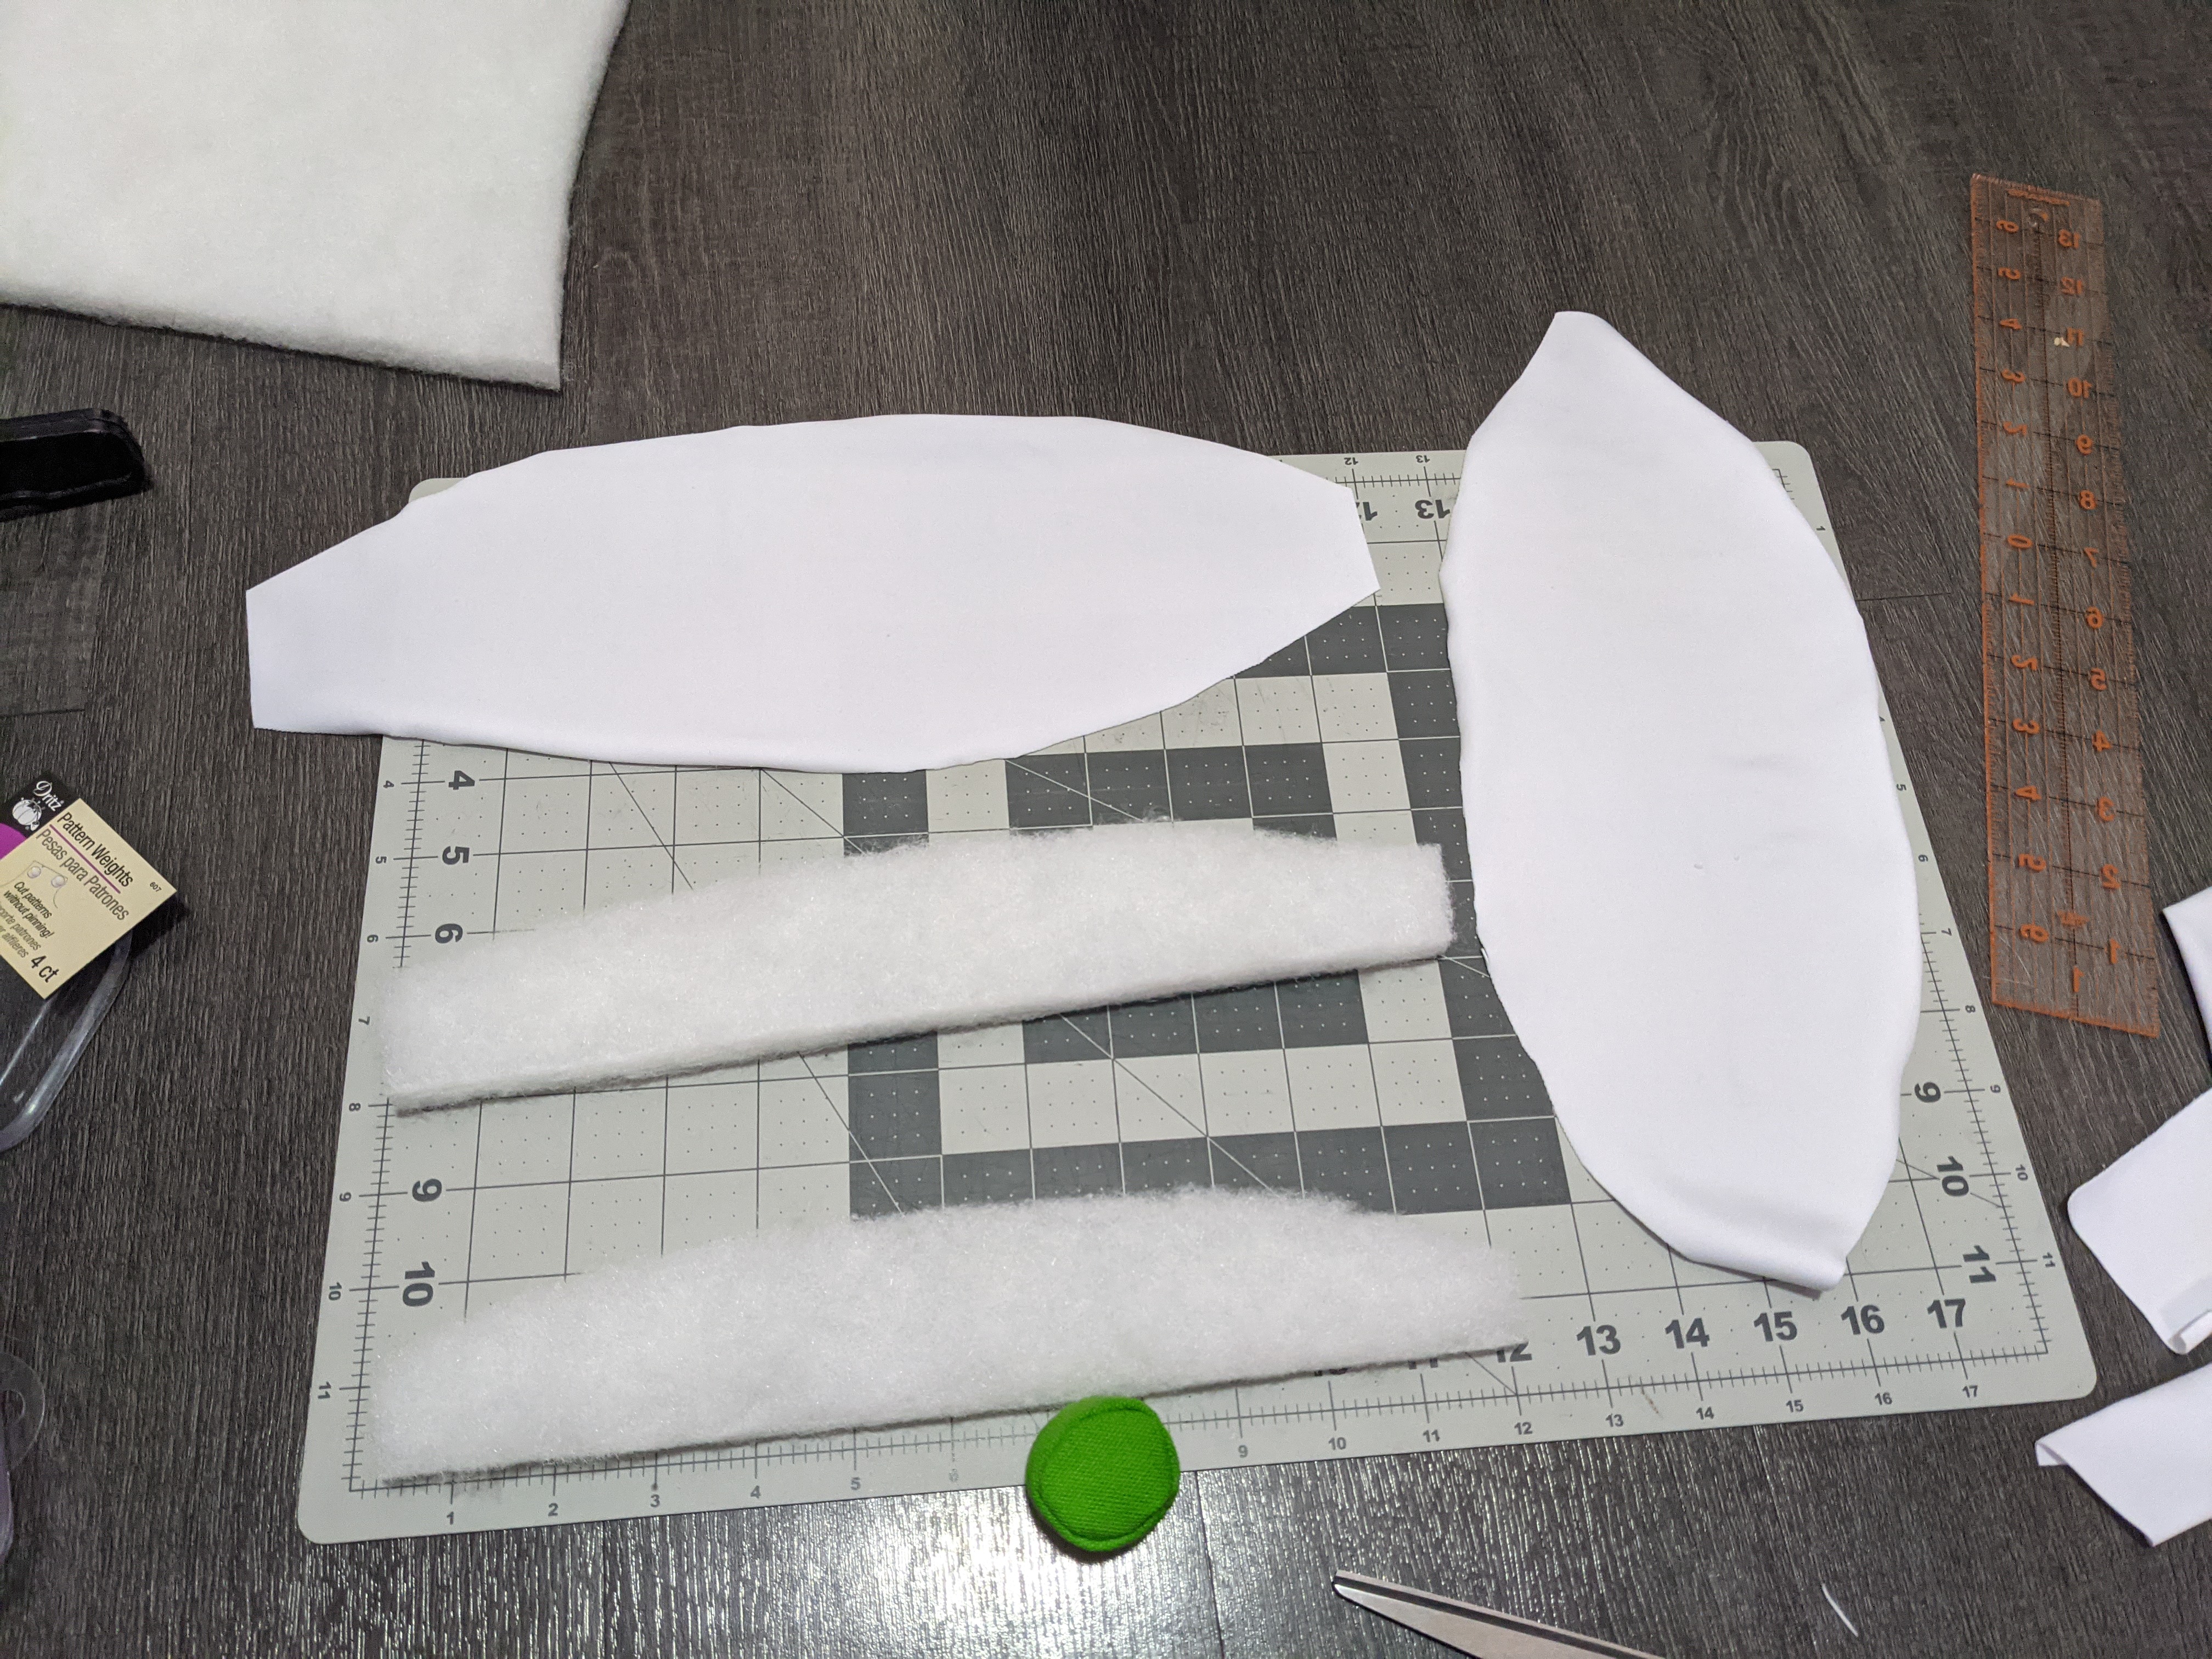
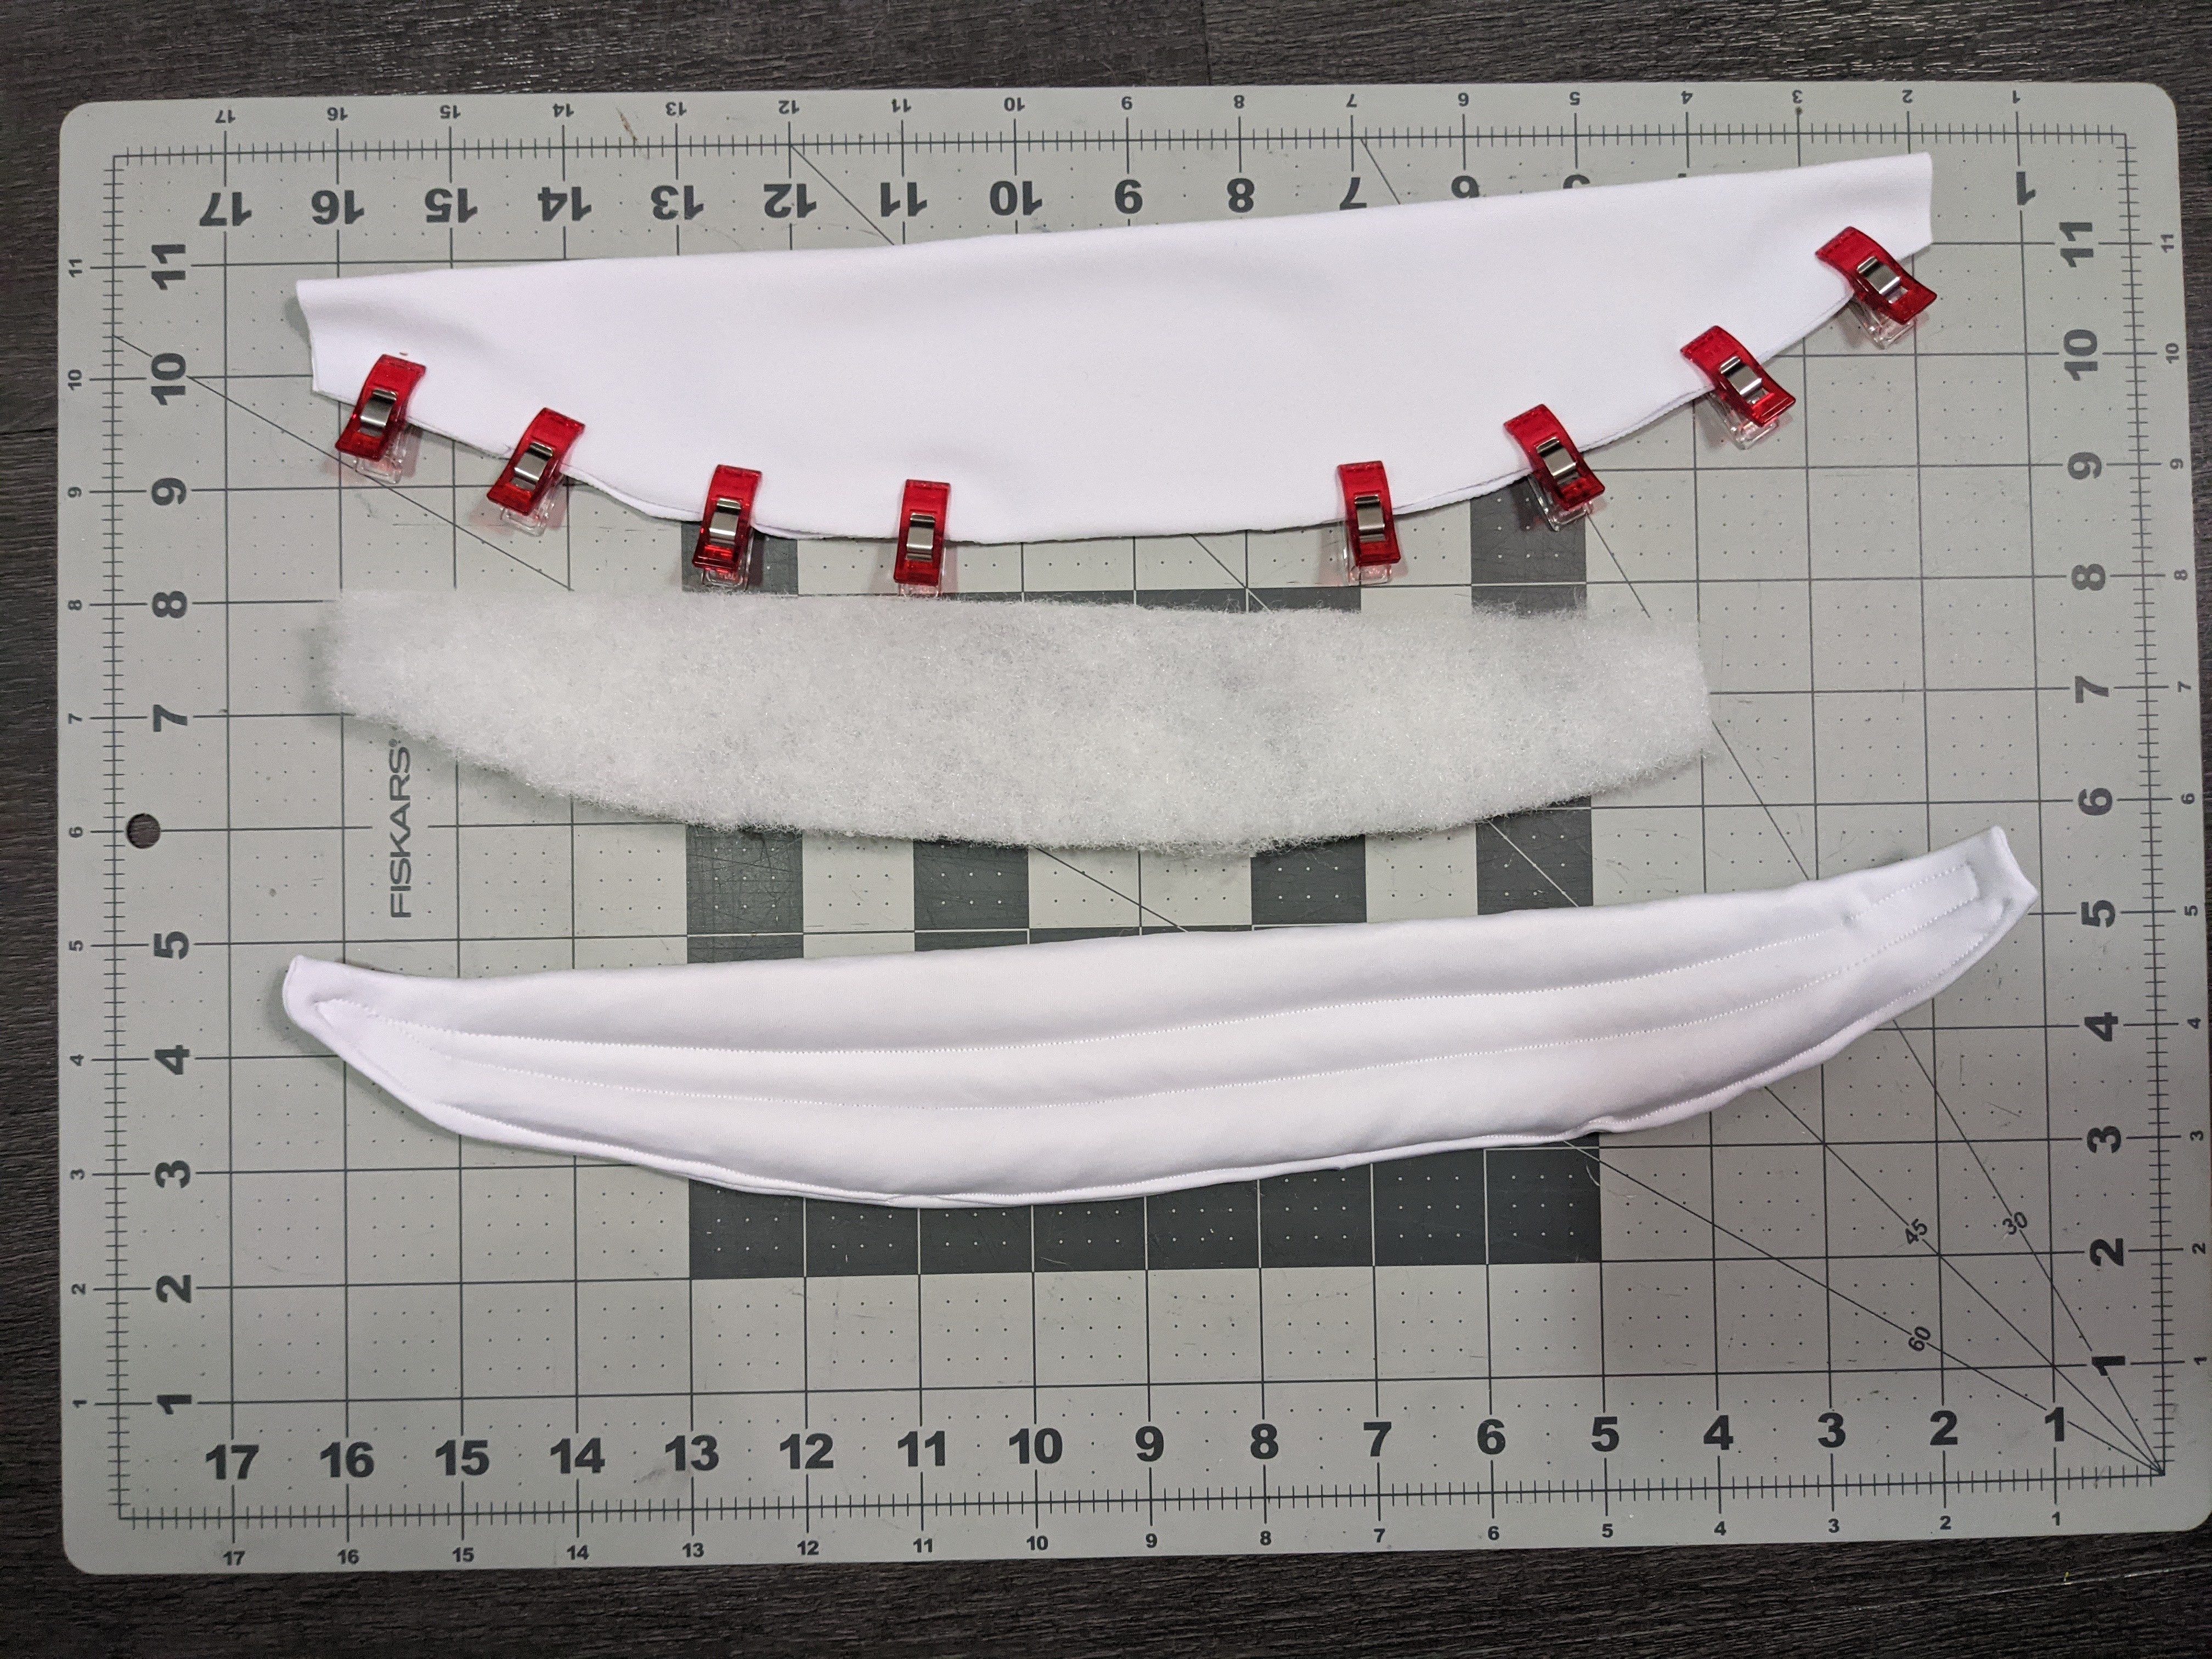
To make the shoulder rolls, I referenced Sparkle Pipsi‘s tutorial. (Get used to me mentioning these tutorials because I used them a lot.) I used upholstery foam instead of batting and it seemed to work out nicely!
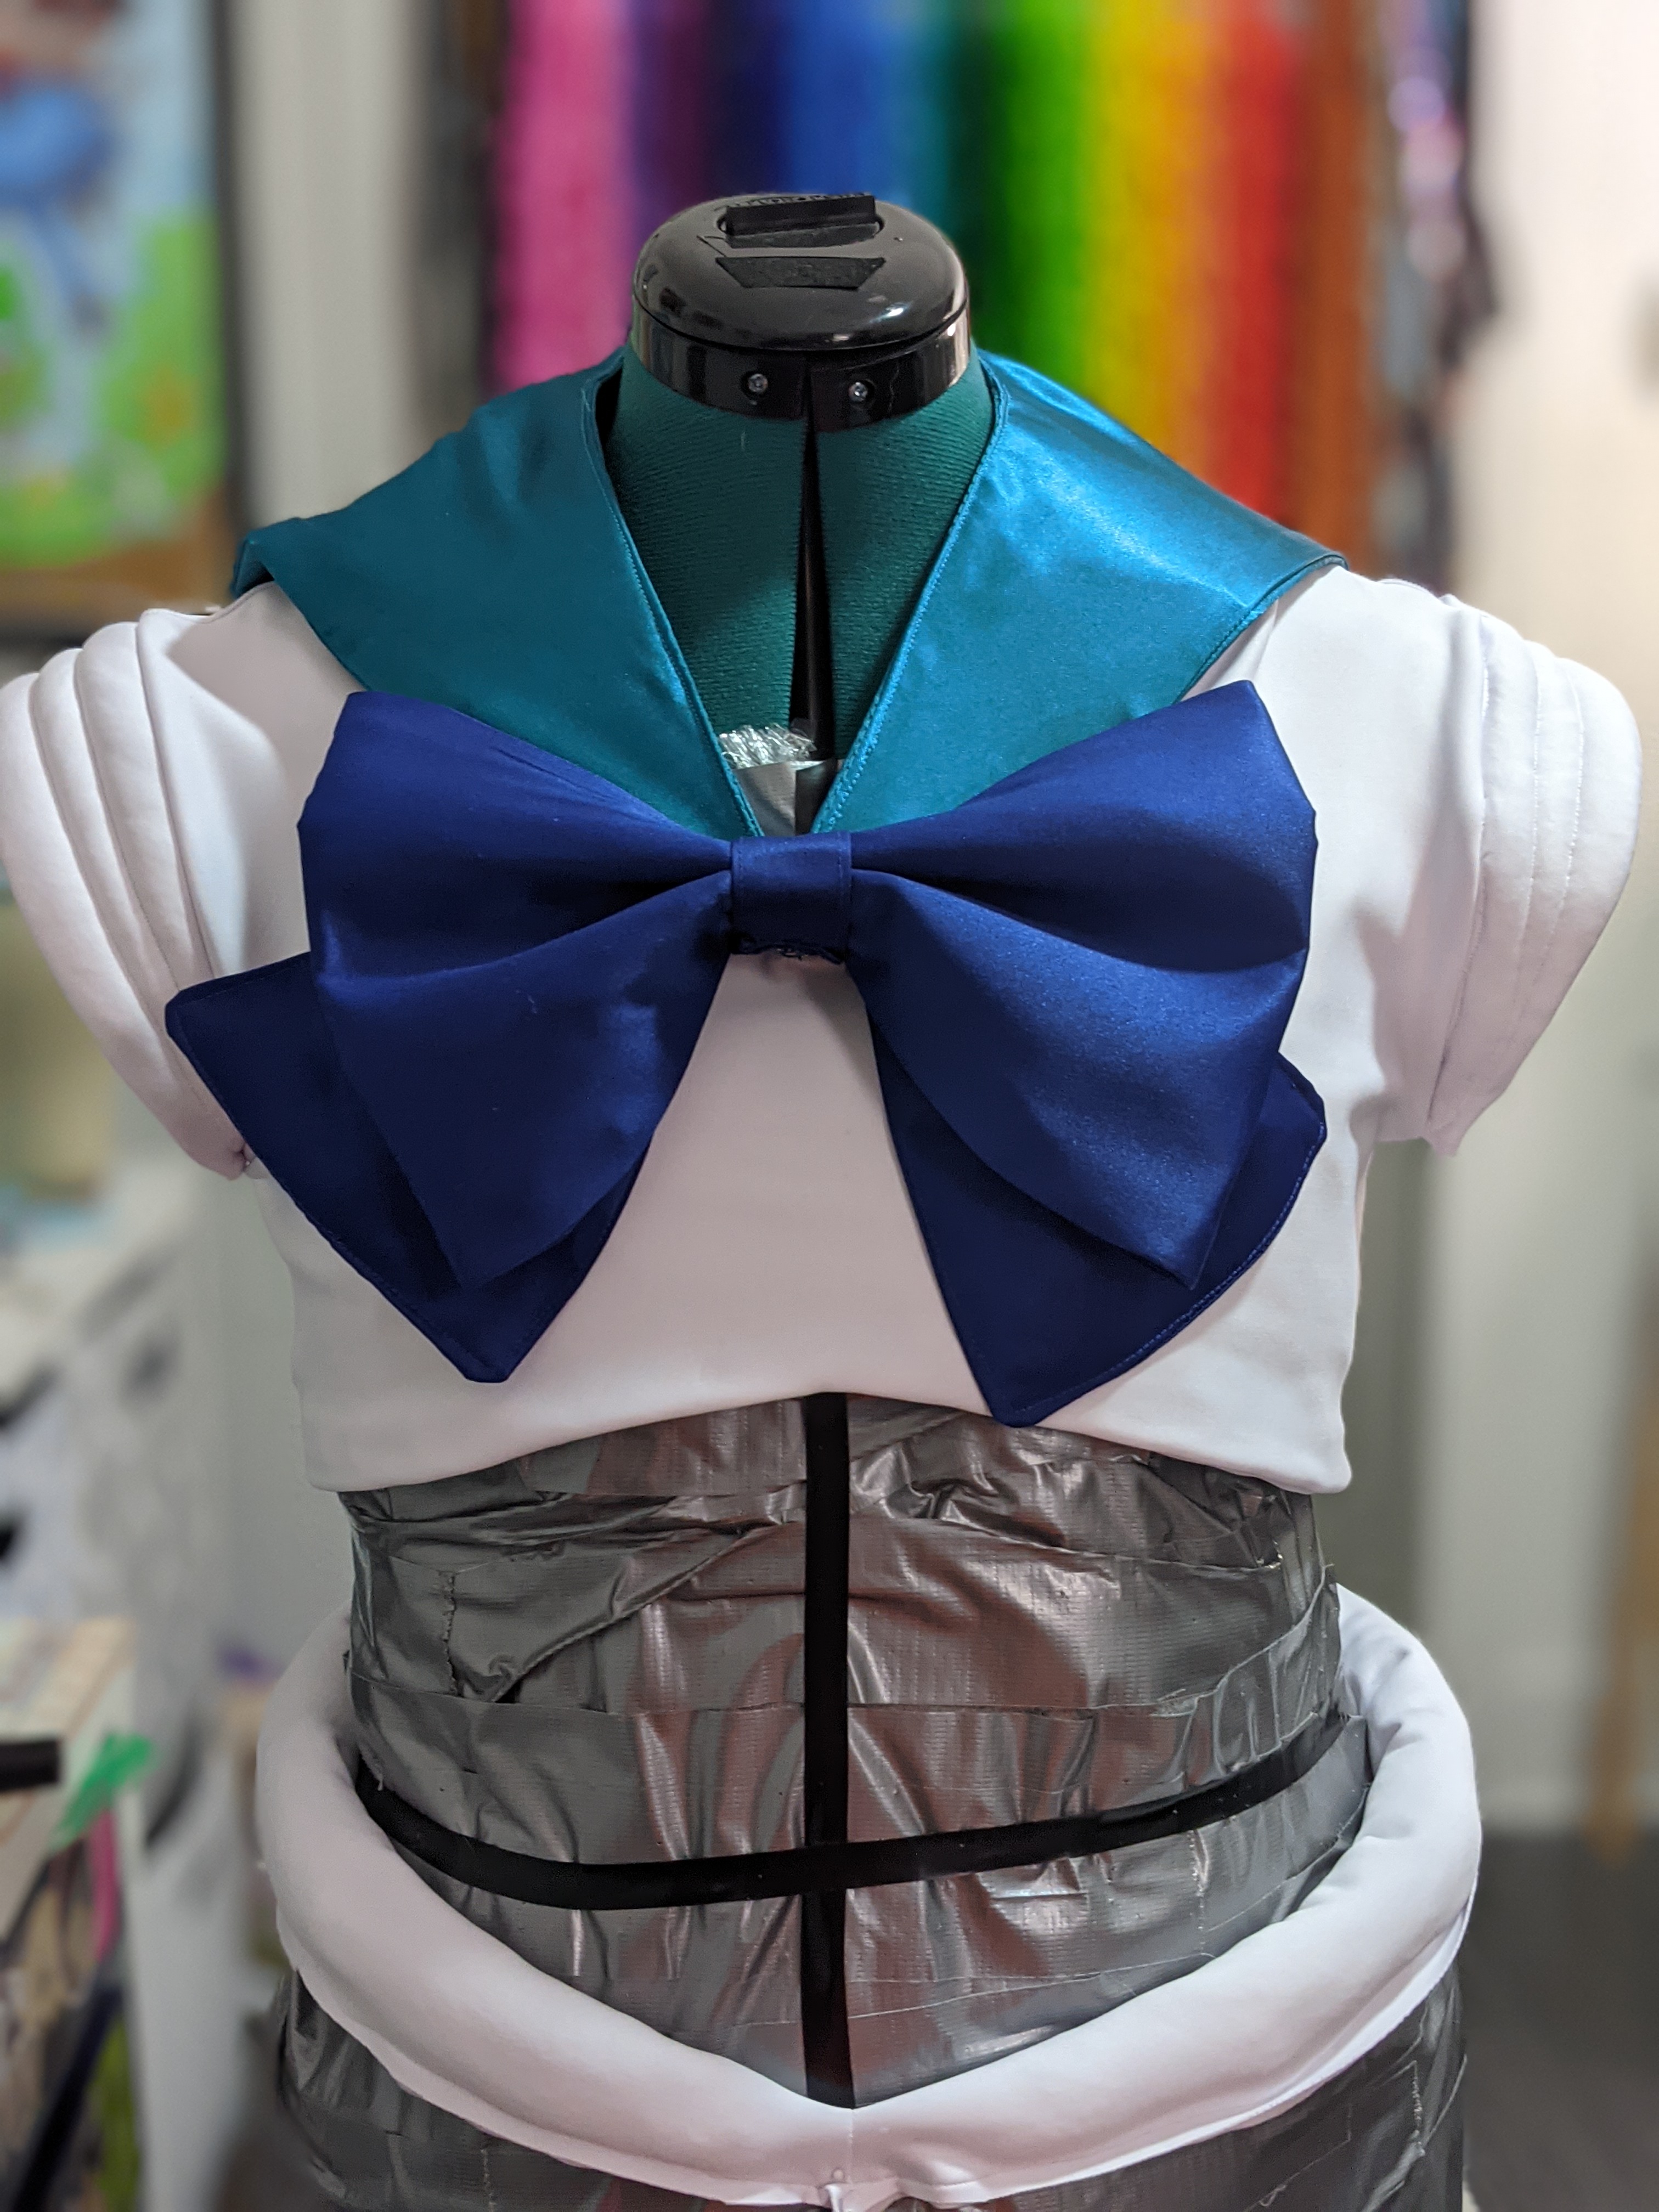
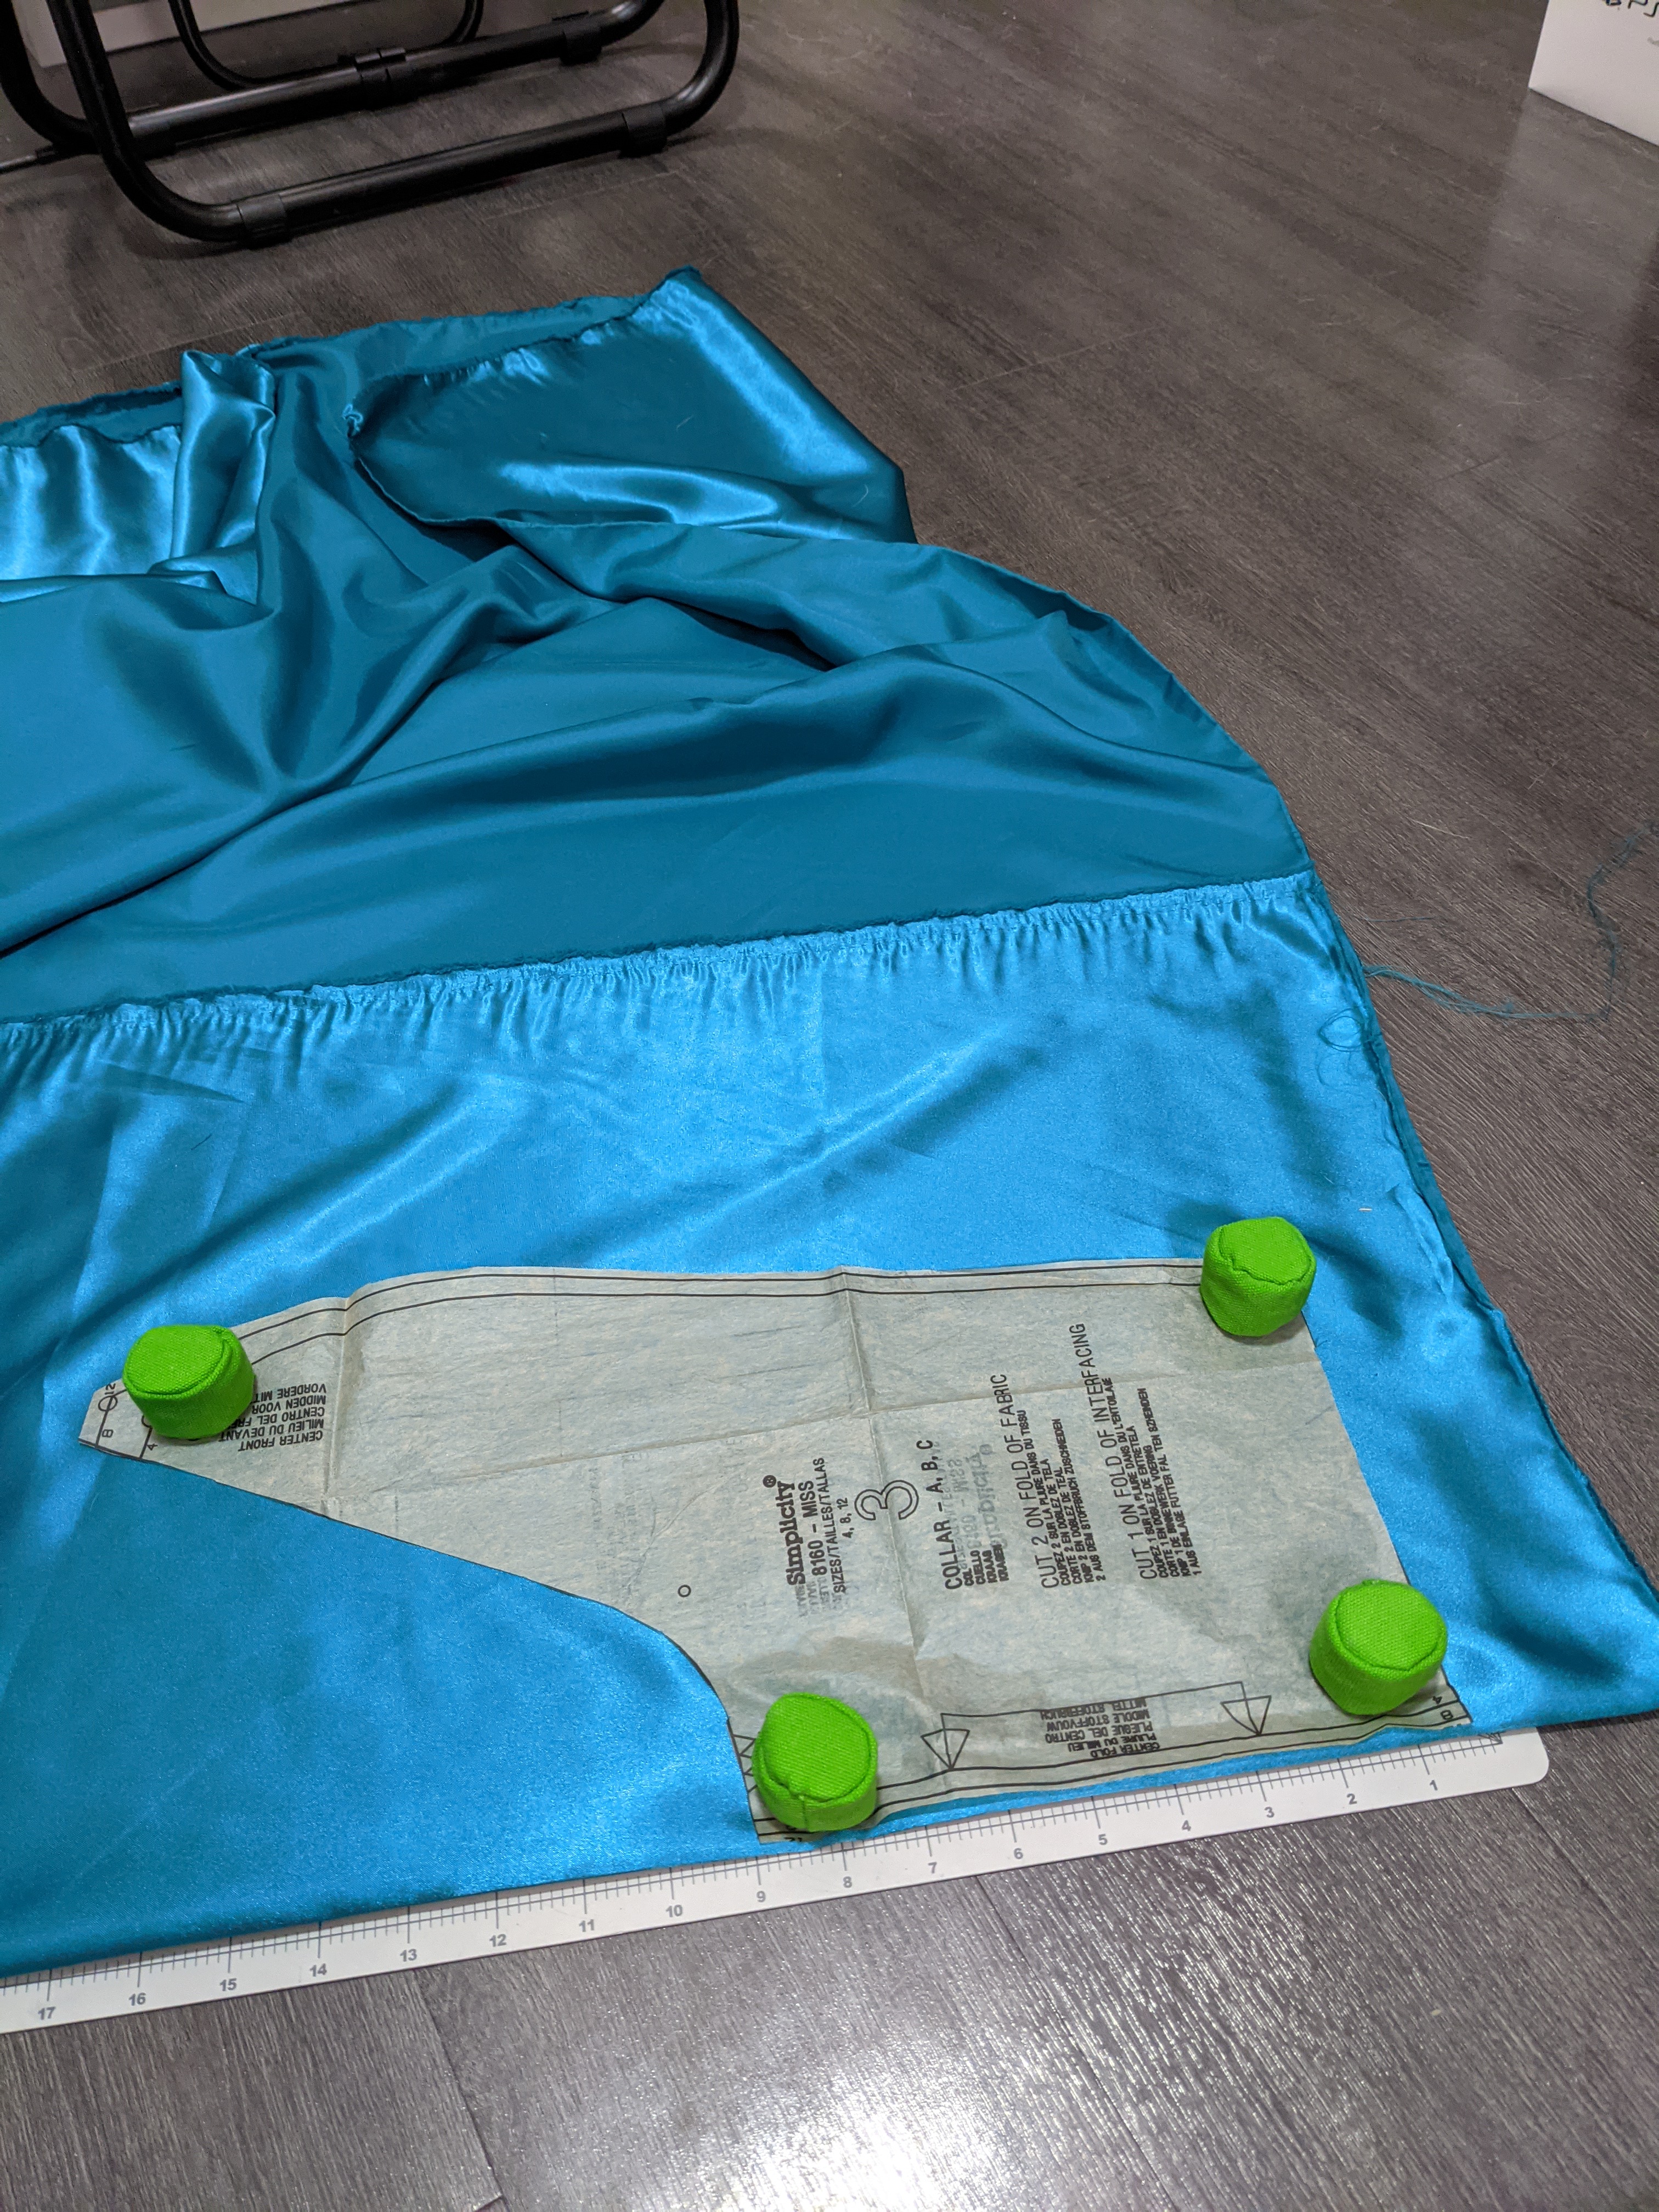
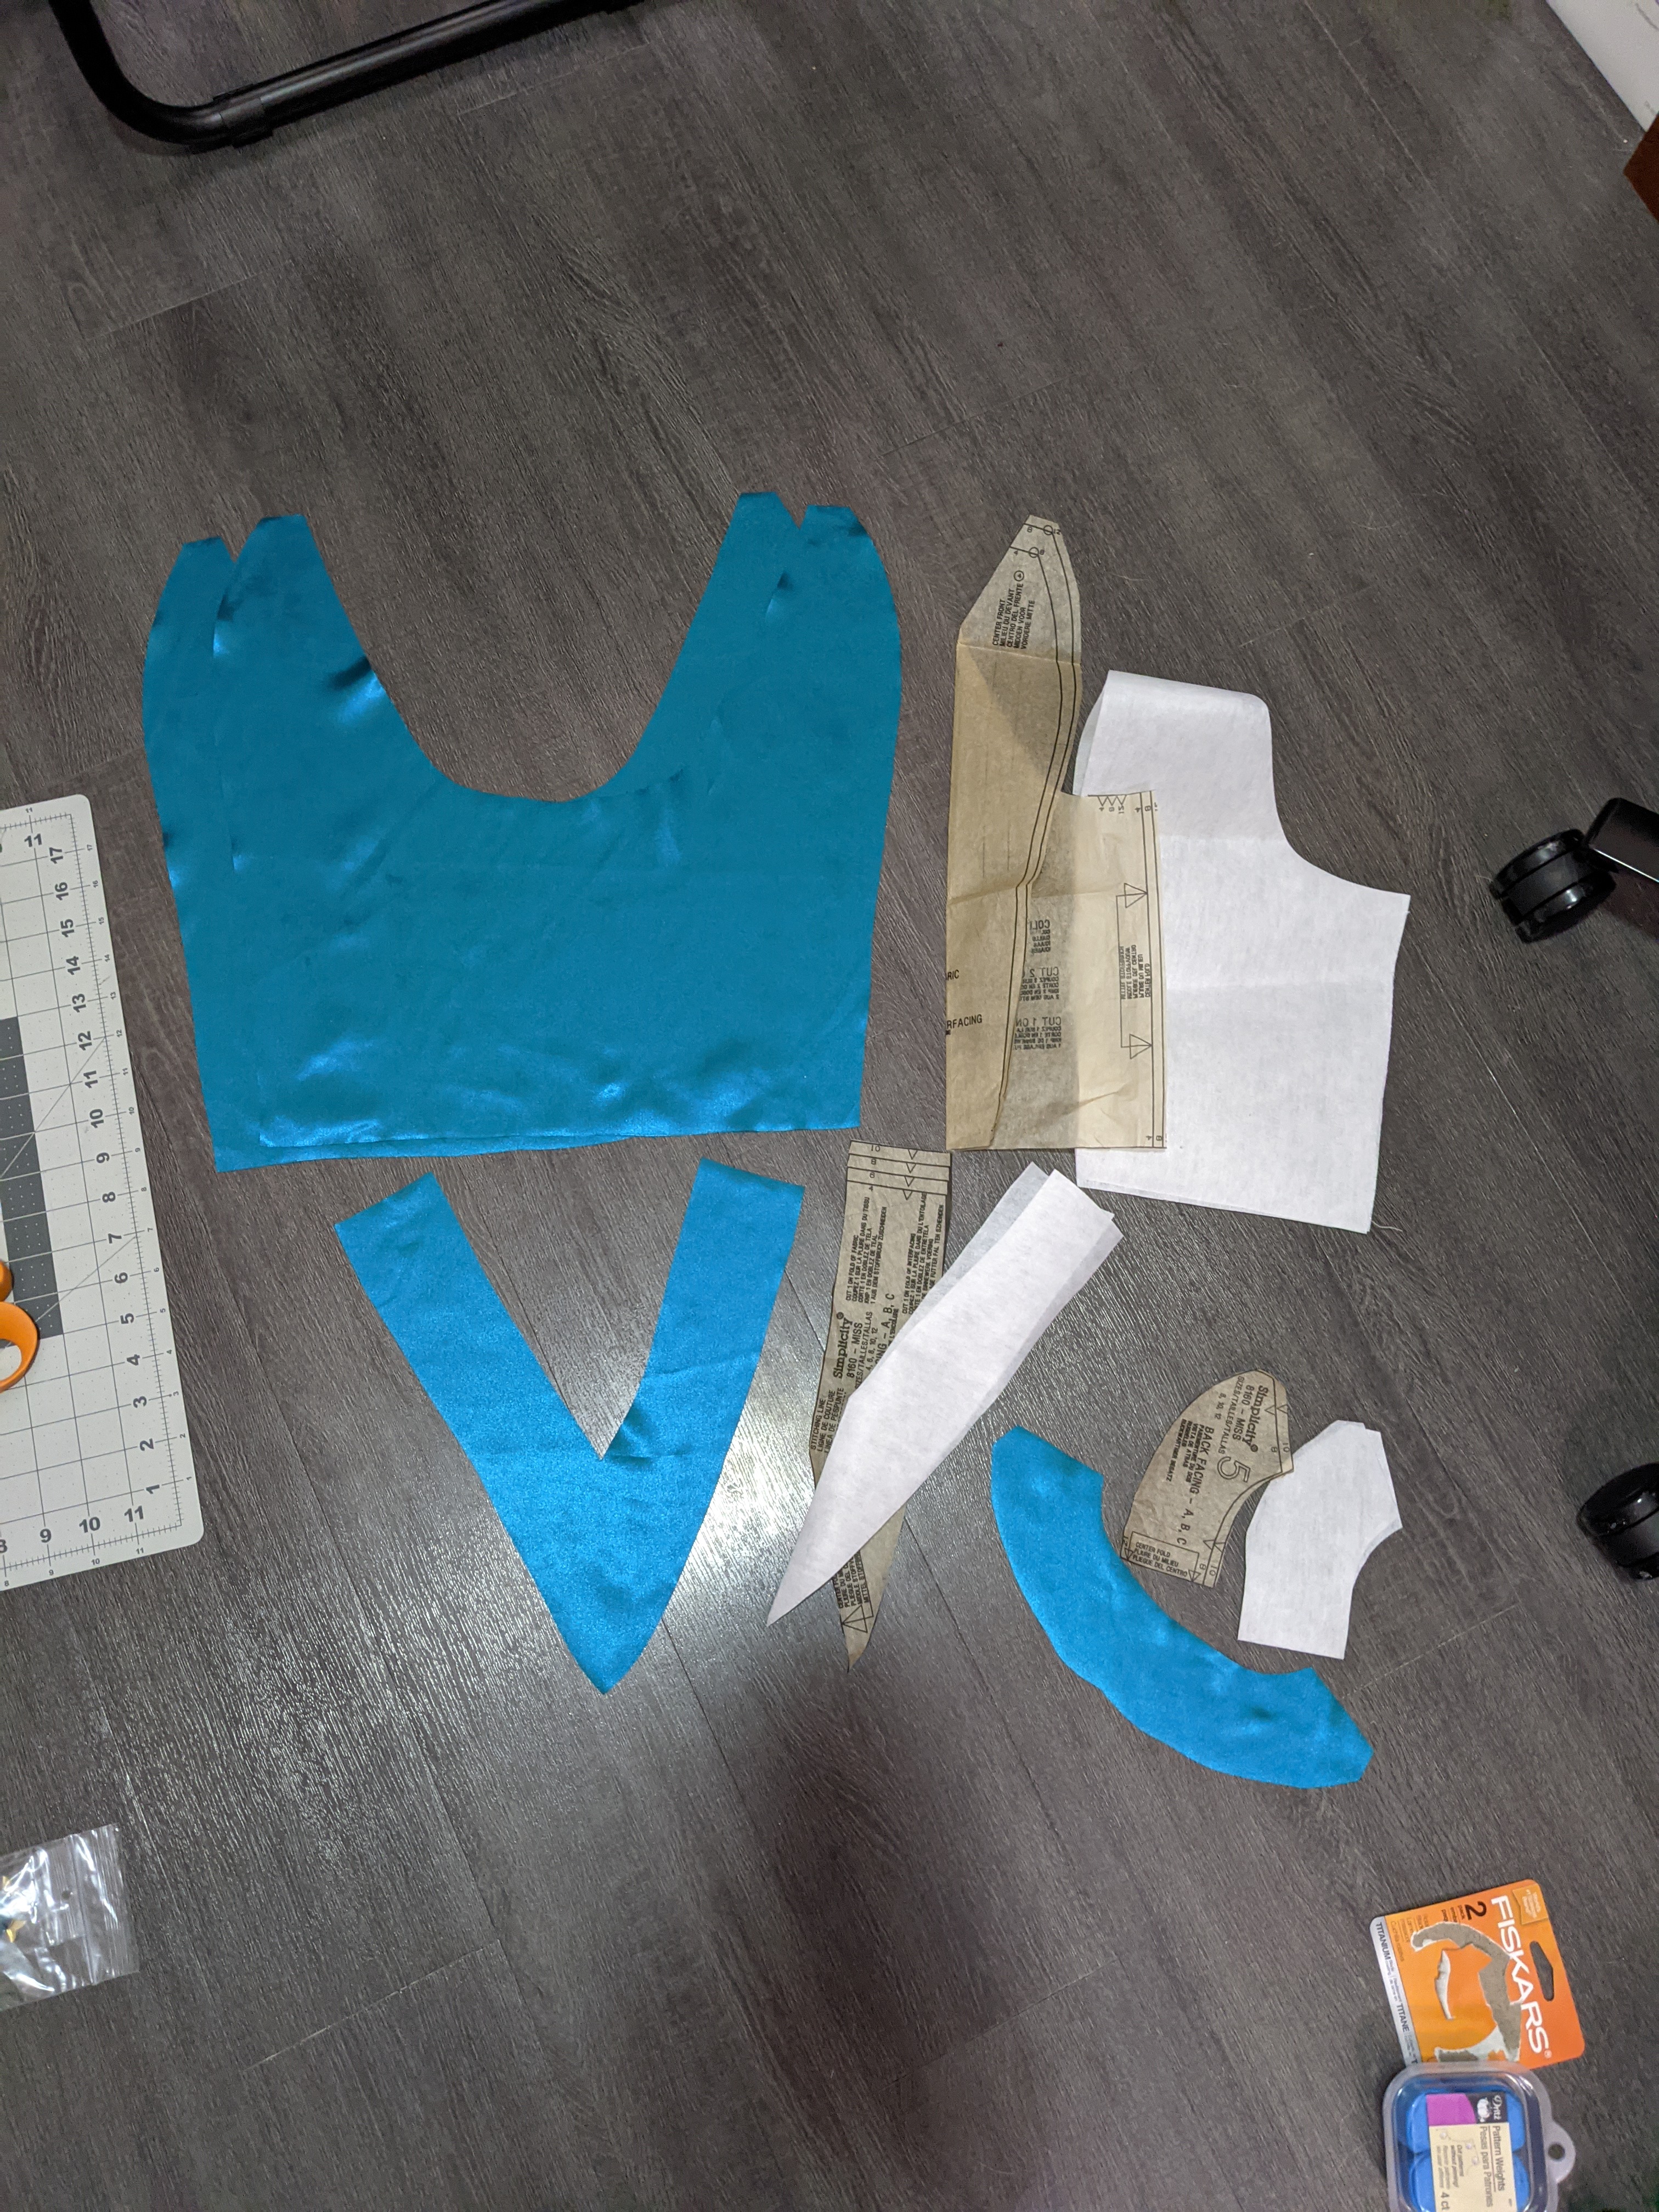
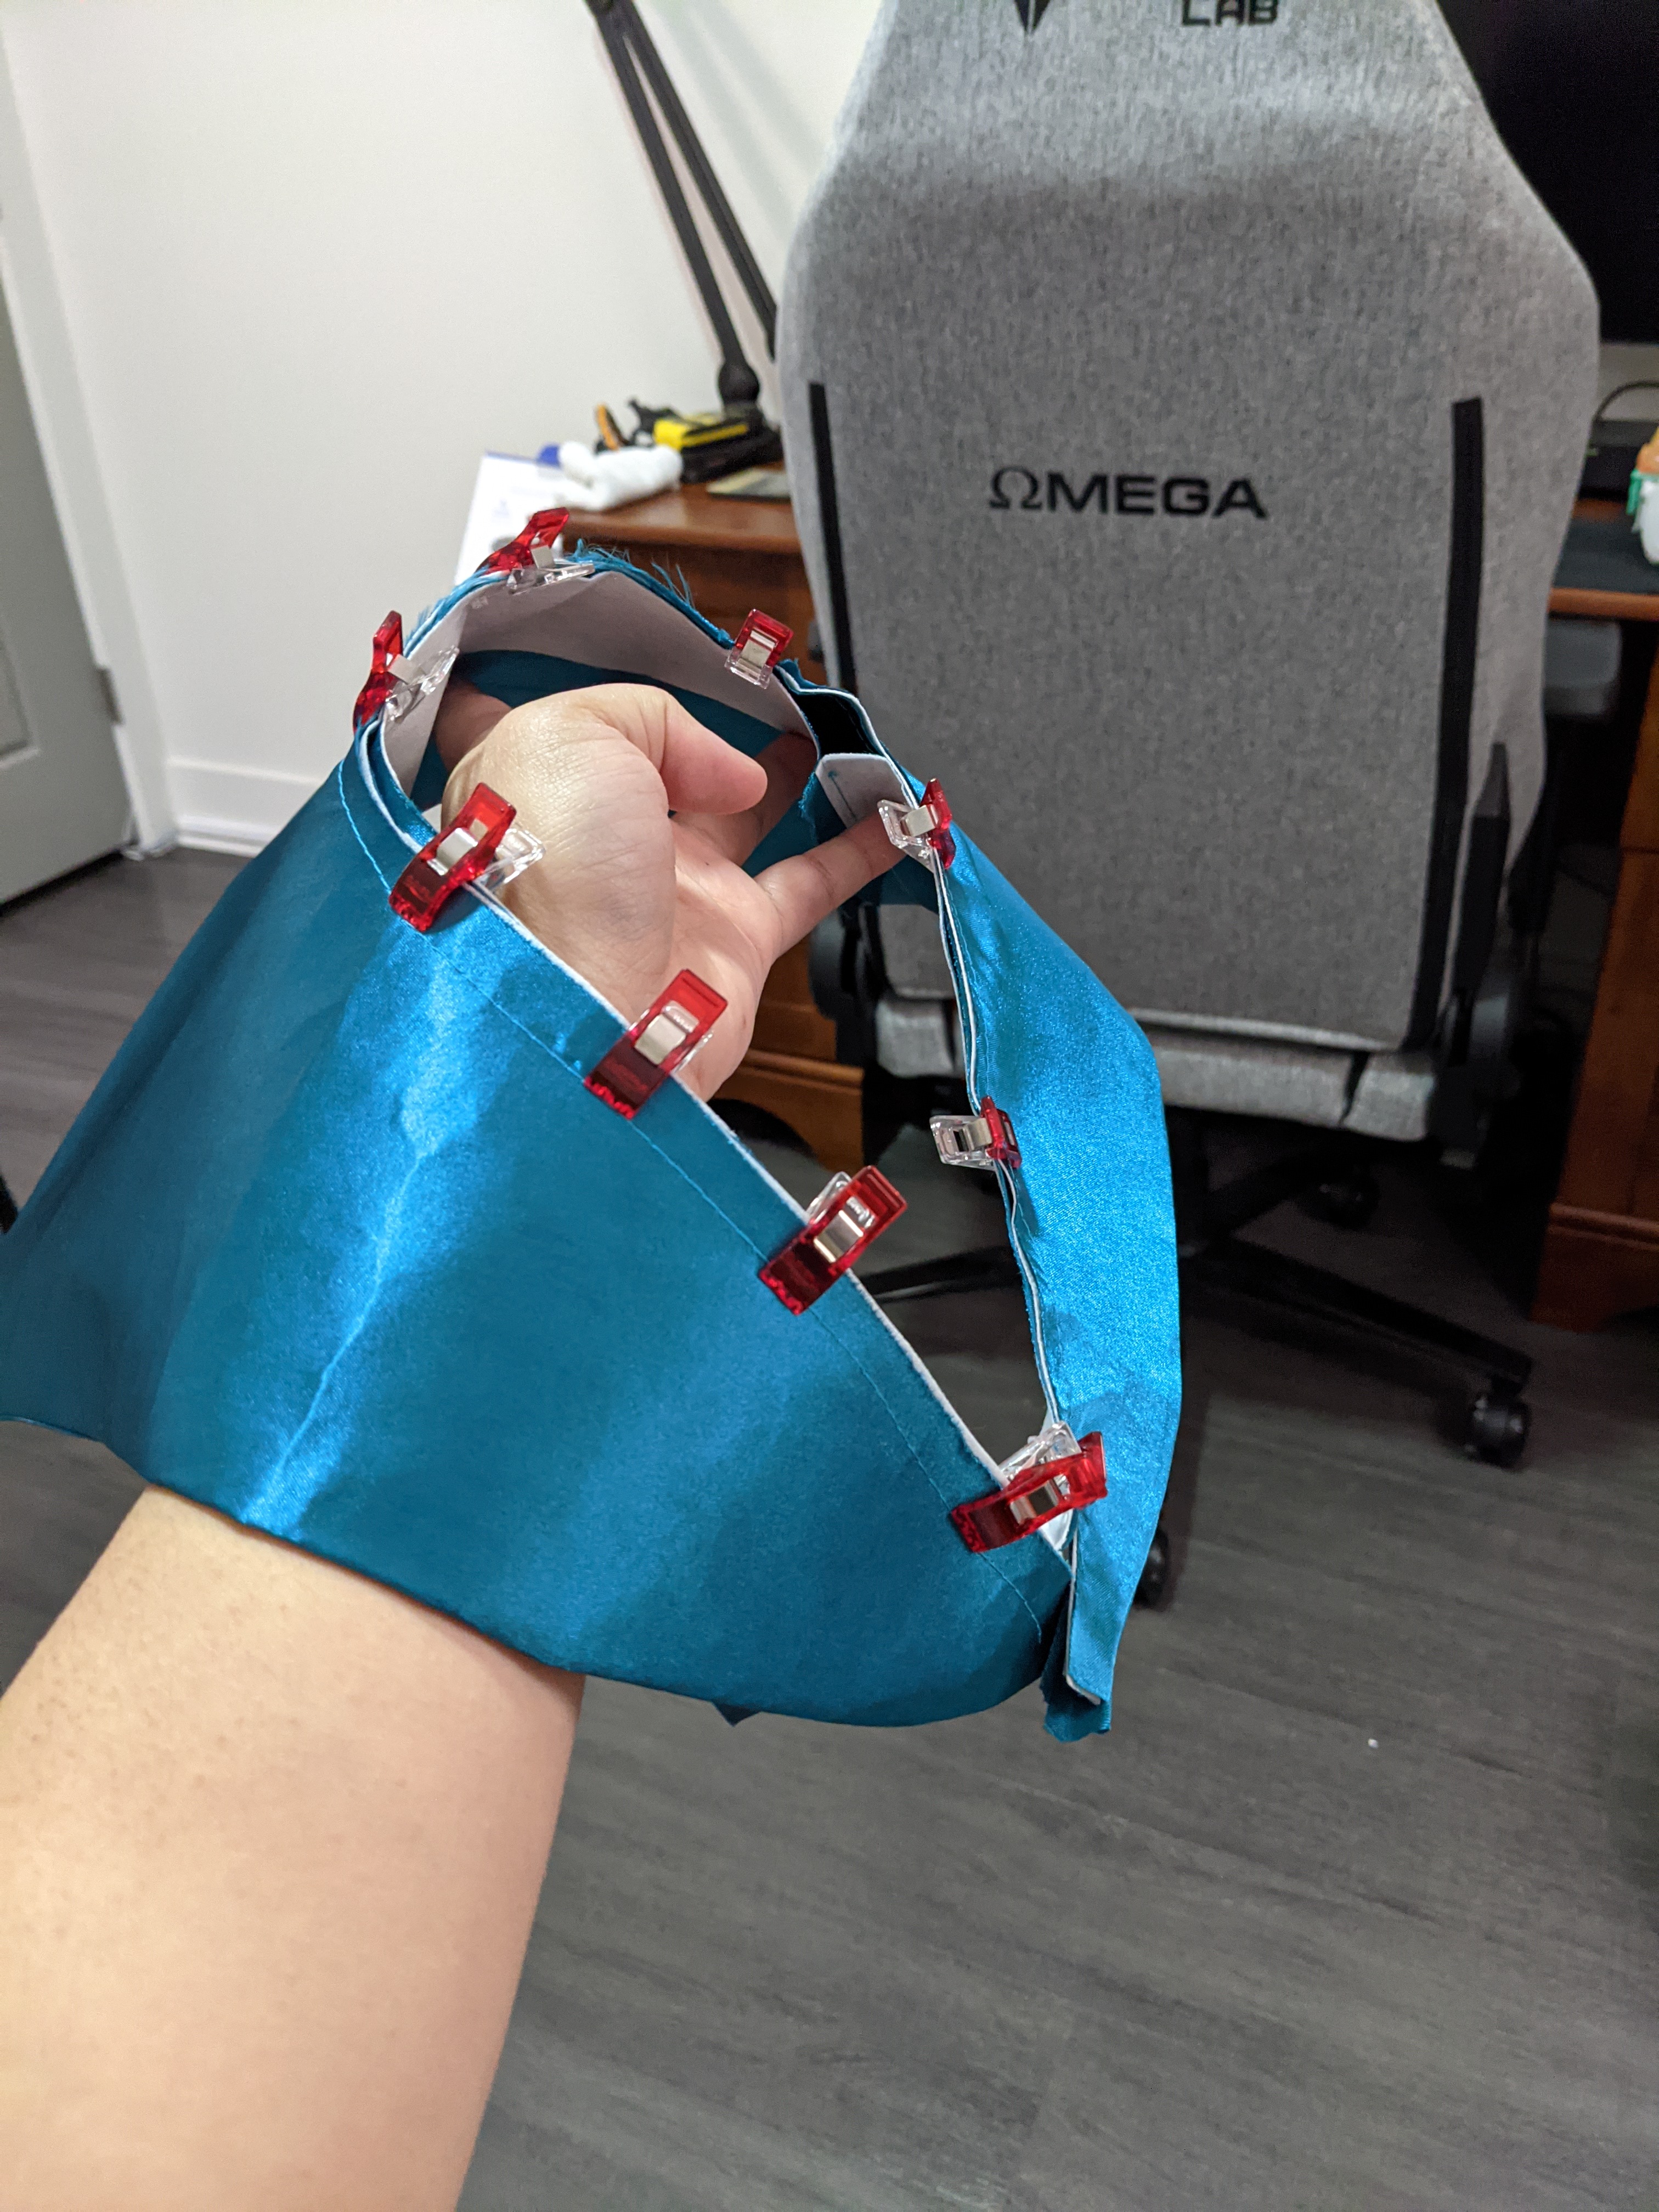
Sailor collar
For the collar, I used Simplicity Pattern 8160. The pattern itself is pretty straightforward. However, I did have to refer to a different tutorial because my interfacing was not large enough to cut one big piece on the fold. Instead, I had to cut two symmetrical pieces. I then attached the two interfacing pieces together so they’d be one continuous piece using Patchouli Moon Studio’s tutorial, which basically consisted of zigzag stitching the two pieces to each other, right next to each other, not overlapping.
The only modification I had to make to the collar was adding the (-) piece of the snap in the front that would attach to the chest bow.
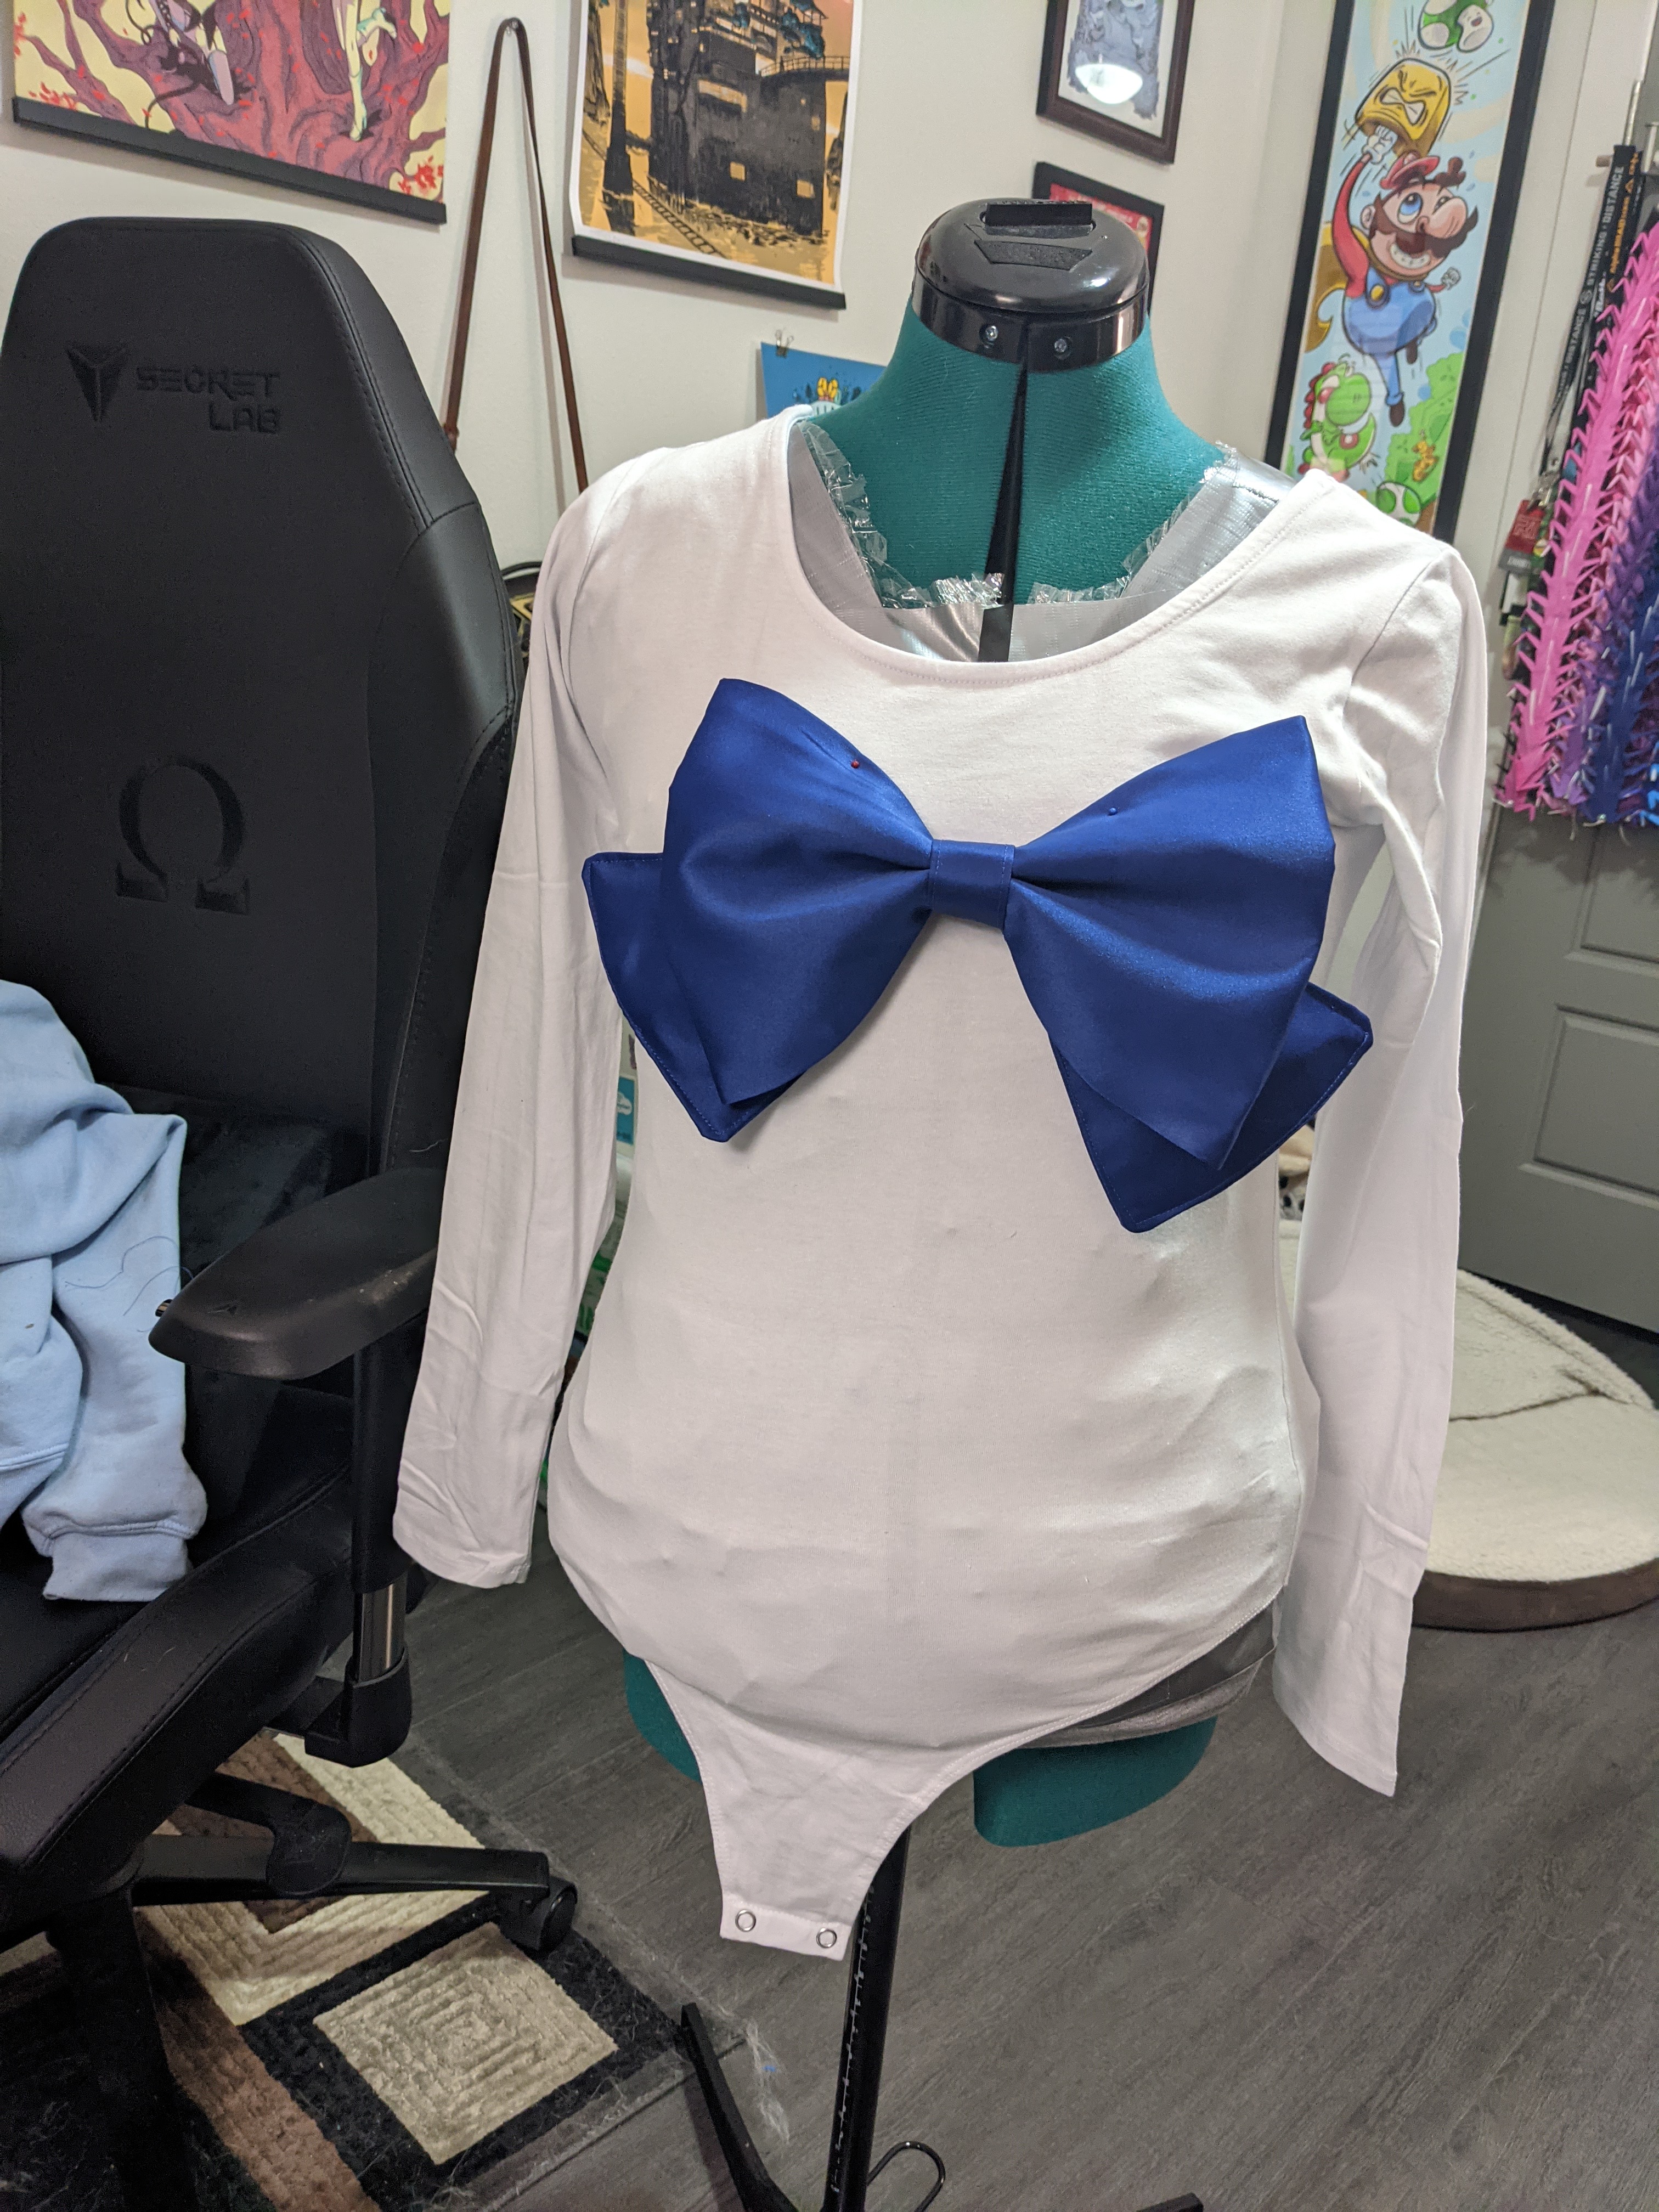
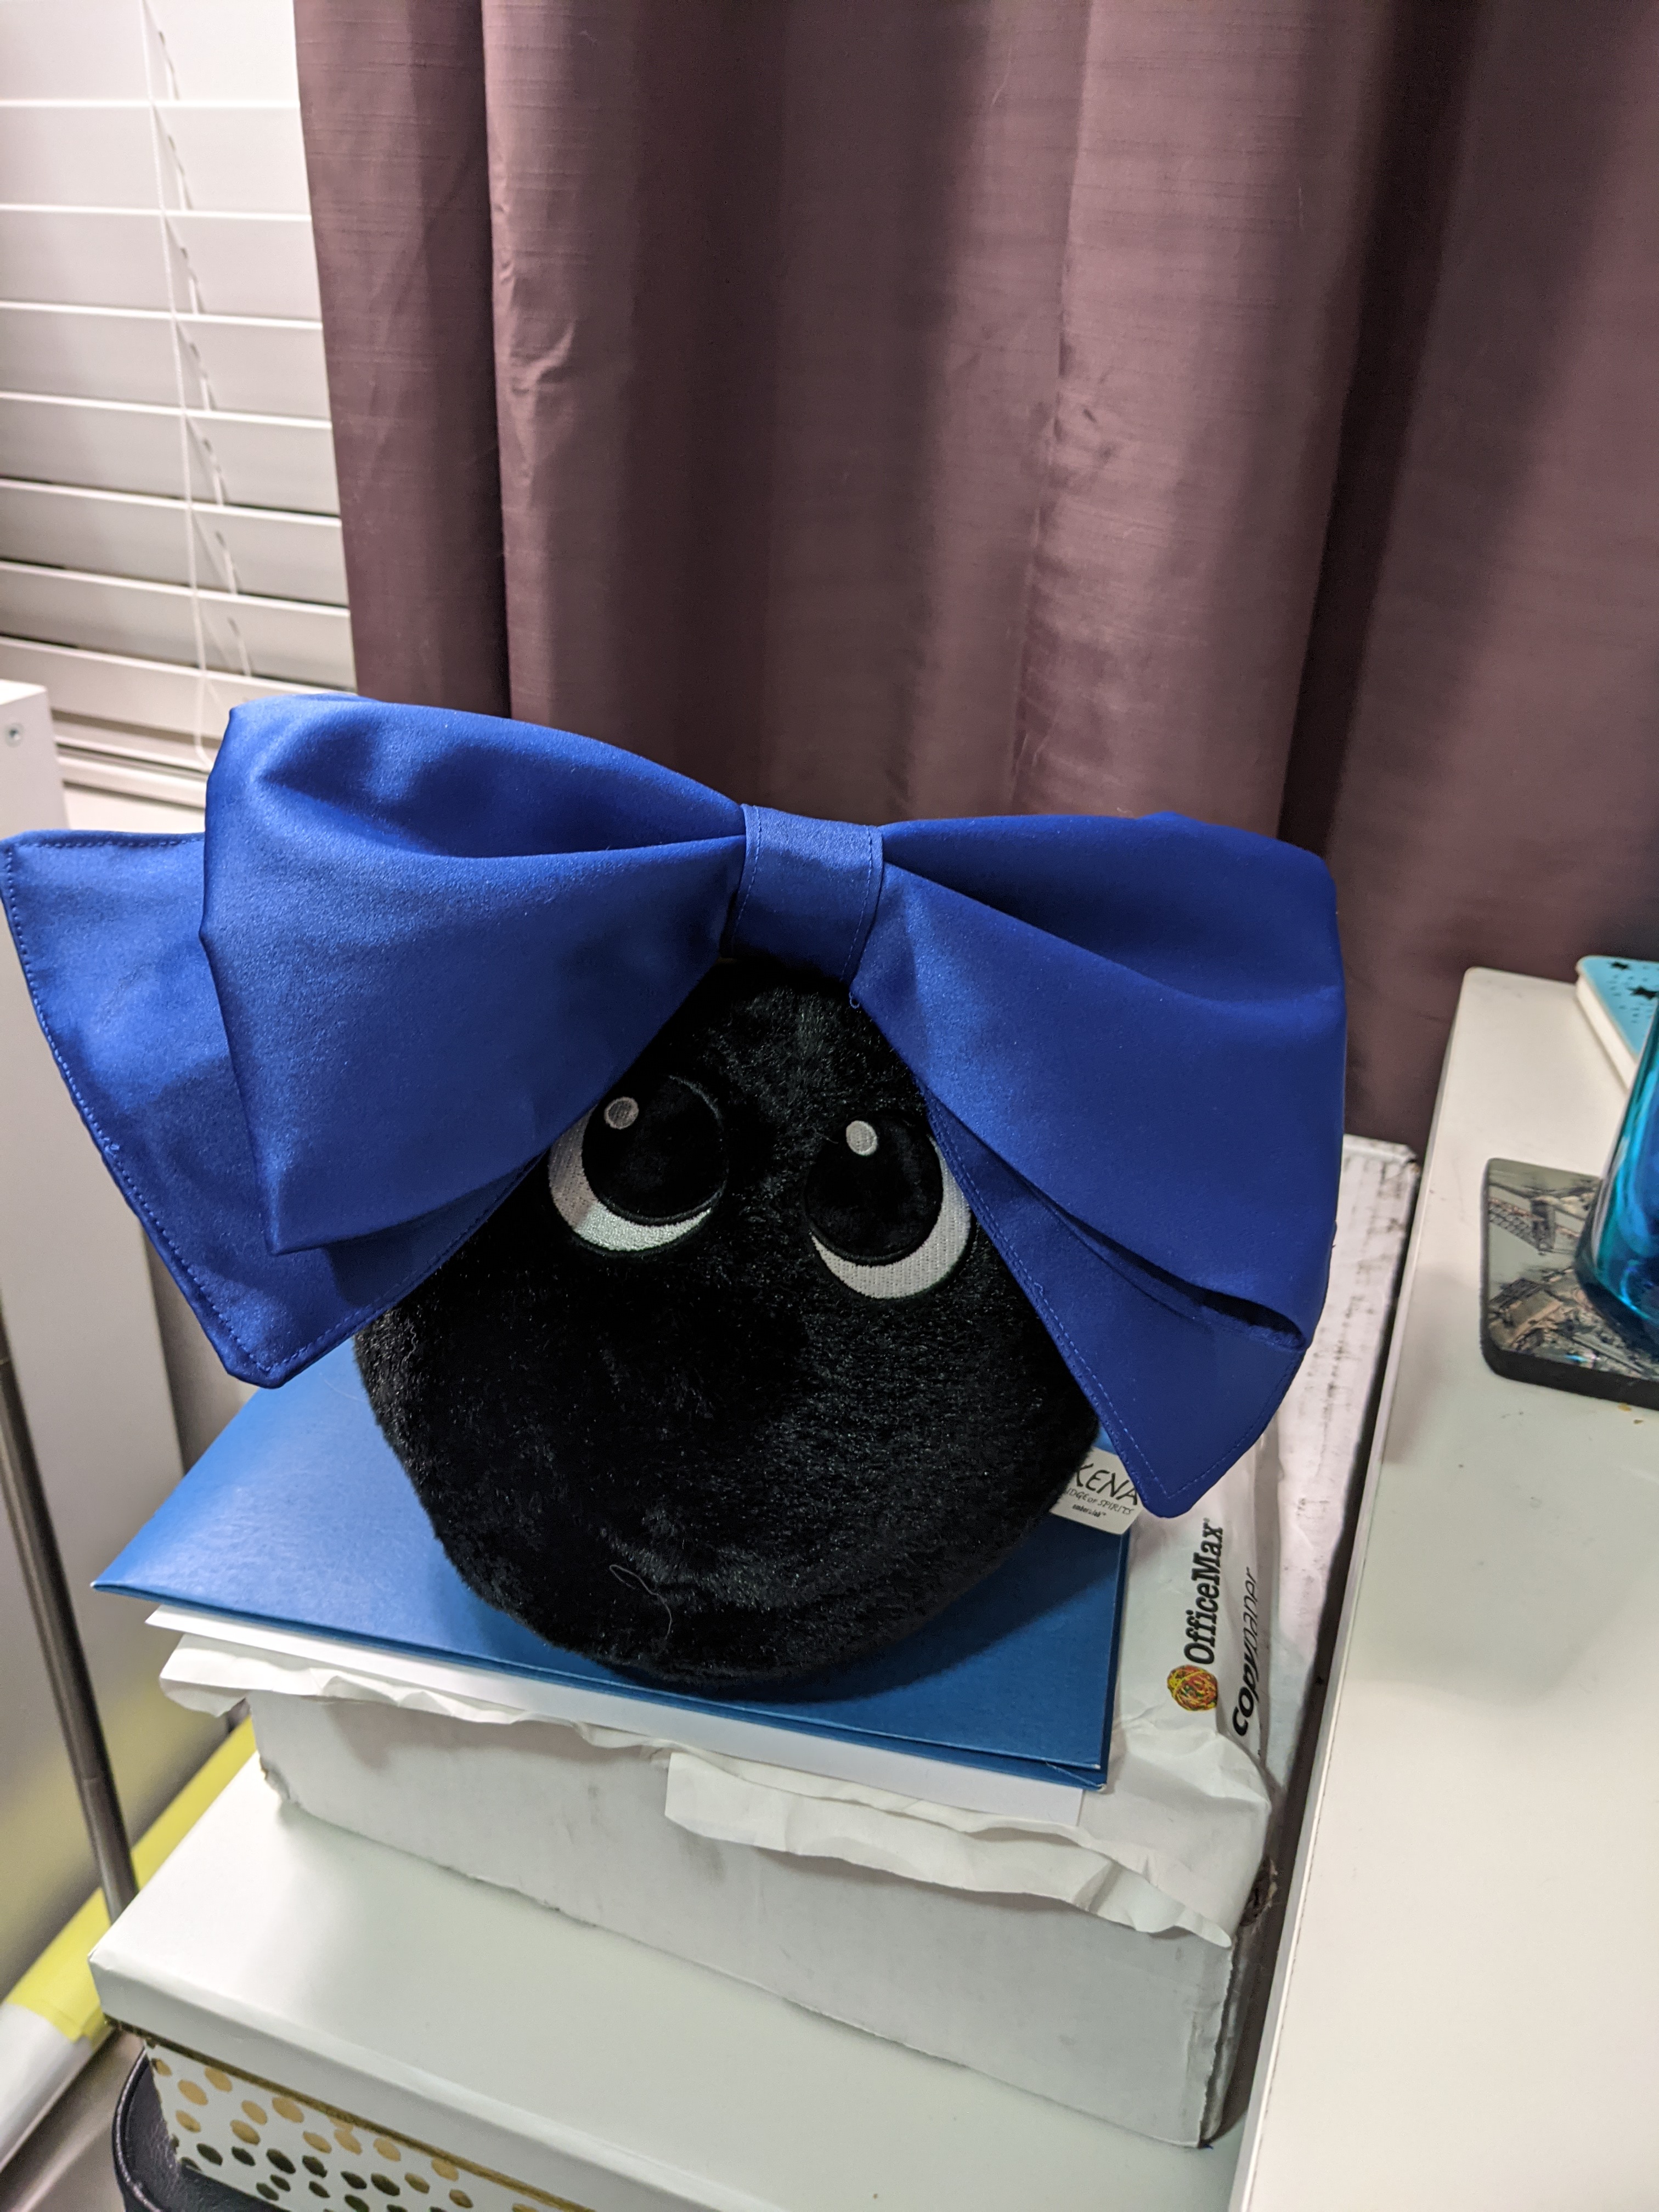
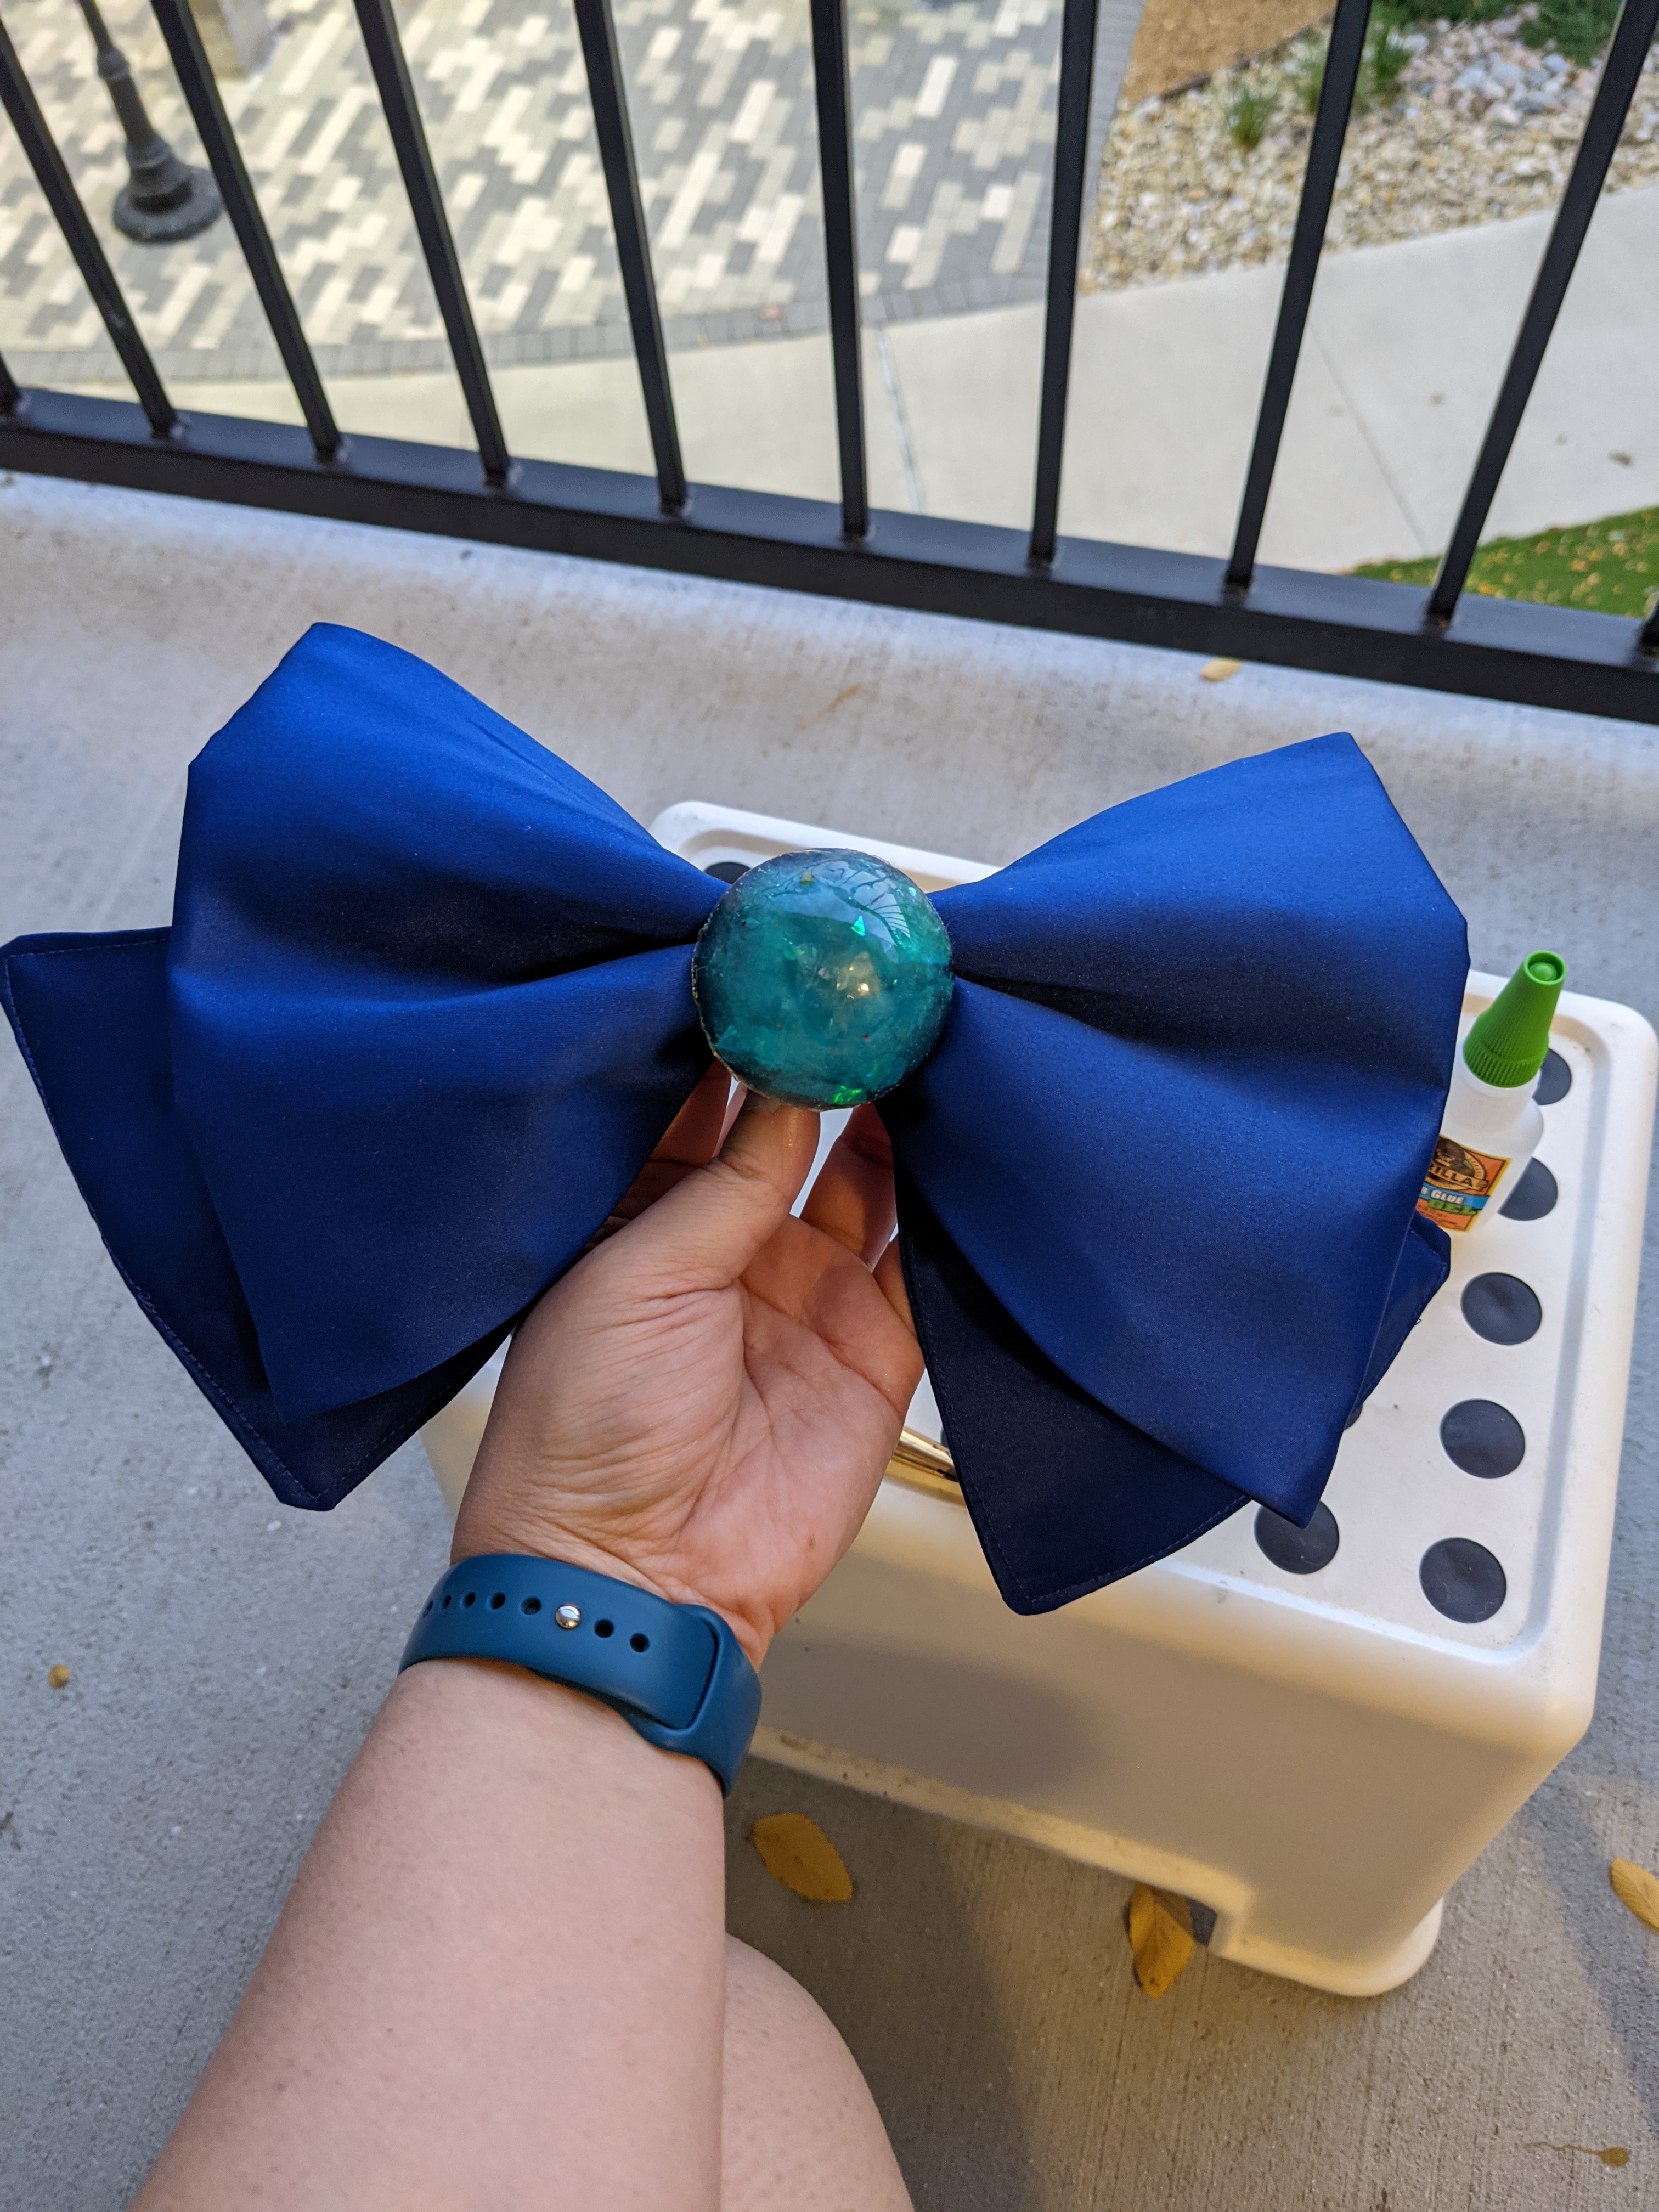
Detachable bows
For both the chest and butt bows, I leaned heavily on the Cosmic Coterie and Sparkle Pipsi tutorials. Definitely check them out if you want absolutely gorgeous, perfectly placed, full bows.
Since both tutorials already do such a fantastic job, I won’t be rehashing it here. (Also because Cosmic Coterie specifically asks that you not in their Content Usage Terms and Conditions.) So, instead, please enjoy these finished bow photos.
The brooch for the chest bow was commissioned from Fairchild Cosplay! For the fabric, I used a beautiful cobalt satin from the Joann’s Casa Collection.

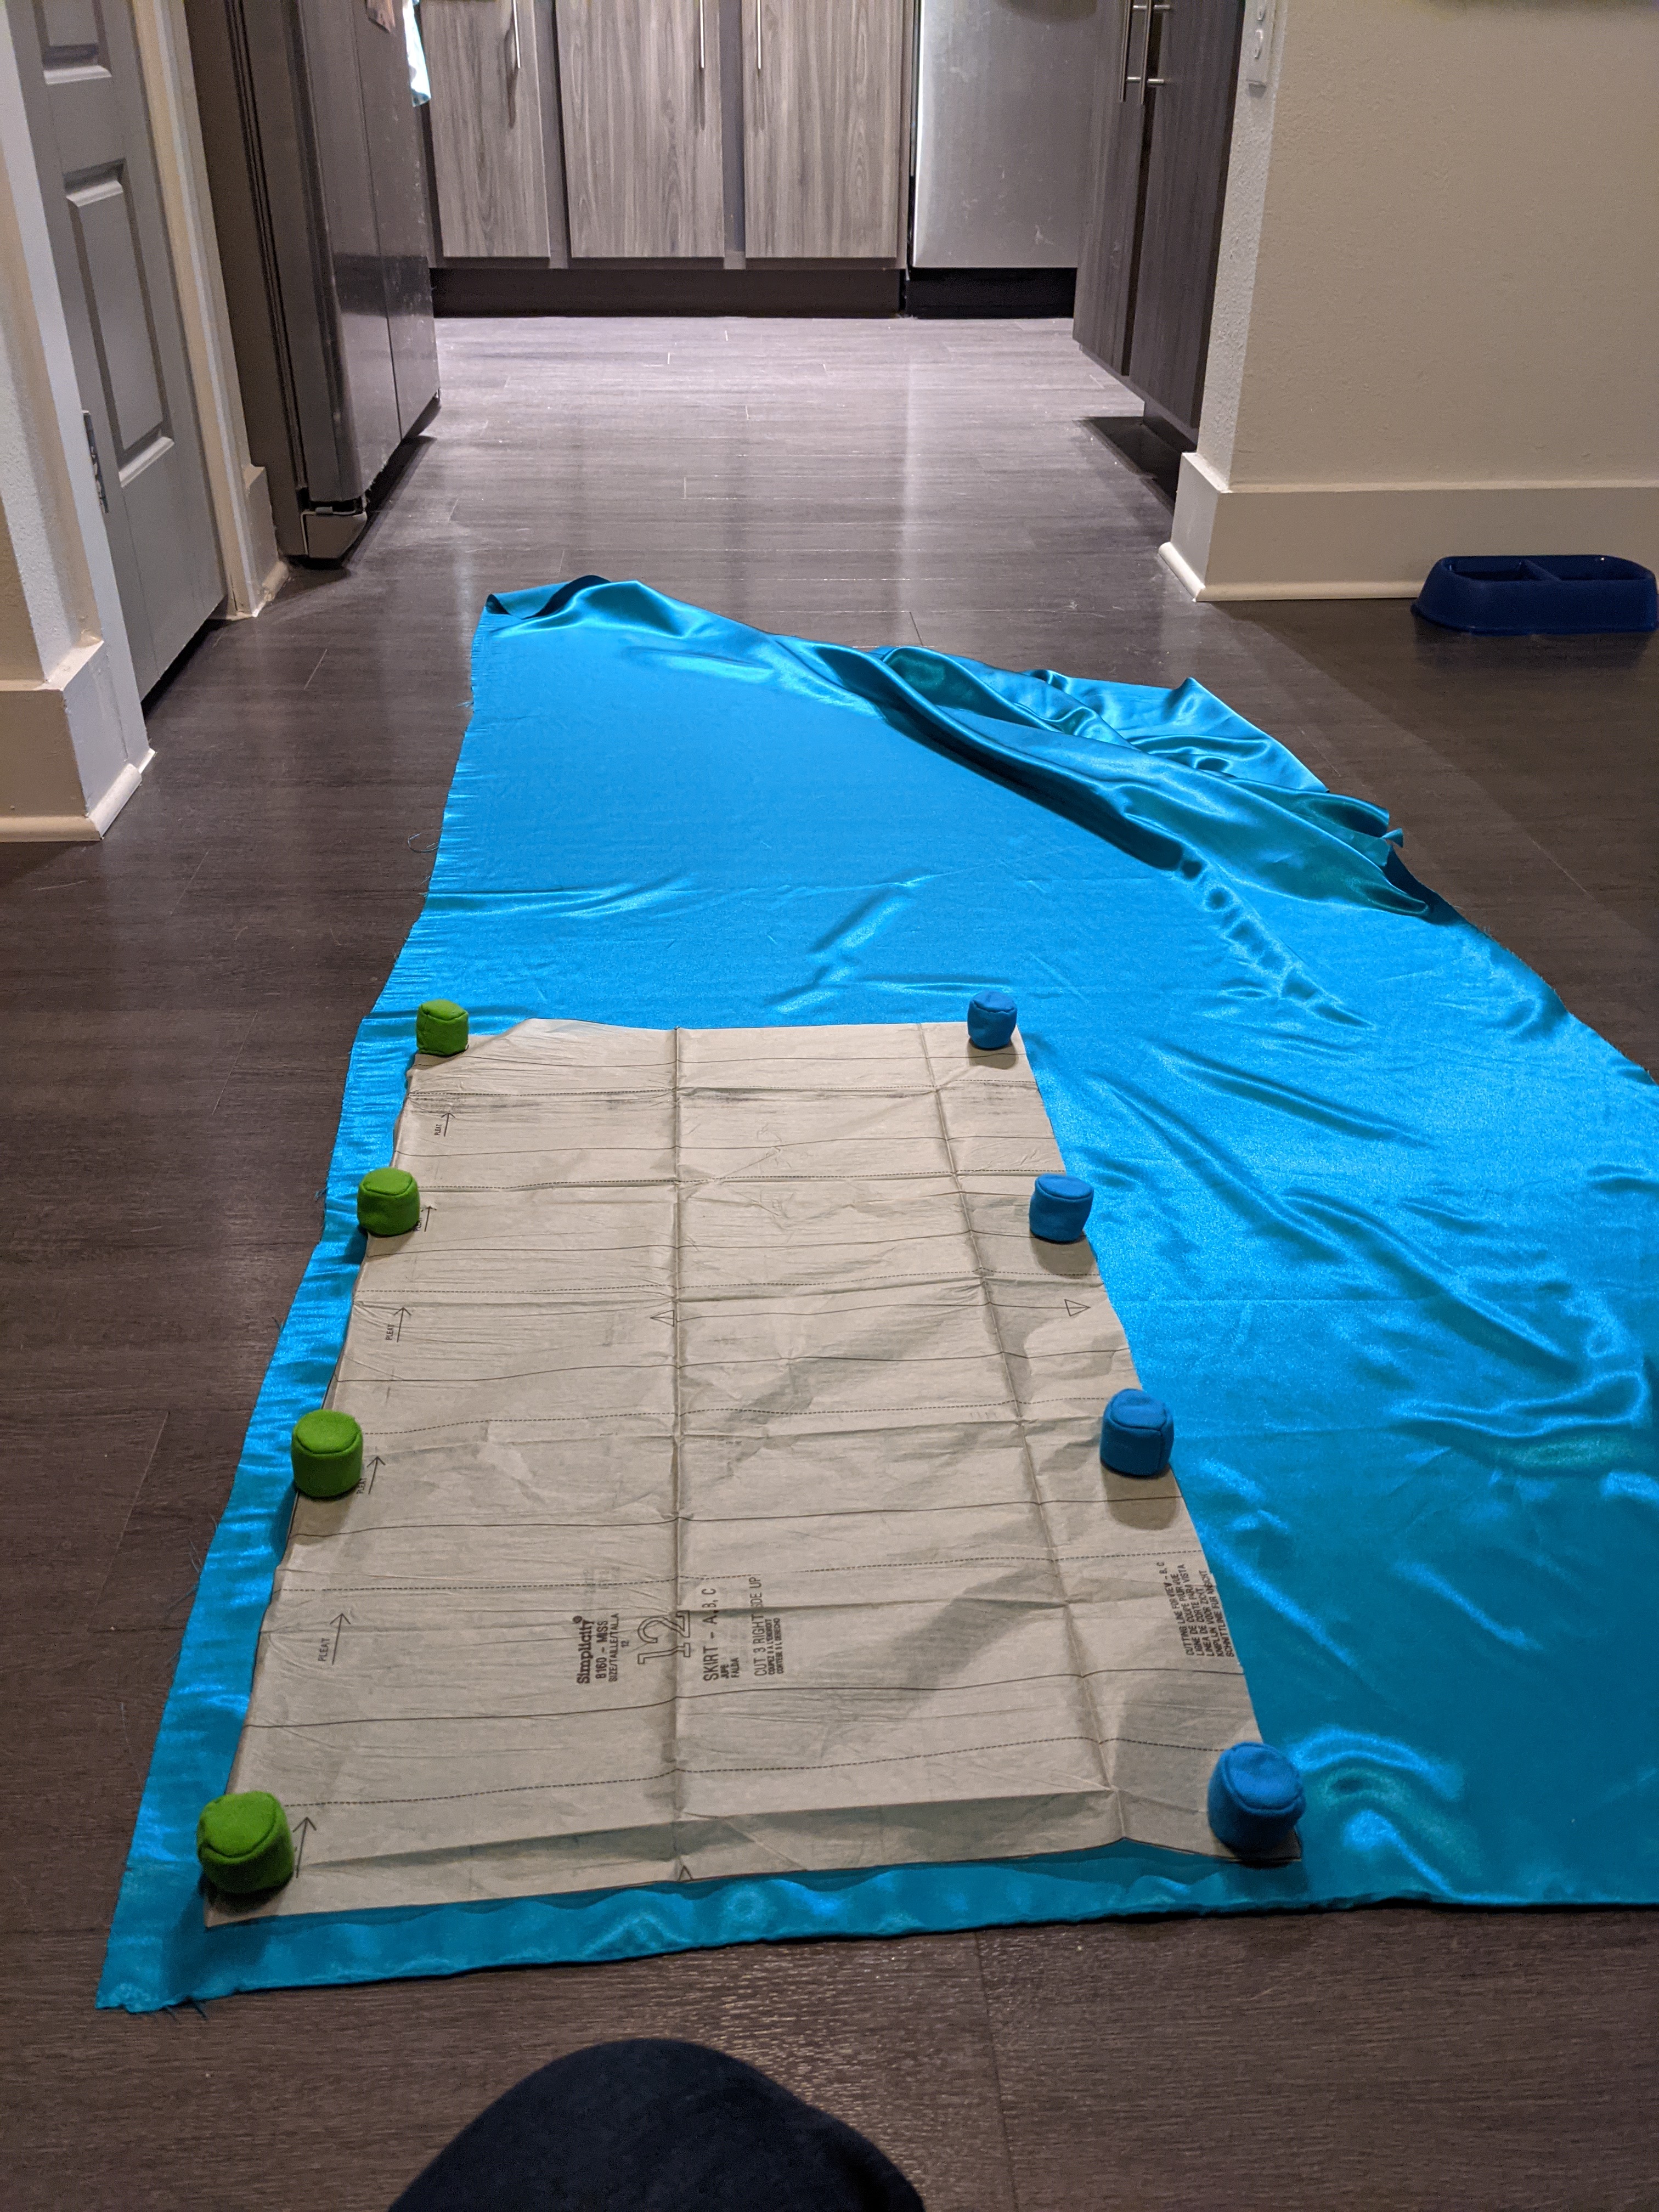
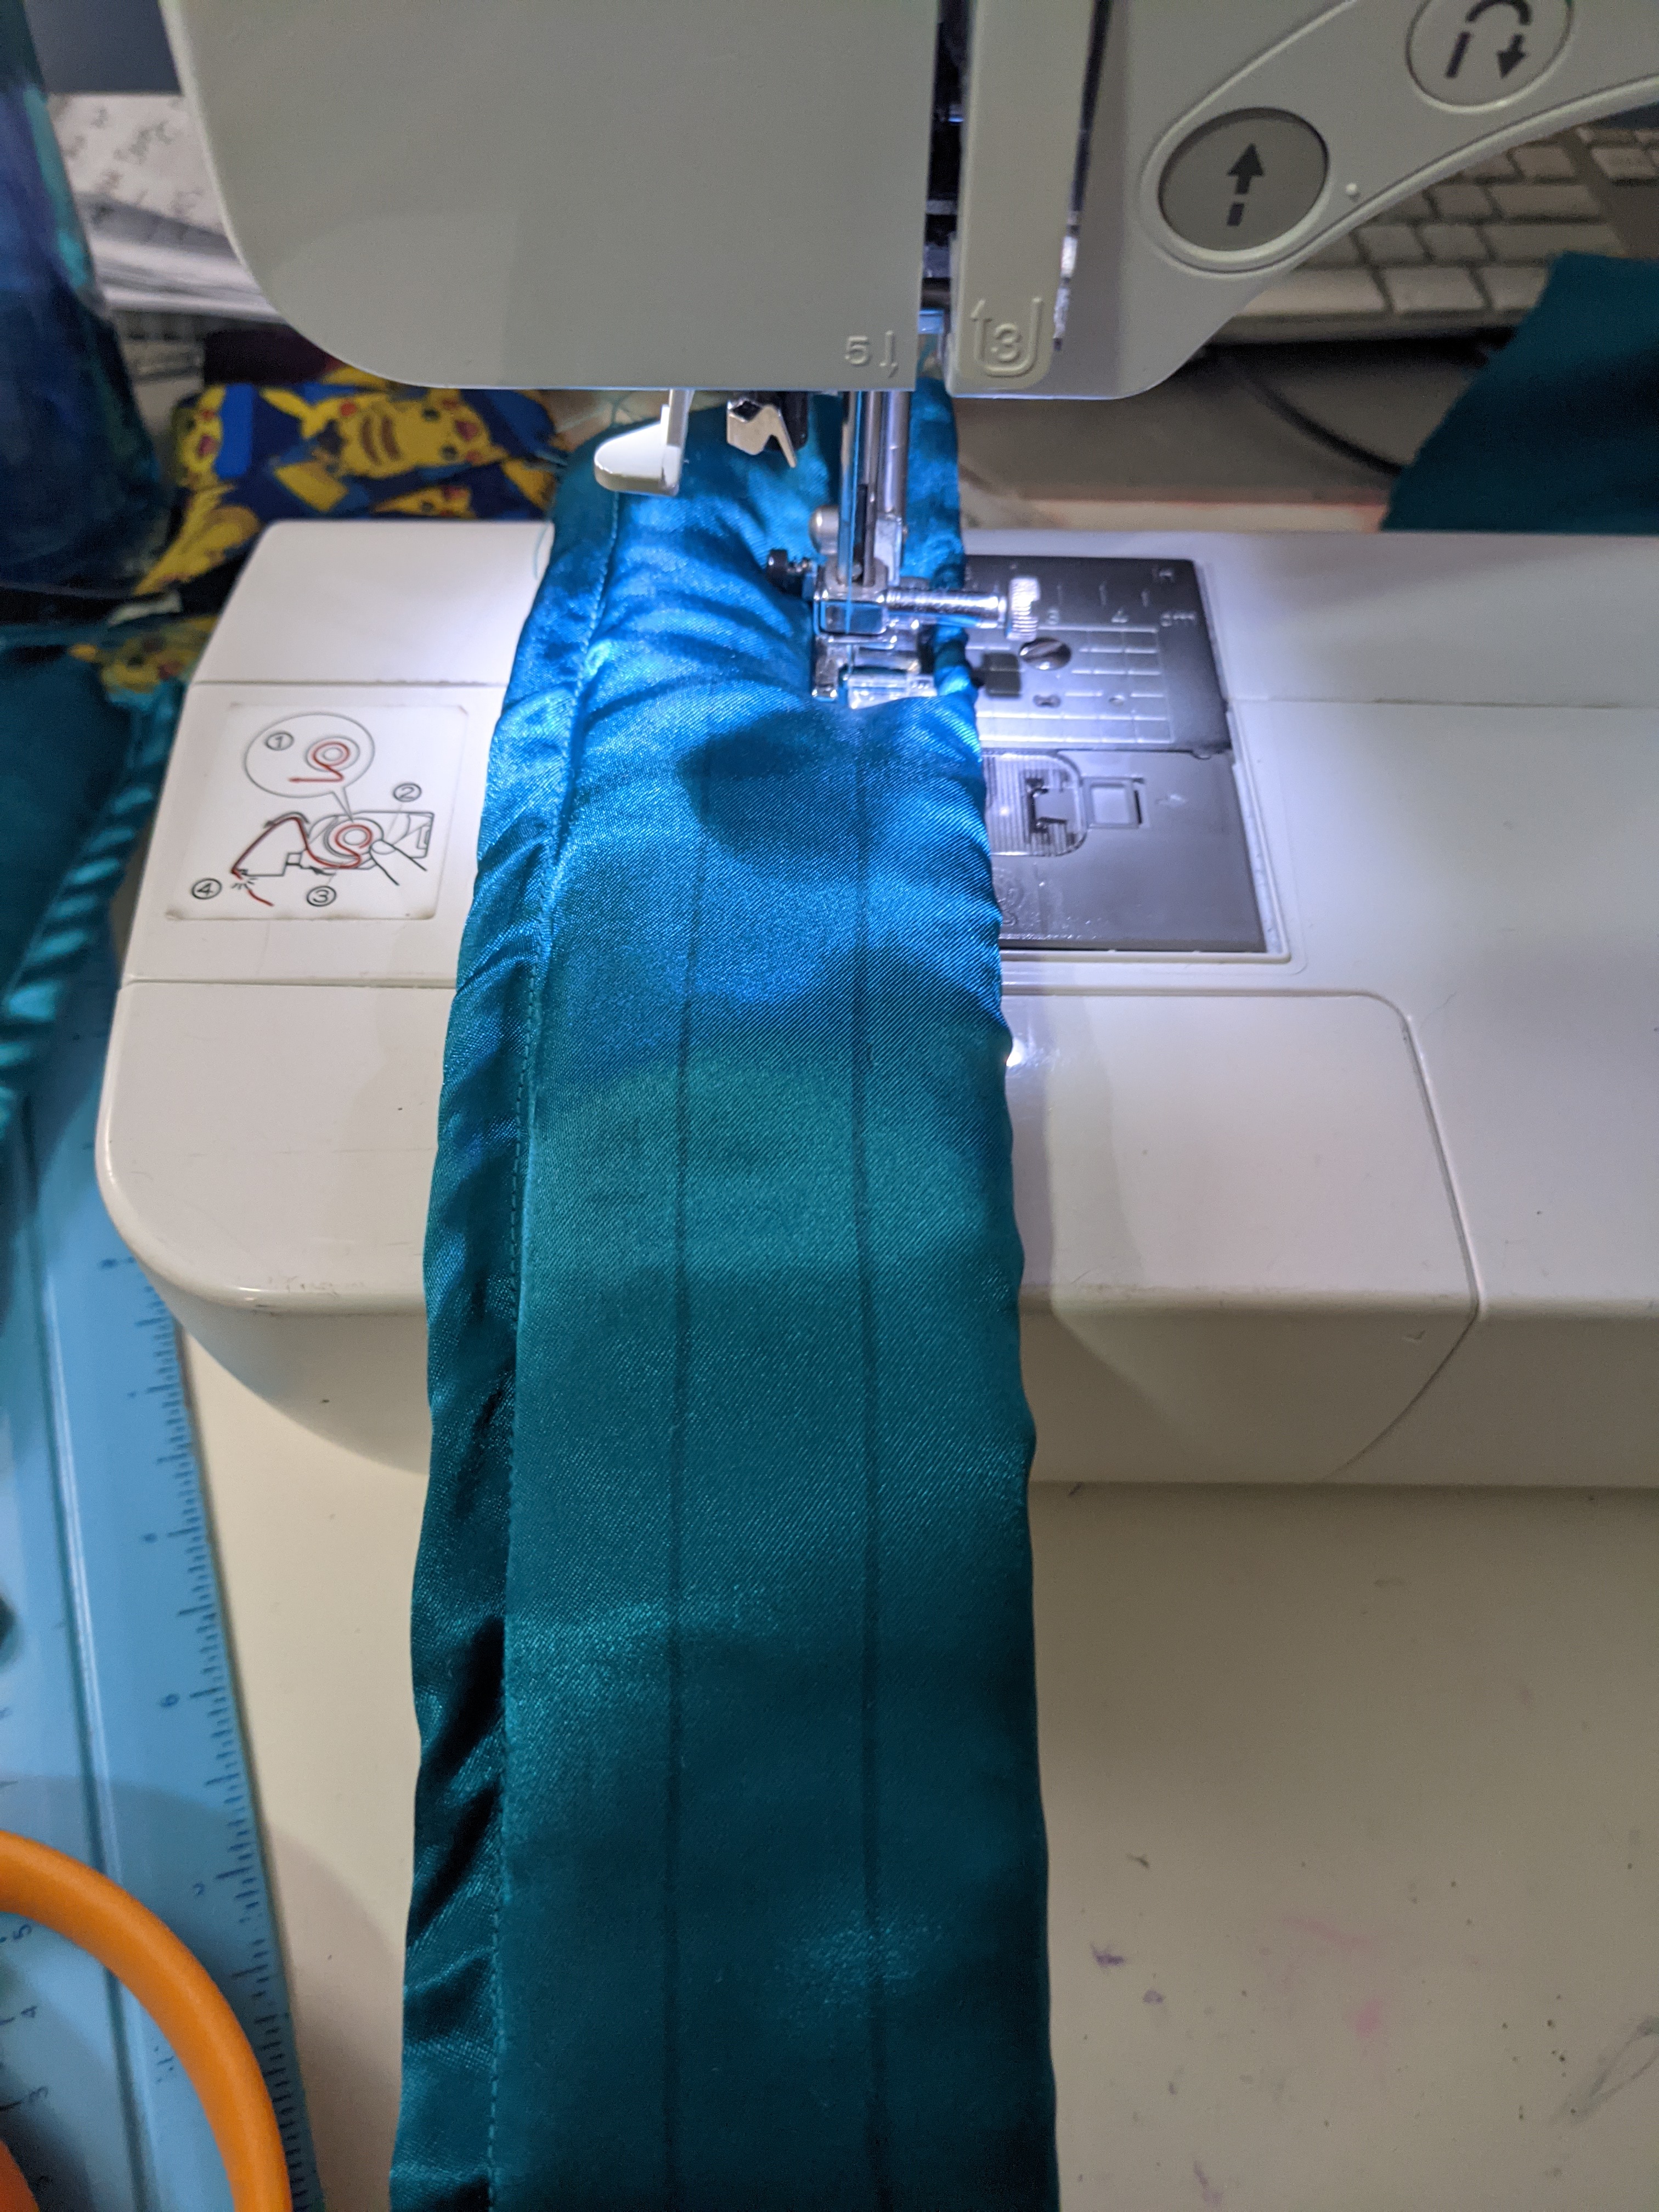
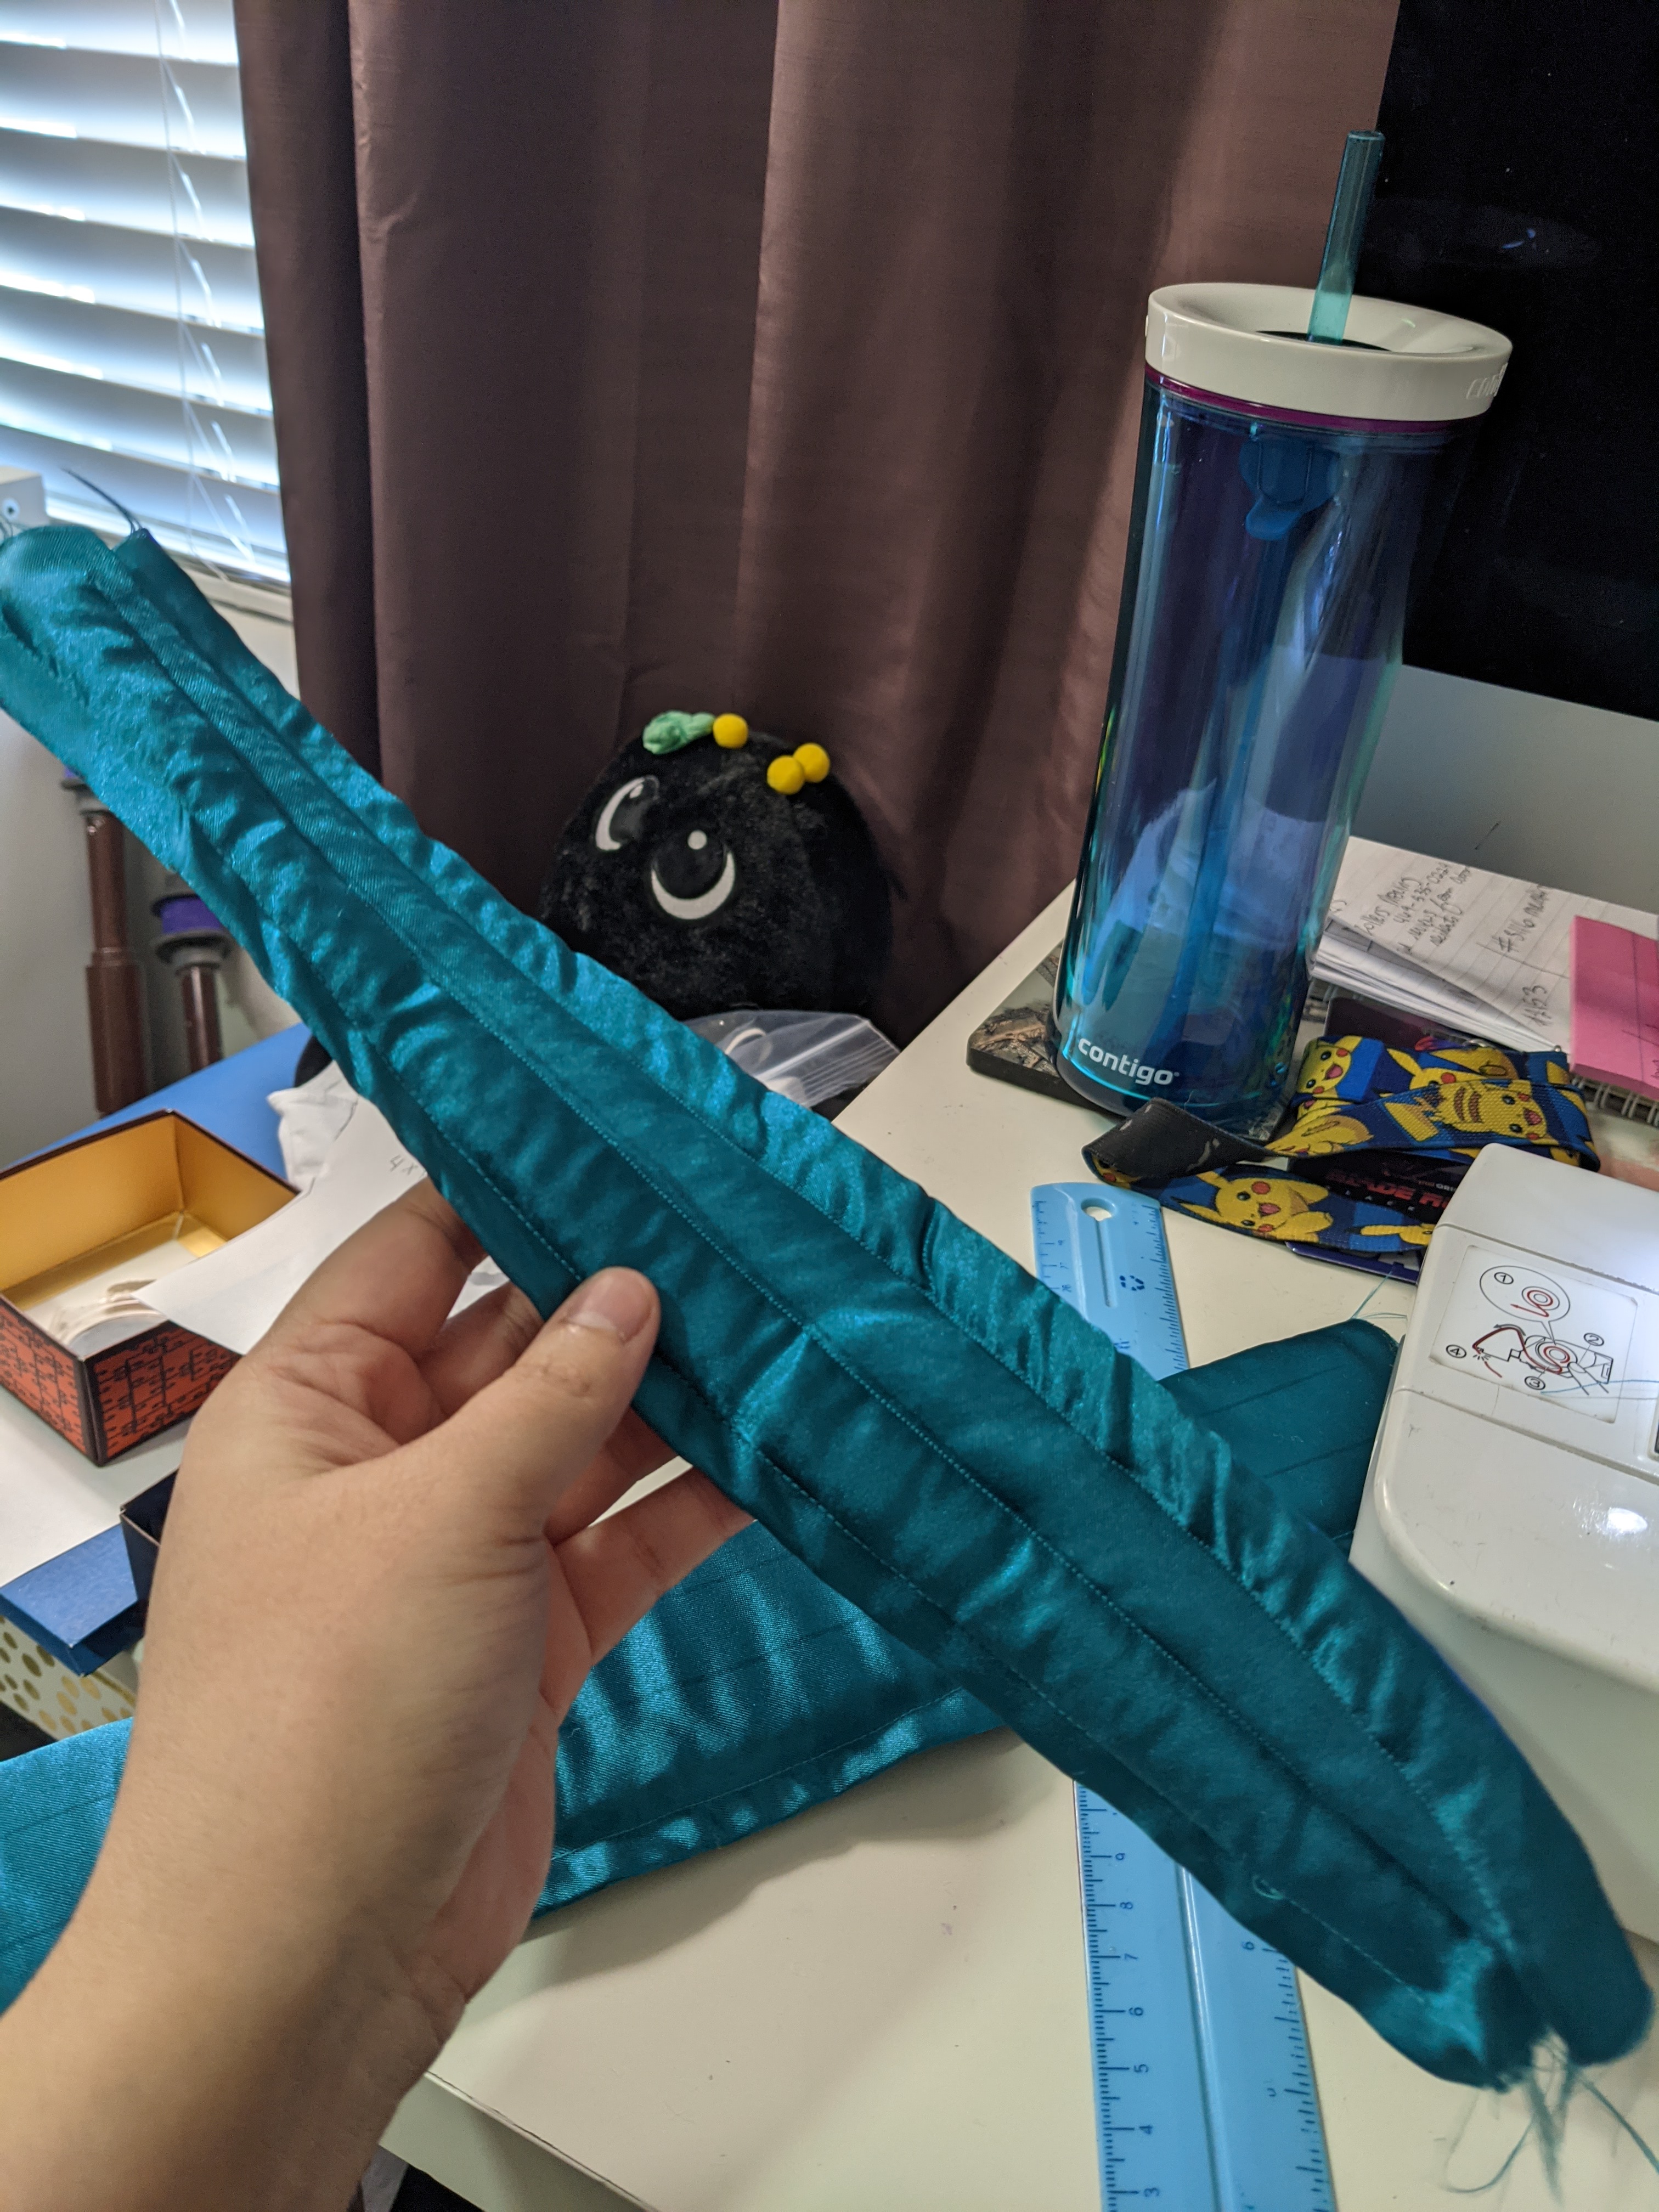
Skirt with hip rolls
I won’t lie to you: I’m not 100% happy with my skirt, but I was under a time crunch, so I couldn’t remake it.
First, I used Sparkle Pipsi‘s tutorial to make the hip rolls. Using the tutorial exactly as is did the trick perfectly! Once, that was done, I worked on the skirt itself.
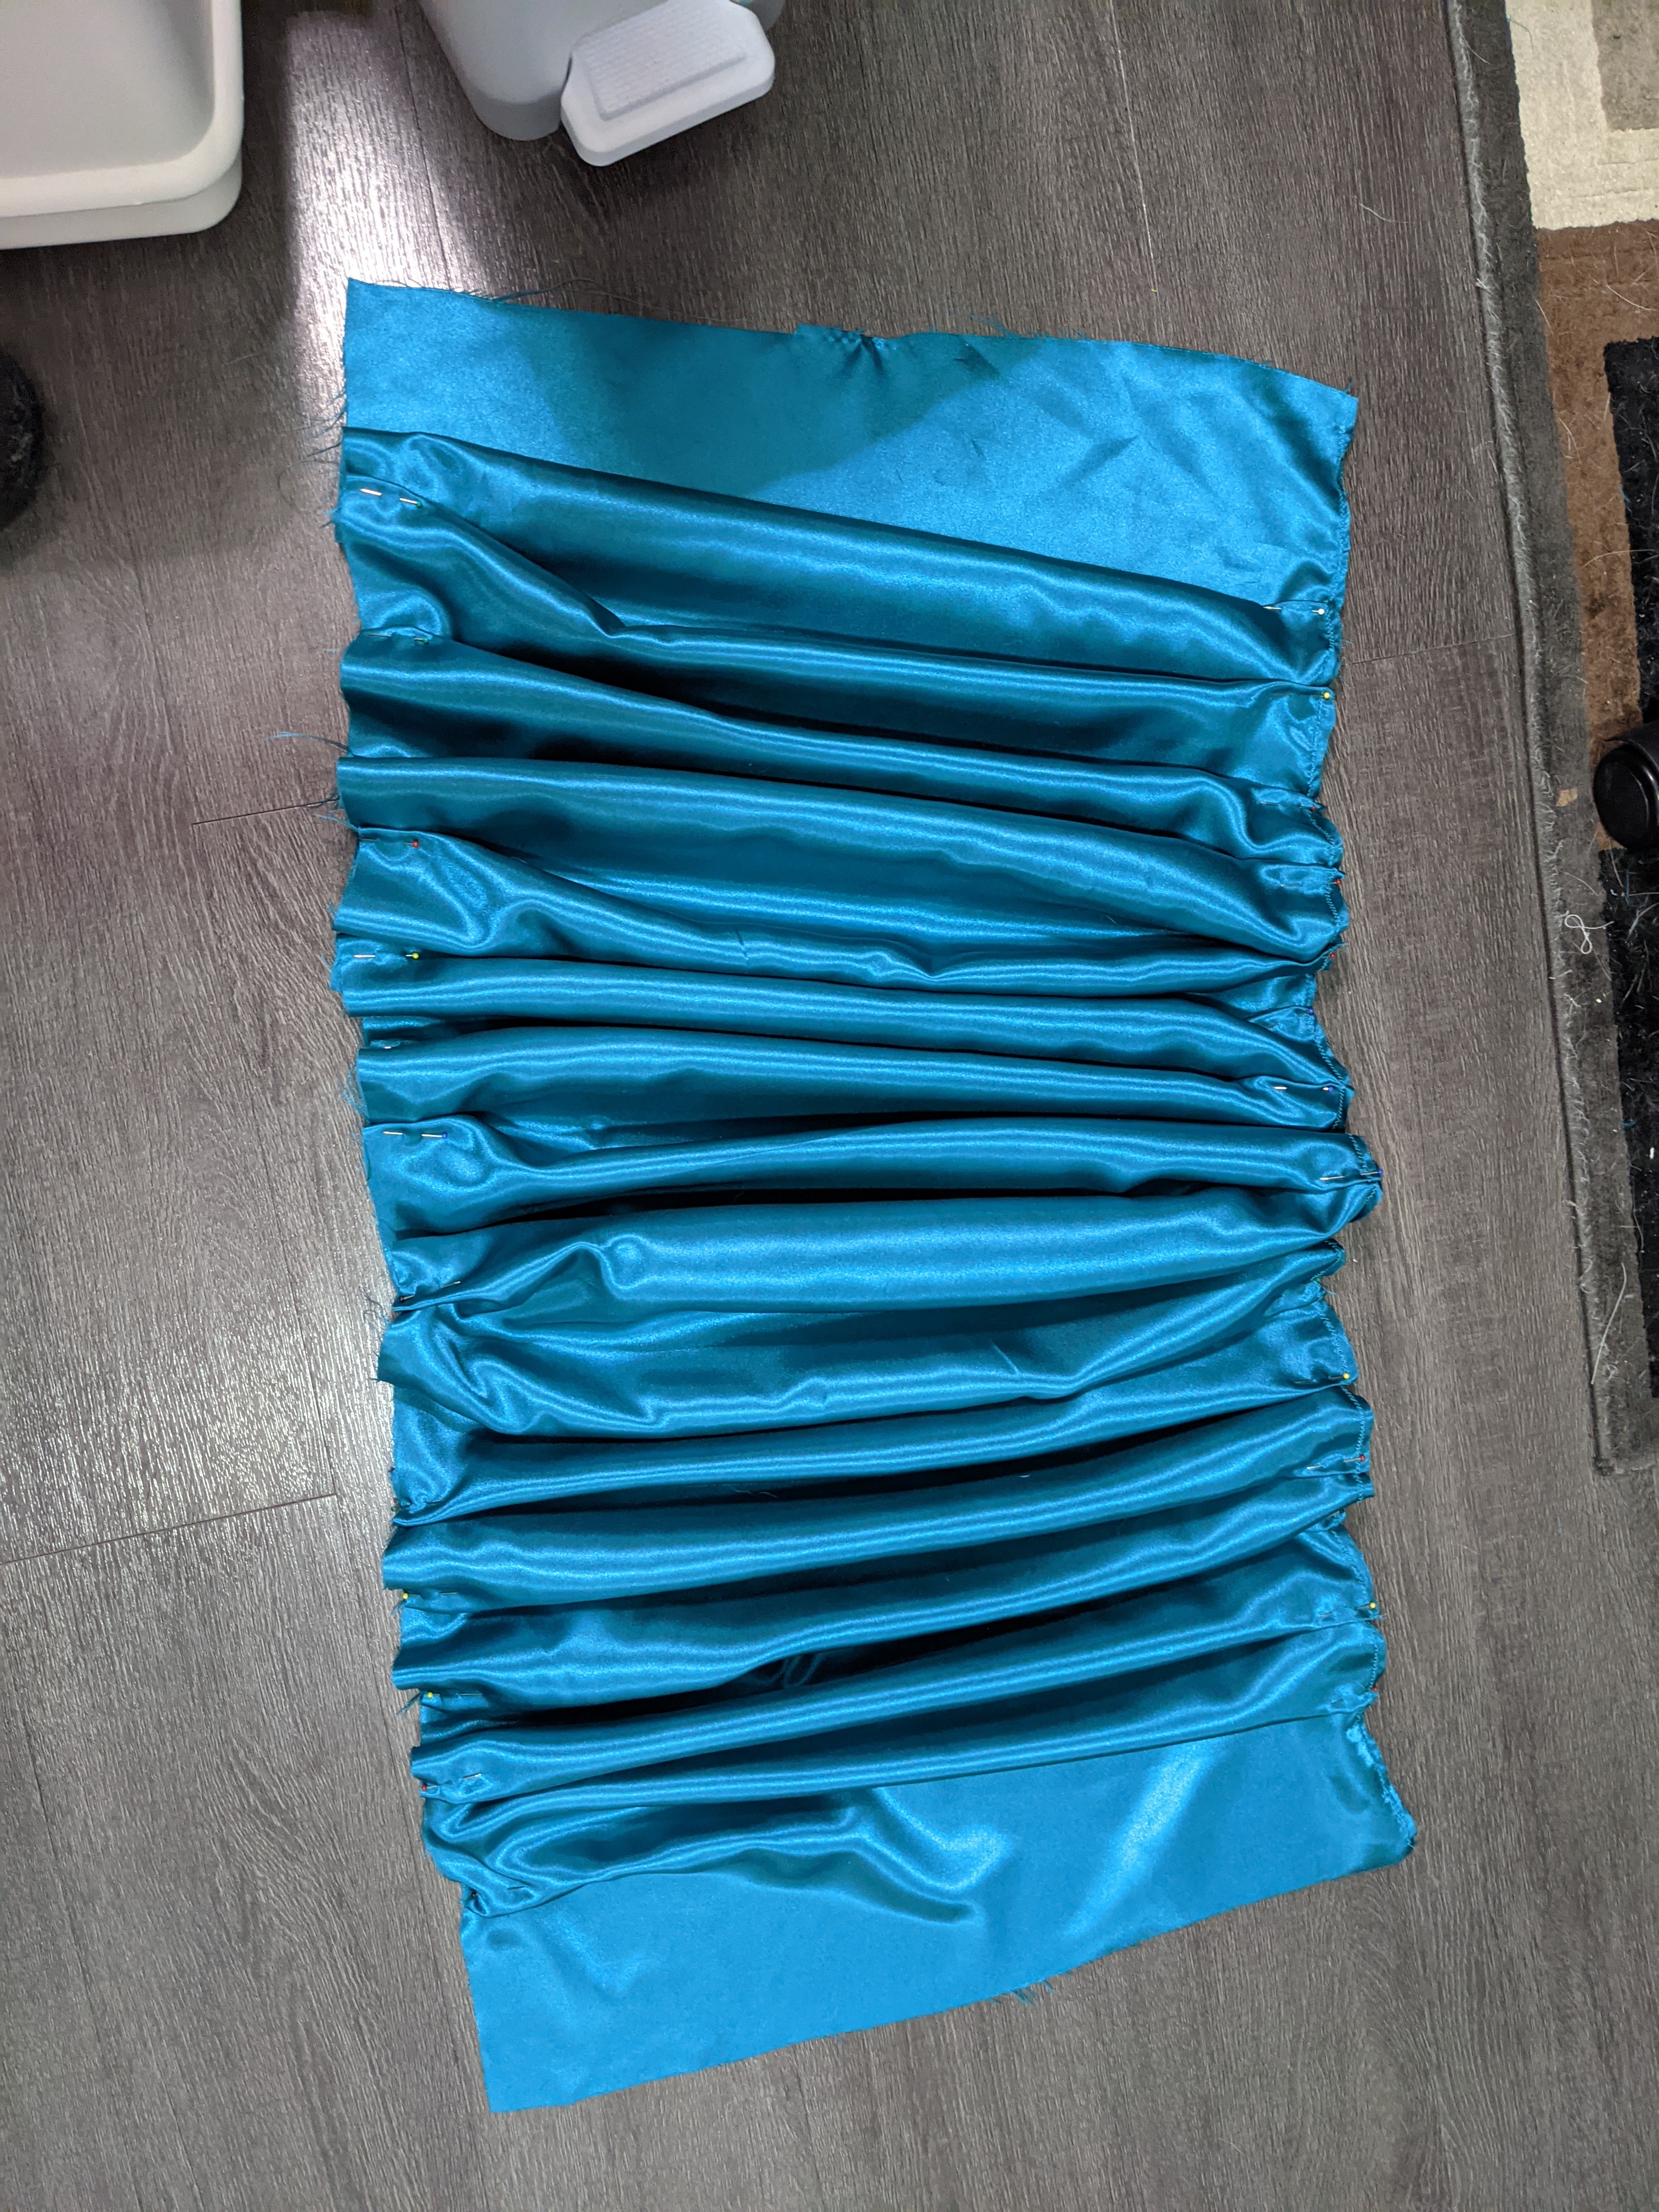
I used the skirt pattern from Simplicity Pattern 8160 to help me determine the length and width. Then, using those fabric pieces, I followed Sparkle Pipsi’s skirt tutorial for how to fold the pleats. Once pleated, I followed the tutorial to make the V-shape (with some adjustments to dimensions) and attached it to the hip rolls. I then used horsehair braid to both finish the raw edges and help with volume.

In the end, I wish I would’ve gone fuller with the skirt (by lengthening the total fabric used for the skirt). I would also be open to trying a circle skirt to get the same fullness. It’s not as “springy” as I would like, but it’ll do for Anime Frontier, which is when I plan to debut this cosplay.
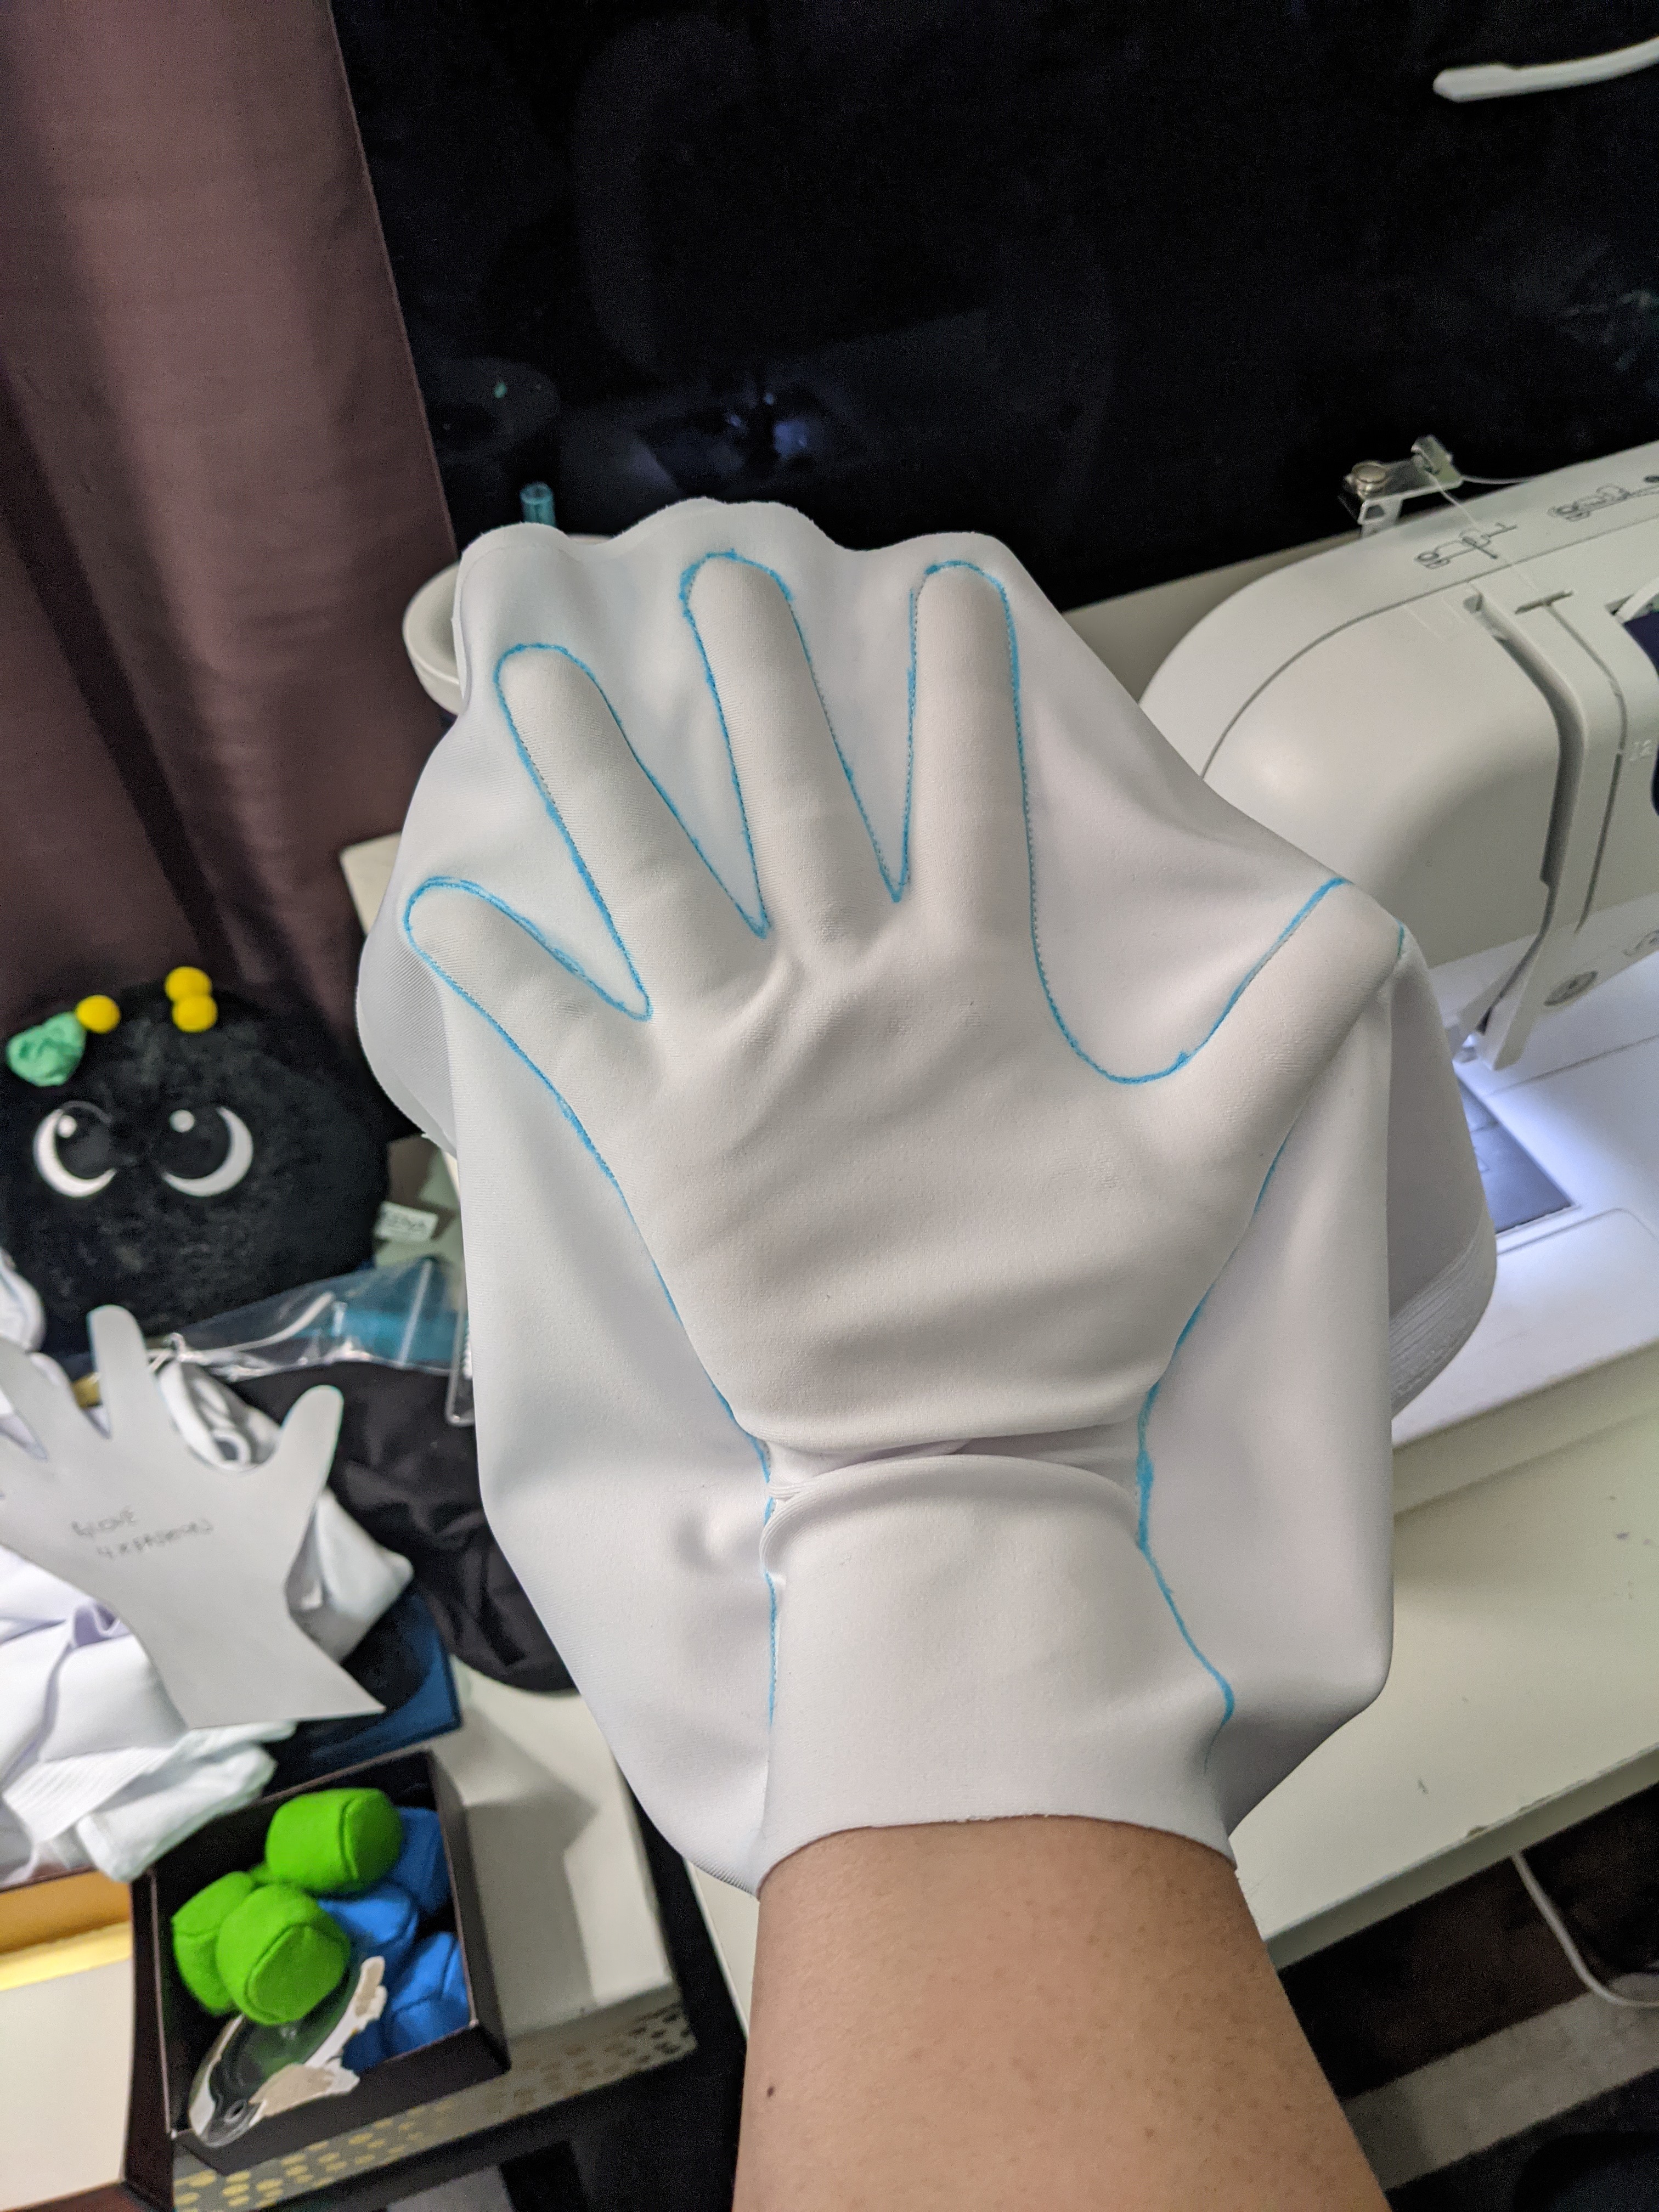
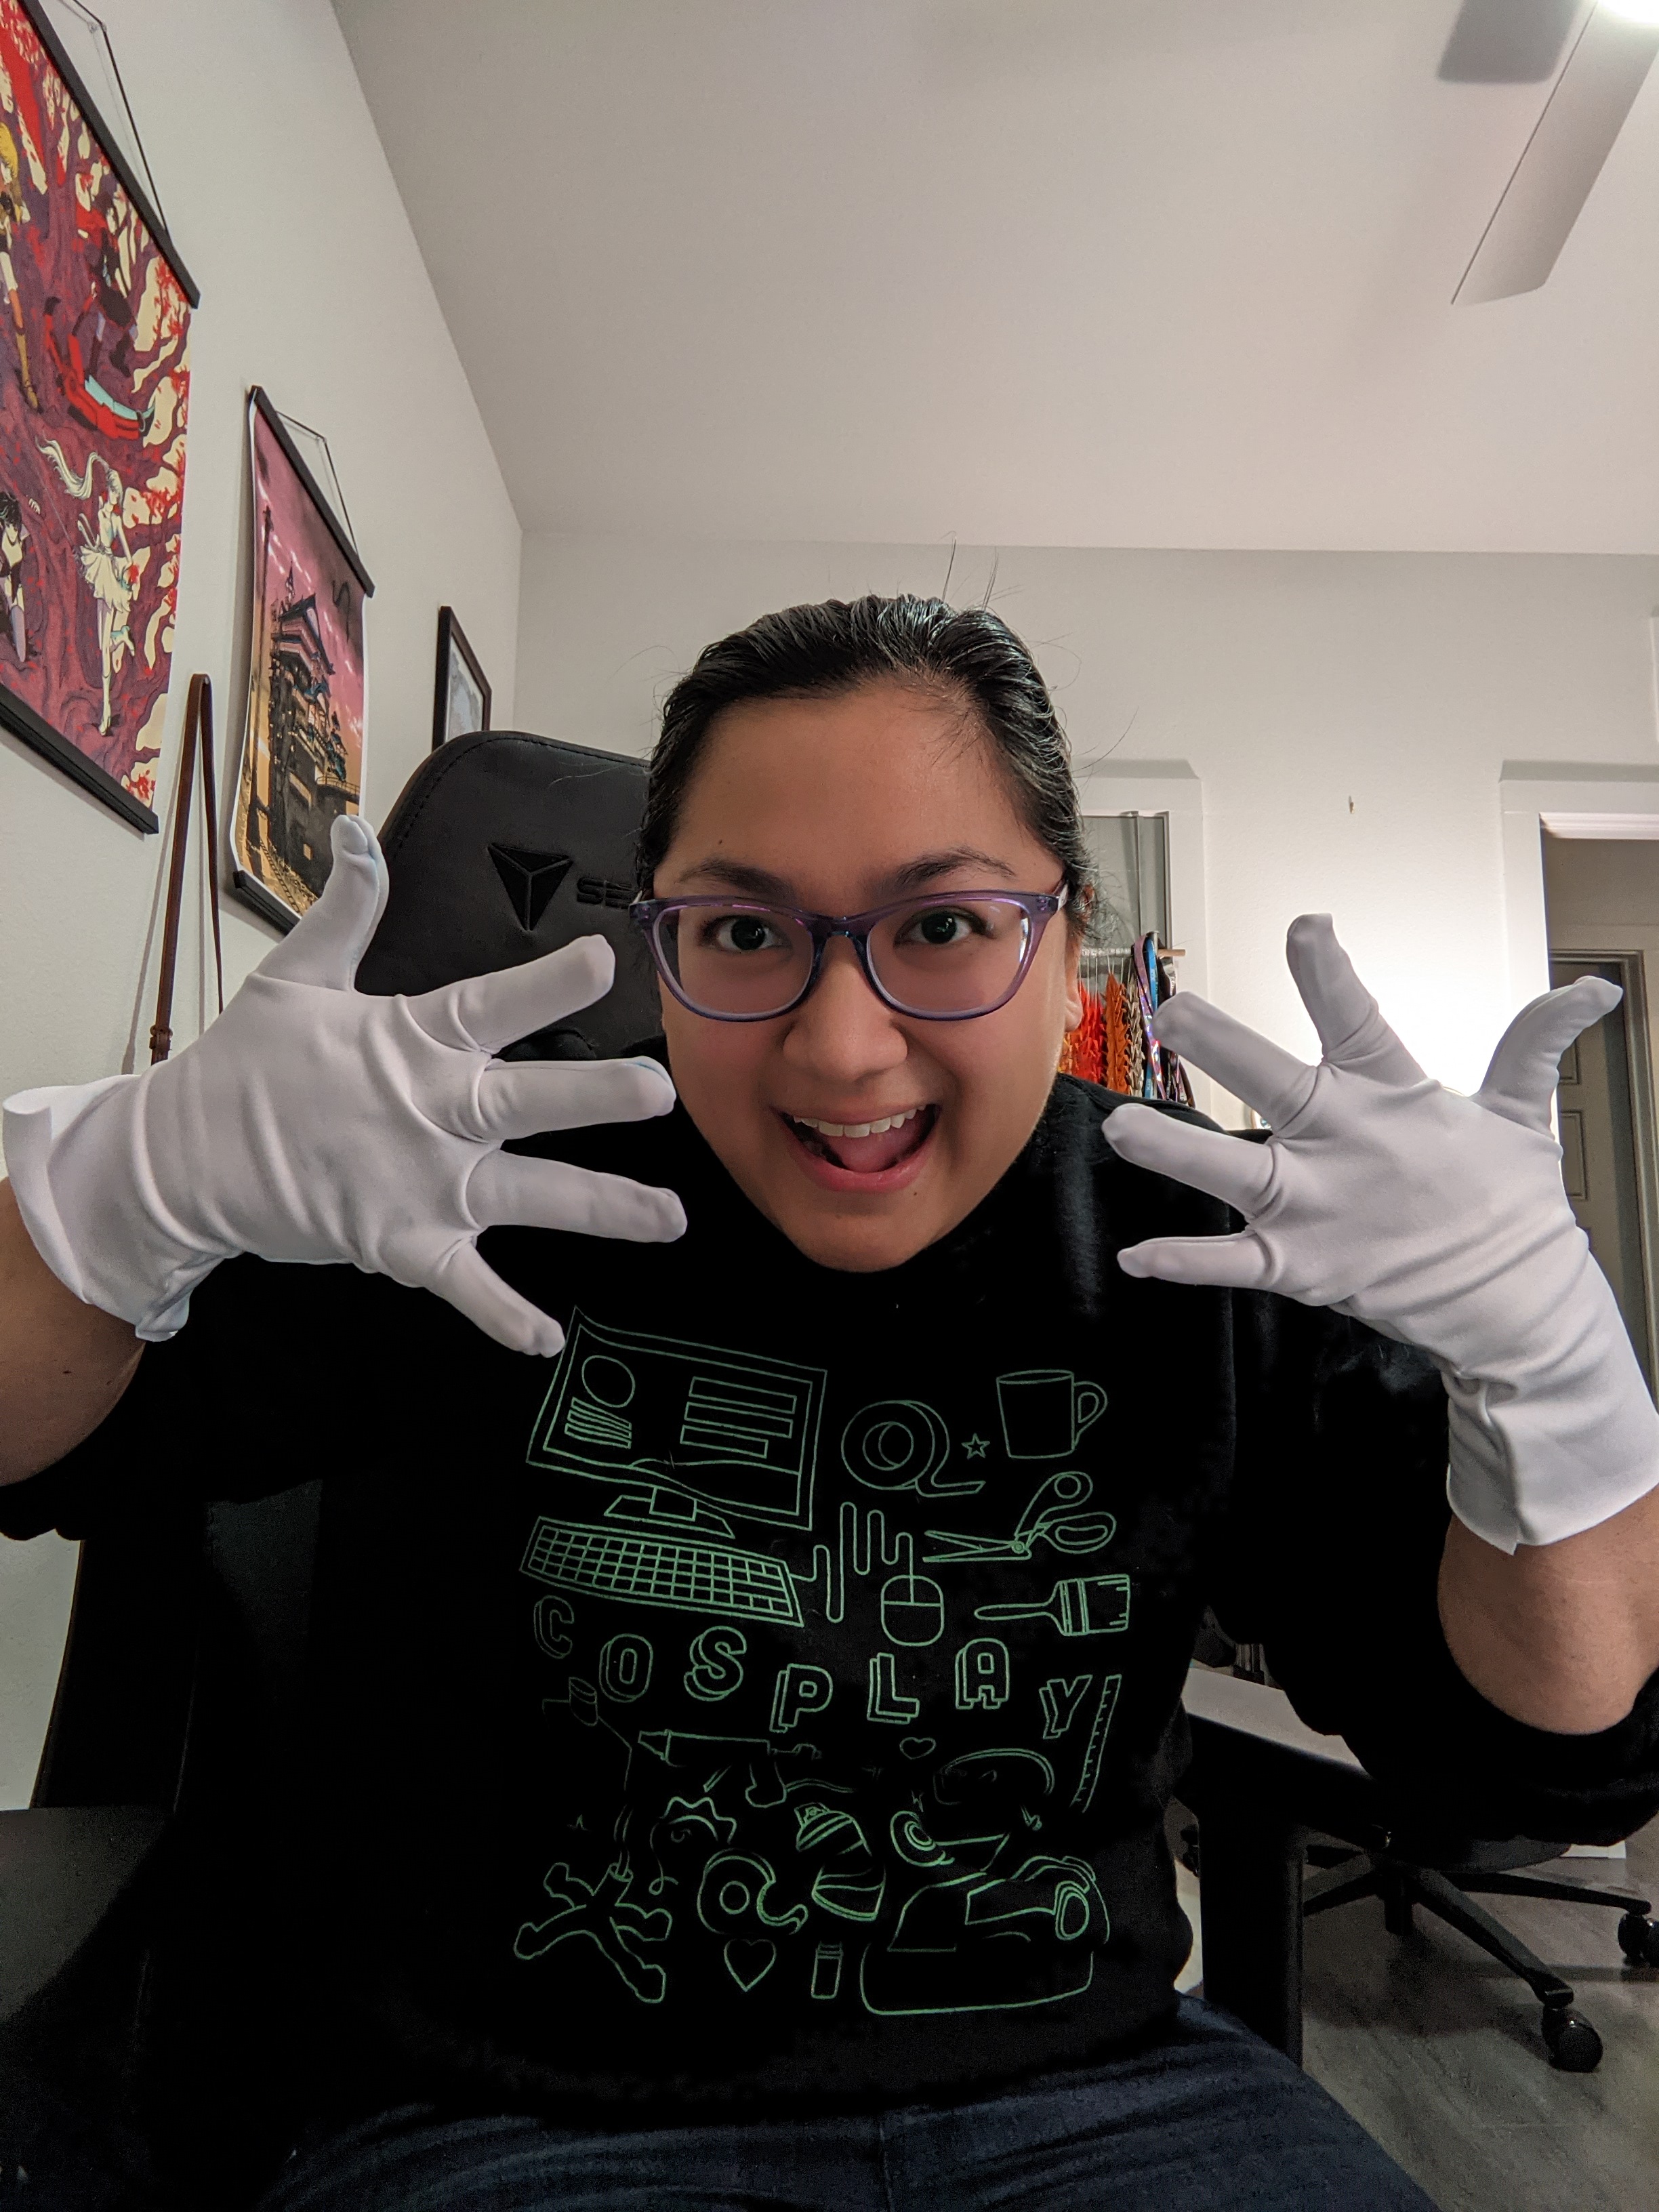
Gloves
I had originally planned on modifying a pair of white gloves I had gotten from Amazon, but I didn’t like how shiny the fabric was, so I opted for making them from the same spandex fabric used for the armor, leotard, and hip rolls. (Typical me: wants to save time and money and then ends up saving neither because I’m stubborn.)
To make the white part of the gloves, I just followed a simple Wiki-how tutorial. My first glove ended up not fitting well because I had the stretch going in the wrong direction. Once I drew my pattern and stitched with the fabric going the correct way, it was all fine!
For the rolls, I used—you guessed it!—Sparkle Pipsi‘s tutorial. Those two Sailor Moon tutorial PDFs were my most viewed sites while working on this cosplay.

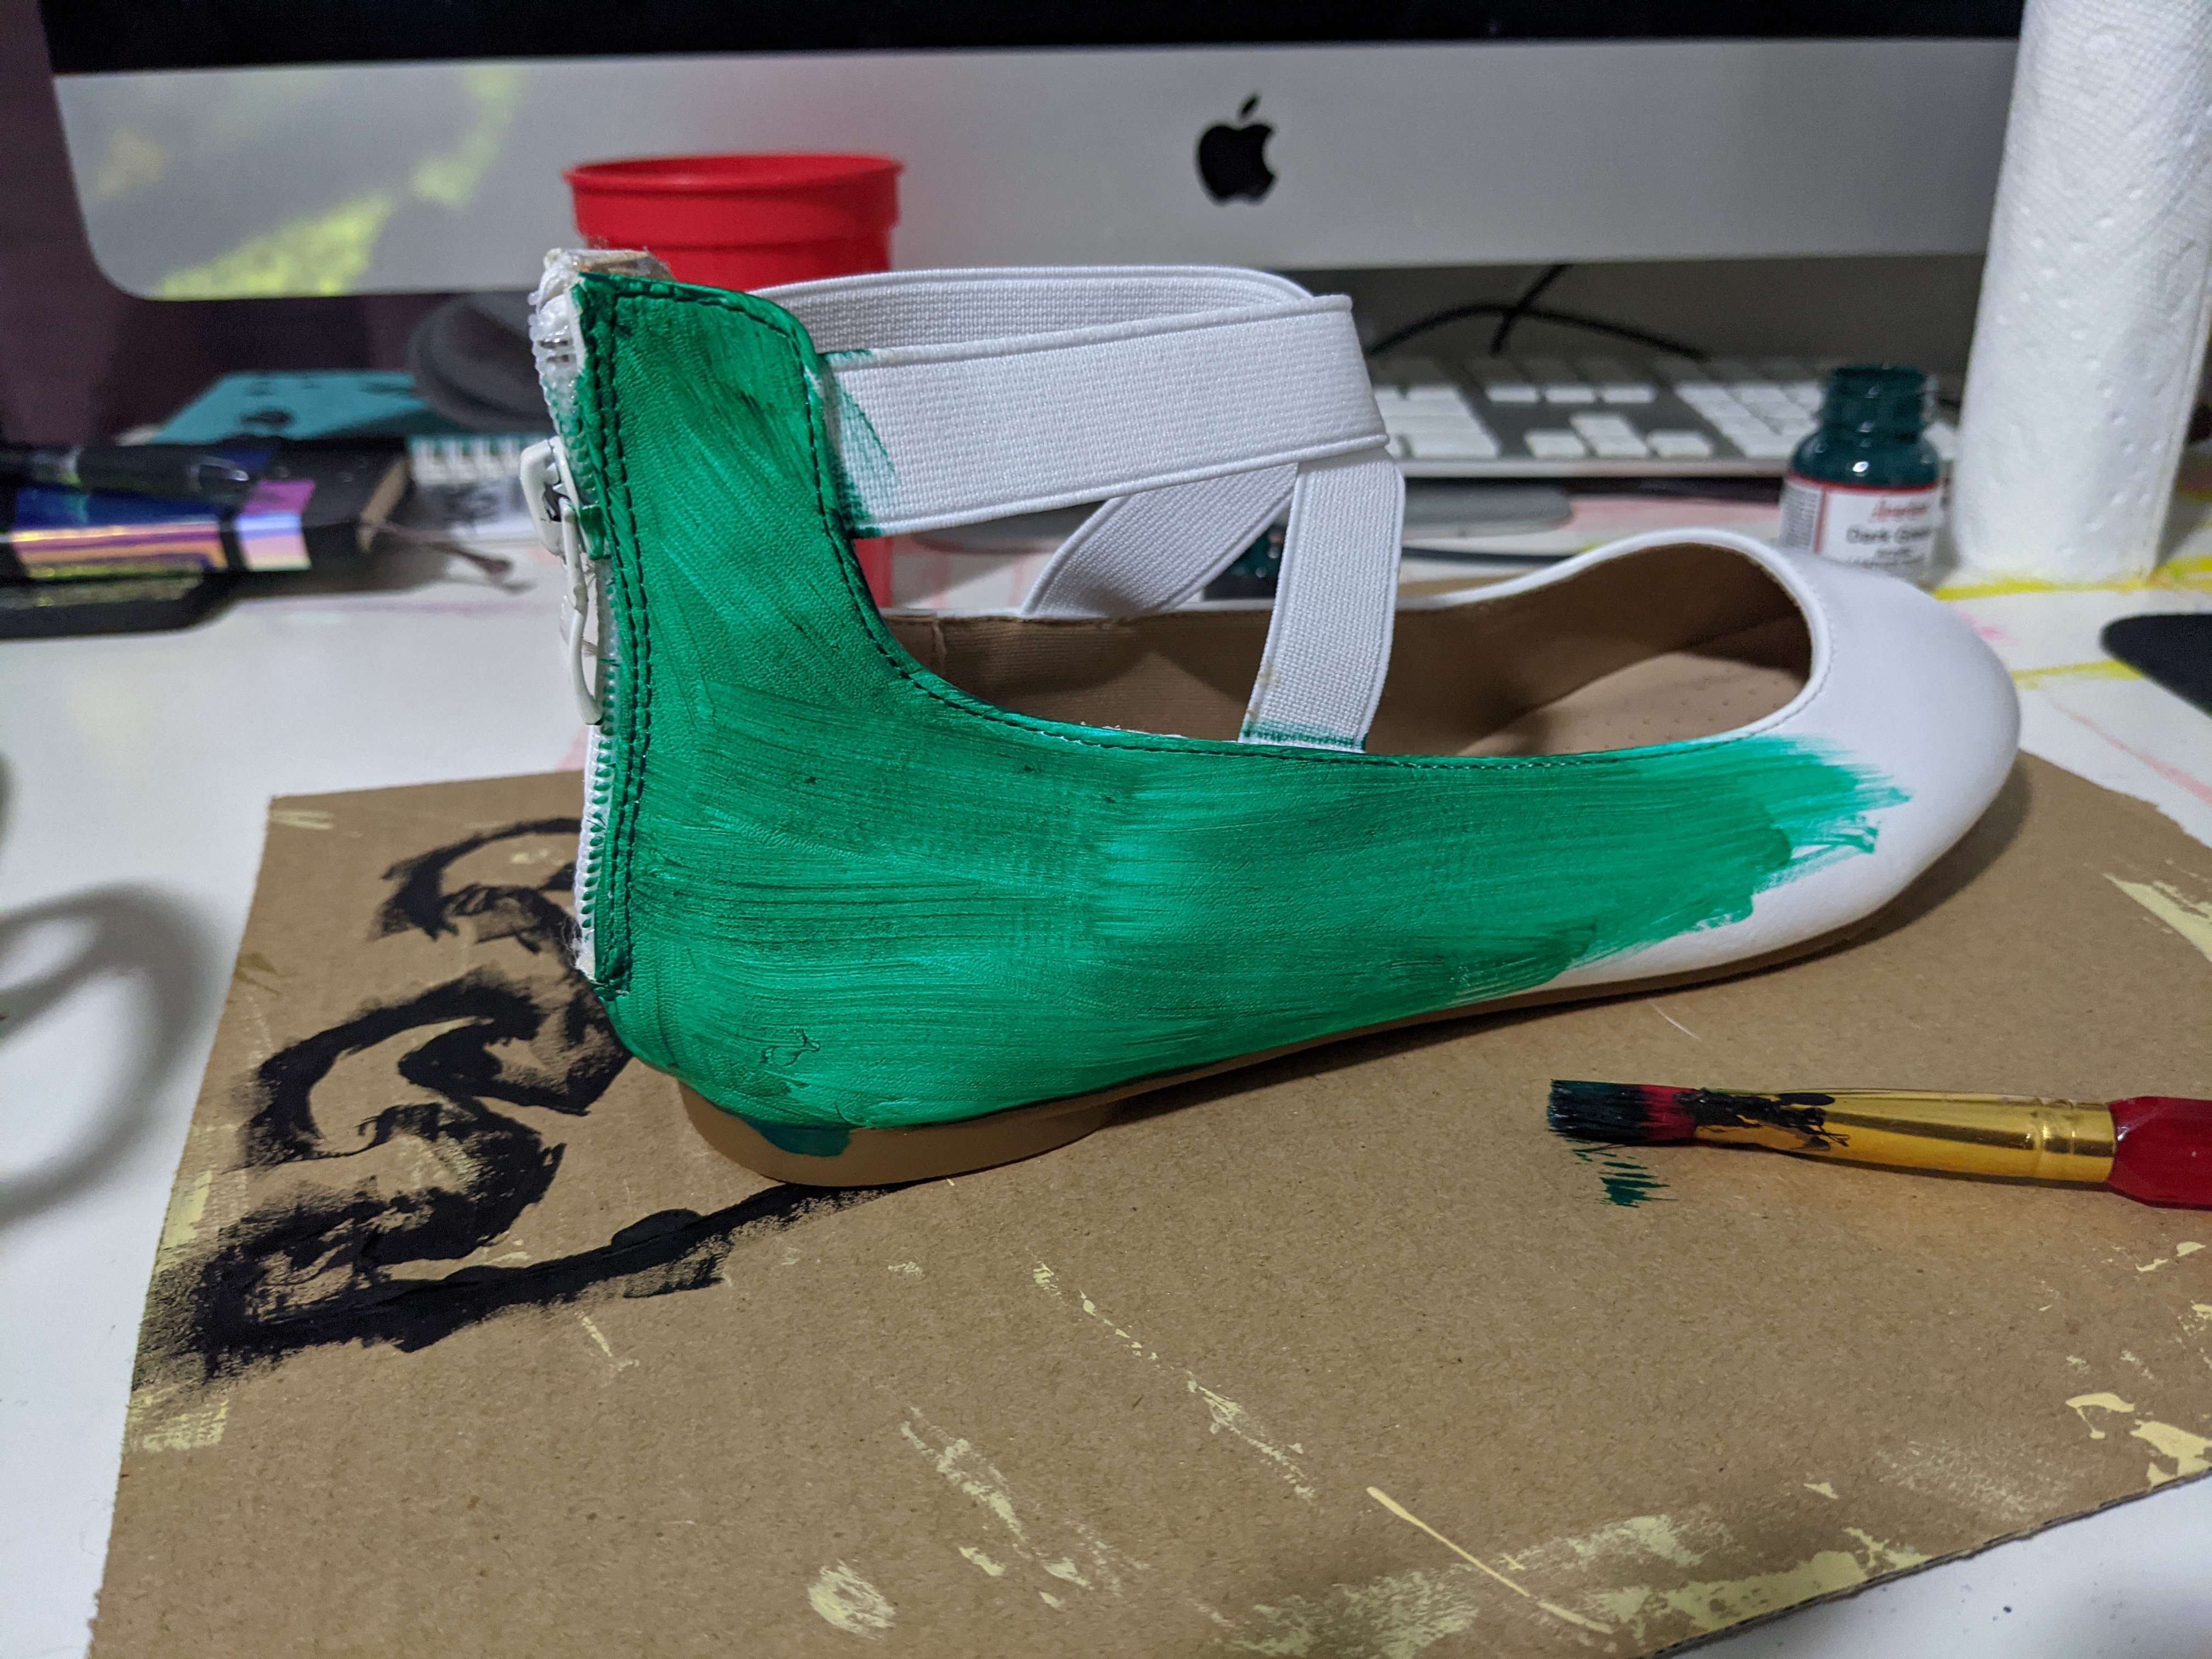
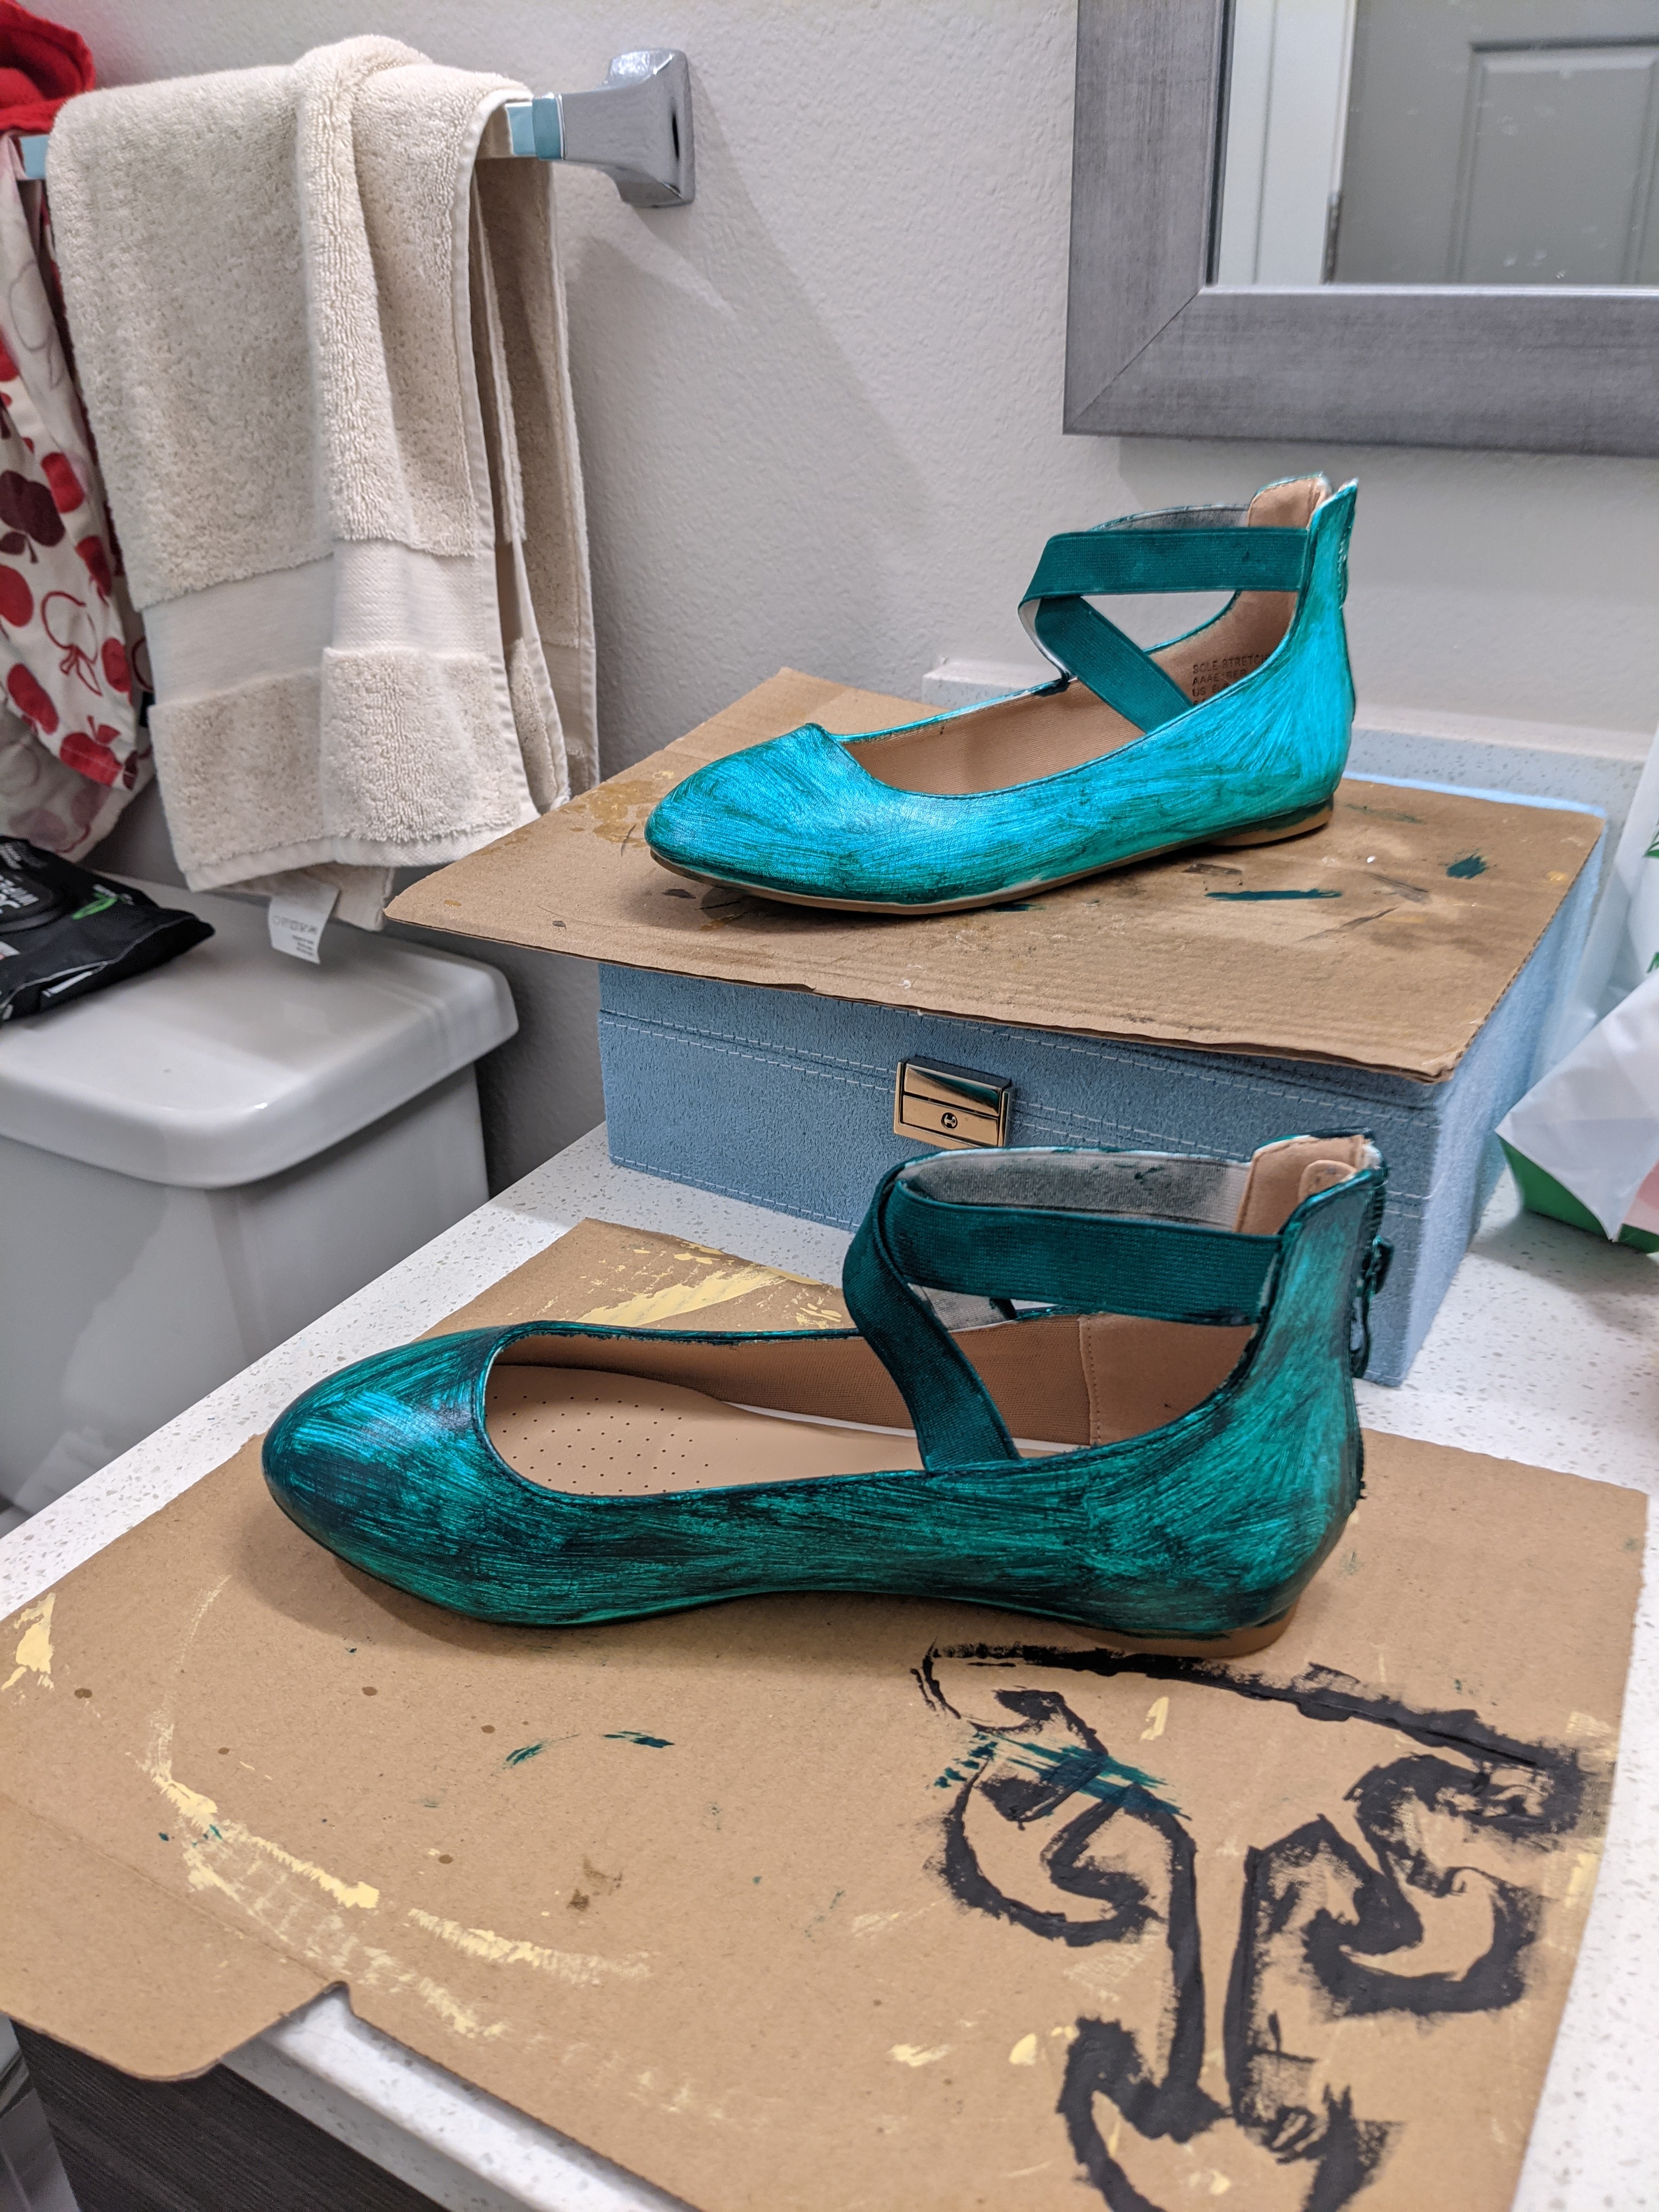
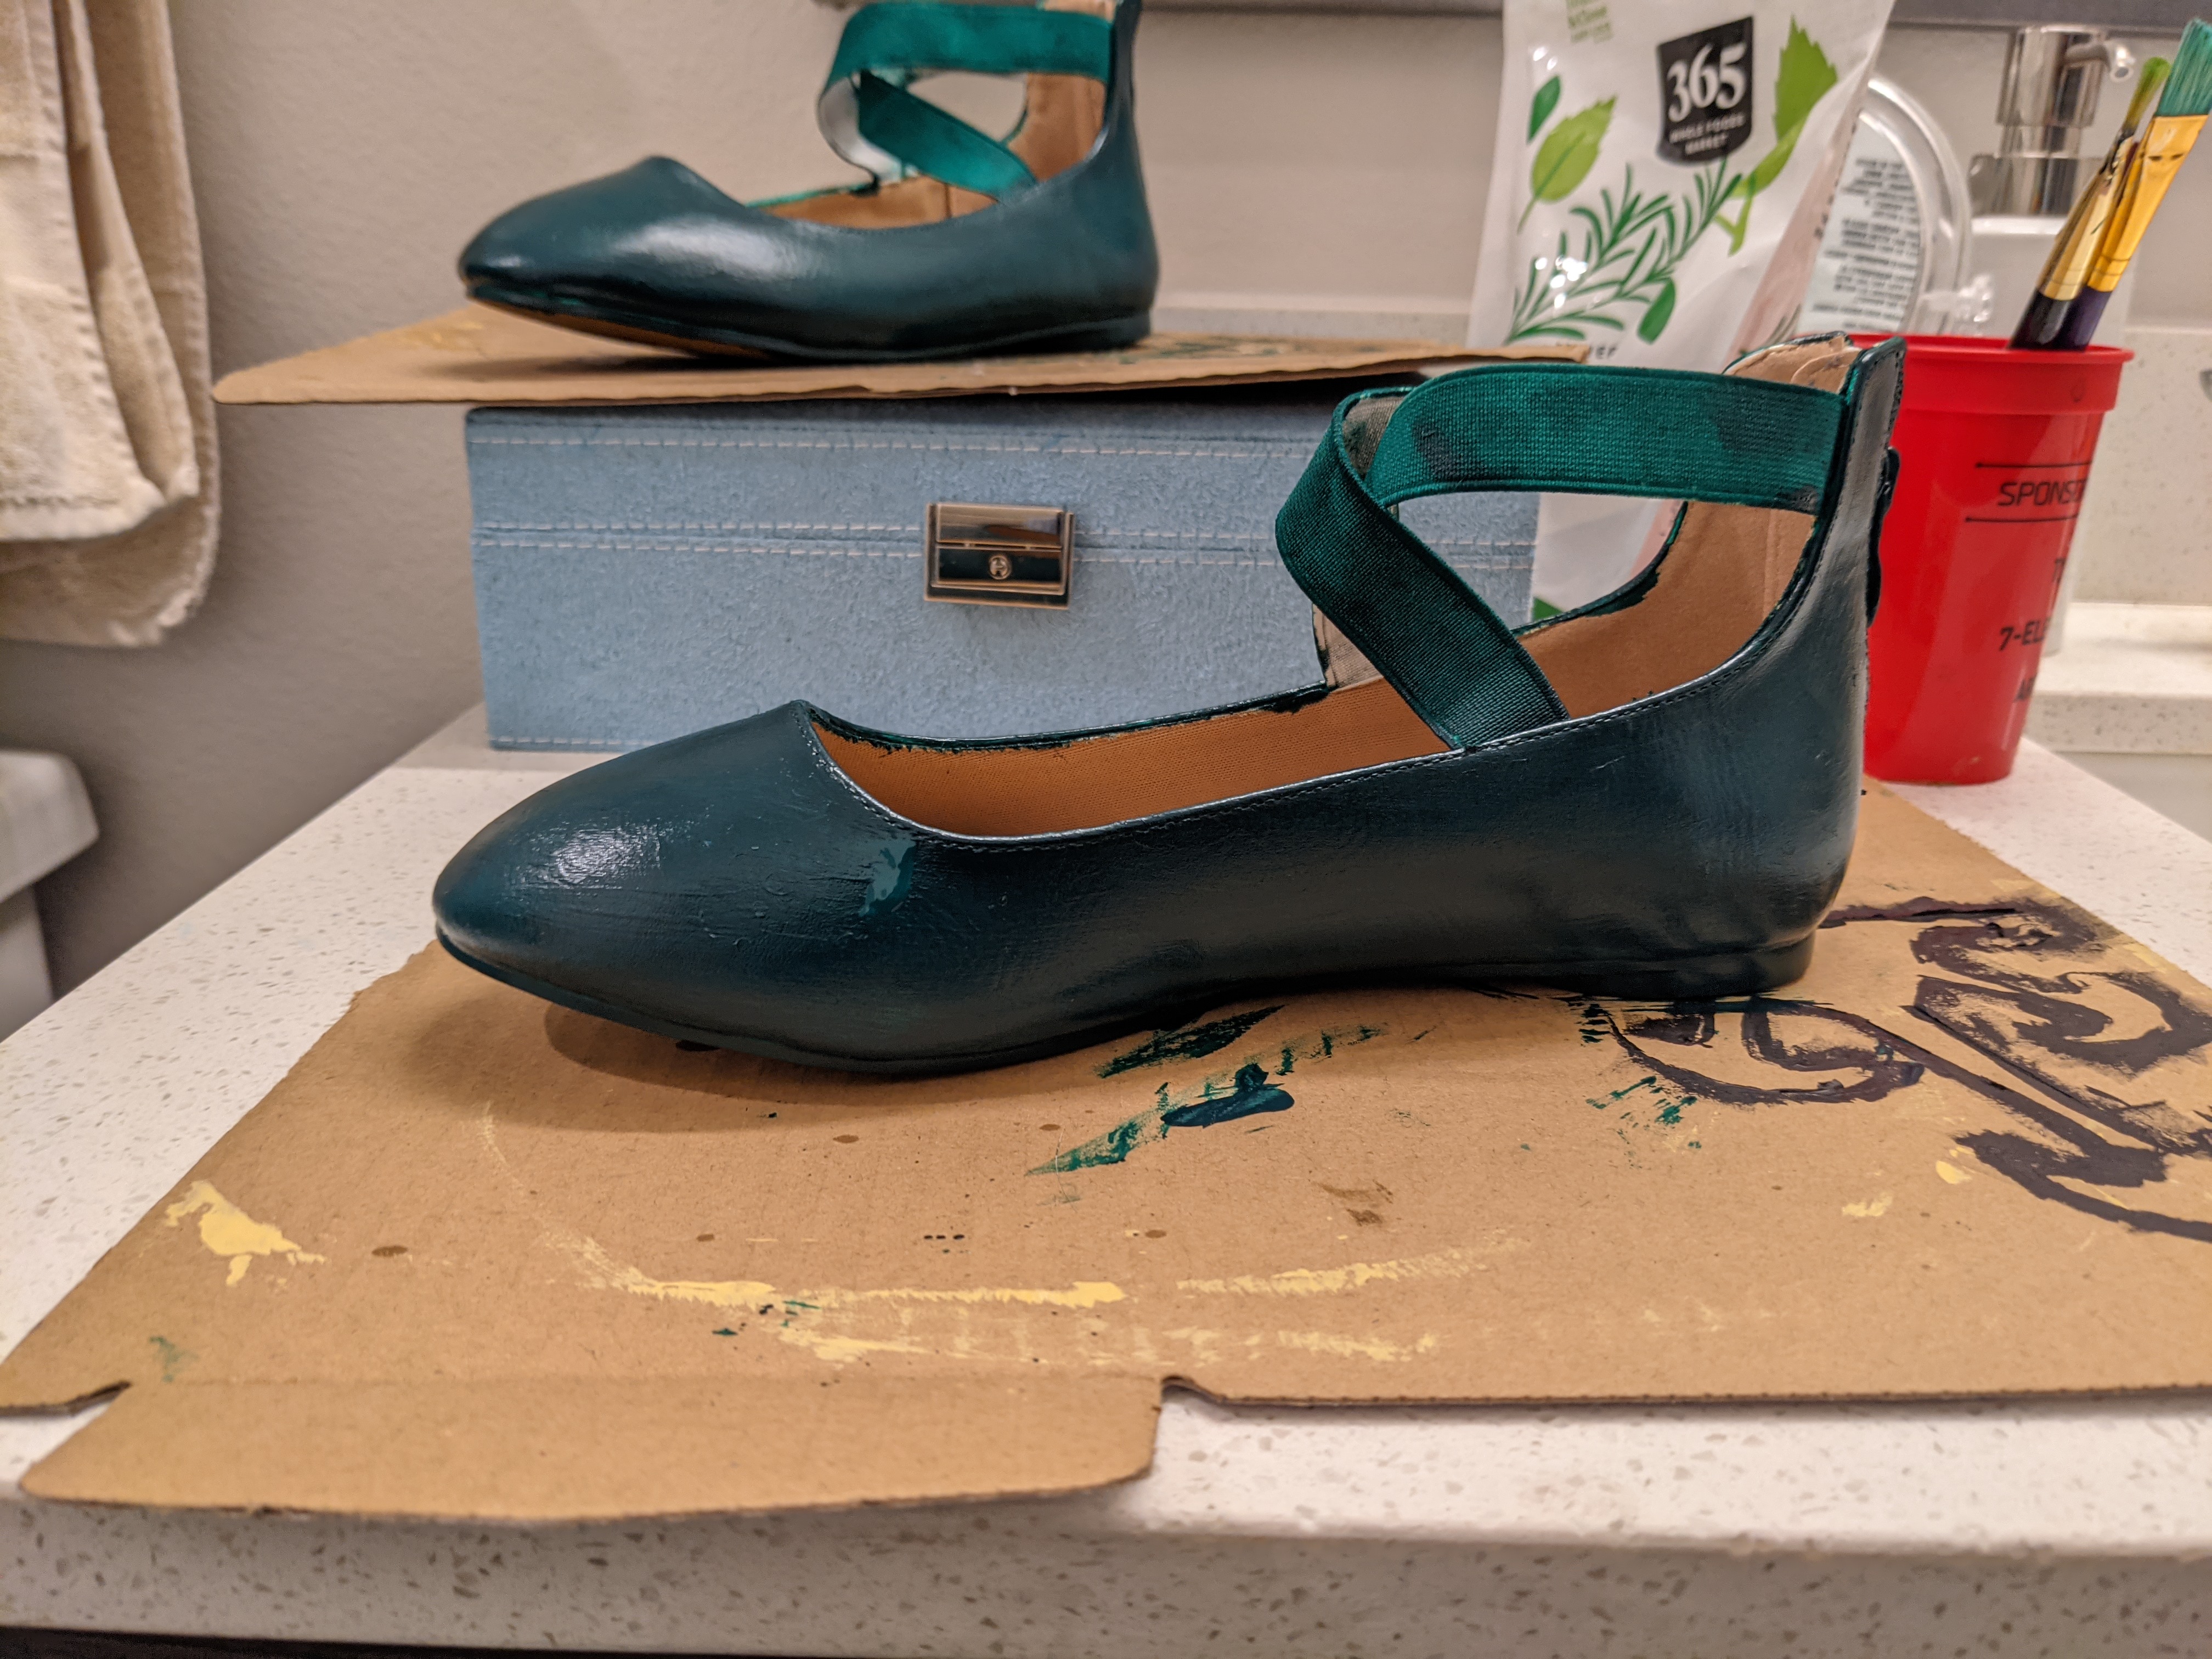
Shoes
I opted for ballet flats rather than heels because I knew I’d be on my feet a lot. Sure, heels make my legs look nice, but flats make my feet feel good. So, I got these ballet flats from Amazon as well as a bottle of Angelus dark green leather paint.
The leather paint took about 5 coats for it to really look right. Once I was happy with the paint job, I sealed them with Angelus acrylic finisher.
Conclusion
This build was a speed build for me (two weeks is considered very fast by my standards!) and it went as well as I could’ve hoped! If it wasn’t obvious by how many times I name dropped them, I owe a lot of the heavy lifting for patterning and process to Sparkle Pipsi and Cosmic Coterie. It’s nice not having to build something from the ground up, while still getting to make something from scratch.
All the pieces are attached via snaps in the off chance I ever decide to cosplay other sailor scouts. I would hope when I do that I would improve some of my process for the skirt specifically but who knows if I’ll ever get around to it. It took 20 years just to cosplay one scout, will it take another 20 to cosplay a second one?
I have a photo shoot scheduled for Saturday of Anime Frontier, when I plan to wear Sailor Neptune while judging the Masquerade! I can’t wait to get some lovely pictures of this cosplay, along with my violin which I fully intend to bring. (I’ll also be wearing my Kaori cosplay, so it’s all about violin this con!)

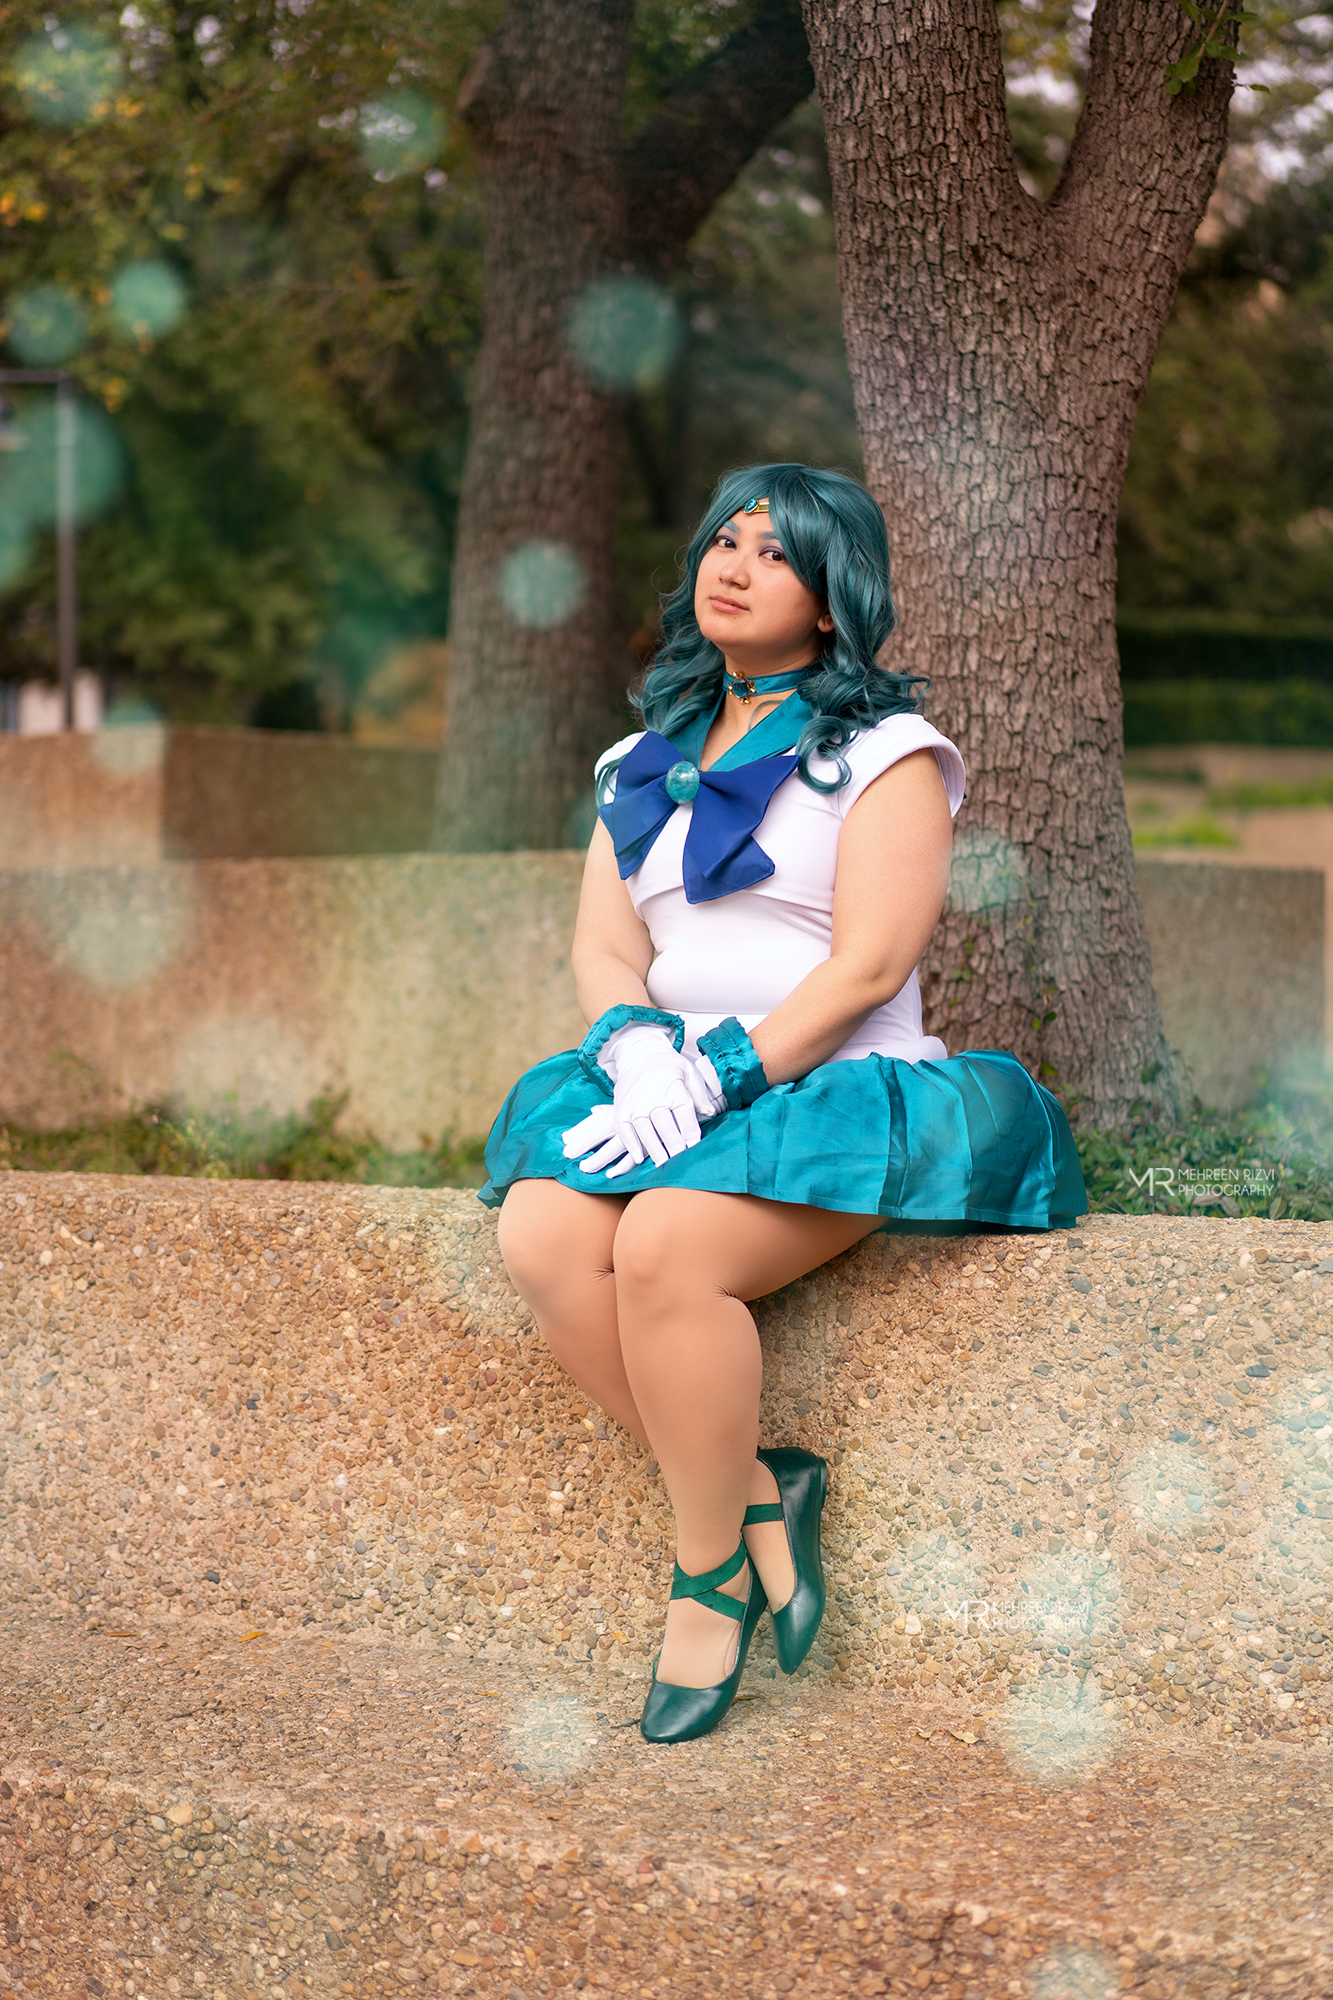
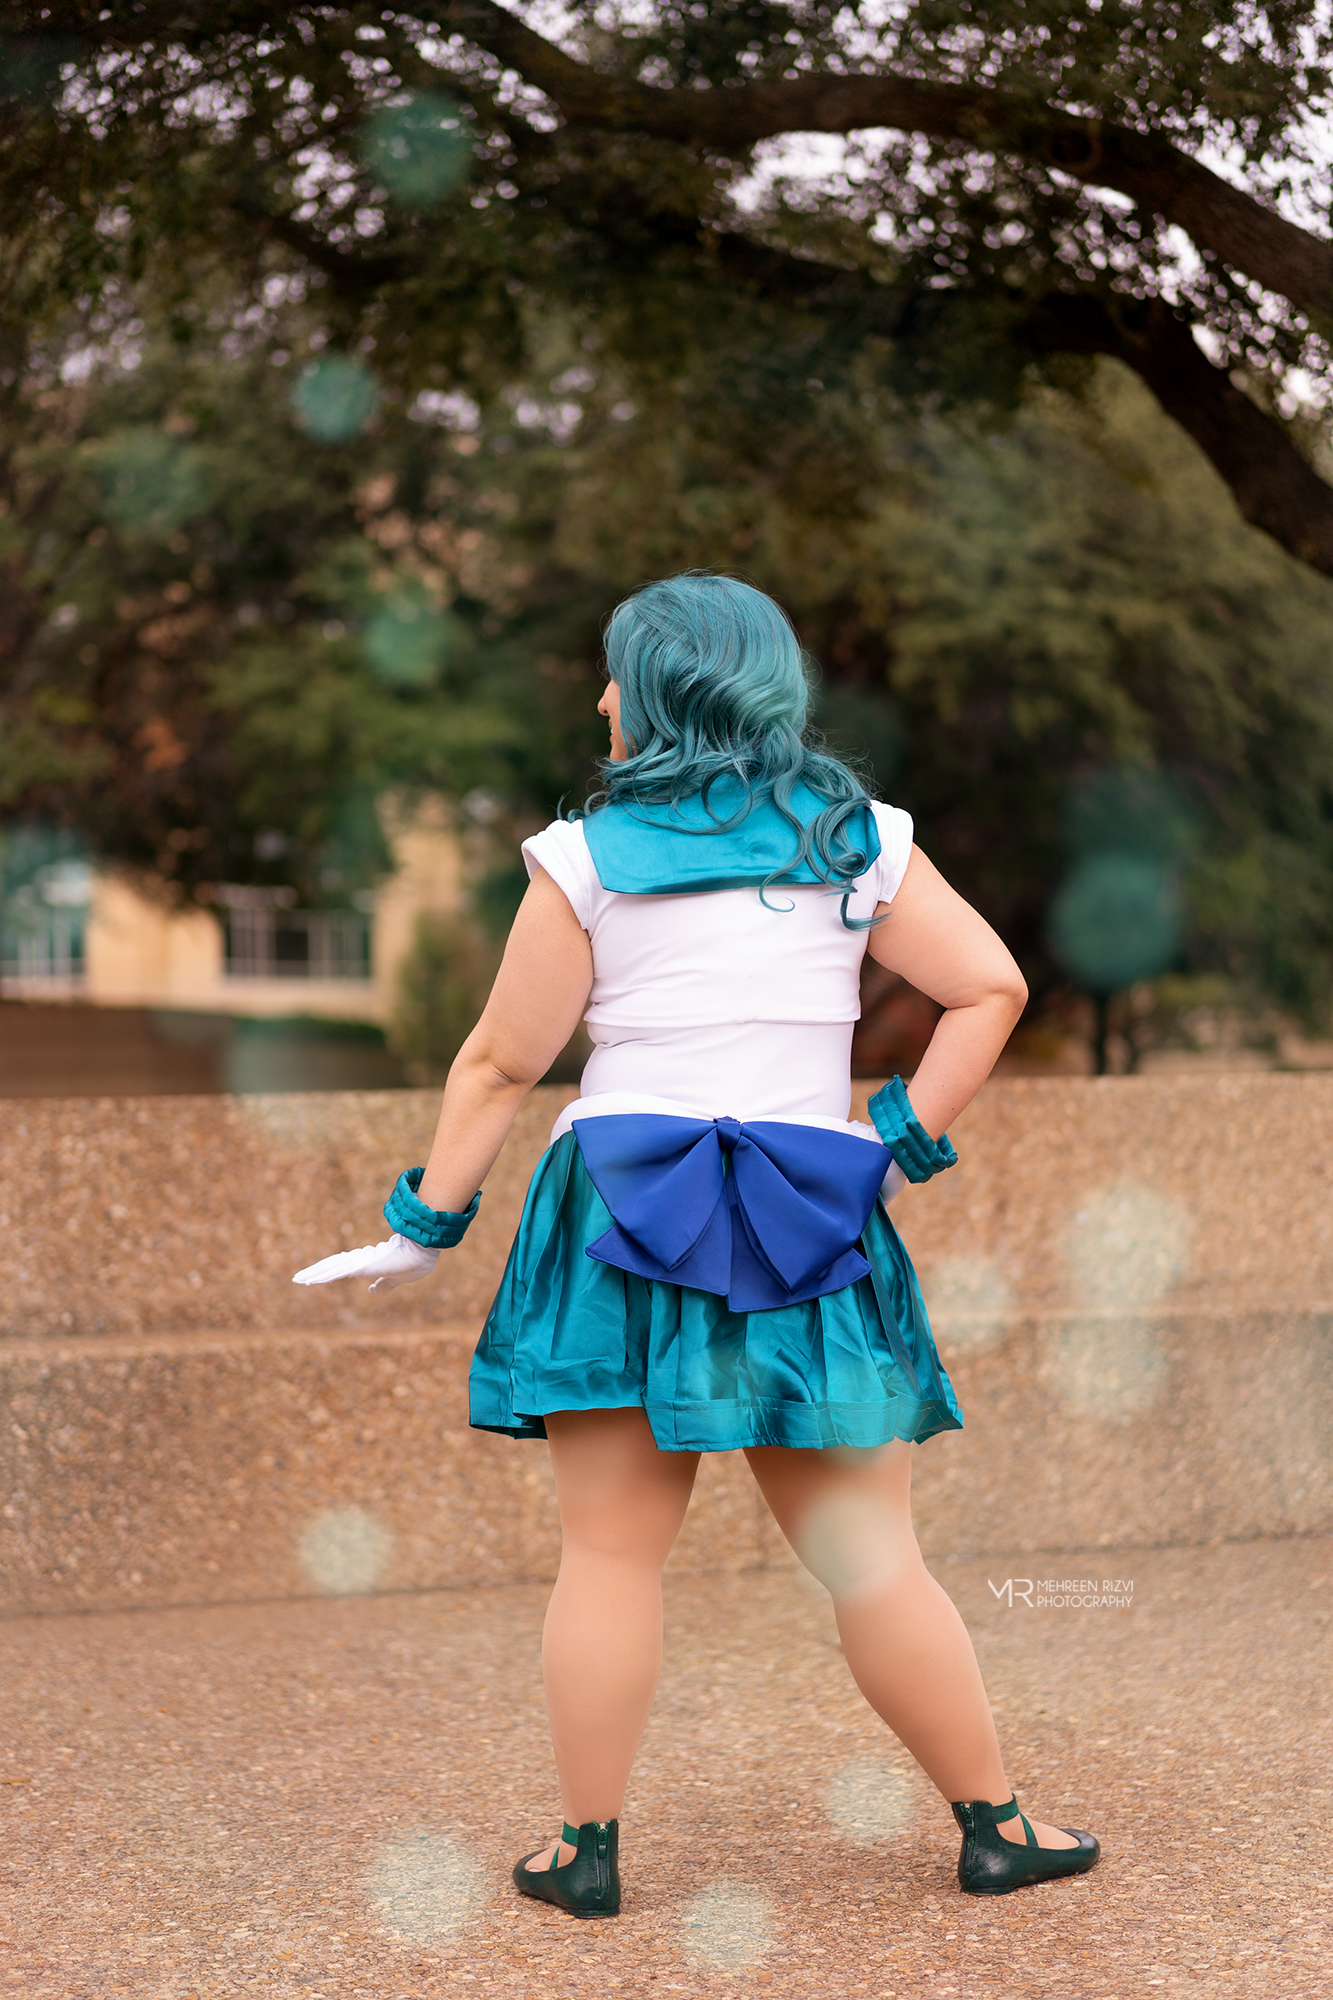
Finished photos by Mehreen Rizvi
Use my build post as inspiration? Let me know!
If you followed along with my build post to help you make your cosplay, I’d love to see it! Leave me a comment or send me an email at ashweezcosplay(at)gmail(dot)com. If you’re comfortable with it, I’d love to showcase your cosplay photo(s) in the blog! I will of course give you credit and link to any socials you may have.
