

One of my cosplay goals for this year was to release a new tutorial post (and accompanying video) every quarter. Seeing as it’s the end of March, I’ve got one done just in time.
Considering I just learned this new technique to make my Seraphine cosplay, I thought I would share it with you!
Video tutorial
If you’re more of a watcher than a reader, I have a video of this same tutorial!
What is piping?
Piping is a a strip of cording wrapped in bias tape. You can either buy pre-made piping or make it yourself! The benefit of making your own piping is that you get the exact fabric that you need, rather than settling for the limited colors the craft store has.
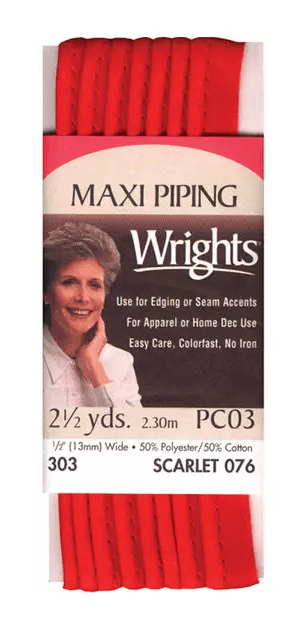
Storebought piping 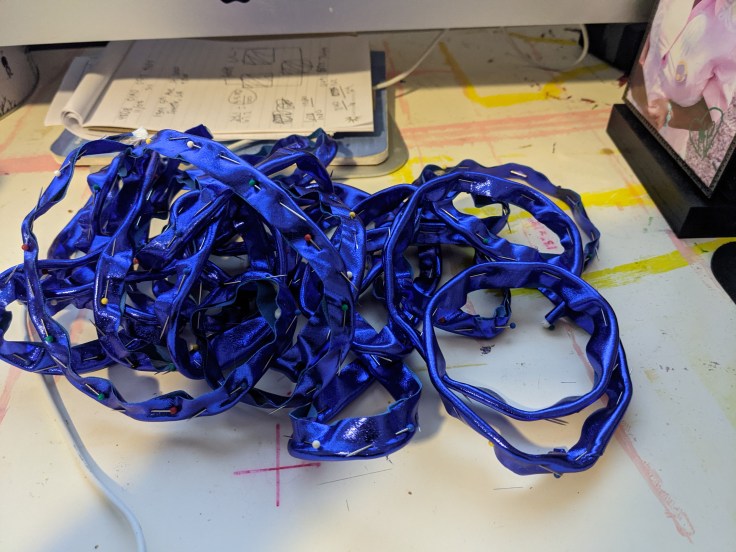
Handmade piping. Cording has been pinned in place.
Piping uses
Piping can be used to finish edges of a sewn object while giving it a nice level of polish and dimension. One common use for piping is as a decorative finish for pillow cases. Other uses include purses, backpacks, and bodices like below! You can match the piping to the sewn object or use a complementary color to really make it pop!

Blue homemade piping on Seraphine dress bodice 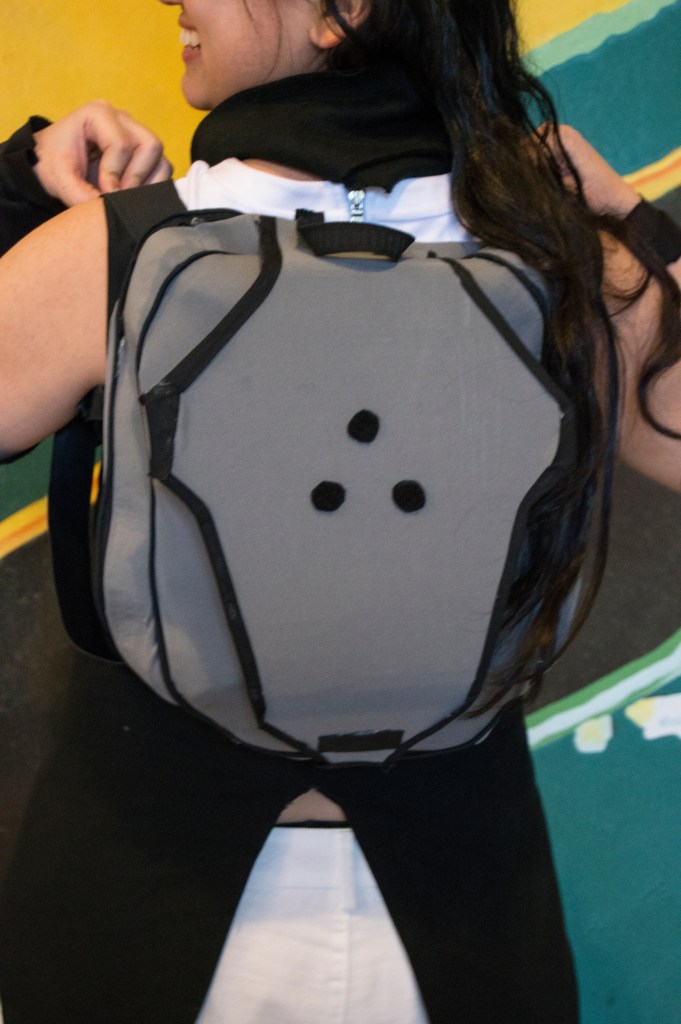
Black store-bought piping on Blake’s backpack edges (The thicker parts are bias tape that I did NOT install properly because I had no idea what I was doing in 2015 lmao) 
White store-bought piping for Ramon’a purse edges. (Please ignore my TERRIBLE wig circa 2010.)
How to make piping
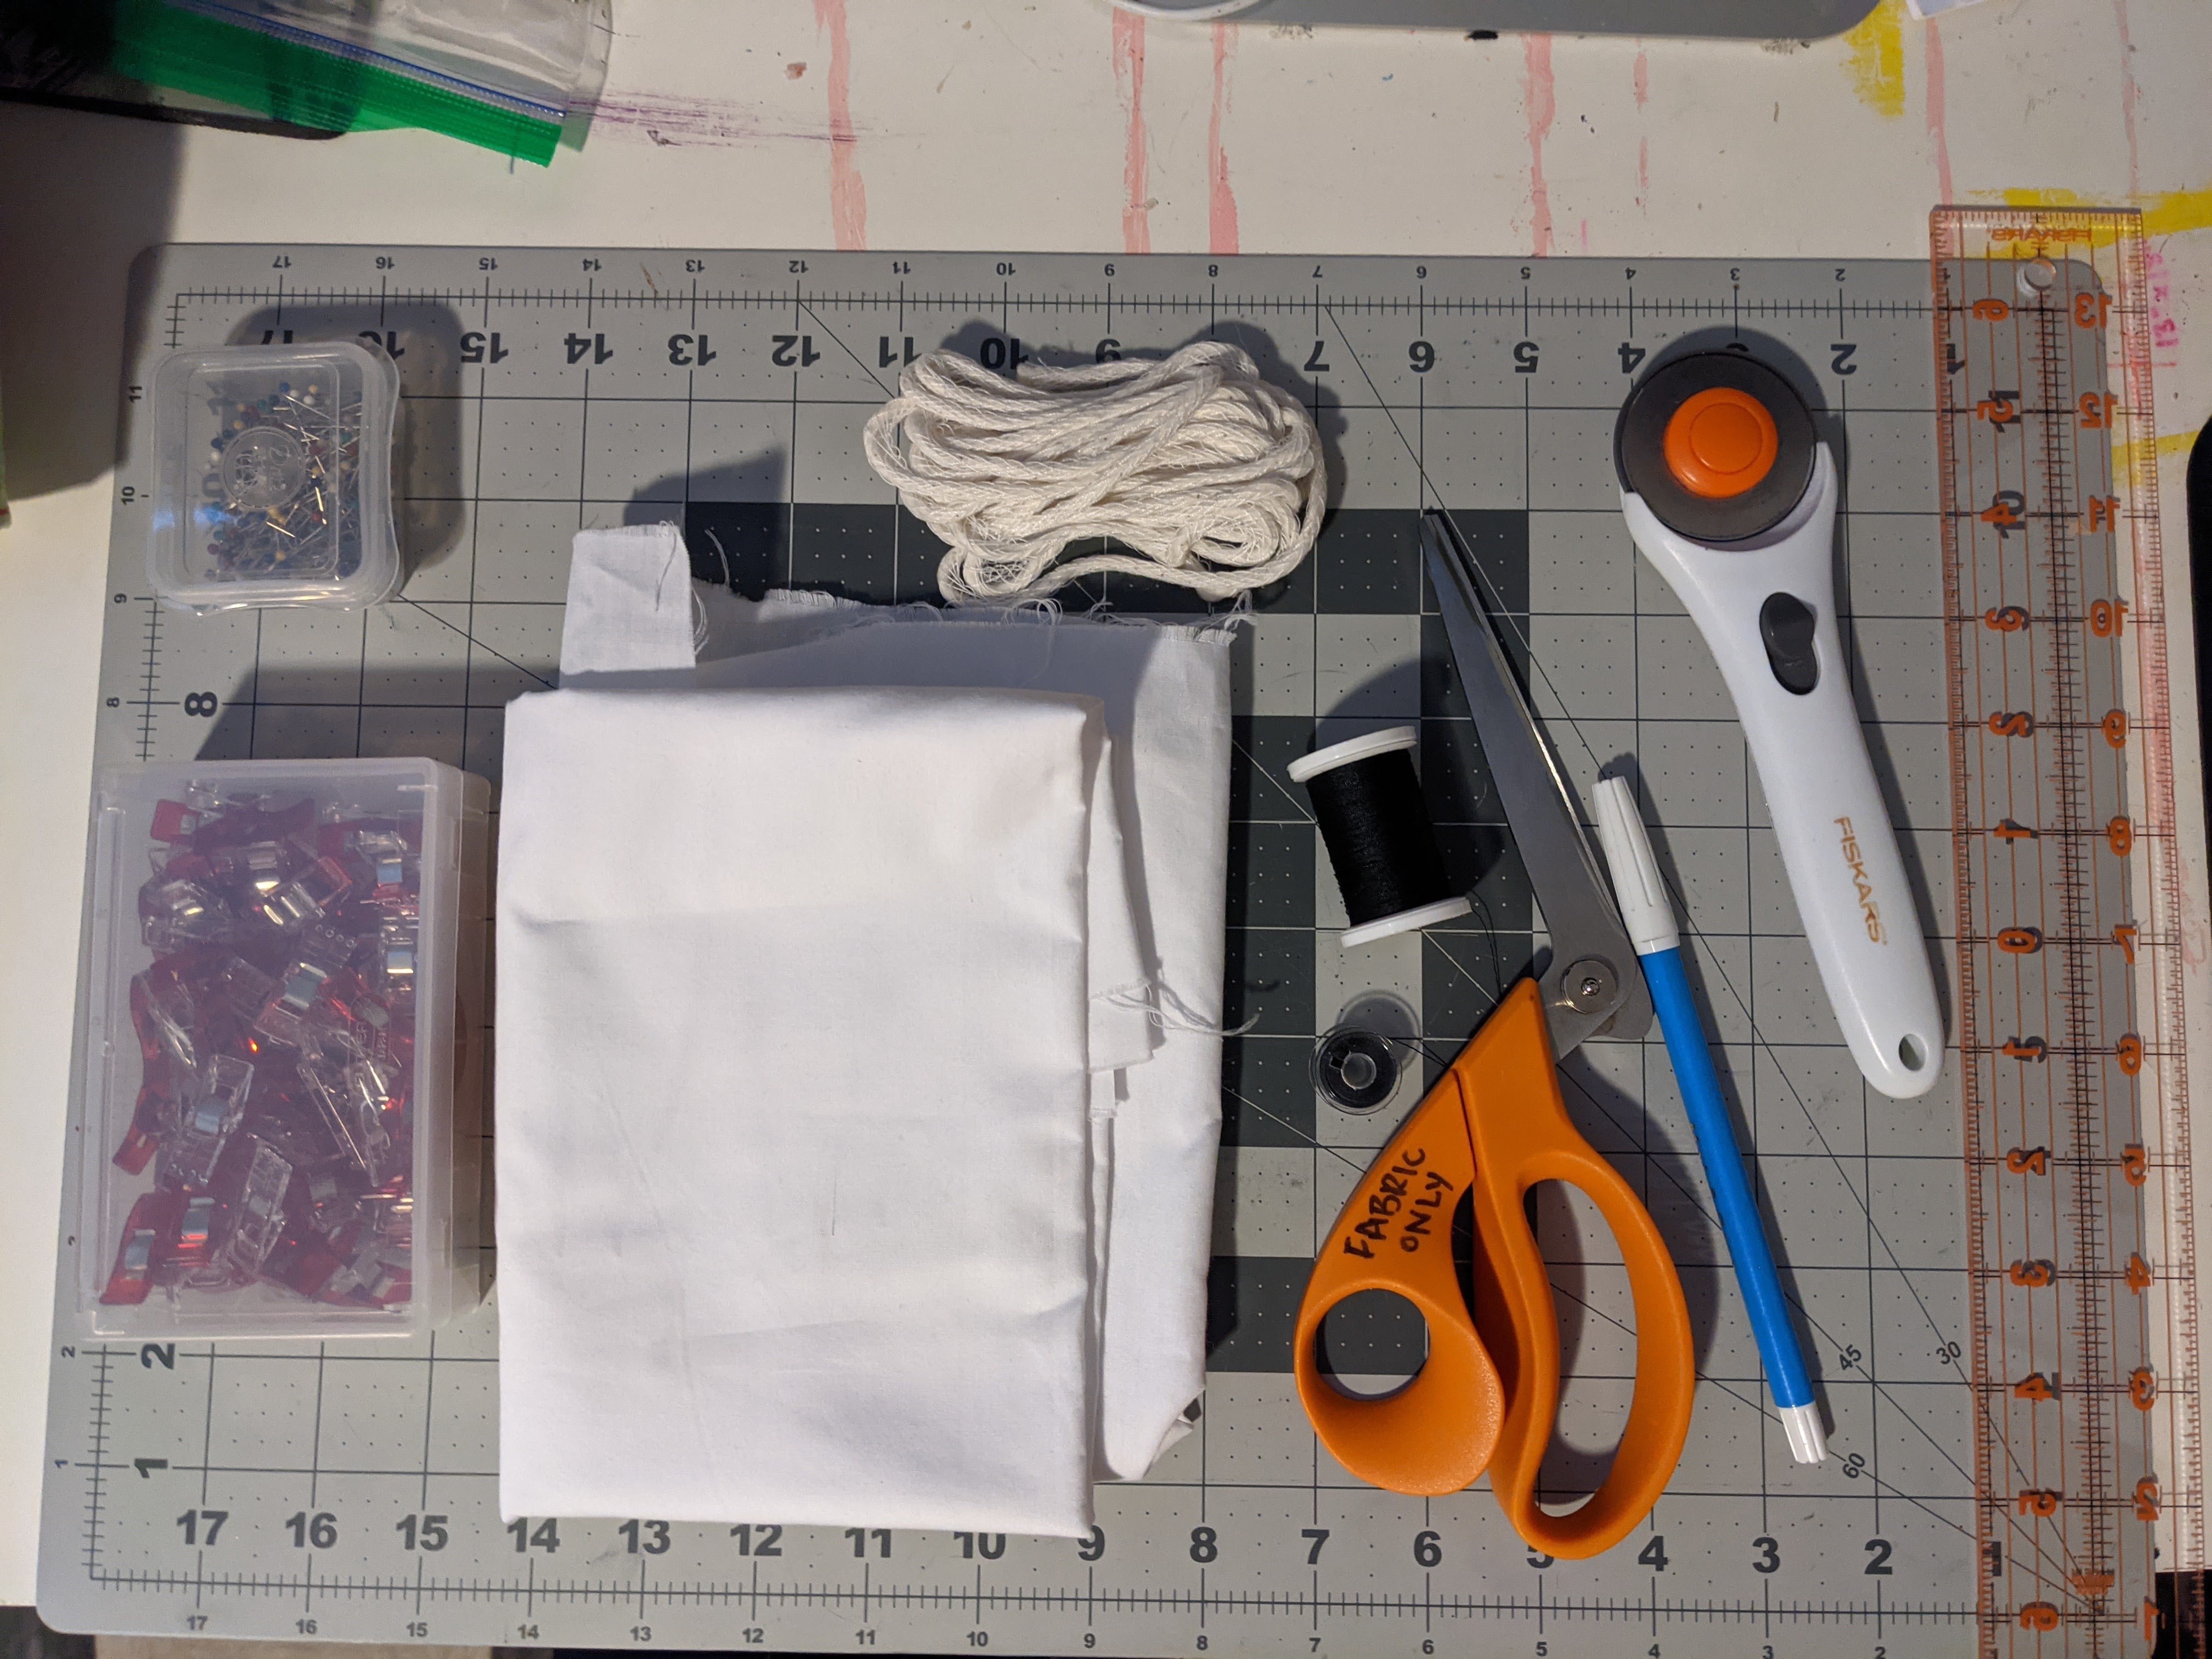
To make piping, you’ll need a few things
- 1/8″ wide cording
- Fabric
- Ruler
- Fabric chalk or marking tool
- Scissors or rotary cutter and cutting mat
- Pins or clips
- Sewing machine*
- Piping foot or zipper foot
*You can also do this by hand but I wouldn’t recommend it because it takes so long!
Make your bias tape.
Bias tape are strips of fabric cut along the bias.
The bias grain of a piece of woven fabric, usually referred to simply as “the bias”, is any grain that falls between the straight and cross grains. When the grain is at 45 degrees to its warp and weft threads it is referred to as “true bias.”
https://en.wikipedia.org/wiki/Grain_(textile)
That’s just a long-winded way of saying that it’s the 45º angle of the fabric.
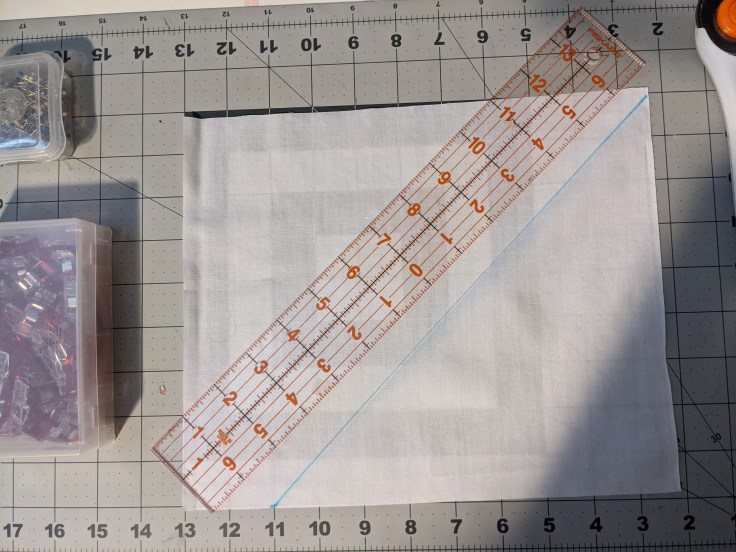
To find your fabric’s bias, lay it flat, making note of the direction of the grain. Then, fold one corner of the fabric over to form a triangle, making it so that the side edge now aligns with the top edge like the picture below.
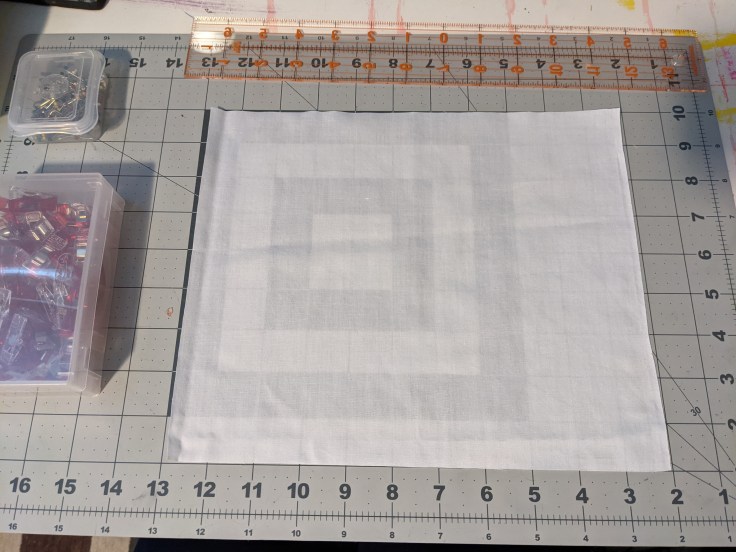
Grain follows the grid on the cutting mat 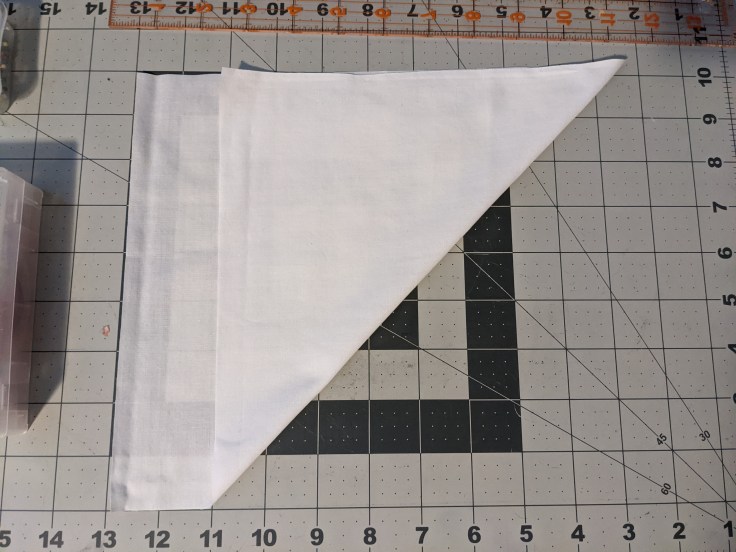
Fold along the bias
Iron this fold so that you get a nice crisp line going down the fabric.
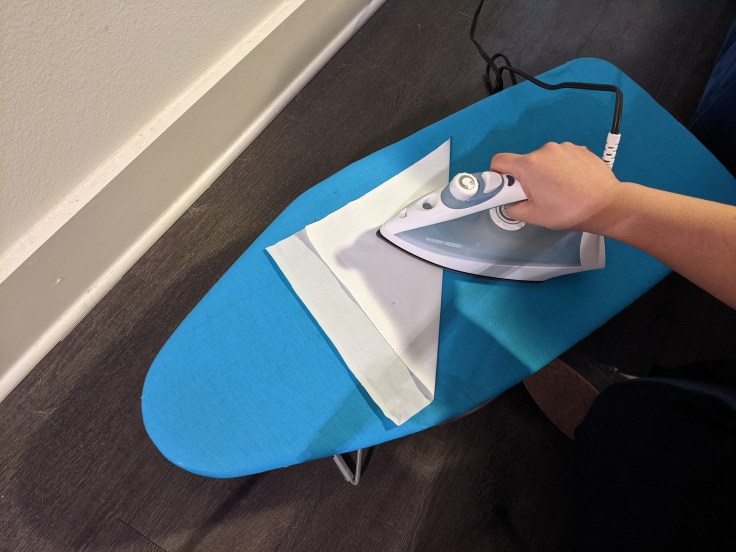
Iron the fold down 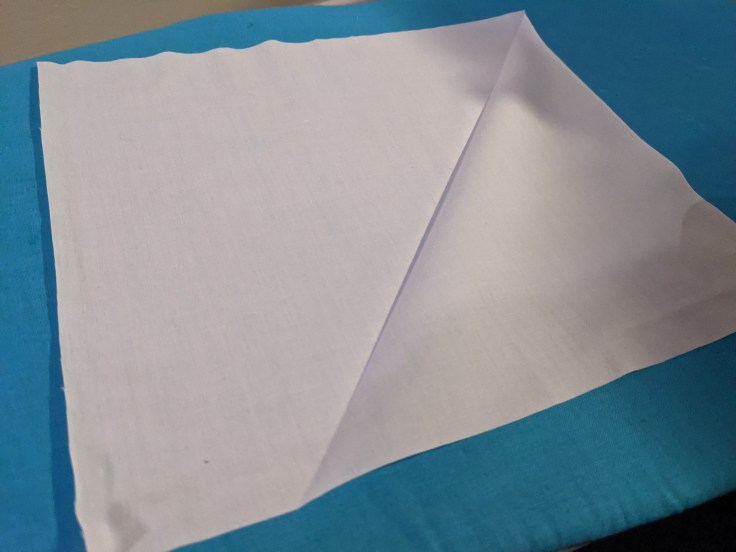
Crisp line from ironing
Then, using your ruler and fabric chalk, and draw a line going down the fold line. Use your scissors or rotary cutter to cut along this line.
Marking the bias with a ruler
Next, you’ll mark where to cut the bias strips by marking lines parallel to this new edge you created. You’ll want the width to be wide enough to encase the cording. If you know what project you’ll be using it for and what the seam allowance is, it helps to cut them to the correct sizing beforehand. To figure out what that width is, use the formula below
Width = (Seam allowance x 2) + (cord width x 2)
In this case, since we already said that our cord width is 1/8″, the formula looks more like this:
Width = (Seam allowance x 2) + 1/4"
So, if your seam allowance is 1/2″, your total width would come out to 1.25″. So you’ll need to cut strips 1.25″ wide to be able to fully encase your cording and have enough fabric for the seam allowance. (Disclaimer: the pictures below first start off with strips 1/2″ wide because I messed up. And then later on after realizing my error, I used 1″ strips. Just cut the strips to the dimensions you need for your project.)
There are a couple ways to go about cutting these strips.
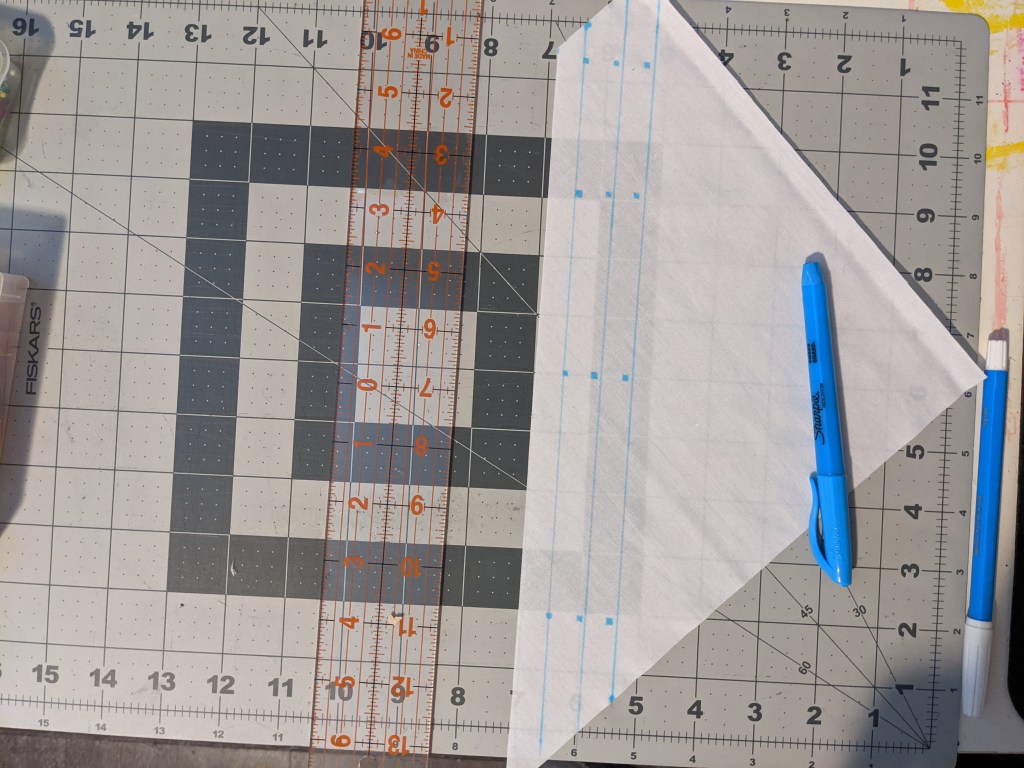
Dots and lines marking where to cut 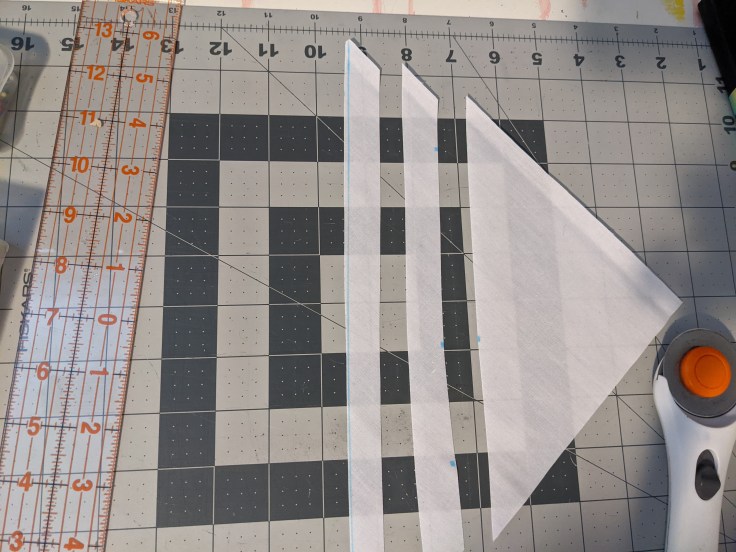
Bias strips
- If you have a rotary cutter, ruler, and cutting mat: Things are going to be a lot simpler for you. Line up your fabric with one of the lines on your cutting mat, then place your ruler 1.25″ out from the edge. Here, you can either mark the line with your chalk and then cut with the rotary cutter. Or, you can skip the marking part and just go straight to cutting with the rotary cutter.
- If you only have rulers and scissors: (see picture above, left) Using your ruler, mark dots 1.25″ away from the edge you just created by making that first cut. Do this in a few spots. If you know you’ll be making a lot, you can save time and mark dots every 1.25″ inches for the other strips. Once done, connect the dots using a ruler and cut along the lines with your scissors.
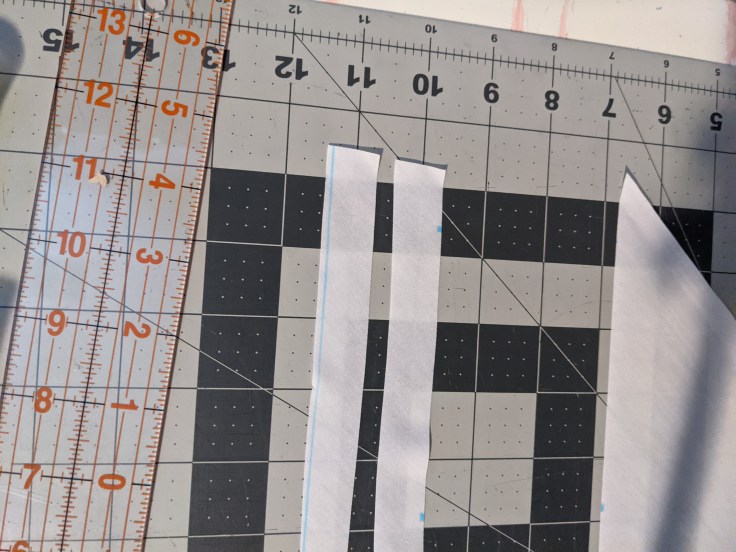
Bias ends cut to right angle
After this, you’ll want to trim the edges of the bias strips so that they’re all right angles.
Optional step: Connect all the bias strips.
If you want to make one giant strip of piping, do this step. If you’re okay with lots of smaller strips, you can ignore this step. (When I made Seraphine, I opted for 2 long strips because I wanted to make sure it was long enough for my seams but not so long that it became unwieldy.)

Lay strips flat 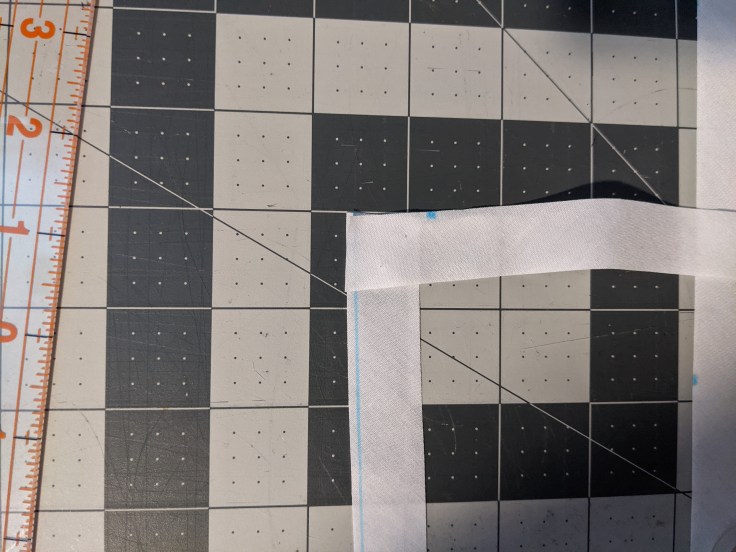
Meet at corner 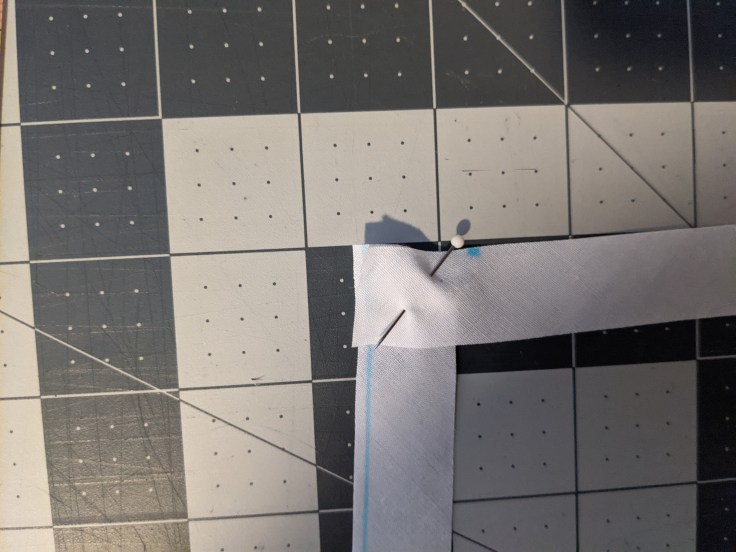
Pin in place
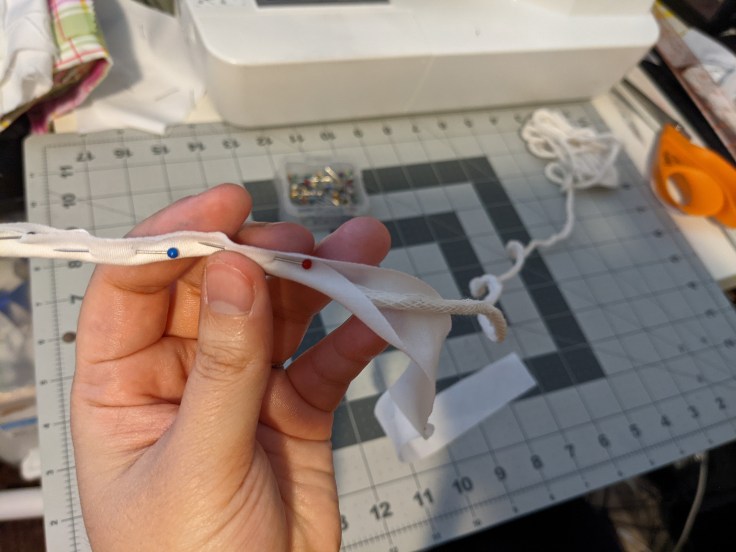
Pin or clip the ends of two bias strips together—right sides together—so that they form a point like the picture above.
Thread tension test: front 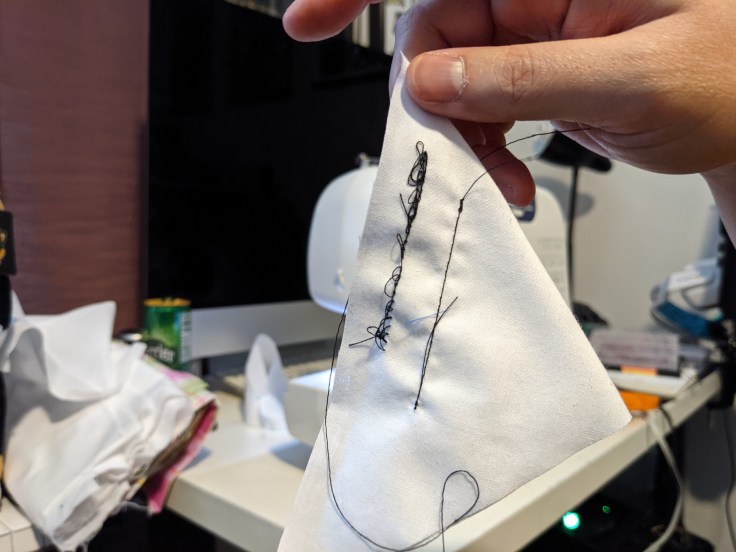
Thread tension test: back
Don’t forget to check your thread tension before you start sewing! You can do this by using two pieces of scrap fabric the same as the one you’re using for the bias tape and stitch a straight line. I start with tension at 0 and work my way up. You can see how tension 0 was really wrong on the backside but tension 1 was just right. I’m using black thread so that you can easily see the stitching. Use a matching one to hide the stitches.
Ends stitched together 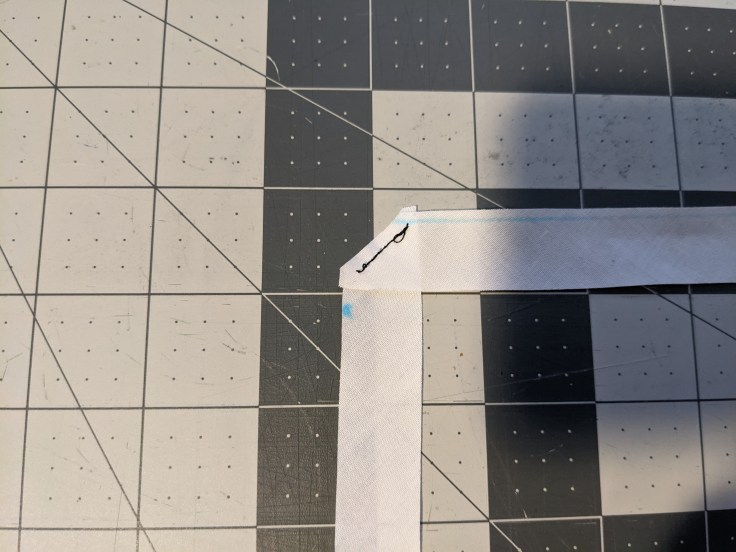
Excess fabric cut off 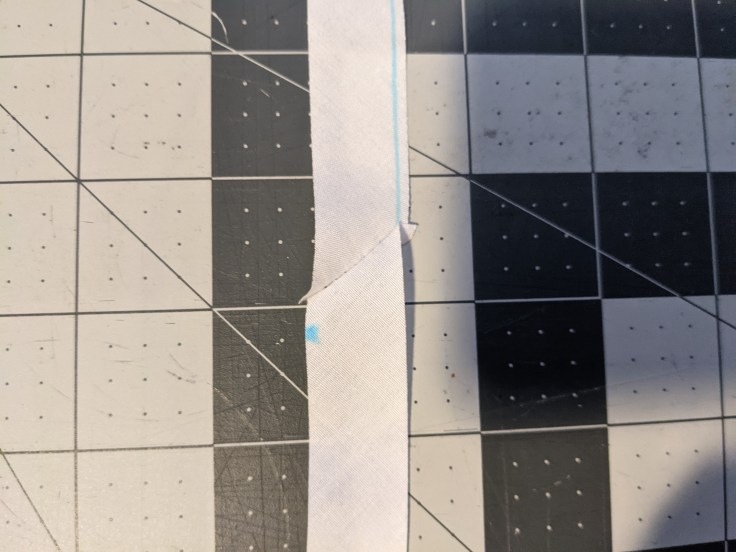
Bias tape on right side at seam
Then, stitch the two pieces together following a 45º angle. Once done, cut the excess fabric. Continue this for all the strips, making sure to follow the same direction each time.
Wrap the cording.
Cording in hand, carefully pin it into the inside of your bias strips. I found using pins for this rather than clips was a little easier because I could get as close to the cording as possible. Once pinned, using a piping or zipper foot to stitch along the line of pins, right up against the cording. For this, I used an invisible zipper foot.
Pinning the cording in place 
Finished pinned strip 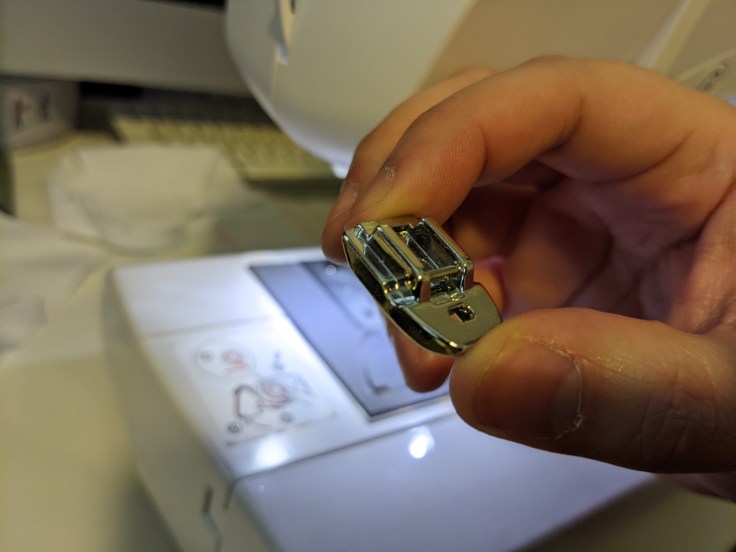
Top of invisible zipper foot 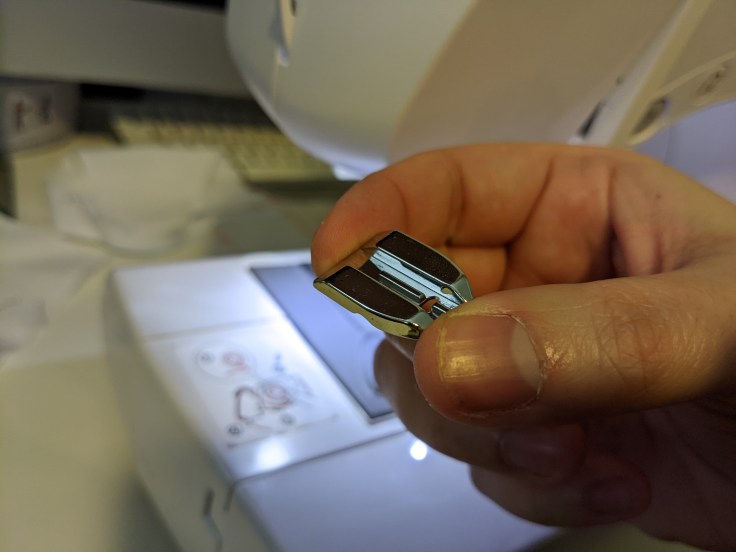
Bottom of invisible zipper foot 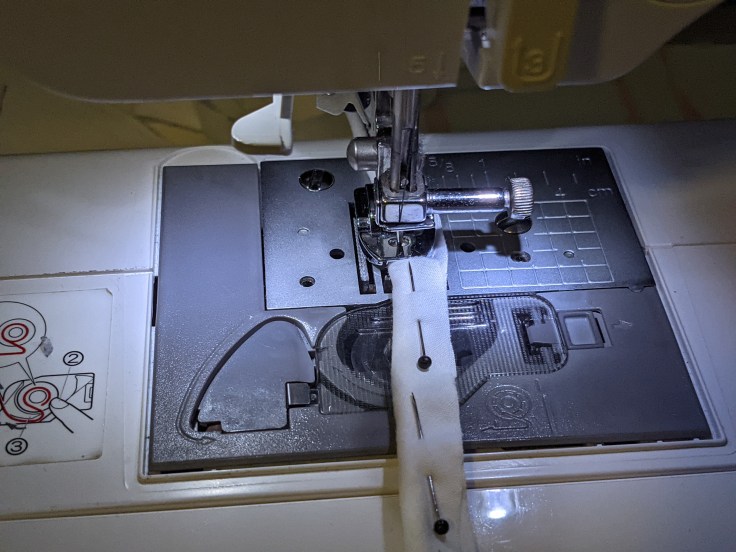
Stitching cording in place 
Finished piping (I forgot to take a picture of the long one before stitching it to fabric; this was all I had left lol)
Congrats! You have now made piping.
How to Install Piping
Installing piping is very similar to installing bias tape if you’ve ever done it. With just a couple extra steps.
Optional: Clip the cording ends.
This step is really helpful if you are going to have lots of piping intersecting with one another. It’s also good to help not overwhelm your sewing machine. Carefully clip just the cording at the ends the same width as your seam allowance. You may have to undo a couple stitches to do so, but it’s worth it to make sure you don’t have lots of overlapping piping.
Stitch the piping to one side of the fabric.
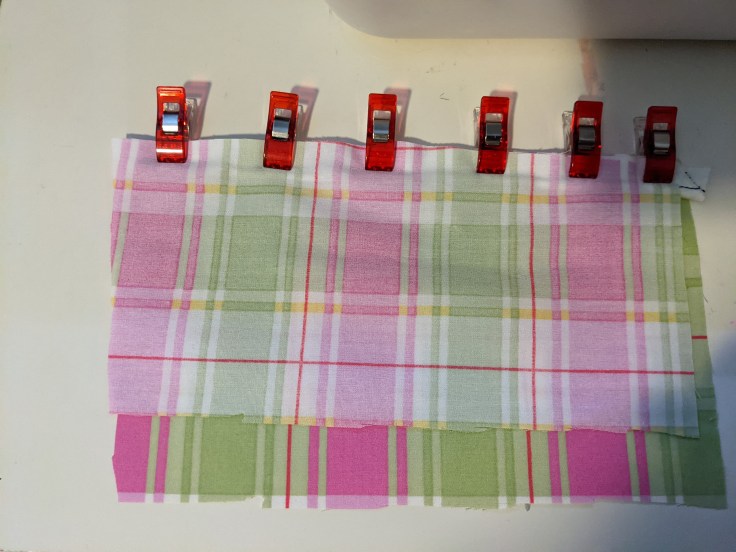
Pin or clip the piping in place on the right side of the fabric. Line up the fabric edges together as shown. For this, we’ll be using this cute green and pink plaid fabric!

Piping clipped to right side of fabric
Using a zipper or piping presser foot, stitch the piping in place, making sure not to catch the cording. I actually messed up at one point and did catch the cording. (Do as I say, not as I do. You can see how that effects the final look later in another example.)
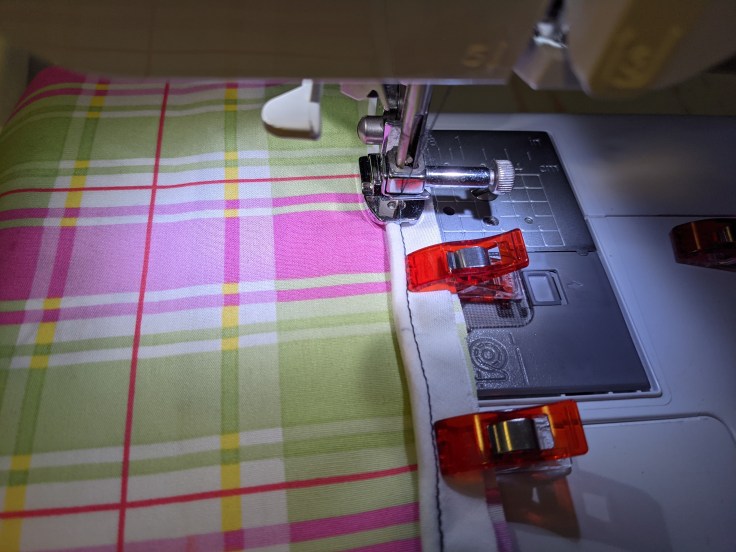
Stitching 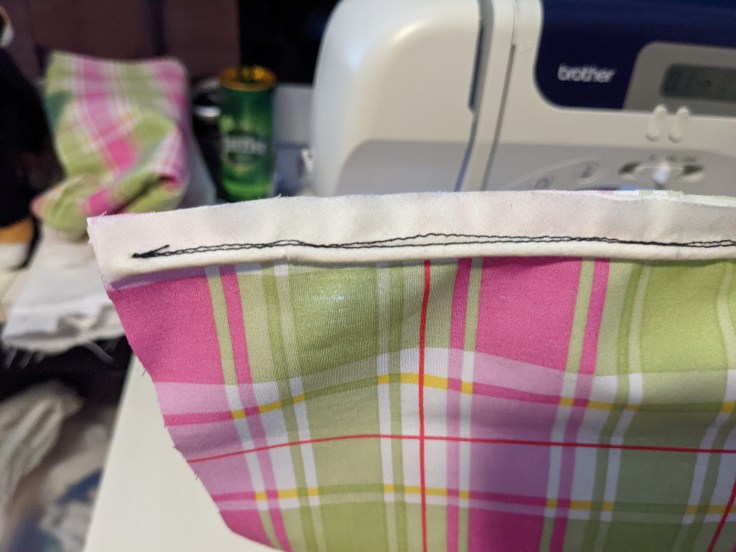
Right side 
Wrong side
Sandwich the piping between the two fabric pieces.
Second fabric clipped in place, right sides together 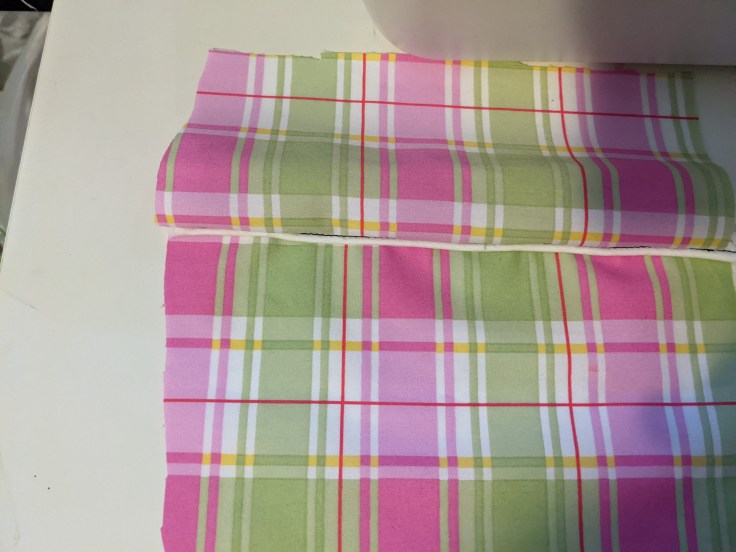
Interior, before stitching
Next, add the second piece of fabric right side down onto the piping. You should now have a little sandwich where the fabric is the bread and the piping is the yummy deli meat or veggies. (Can you tell it’s almost lunch time as I write this?) As a reminder, the piping should be touching the right sides of the fabric.
Stitch right next to the piping cording, again making sure not to catch it.

Finished stitching, wrong side 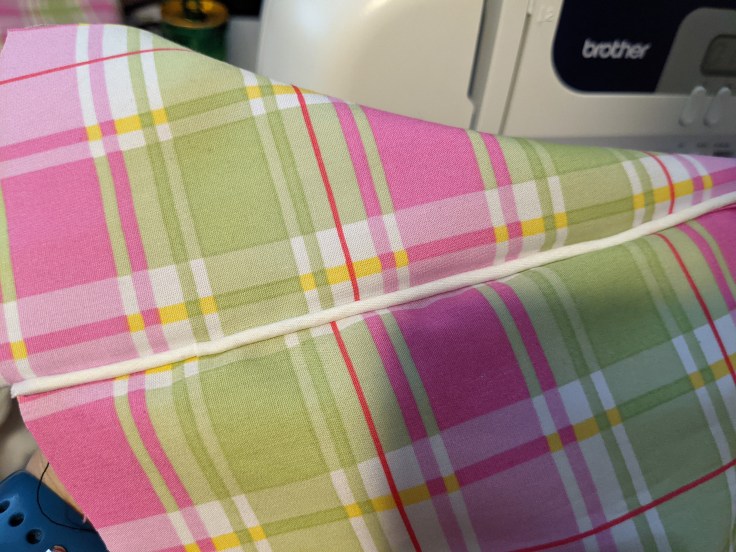
Finished stitching, right side
Enjoy!
Turn the seam right side out and enjoy! You now have a lovely finished seam with piping. (I didn’t bother matching the plaid pattern, but if your fabric pattern is directional like this one, it’s definitely something to keep in mind!)
Installing piping around corners and curves
Yeah, that’s great for a straight stitch, but what about corners?
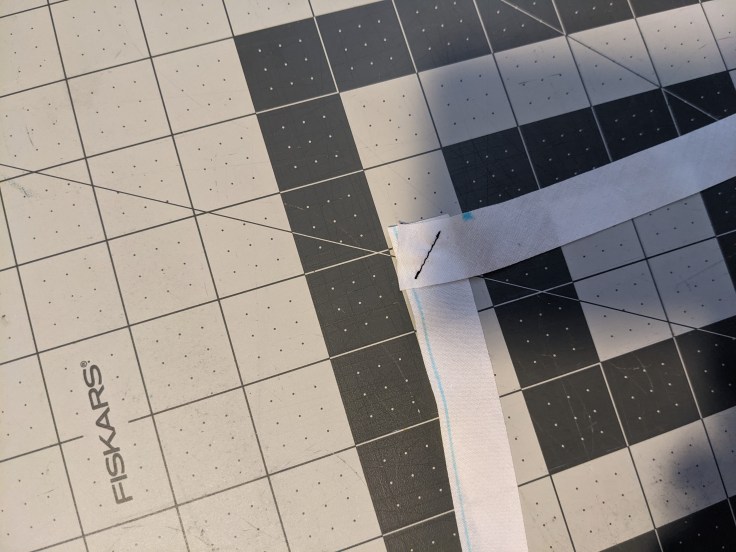
For corners, you’ll clip/pin it in place as normal along the straight edge, but when you meet the corner, carefully clip the bias tape (just the bias tape! not the cording) where just before the corner about the width of the seam allowance. Now, you should be able to bend the piping to match the other edge of the fabric.
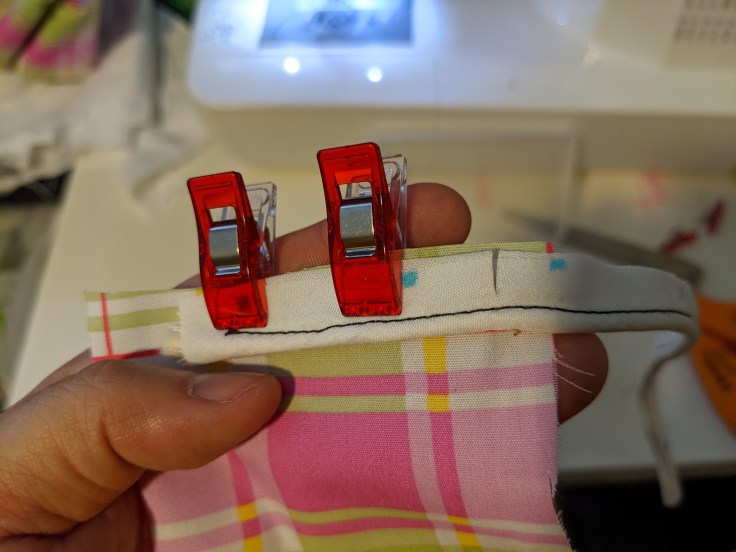
Piping clipped to one side. Small cut at seam allowance. 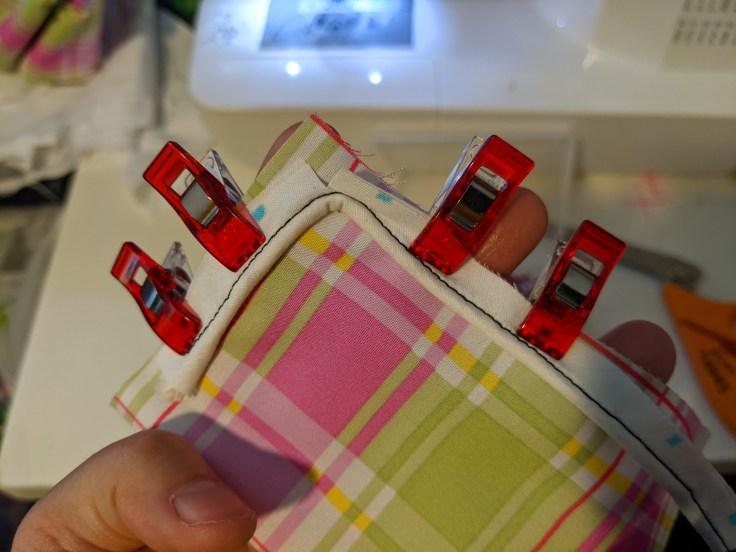
Clipped to the next side.
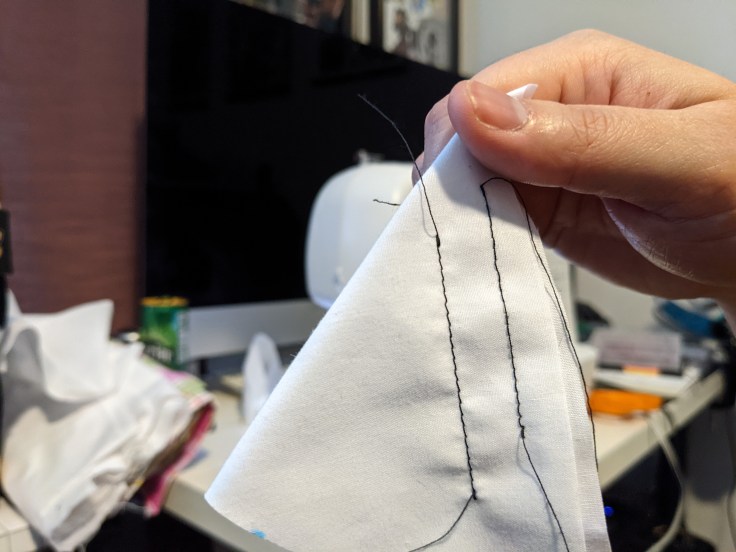
Curves are fundamentally the same as corners, but you may have to clip the bias tape a little more dependent on how long/deep the curve is. For this one, the curve wasn’t too bad, so I just clipped it every couple inches.
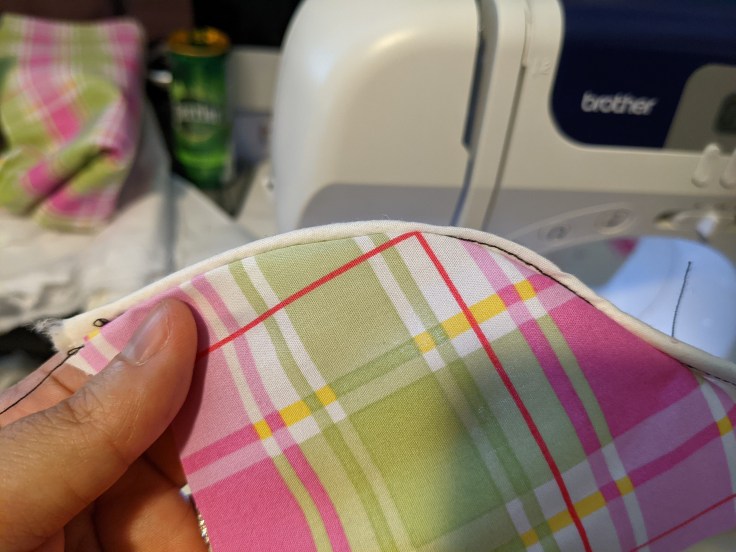
Piping along a curve. Some black thread sticking out where I had stitched the cording by accident.
You can see where I messed up making the piping and accidentally stitched over the cording. This wouldn’t be so bad if you had matching thread.
Real world applications
It helps to see techniques used in actual projects and not just squares of fabric. So here are some close-ups of Seraphine’s bodice that incorporates piping. You can see how it adds dimension to the piece!
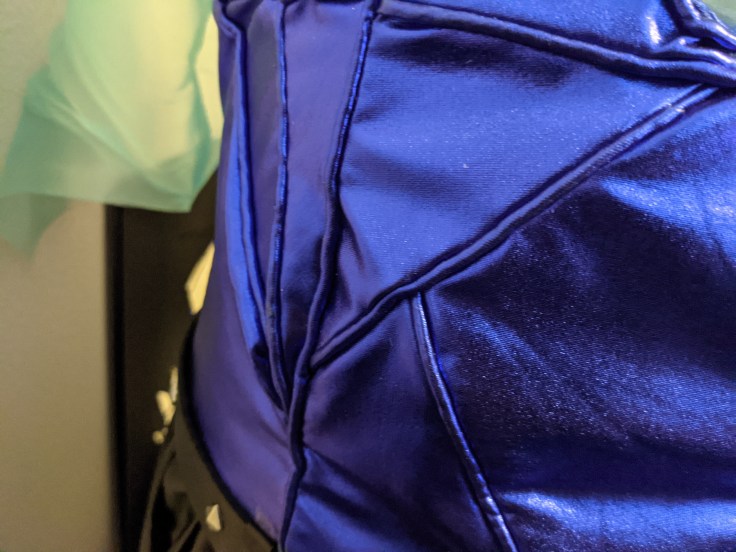
Bodice close-up 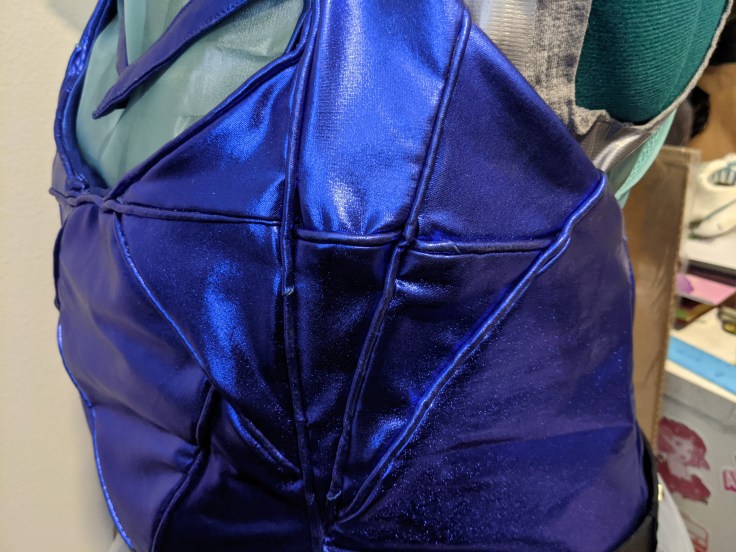
Another bodice close-up 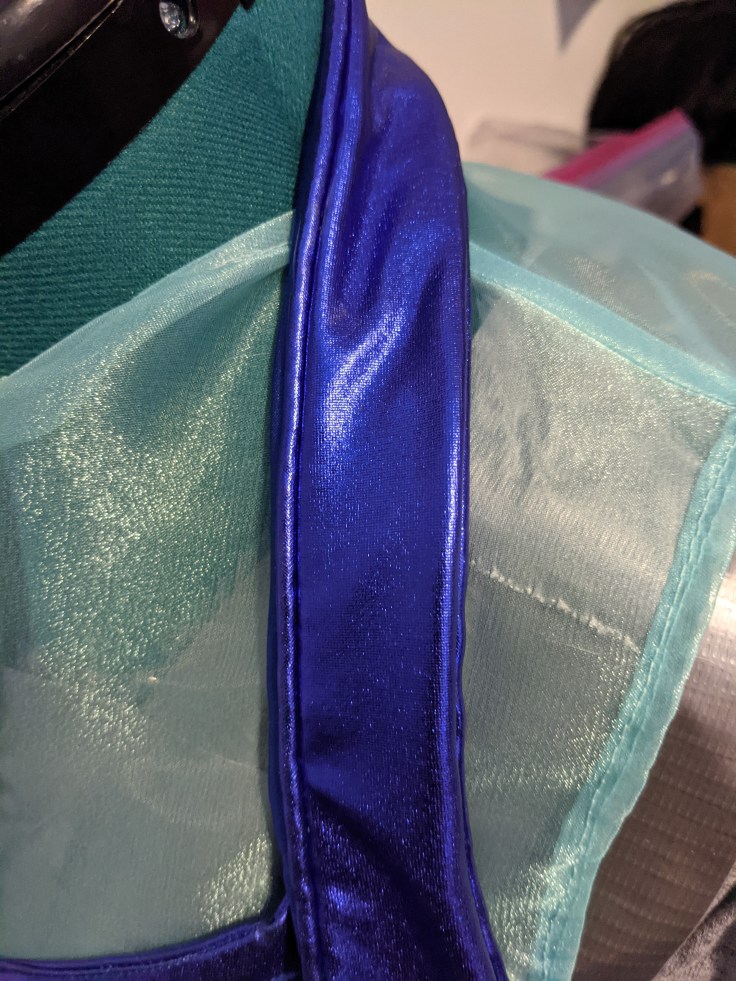
Shoulder strap close-up
Questions?
If you have any questions or need any clarification, please let me know in the comments! You can also @ me on Twitter or DM me on Instagram. Let me know if you enjoyed this tutorial and if you’d like to see me do a specific sewing or crafting technique! I hope to do one of these per quarter!
