
Welcome to the second half of my Overcooked cosplay write-up! This post will focus on the props and clothing. (If you want to learn how to make the mascot heads, check out Part I!)
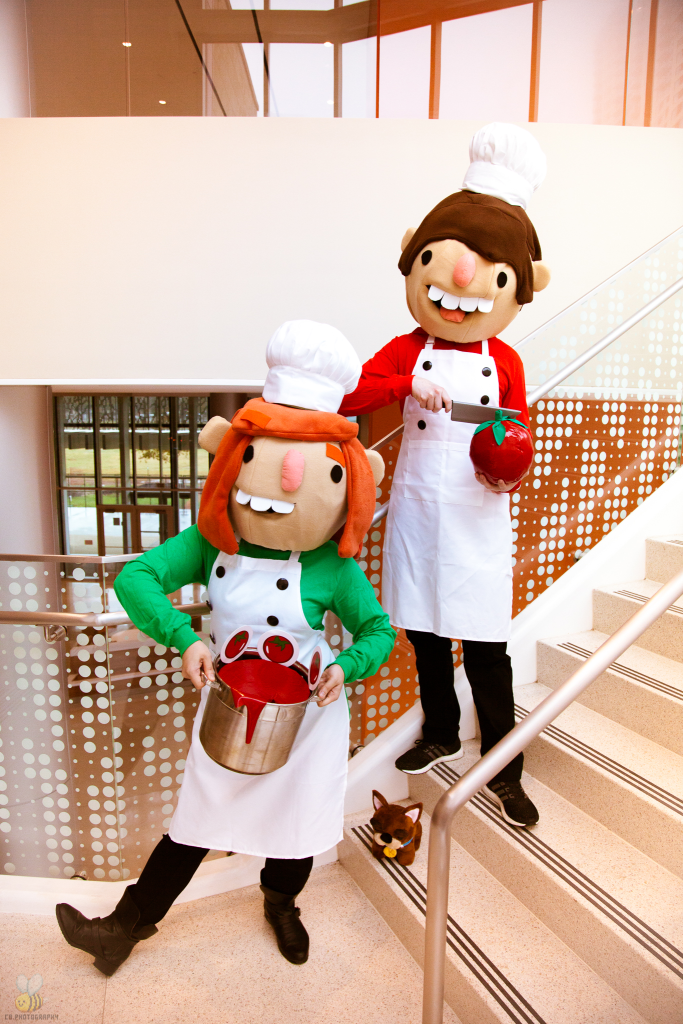
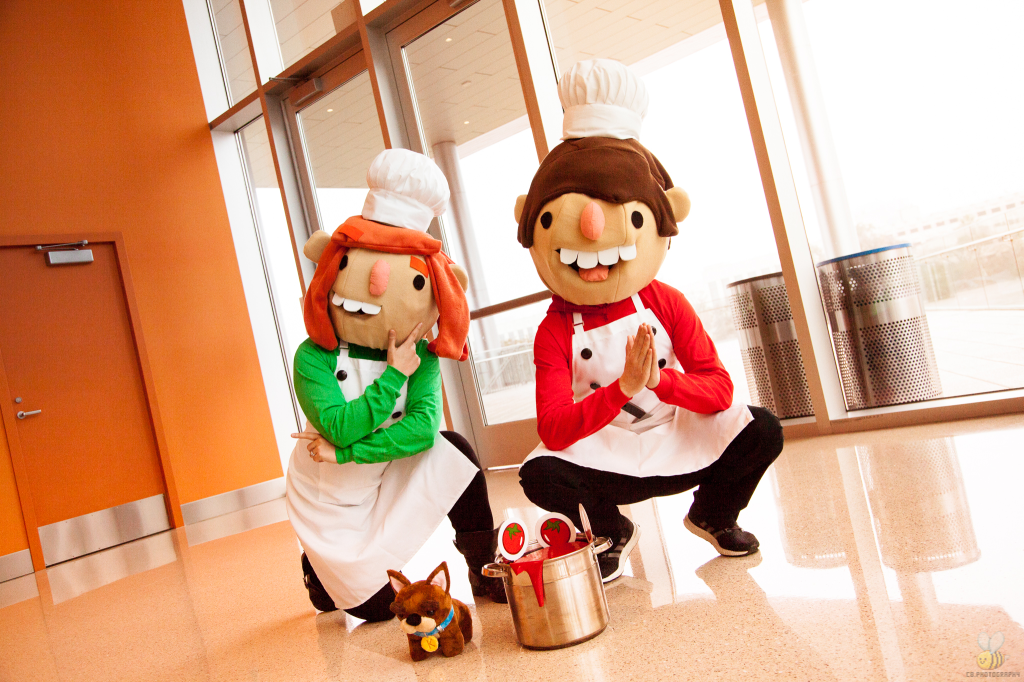
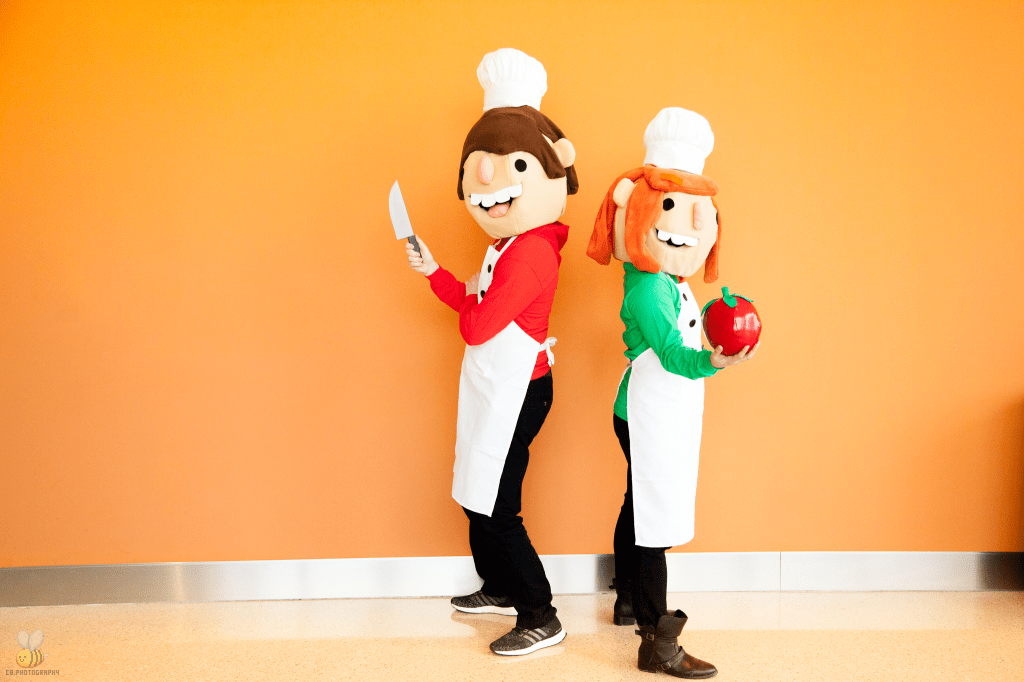
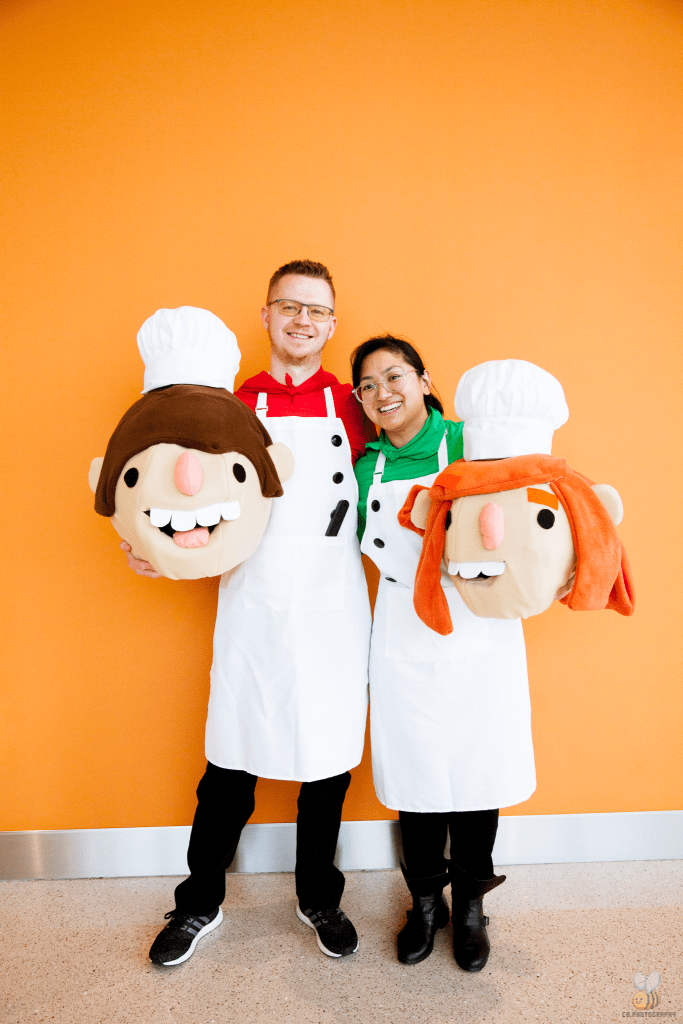
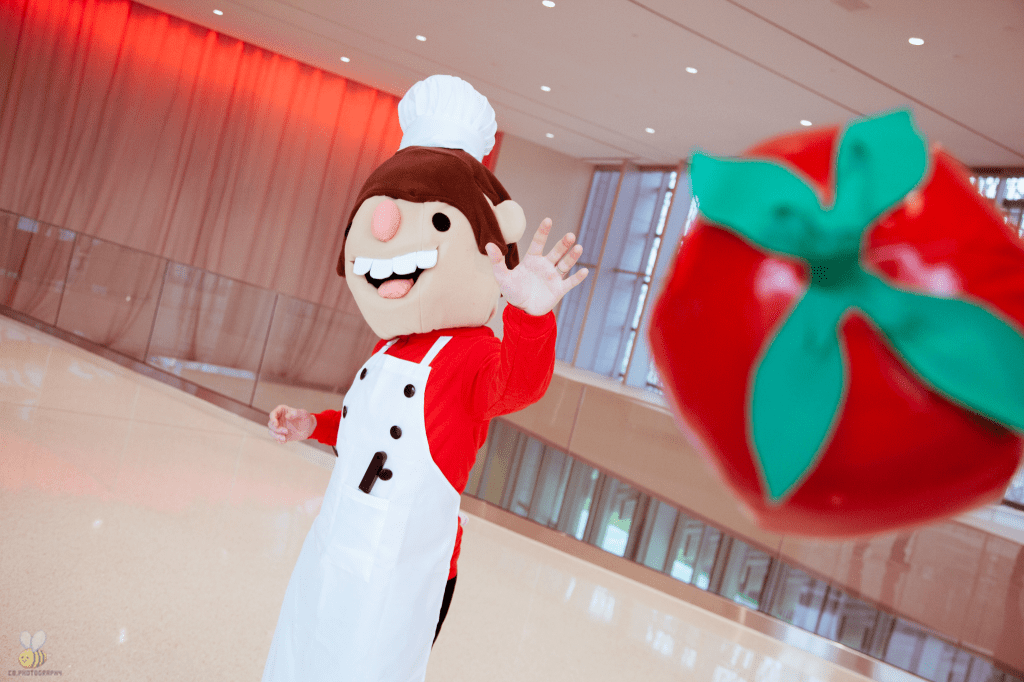


Photo credit to PancakeRemix
Ready-made items we bought:
- Chef hat and apron set from Amazon
- Butcher knife toy from Amazon
- 1 red and 2 green long-sleeve t-shirts from Joann’s
- Matching red bandana from Joann’s
- Black buttons from Joann’s
- Kevin plushie from Cryptic-Enigma Plush Works on Facebook
- Overcooked actually recently announced that they’re taking pre-orders for limited edition Kevin plushies!
Items to modify*
Items to make*
*click to jump to each item write-up
Aprons
The aprons were as simple as stitching on six black buttons to the correct areas. I made sure to use a ruler and mark with a fabric pen to ensure they were all lined up properly.
Green bandana
Because Joann’s didn’t have a matching green bandana like it did the red, I had to make one. Using the second green shirt I bought, I cut one square as big as the fabric would allow me. Then, finishing the bandana was as simple as hemming the edges. It ended up being smaller than the pre-made bandana, but still worked fine.
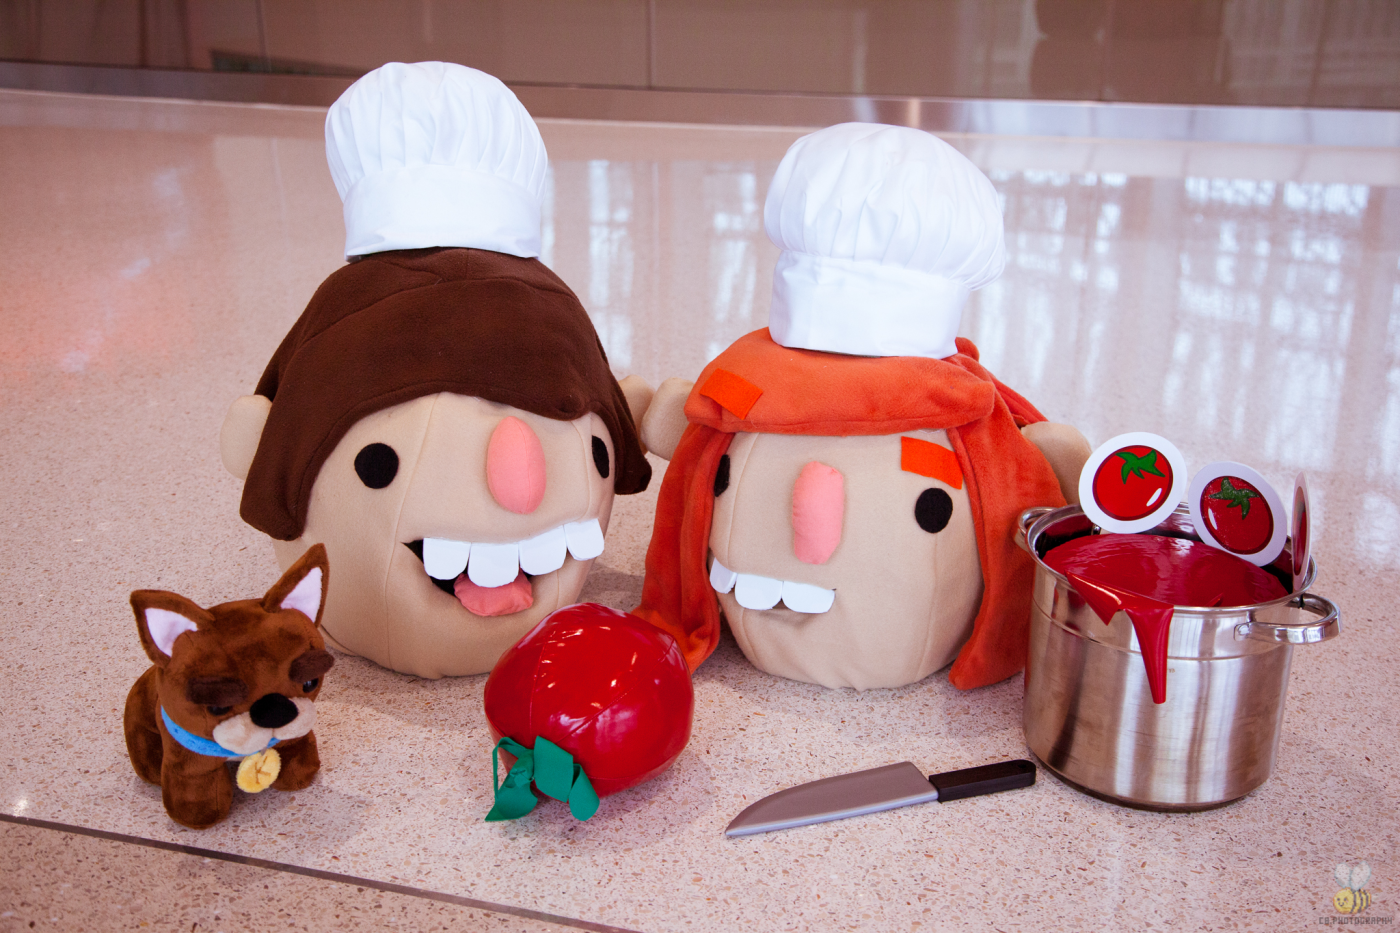
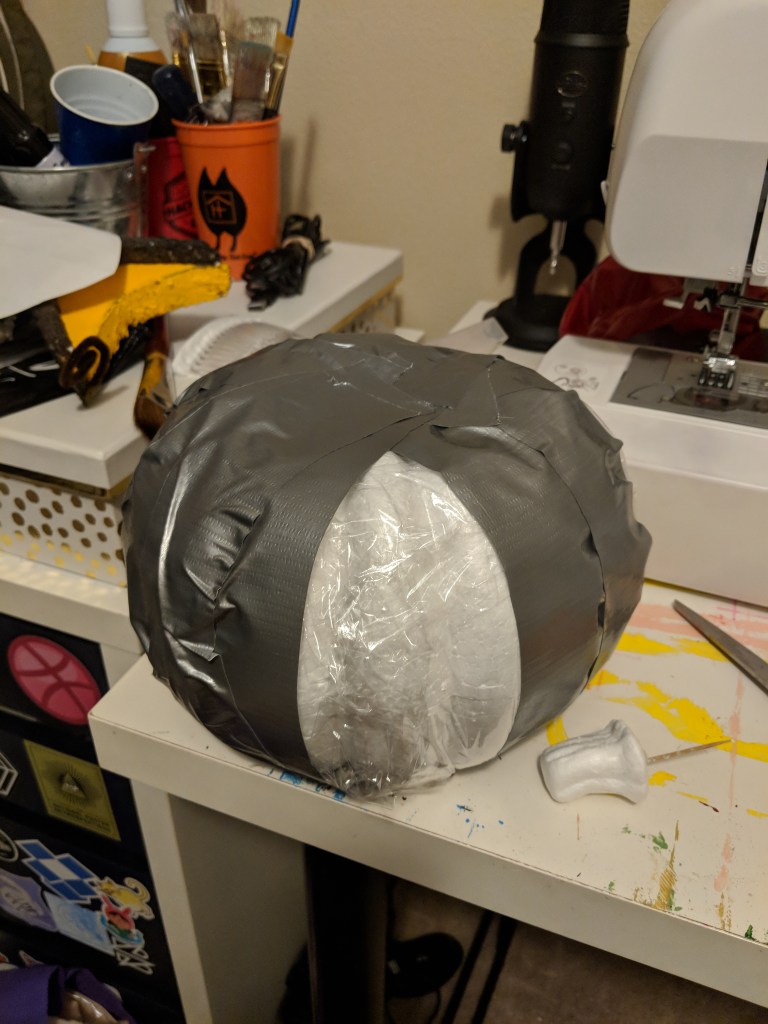
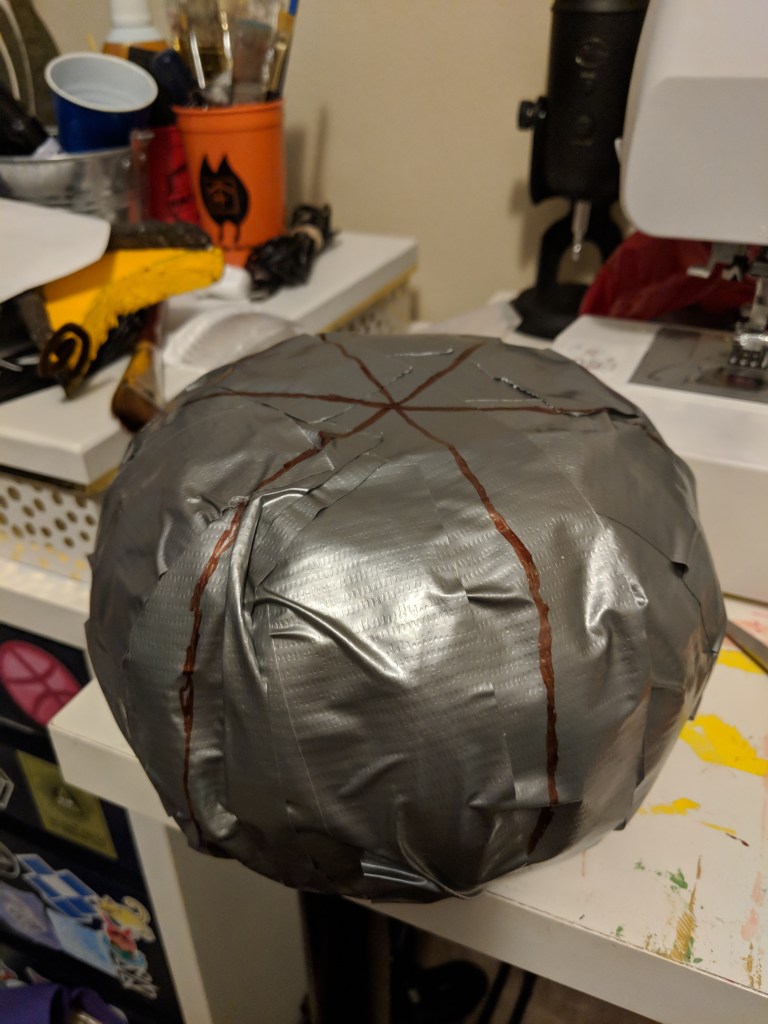
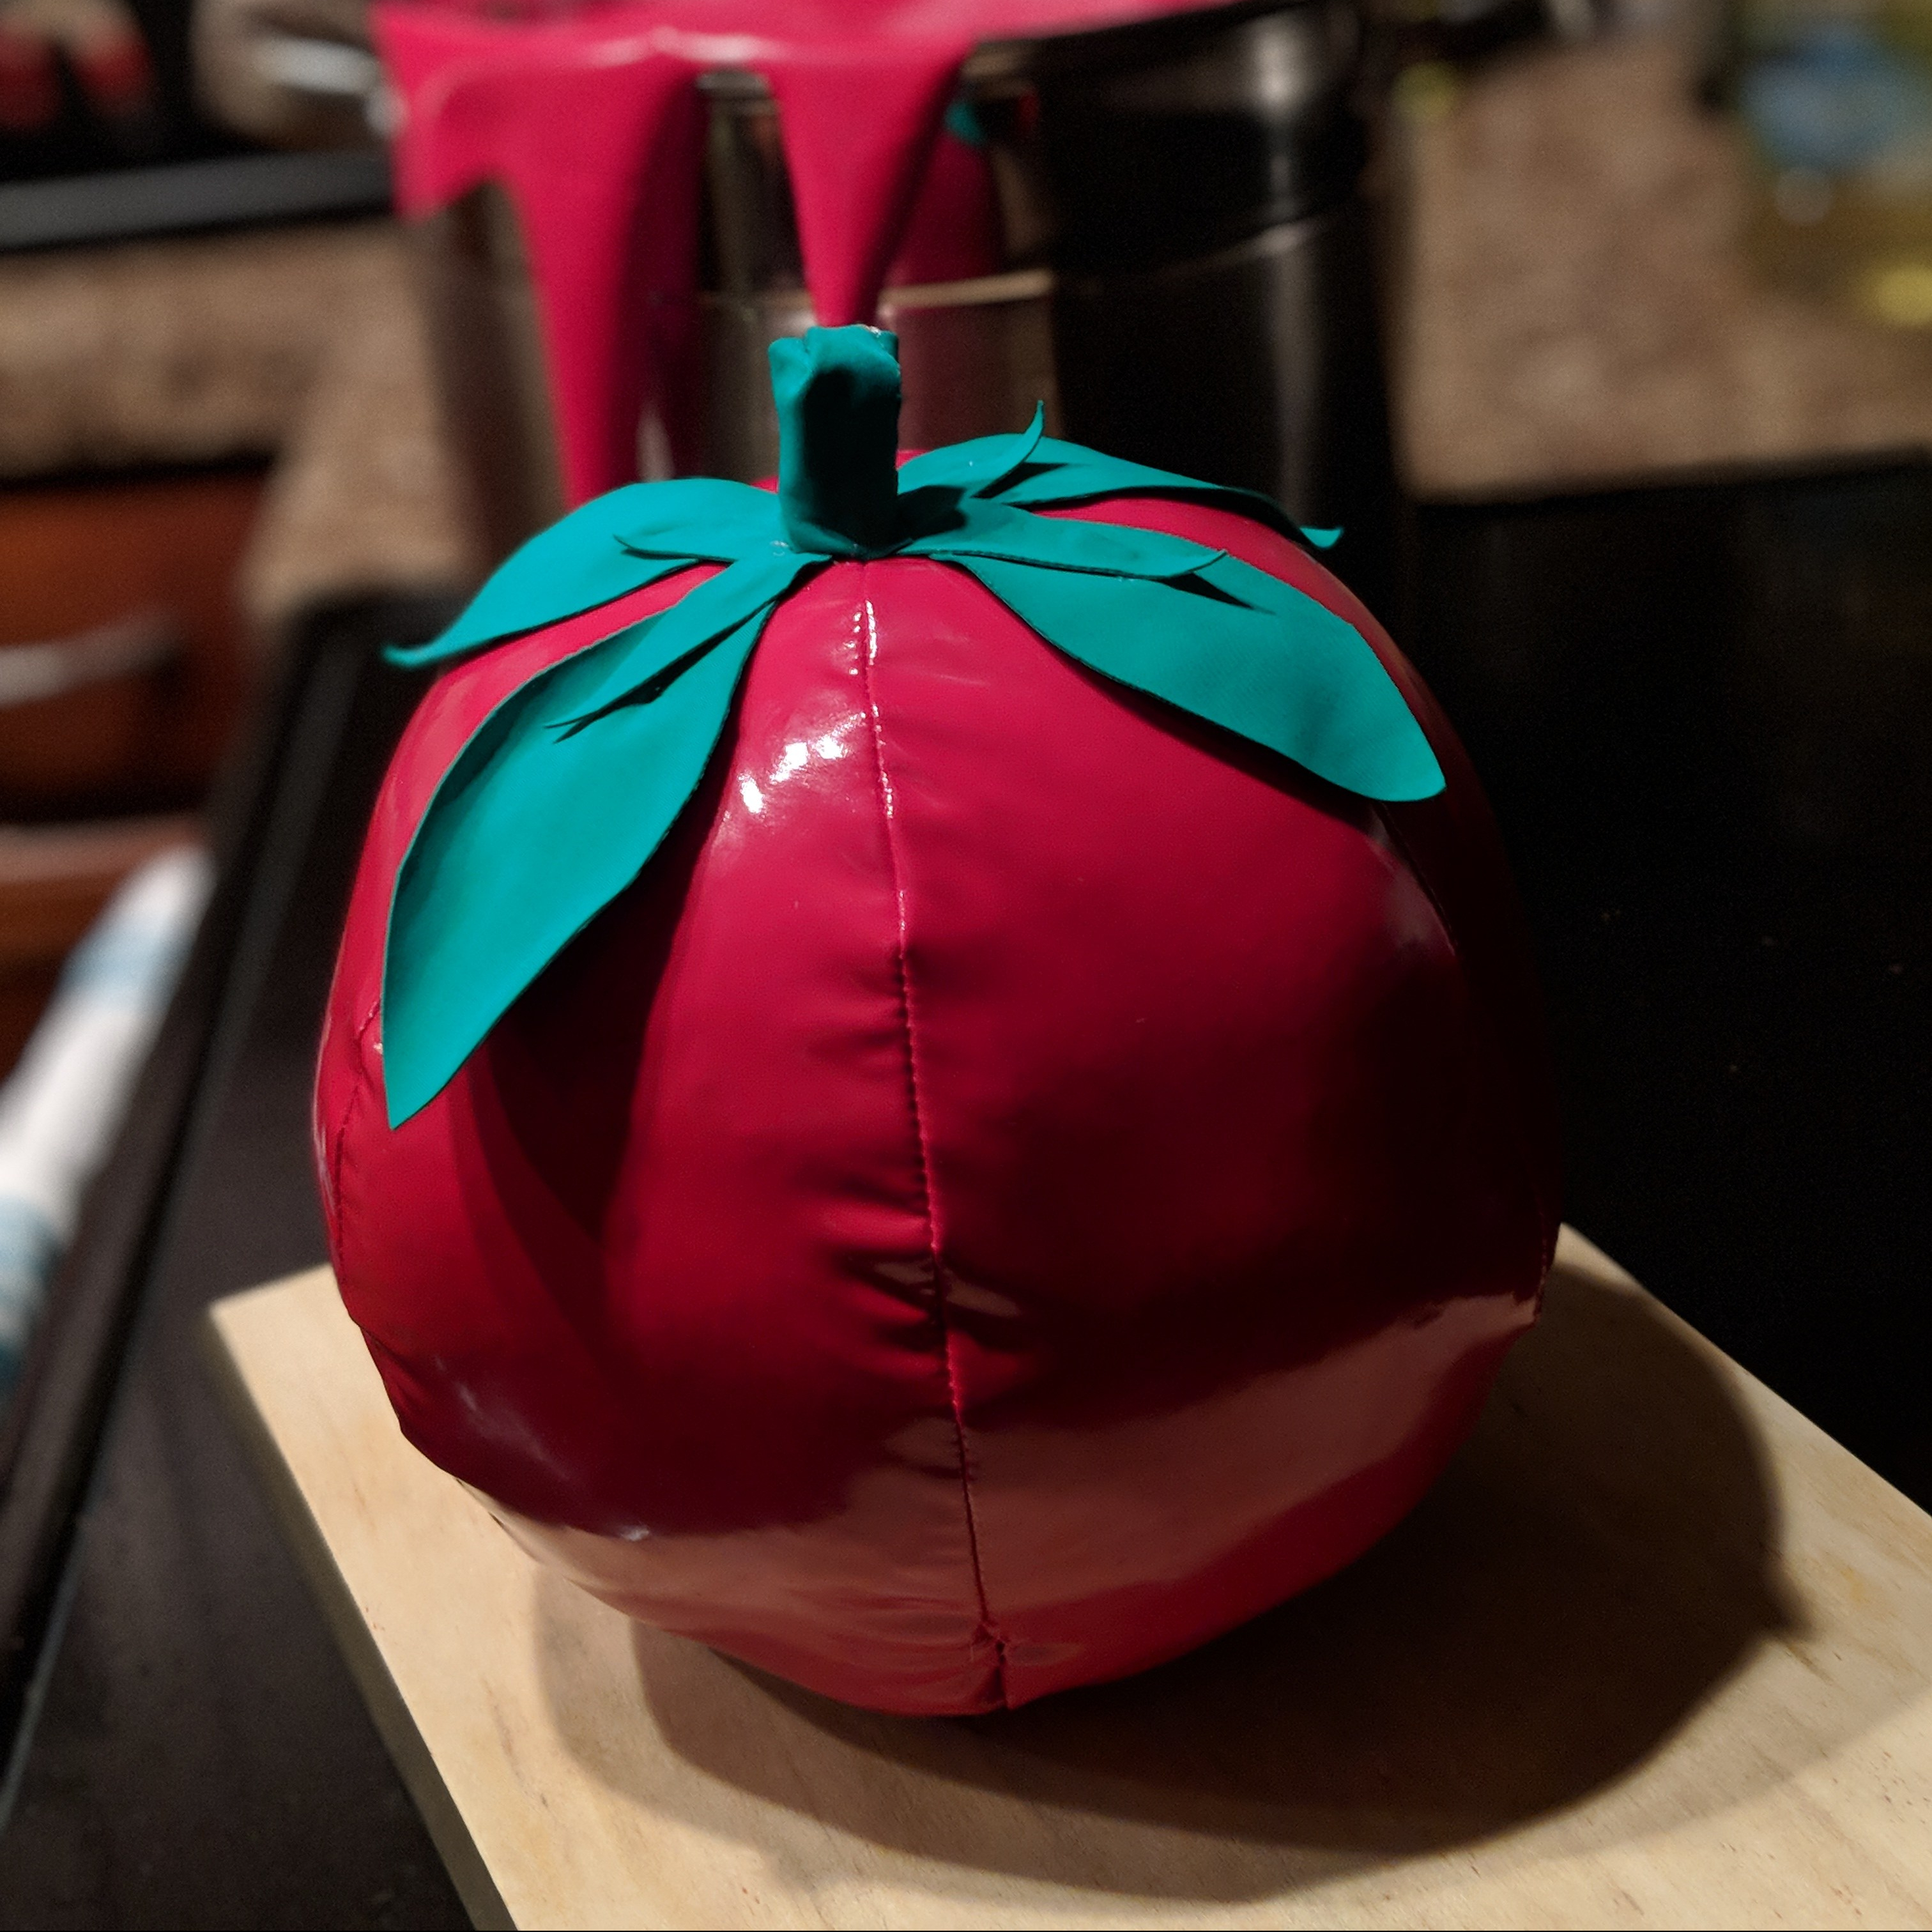
Tomato plush
Before making the plush, I made a pattern using the styrofoam pumpkin I had purchased from Joann’s. The pumpkin was already the perfect shape and size for the tomato I had envisioned. Using the duct-tape method, I made a pattern. (This should look familiar because I used it for the mascot heads!)

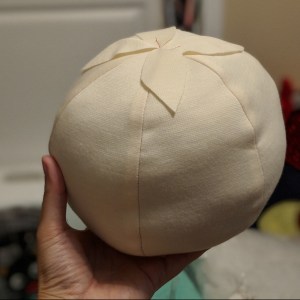
Once the pattern was done, I made a mockup of the tomato to make sure it looked alright, using scrap fabric and pillow stuffing. It came out looking pretty good!
Happy with my pattern, I made the tomato plush using red spandex-y fabric, pillow stuffing, and green fabric for the leaves. The stem was a tiny block of foam that I wrapped in green fabric and then hot glued onto the leaves.
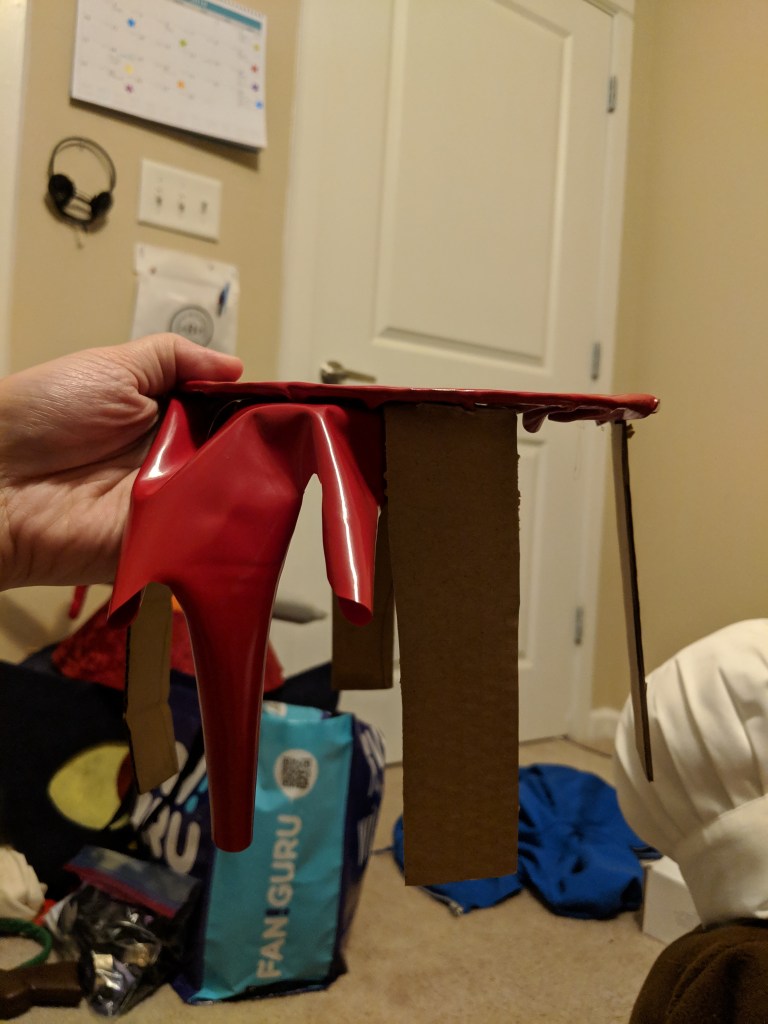
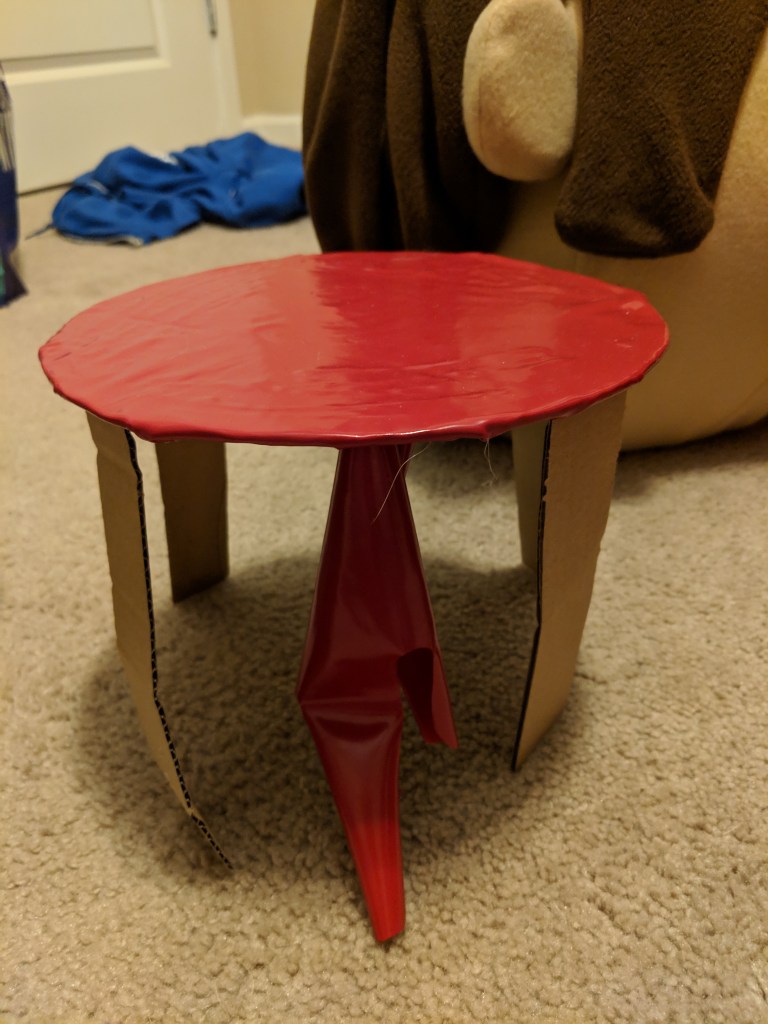
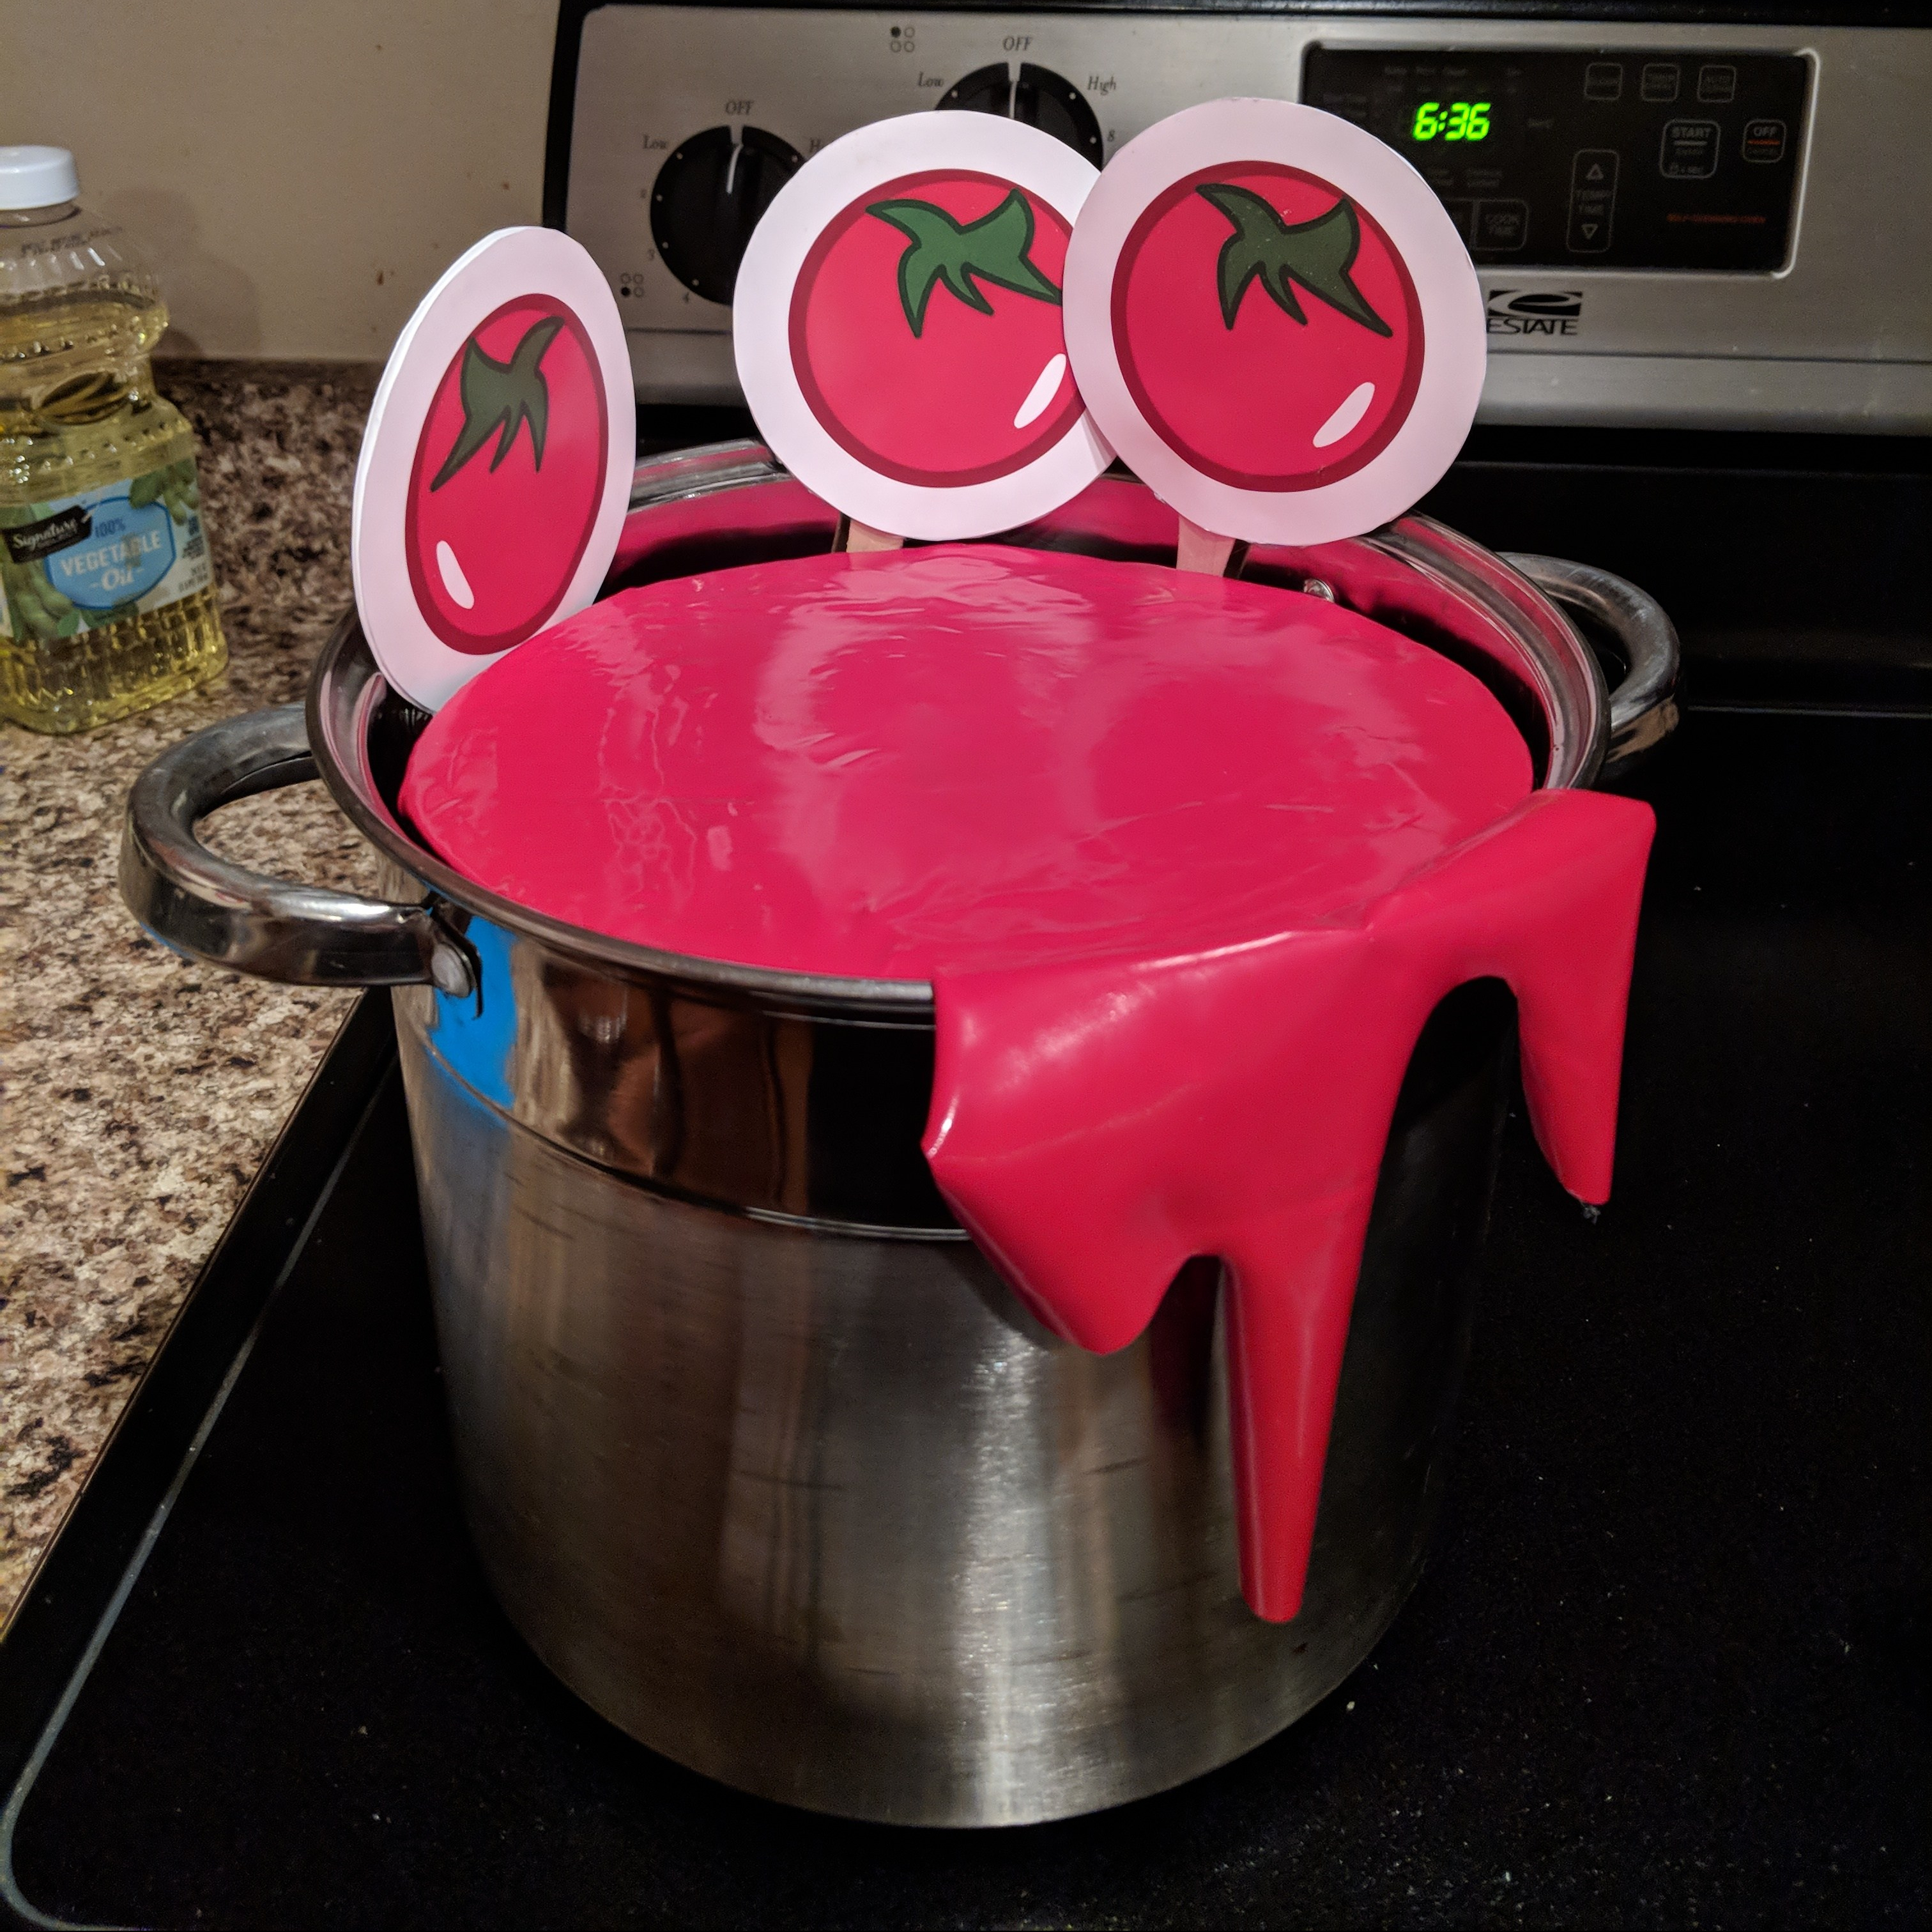
Tomato soup
We have a big pot that was the perfect size for the Overcooked soup pots. I liked the idea of using it as a prop cause it could double as a purse. So, using the same red fabric as the tomato plush, I made some tomato soup.
This involved tracing out a cardboard circle the size of the interior of the pot. I cut that out and then hot glued red fabric on top of it to serve as the soup. I also cut an extra piece of red fabric in the shape of the soup dripping down the side to serve as an easy way to remove the whole contraption.
After the soup top was done, I cut out 4 strips of cardboard that were the height I wanted in the pot + half an inch. I bent the extra half inch on all 4 strips and then hot glued that end to the cardboard circle. Imagine it as a tiny little table. The little table sits neatly into the pot and I was able to put my phone, phone charger, some advil, and sunglasses. The flimsy cardboard legs unfortunately started to give way during PAX South and the soup started to “sink” so I’ll be reinforcing them with some sturdy popsicle sticks for Fan Expo.
Tomato signs
To bring one more level of polish, I decided to make the signs to go with our tomato plush and soup. I traced the tomato icon out in Adobe Illustrator, including a gray circle around it so I knew where to cut my paper. I designed it so that 8 tomatoes could fit on one 11×17 sheet of paper. Half of the tomatoes were flipped over so that when I put both pieces together, you wouldn’t see the back side at all. (Afterwards, I realized the card stock I used was thick enough that this wasn’t an issue. But if you’re using thinner paper, I still recommend flipping half of the designs.) I wanted three tomato signs (double-sided) so I printed off 1 sheet of paper. I ended up with one extra tomato sign, which was fine cause the printer was being weird and kinda messed up one of the tomatoes anyway.
After printing them off, I hot glued the signs to small popsicle sticks. They fit nicely into the tomato soup pot and can be removed and added as needed.
Want your own tomato signs but don’t know Illustrator?
Lucky for you, I’ve included the PDF of the signs! Visit my shop for downloadable PDF’s you can buy to help with your cosplay!
Conclusion
This was one of those builds that intimidated me a lot until I actually got started on it. I had the idea to do the cosplays in September of 2018 and didn’t actually start the mascot heads until January 1, 2019. That’s three whole months that I could’ve had it done but I was too chicken to even begin because it was uncharted territory for me. The thing that helped me finally do it was to think of the first couple of steps (trace out the pattern, cut the foam, glue the foam) over and over again in my head. I just laid in bed one morning visualizing it over and over until I felt comfortable enough to do it. And what do you know! It really wasn’t as hard as I was making it out to be.
The other pieces of the cosplay were very simple, which was the goal. I wanted to do Overcooked cosplays cause I knew they’d be easy. It was only when I wanted to “stand out” that I made it harder on myself by adding the mascot heads. I am, however, very glad I stuck with it and decided to do the heads. They were a massive hit at PAX South and it was by far the most I’ve ever been asked for pictures in cosplay. It’s just a little sad that I couldn’t see anyone’s smiling faces as they talked to us!
Between the big chef heads and my Mae head, I felt like a Disney character at Disneyland at PAX. Kids ran up to us and adults stopped us to grab a picture with us. I can’t wait to wear this goofy chef cosplay again. I’ll be dawning the chef–along with Kasey–on Saturday, May 4th at Fan Expo Dallas this year.
Use my build post as inspiration? Let me know!
If you followed along with my build post to help you make your cosplay, I’d love to see it! Leave me a comment or send me an email at ashweezcosplay(at)gmail(dot)com. If you’re comfortable with it, I’d love to showcase your cosplay photo(s) in the blog! I will of course give you credit and link to any socials you may have.
