
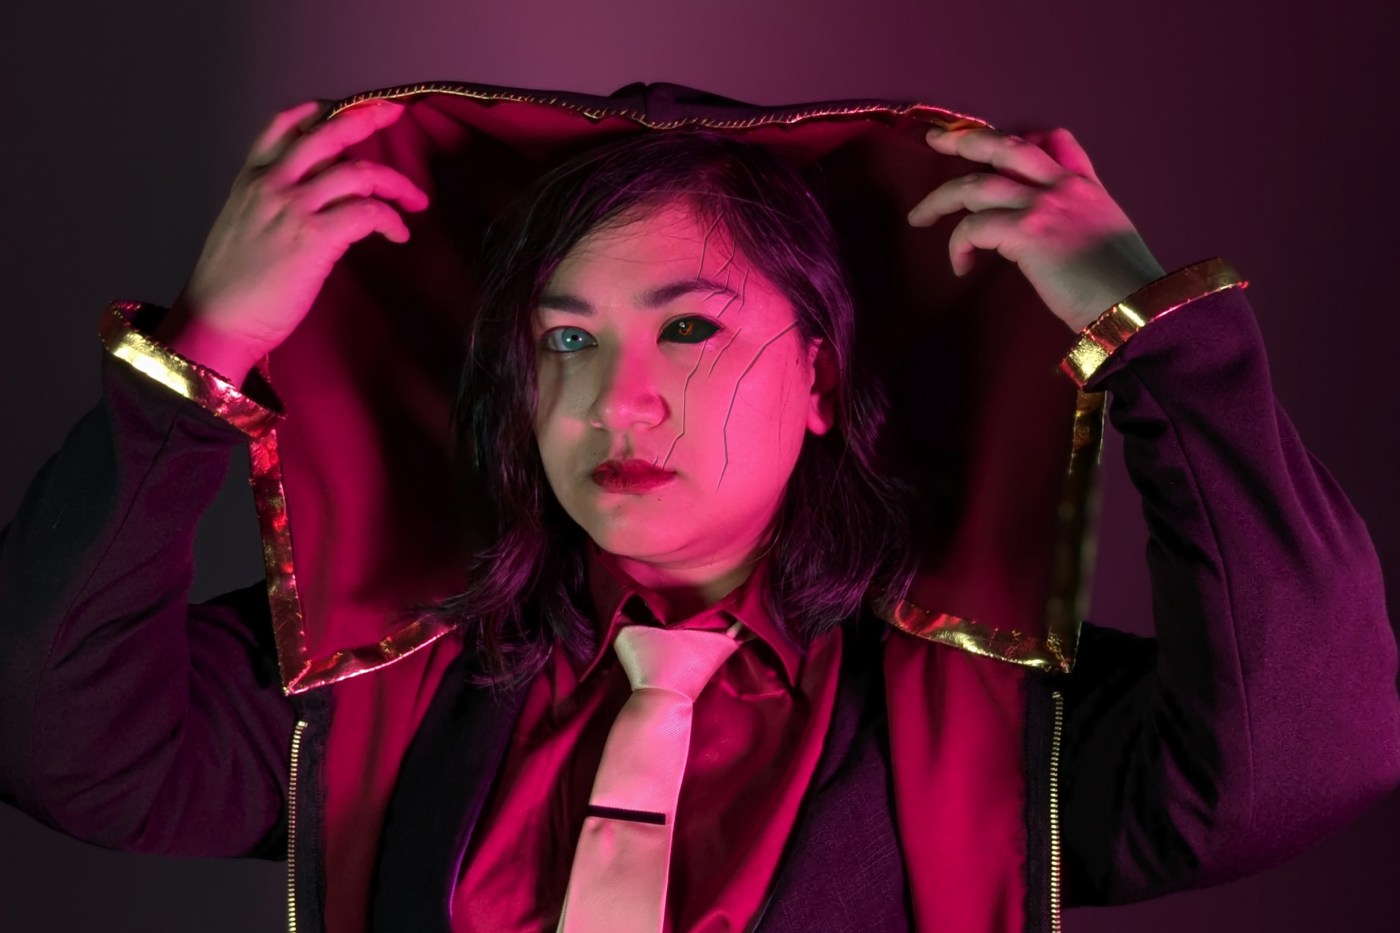
If you know me in person (or even online) at all, you know that I became obsessed with Arcane—and specifically the character of Silco—in 2022. After finding an old hoodie I had made for my husband, I decided I wanted to make a new fandom-based hoodie for myself now that I’ve been sewing for much longer and also now know how to use my serger.
The Hunt for Fabric
I don’t know why this took so long. Maybe it’s because Joann’s fabric selection has been in slow decline. Maybe it’s because waiting for swatches in the mail is time-consuming. Either way, sourcing the two fabrics for this project took longer than the sewing itself.
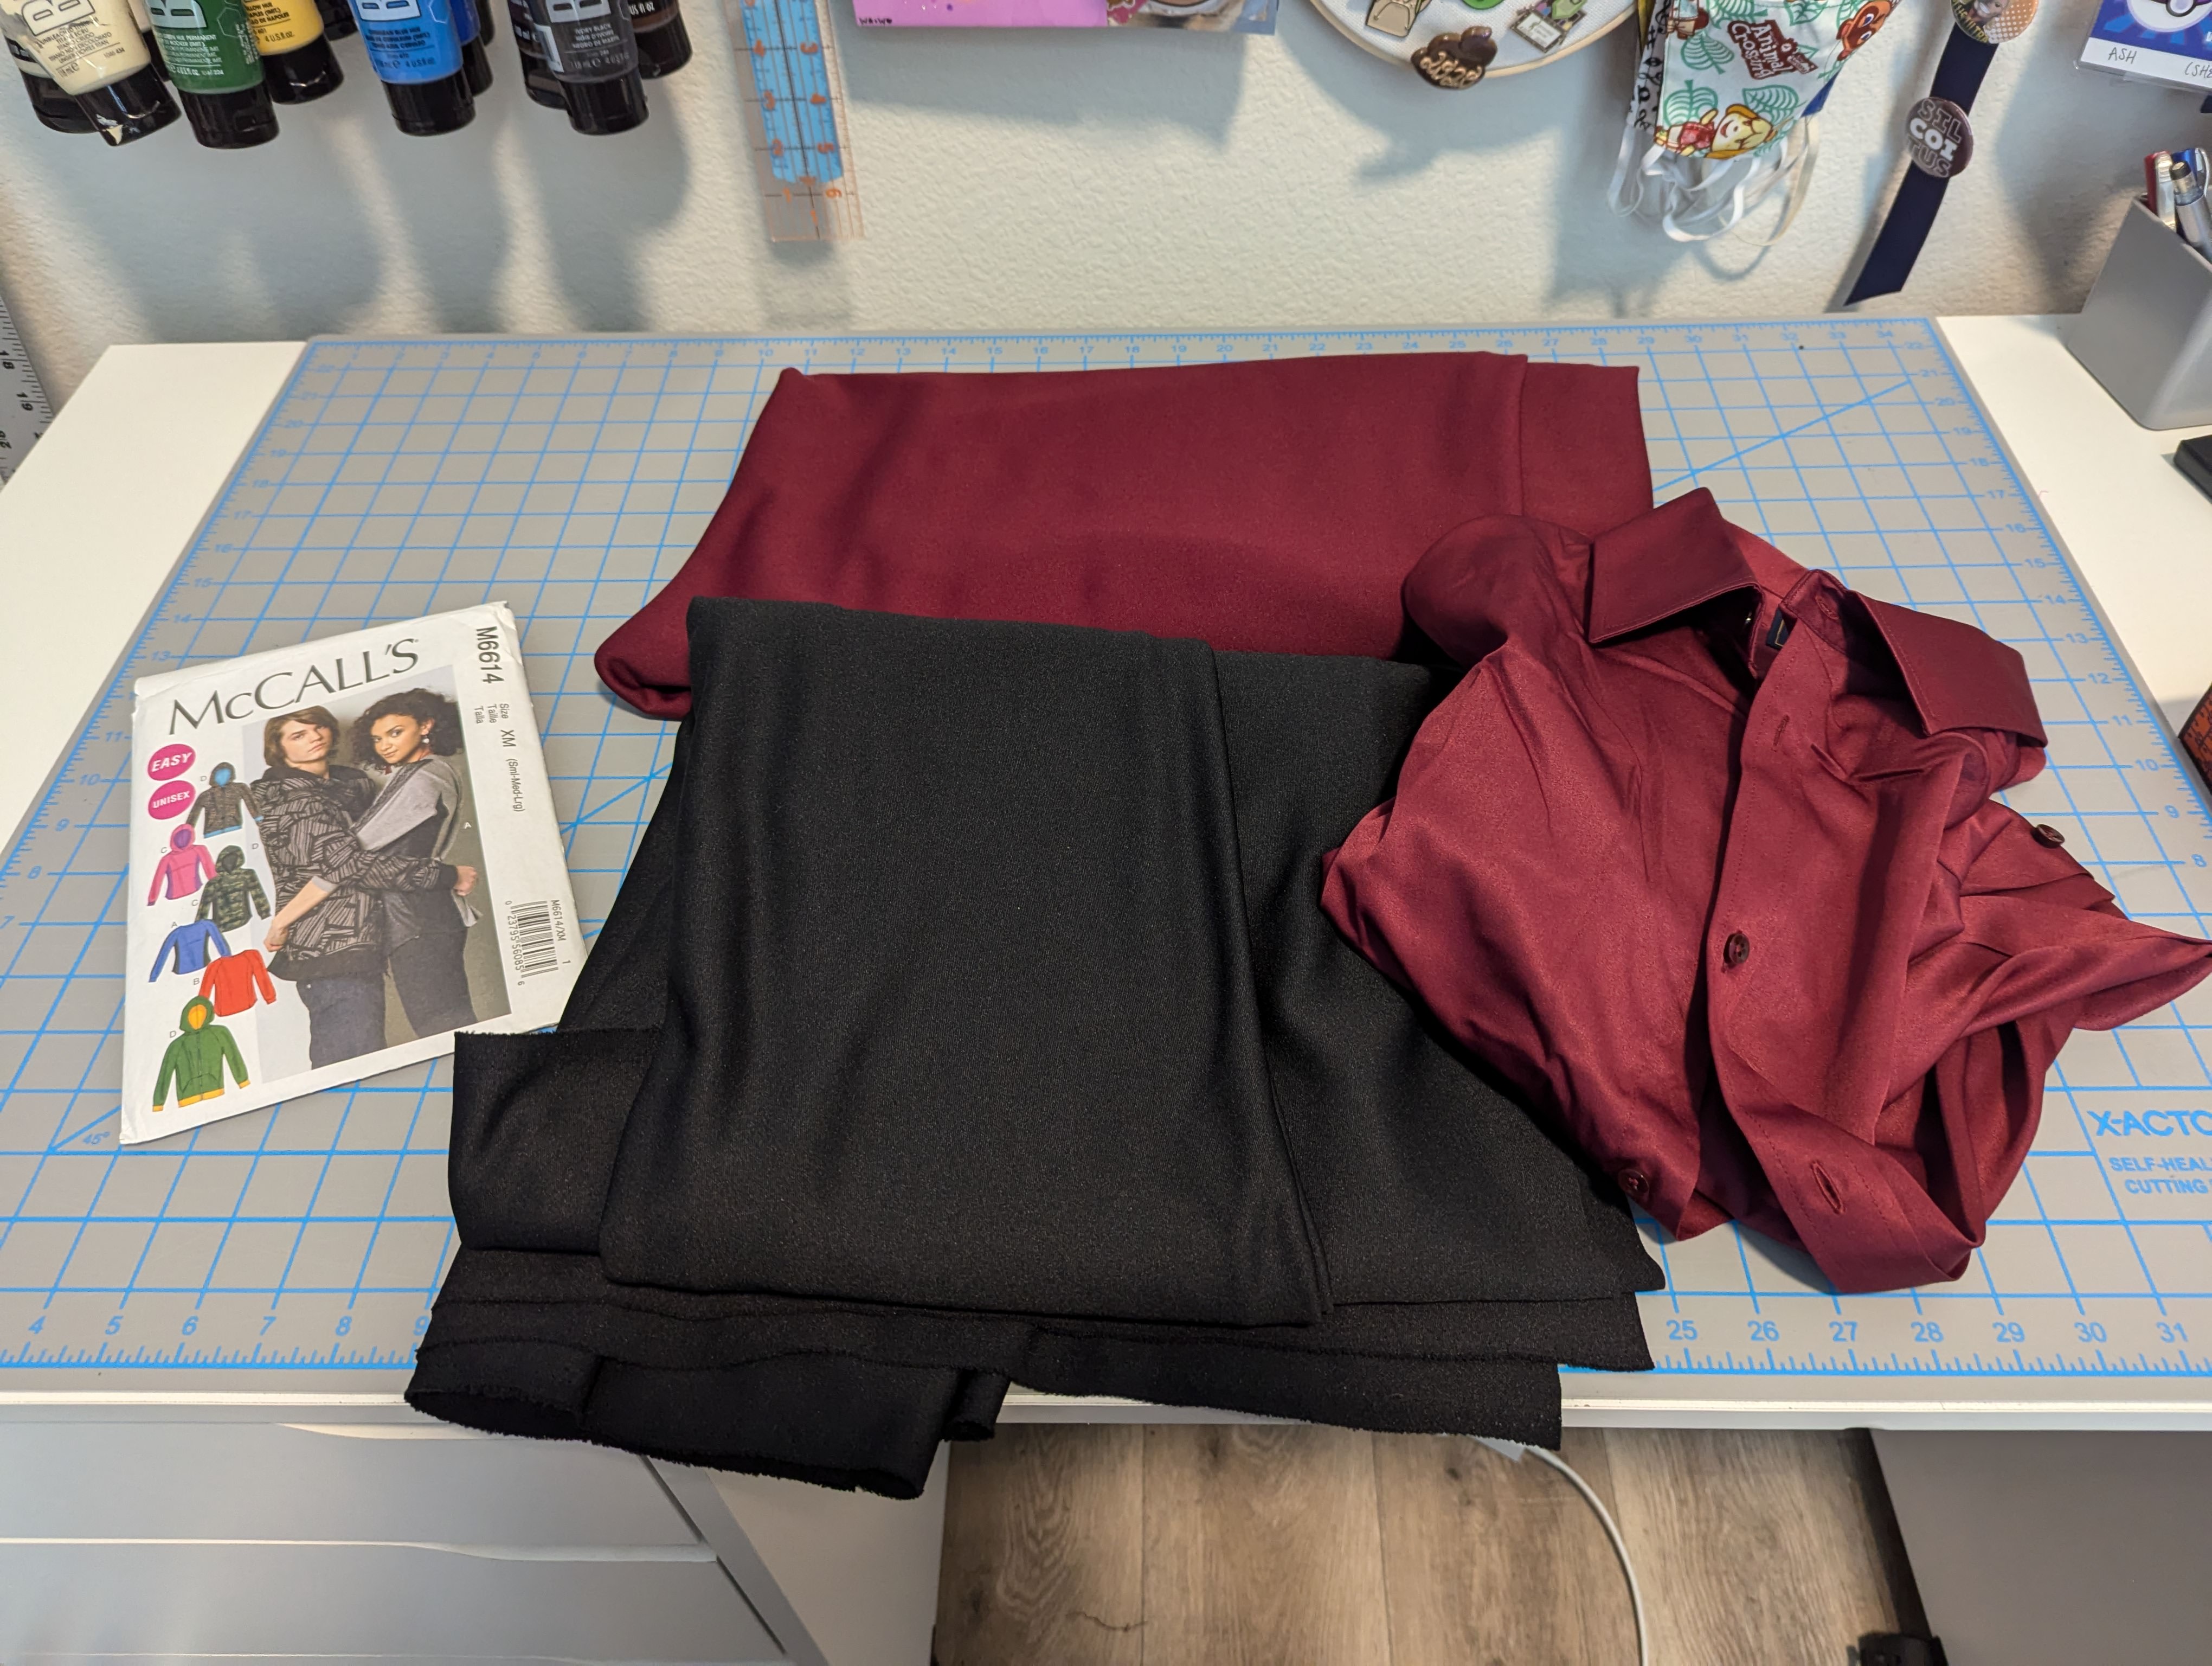
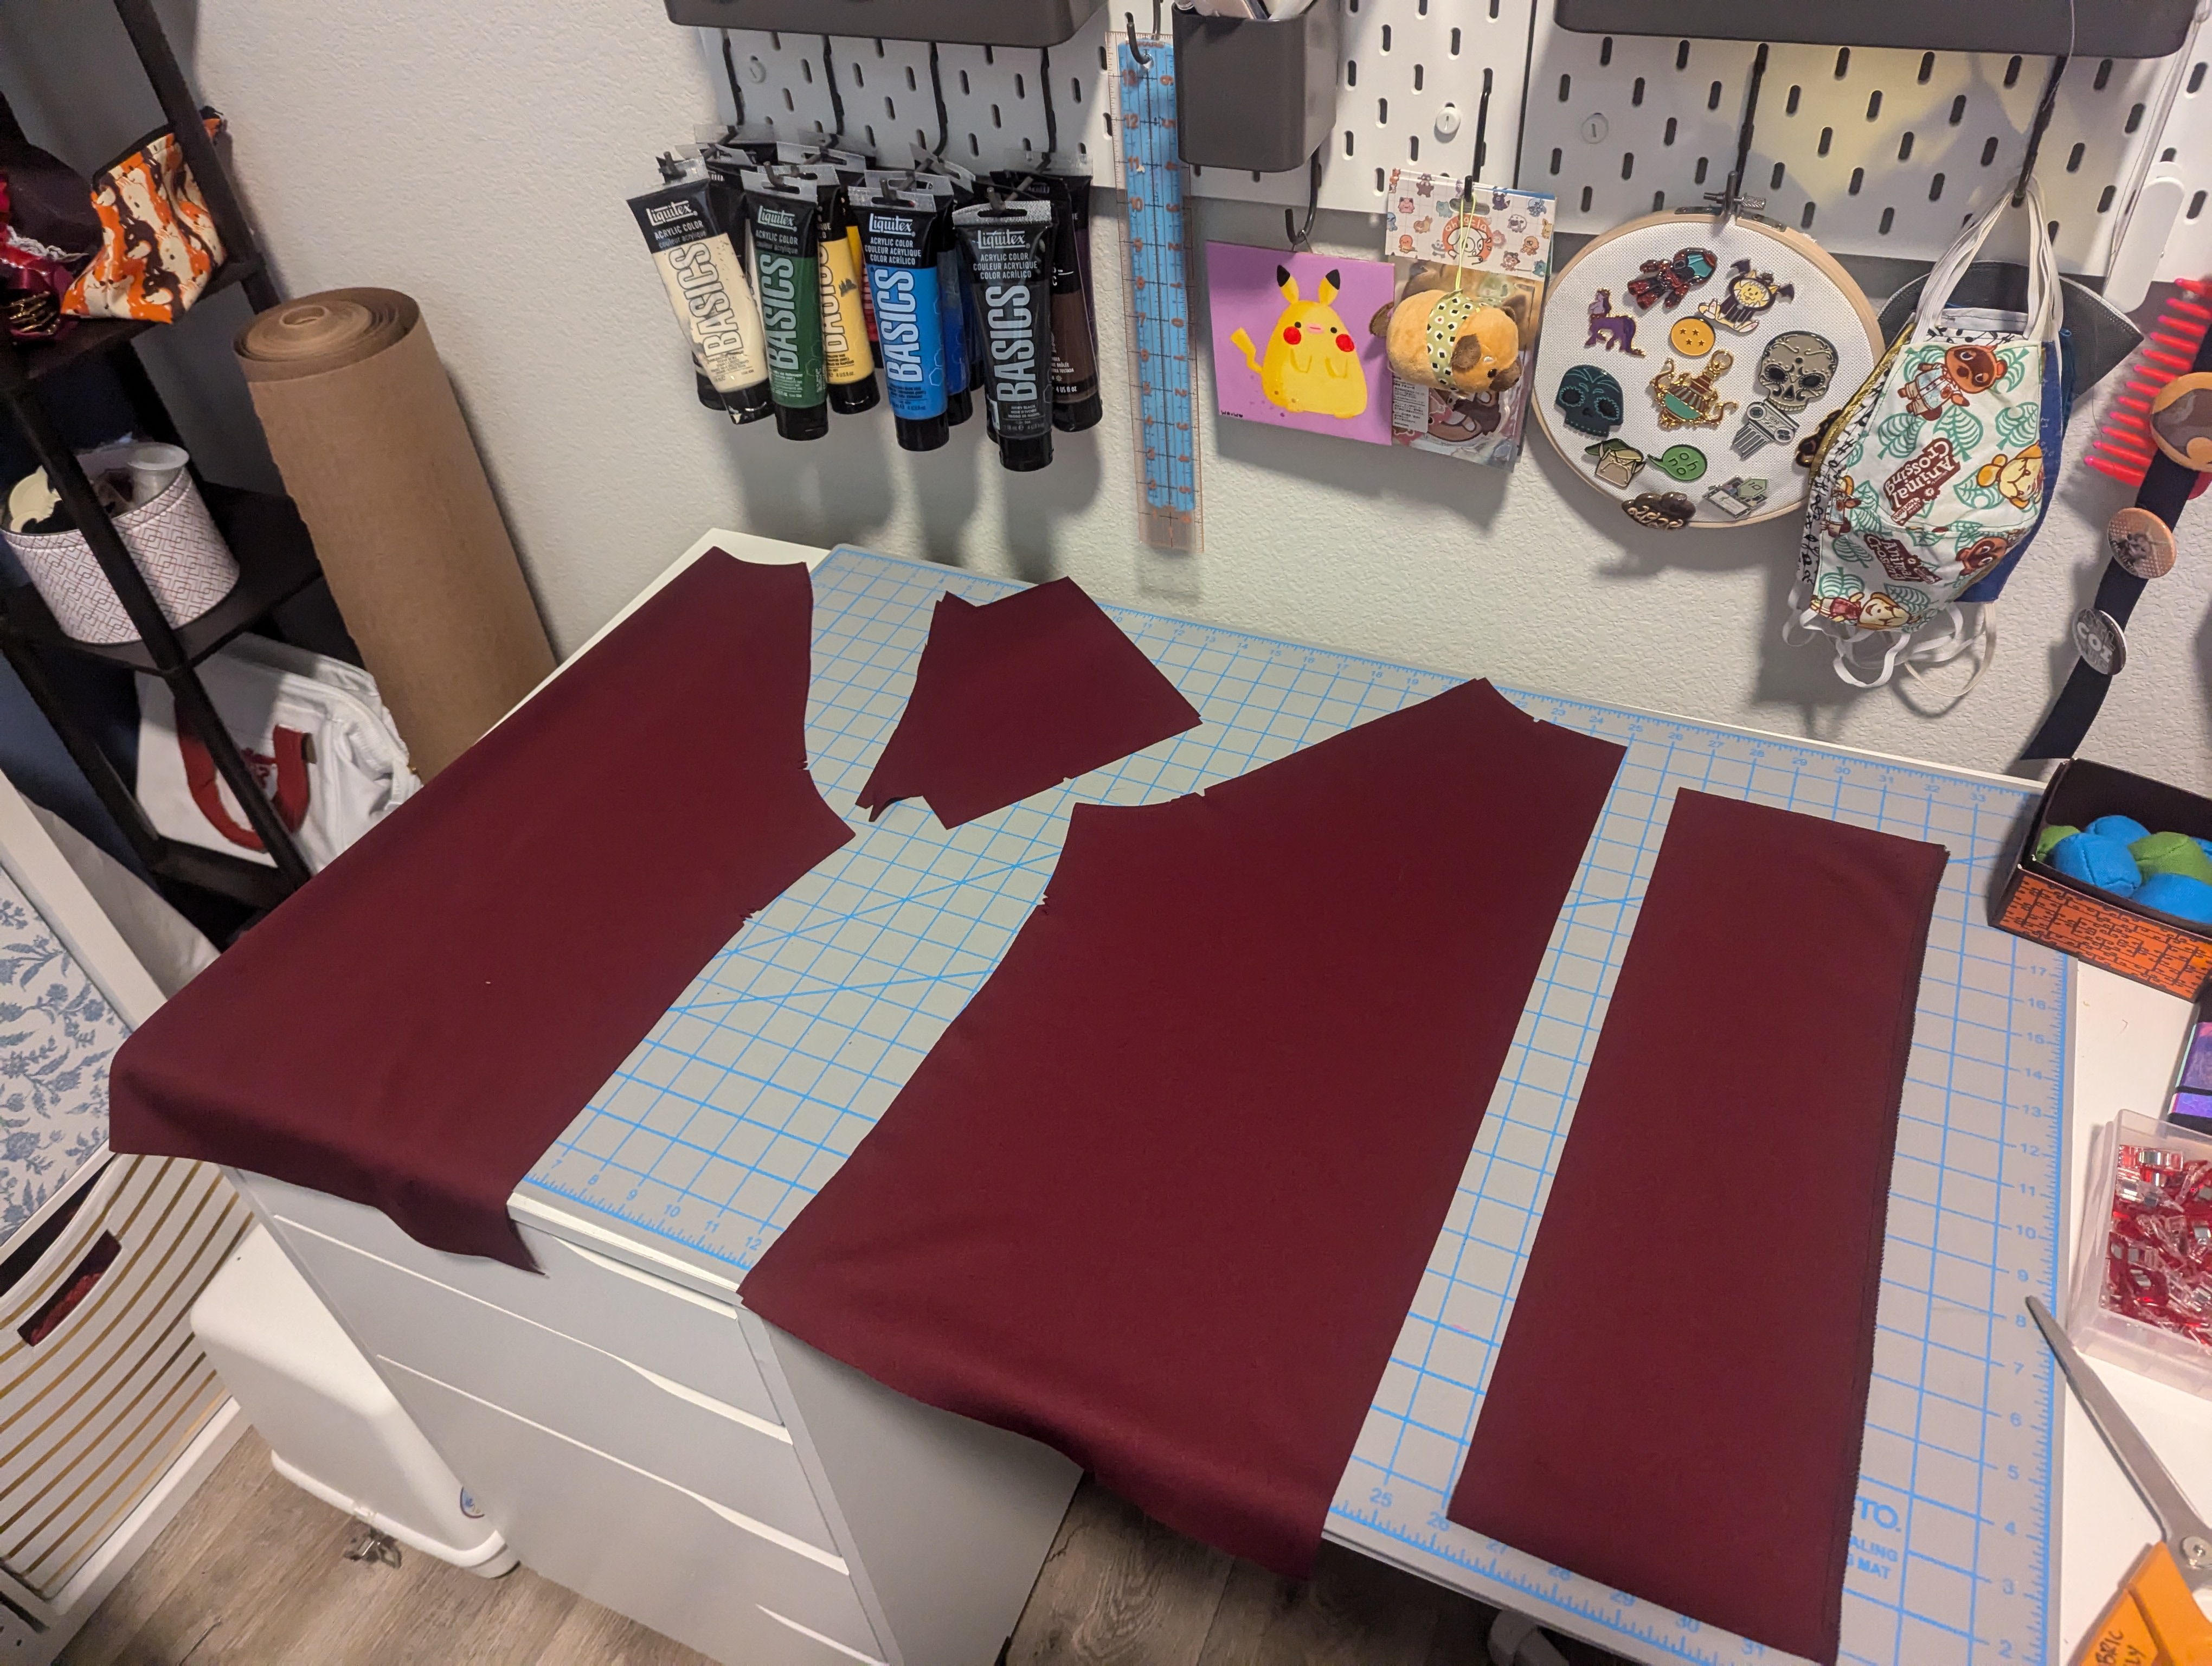
After looking at and touching basically every bolt of fabric at the DFW Fabric Mart, I found what I needed. Not only that, I found the wine color fabric in the remnant bin and it had exactly the amount of I needed. (Even managed to find some serger parts and a cute pair of embroidery scissors a couple of stores down during the same trip. It was a very successful shopping day!)
M6614 for MVP
McCall’s M6614 came in handy again. And, again, I made adjustments to it.
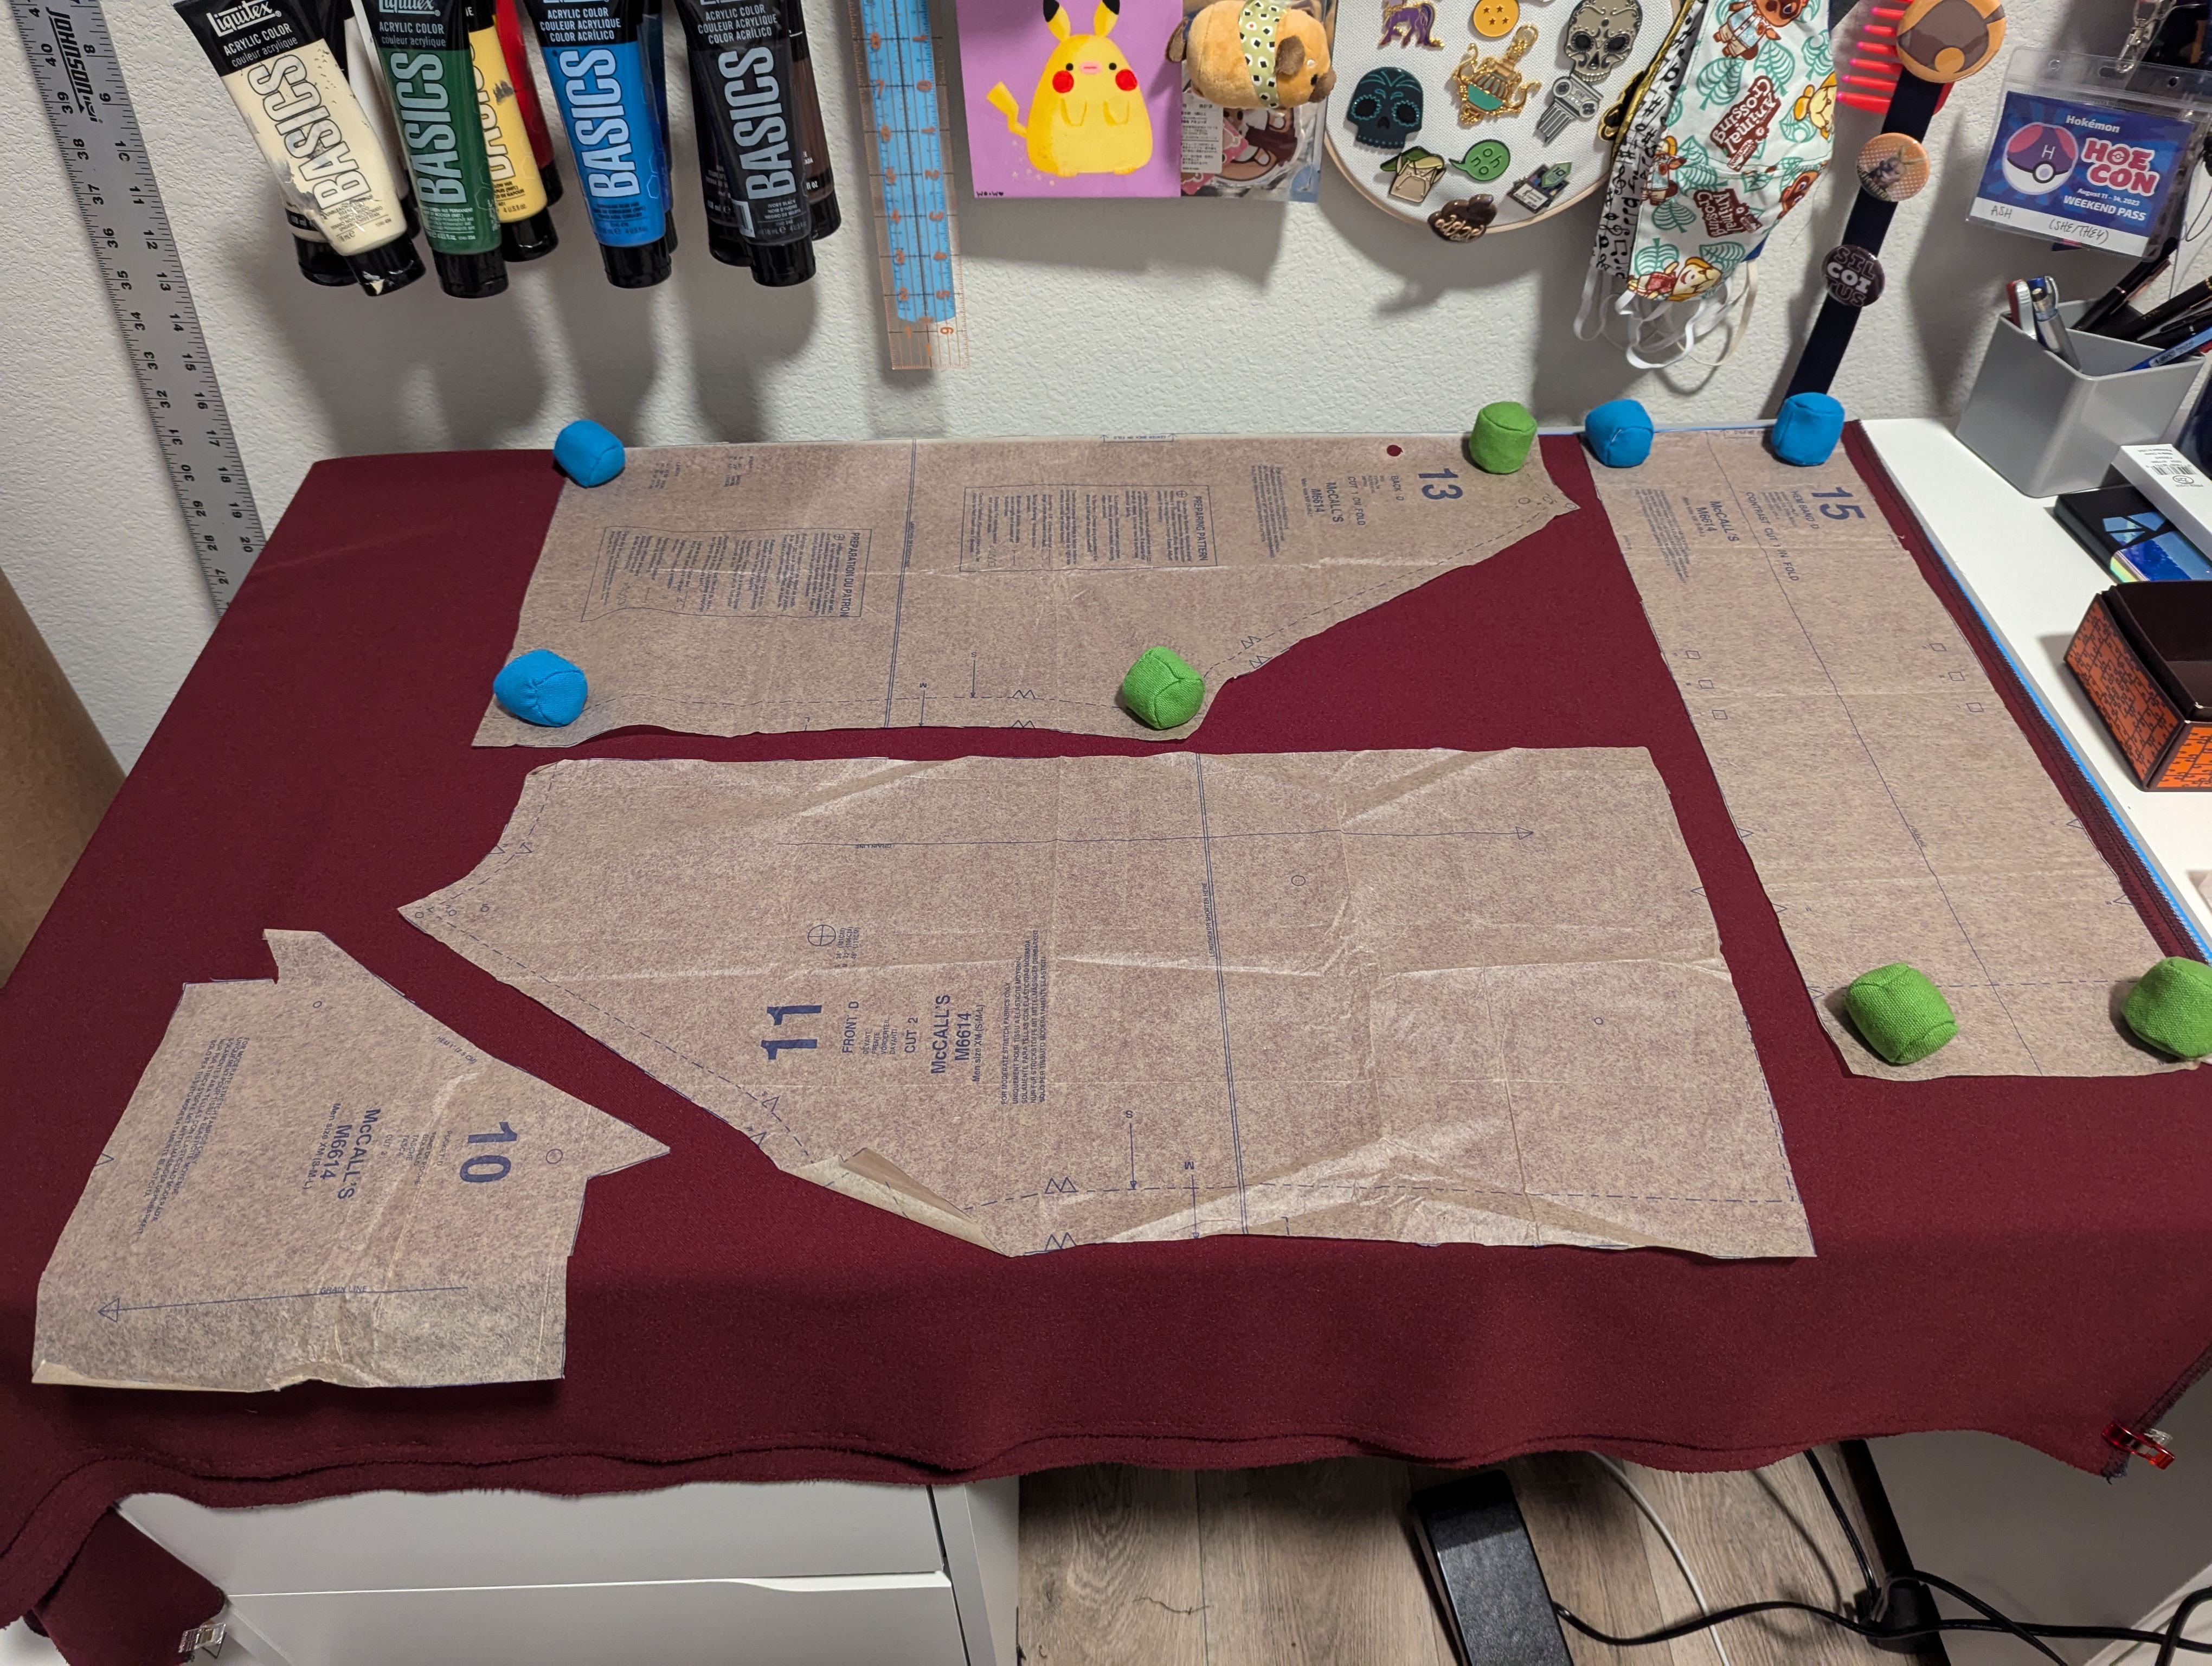
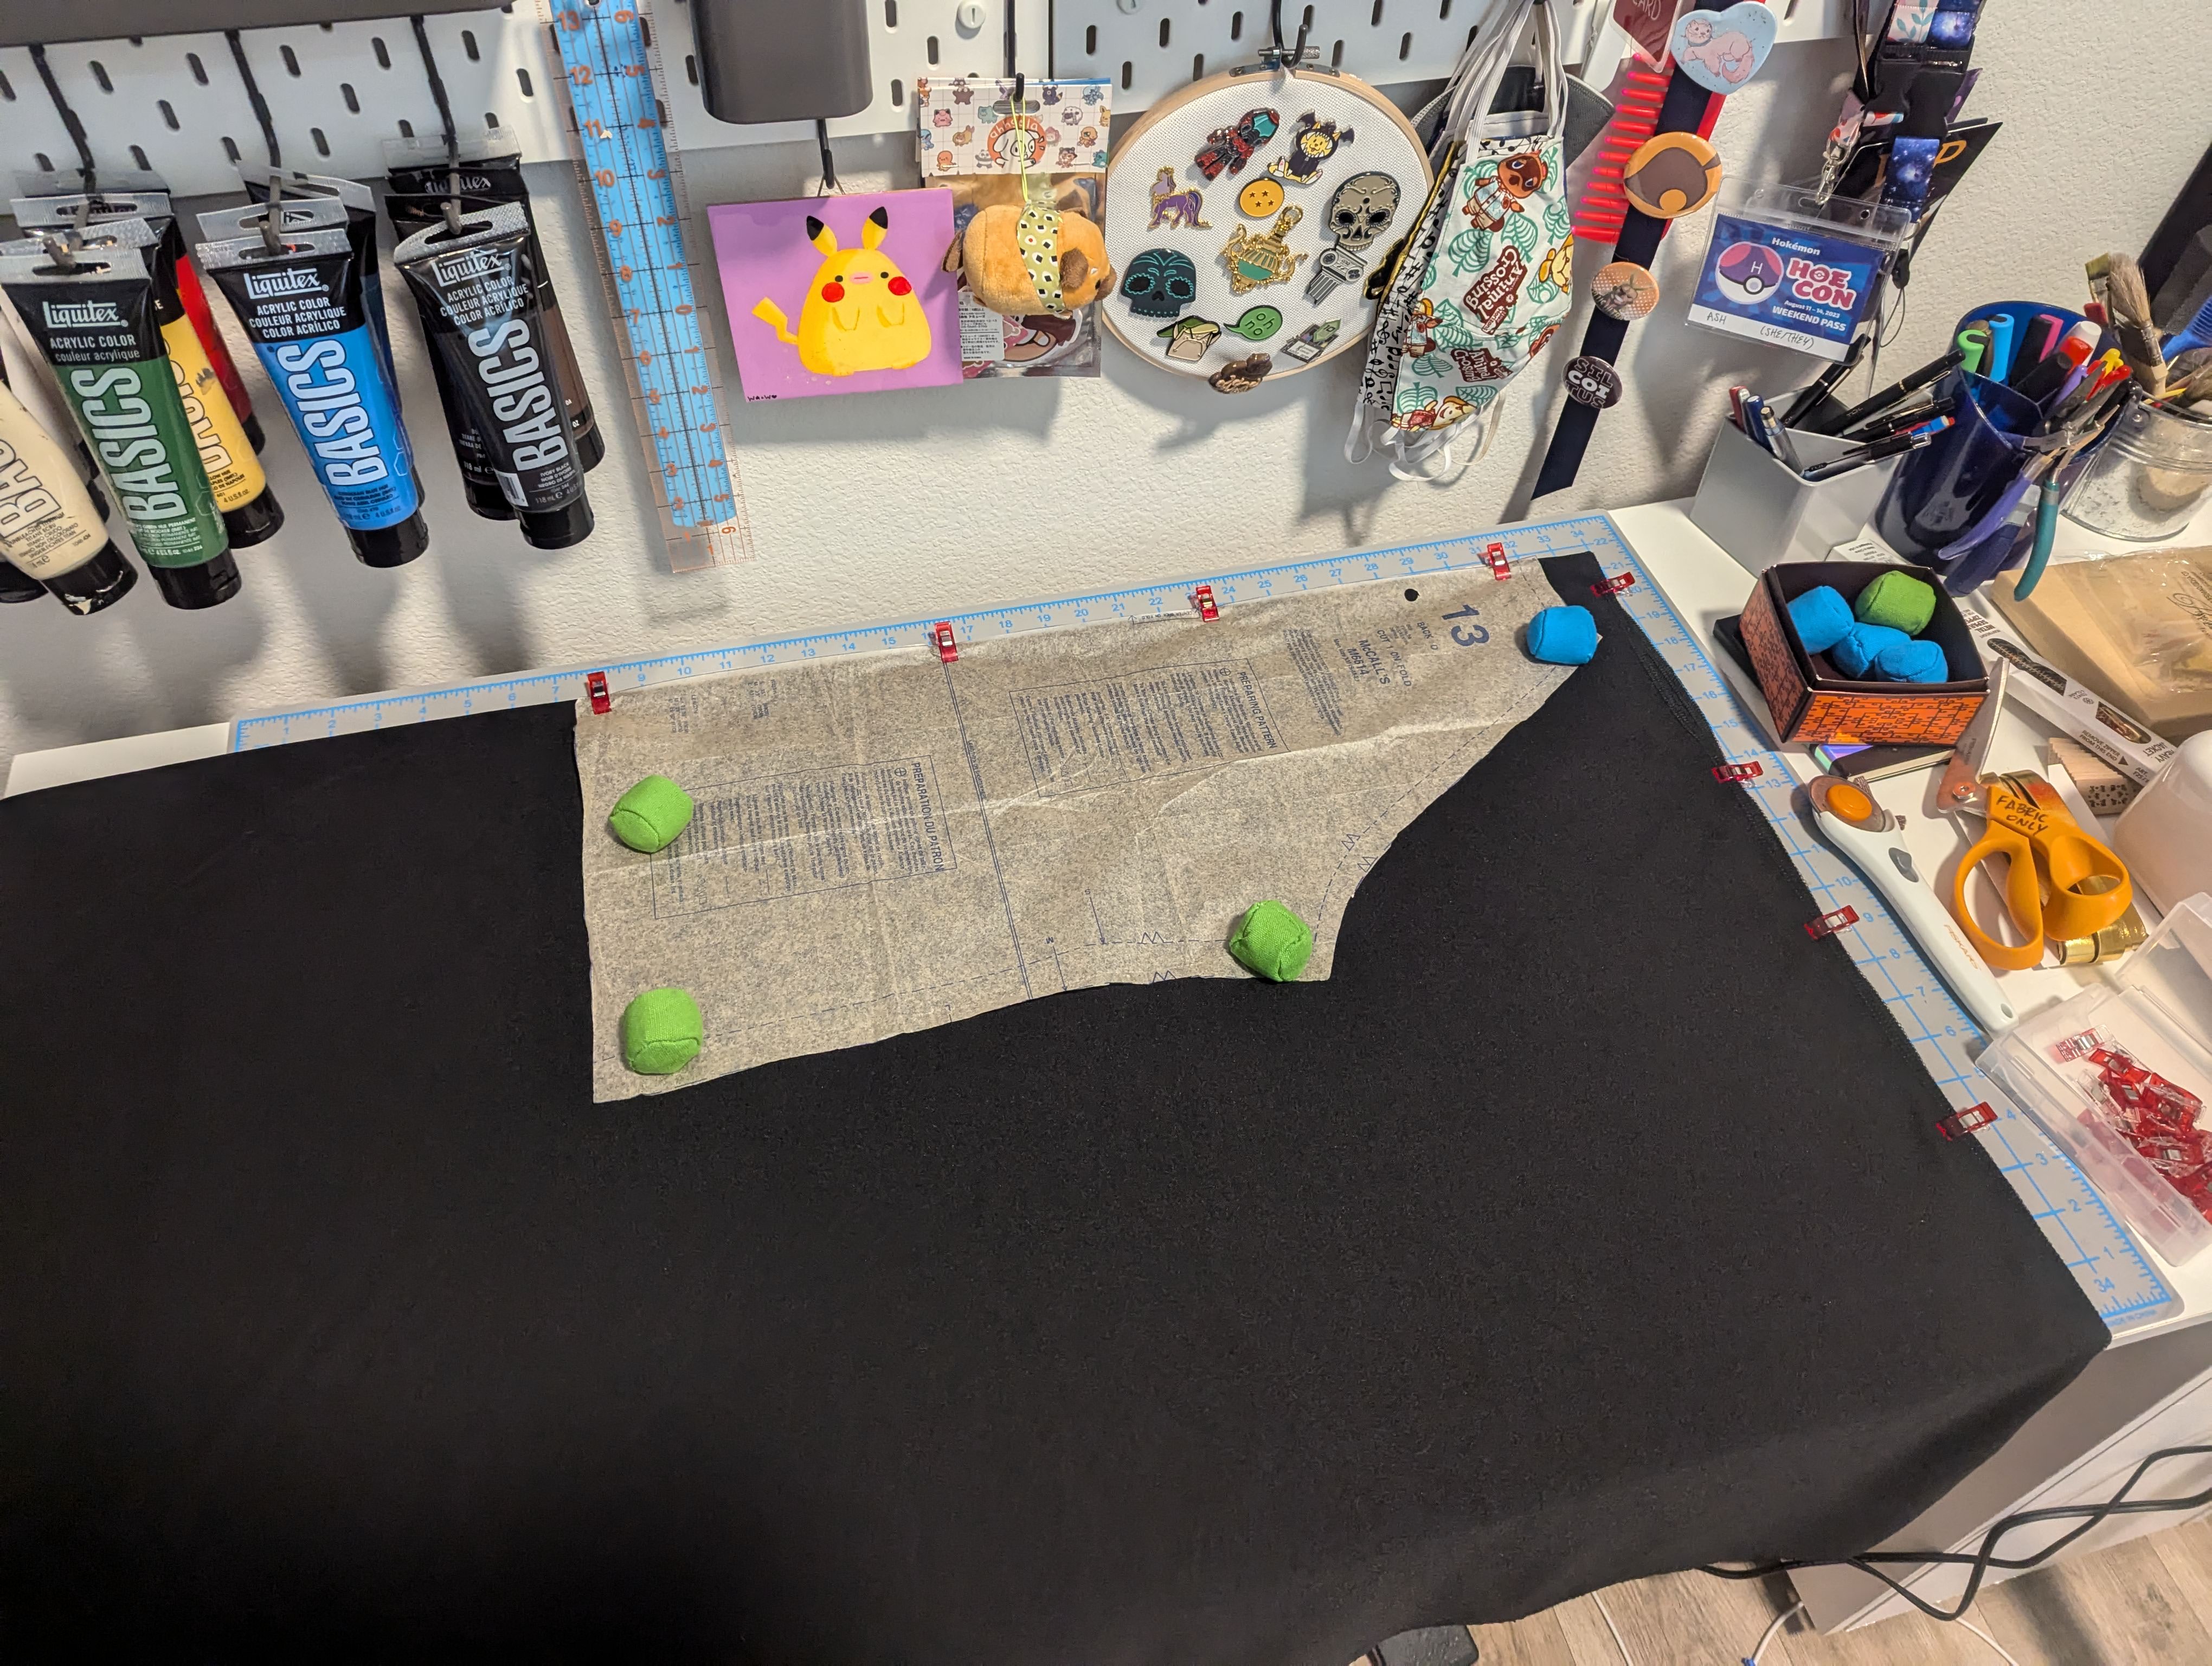

Like last time, I included a lining in a contrast color. This time, however, I actually knew how to install said lining. Whereas in 2017, I simply laid the contrast fabric over the fashion fabric and continued as instructed in the pattern, this time I stitched the lining pieces together first before incorporating them into the hoodie. If I’m perfectly honest, I don’t think 2017 Ash would’ve been able to handle that process just yet. It requires a little bit of foresight knowing how the pieces need to come together in the correct order. 2017 Ash walked so 2024 Ash could run.

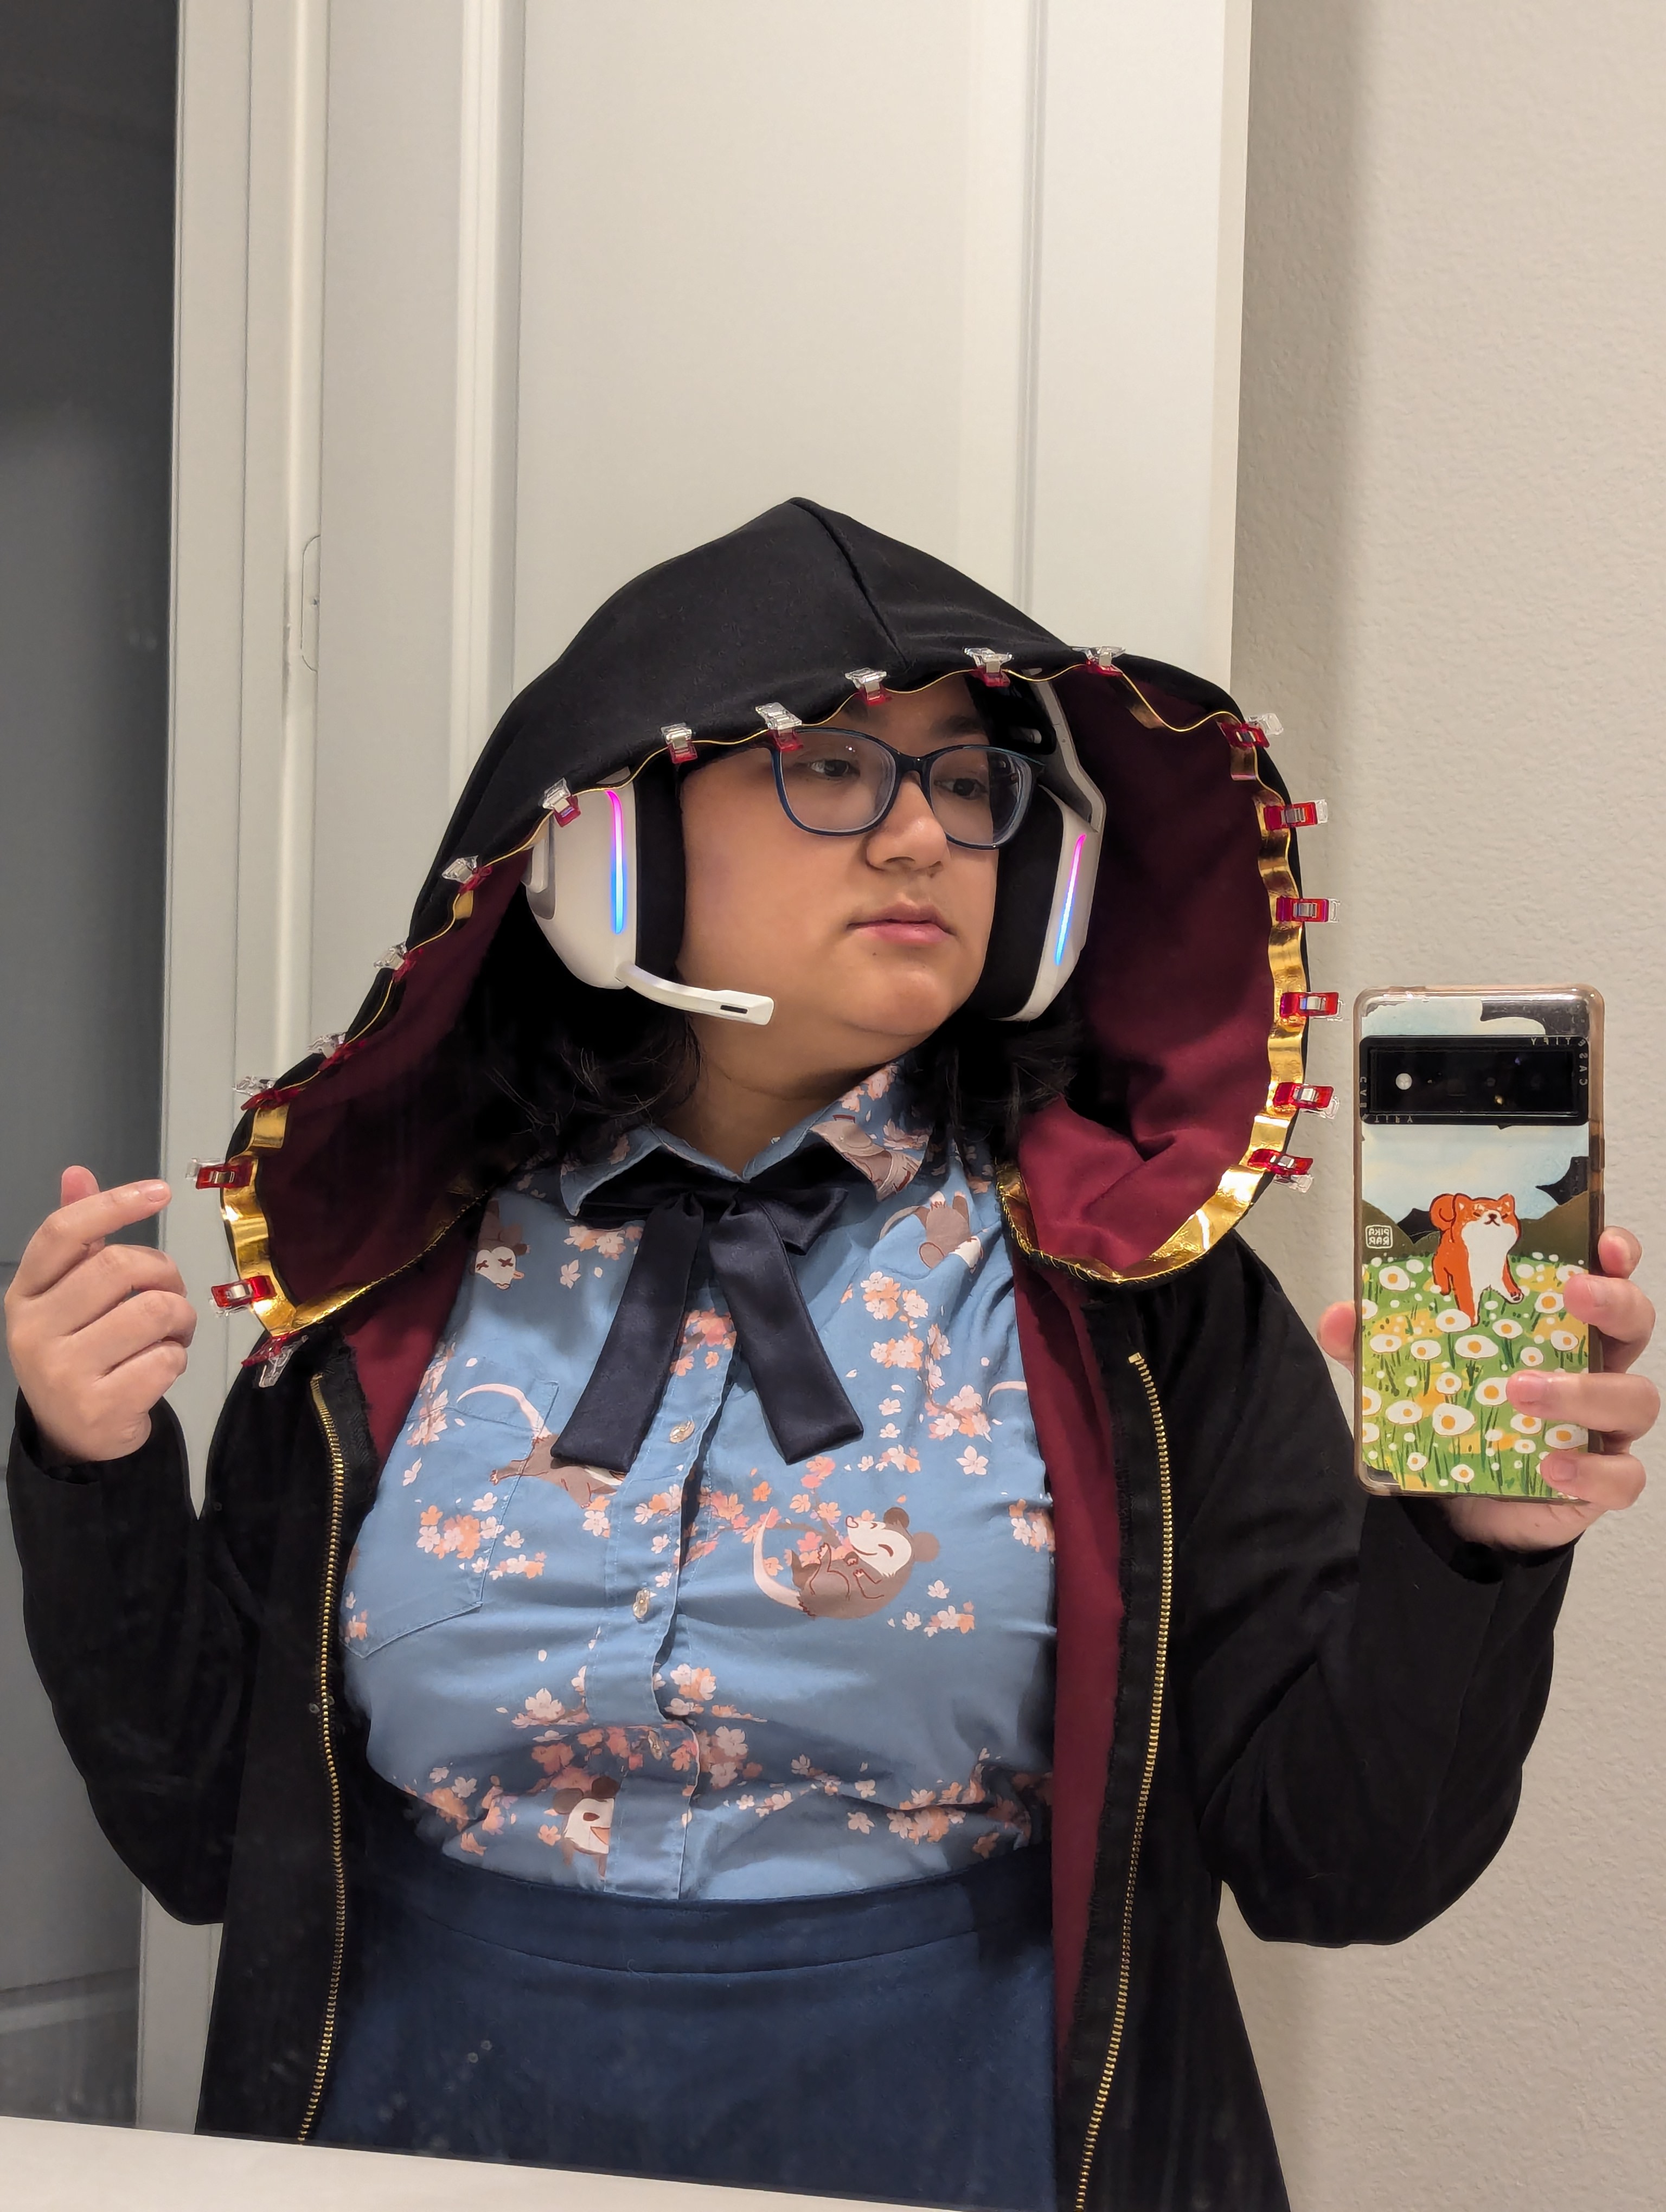
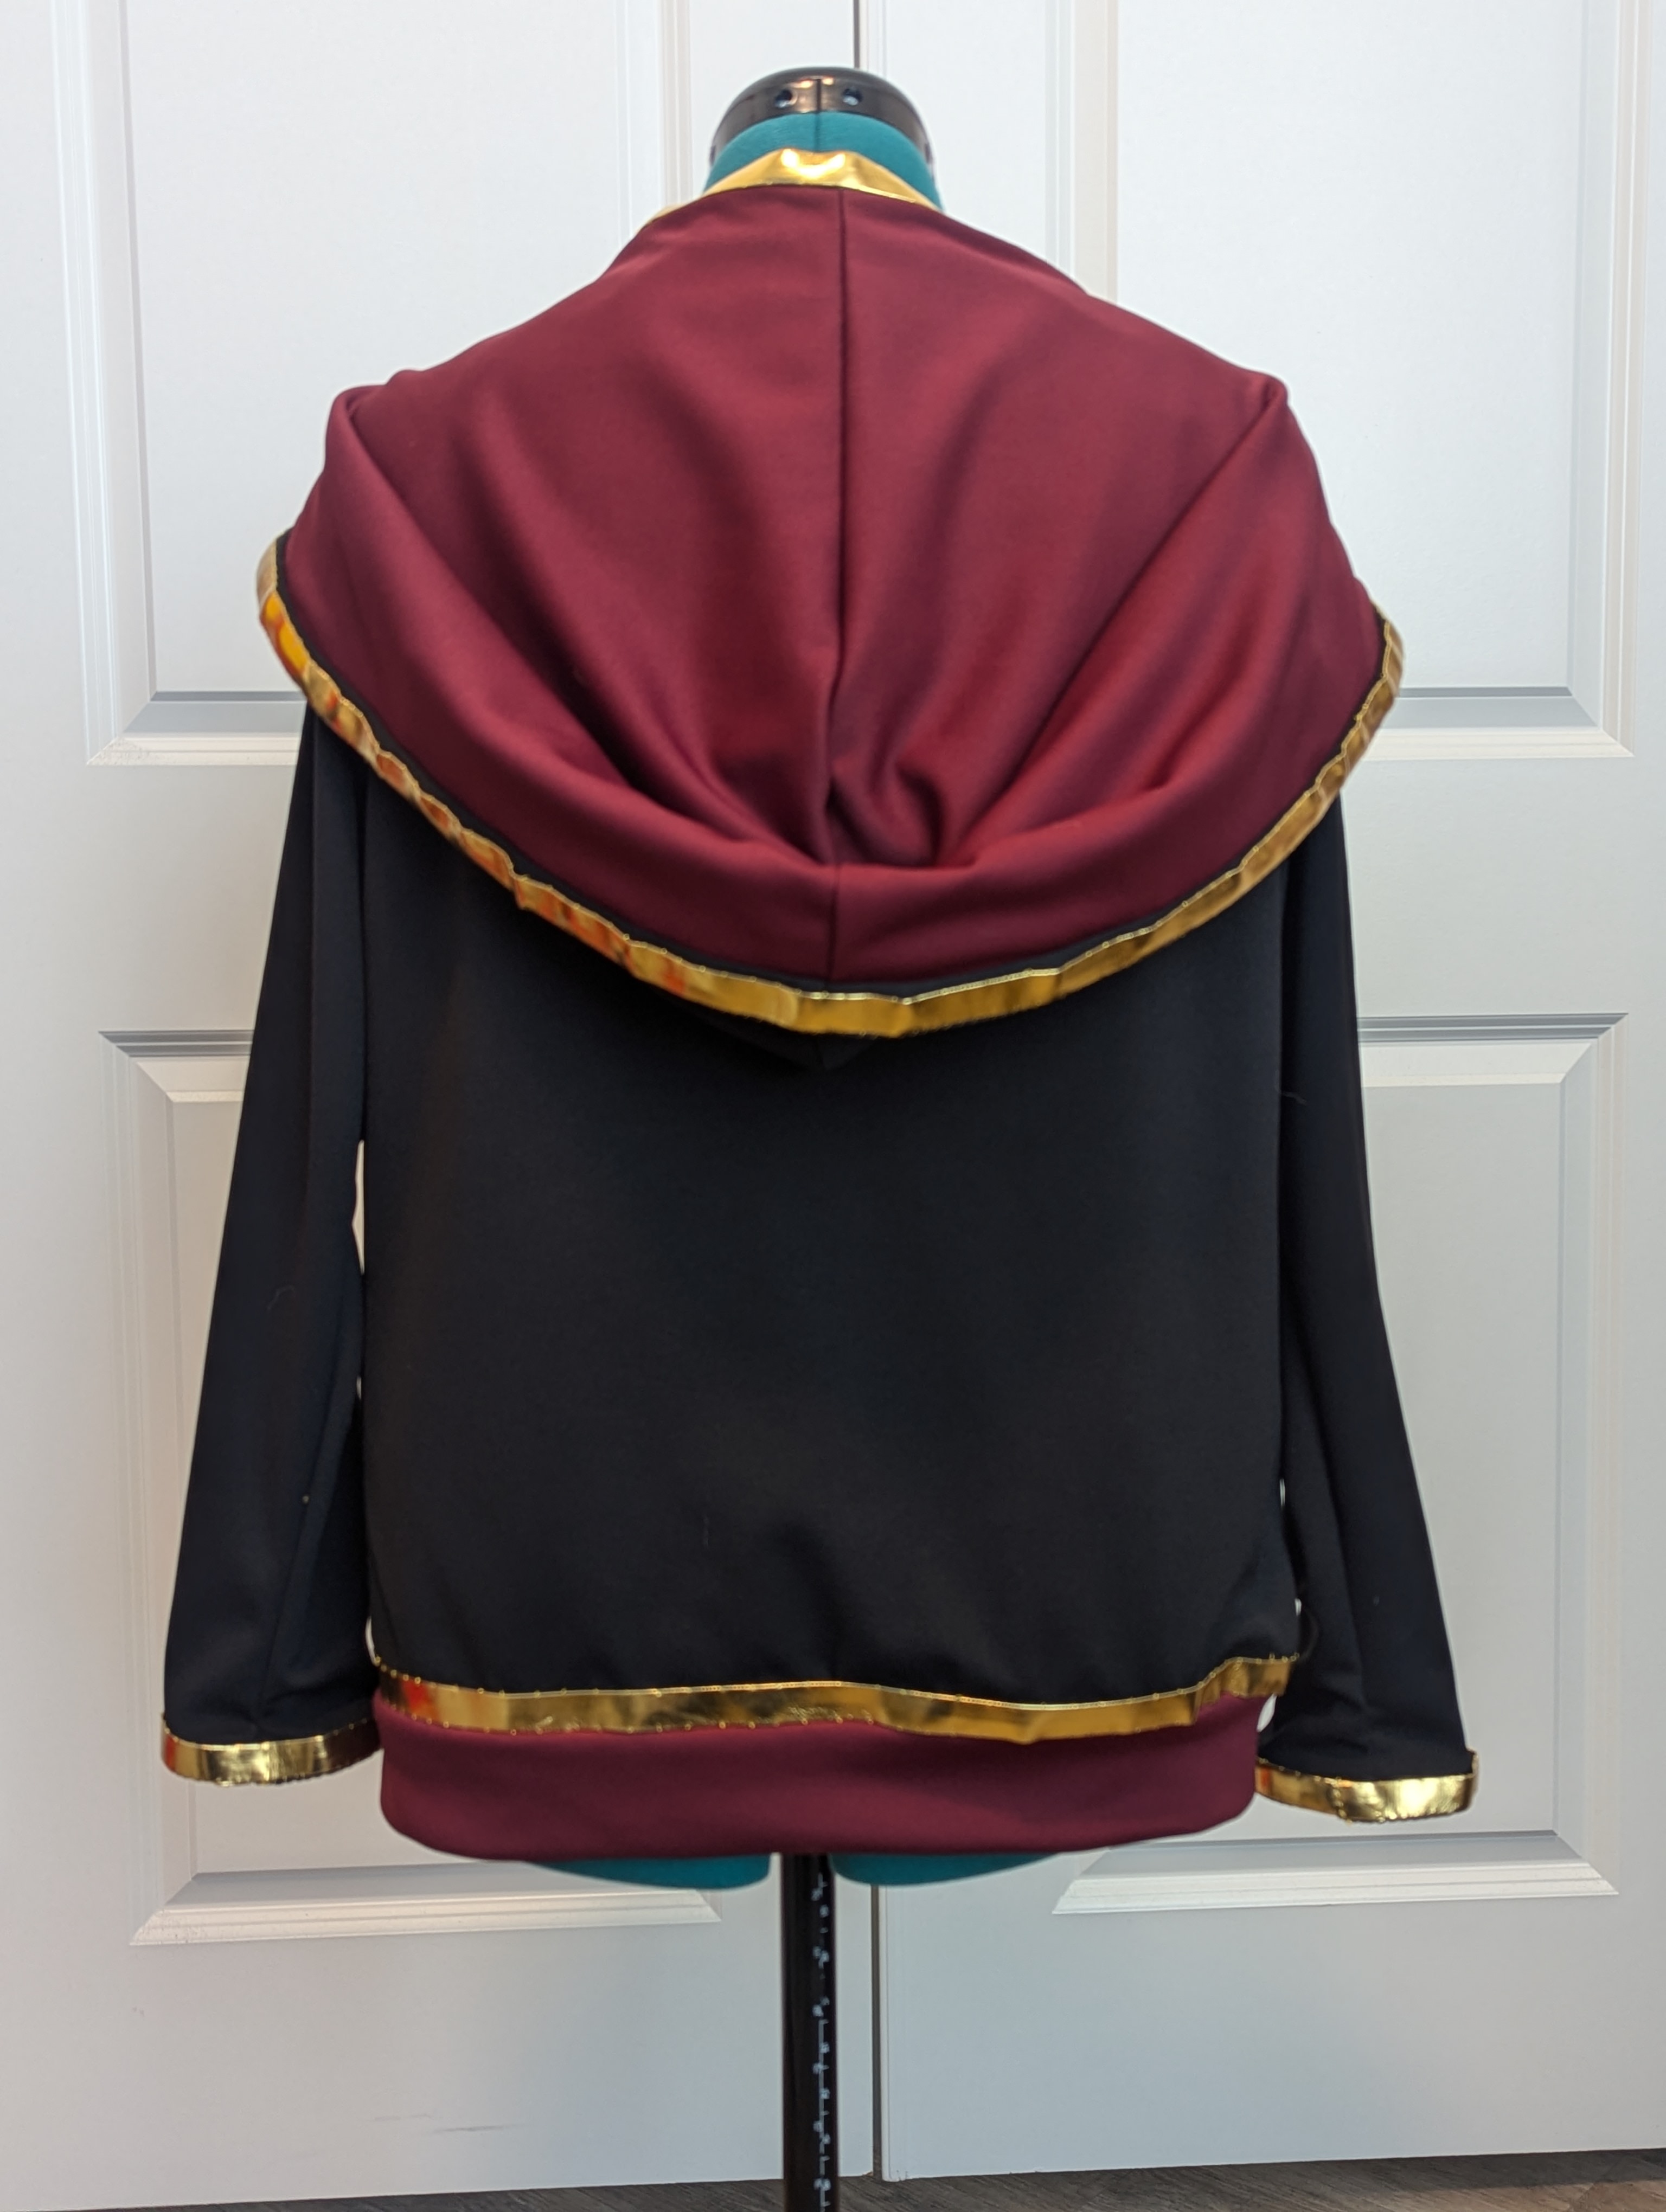
Another adjustment I made was to the hood. While the size of the patterned hood isn’t bad, I wanted a very large one. So, using my favorite hoodie, I drafted a new hood pattern. It incorporated the neck seam of the pattern but then followed the size and shape of the other hood. After tracing the large hood, I added a 1/2″ seam allowance all around. Finally, I added horsehair braid into the hood lining to make it less droopy.


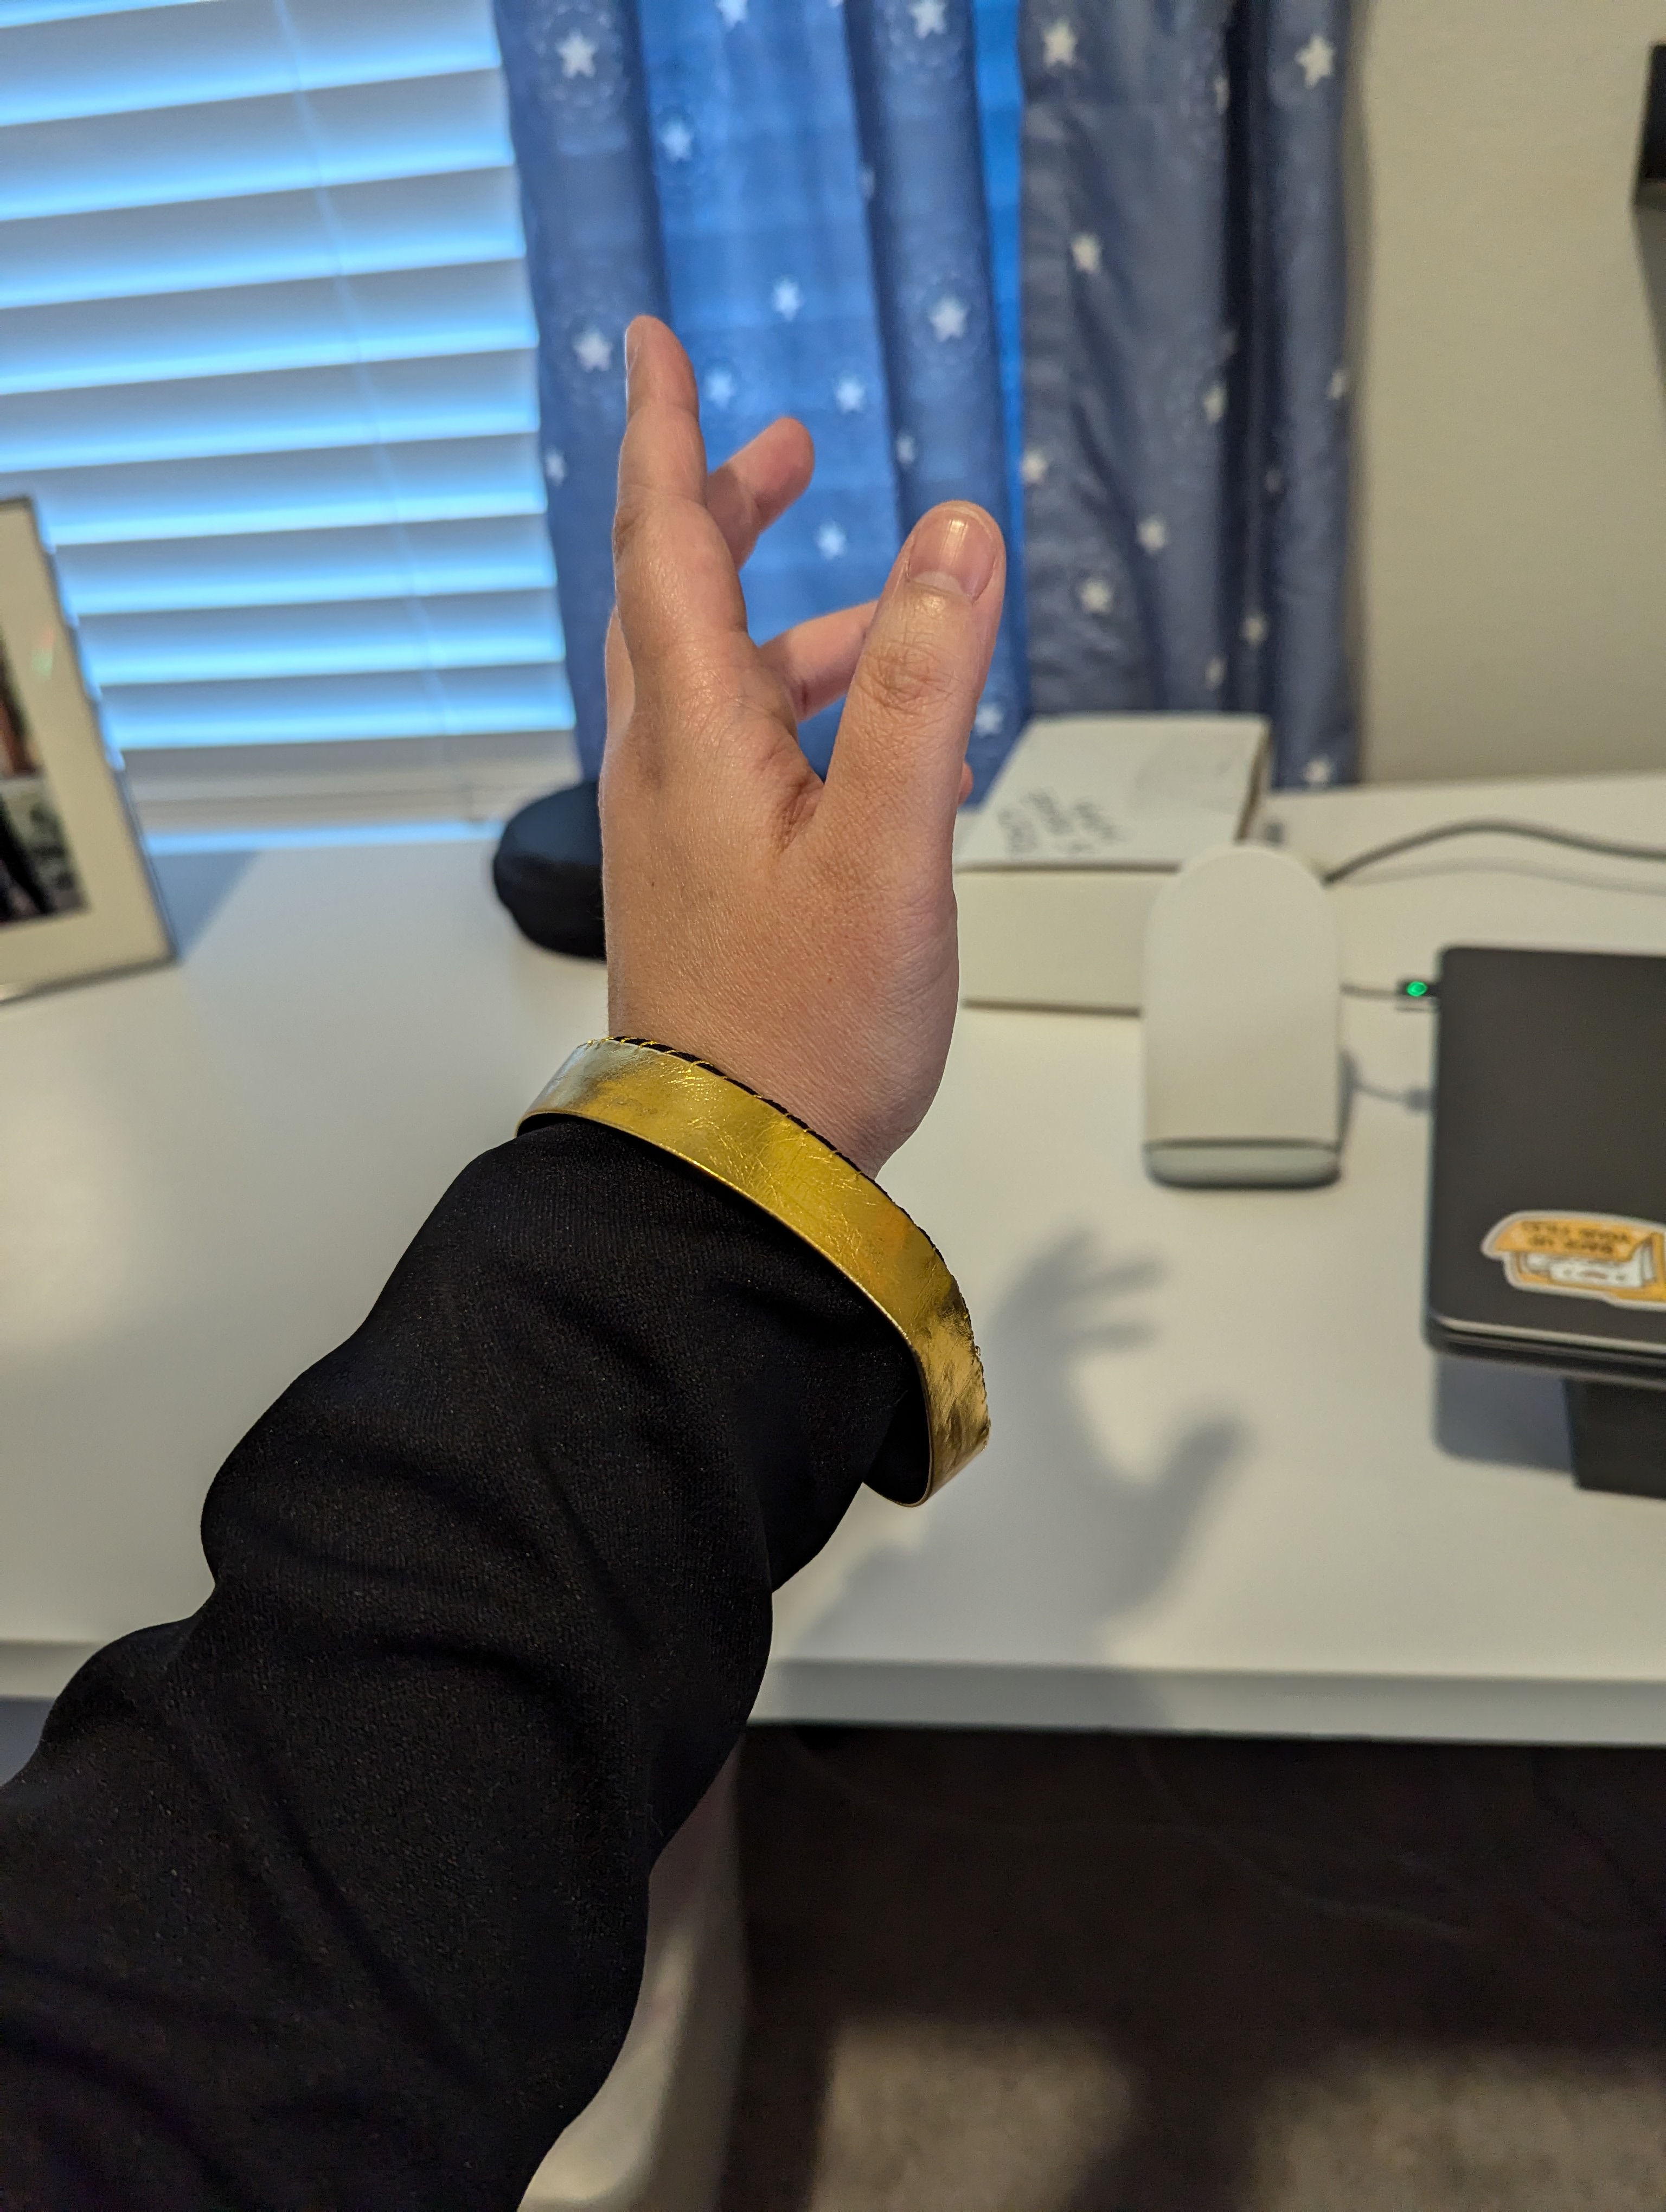
The last adjustment was to the sleeves. I simply skipped the cuff step, for a few reasons. One, I had forgotten that I had made sleeve length adjustments to the BOTW hoodie. Two, I lost the cuff pattern piece. Whoops. It all worked out in the end however, because the sleeve without the cuffs was plenty long enough already. We’ll just pretend I planned that from the start, shall we?
Serger Has Entered the Chat
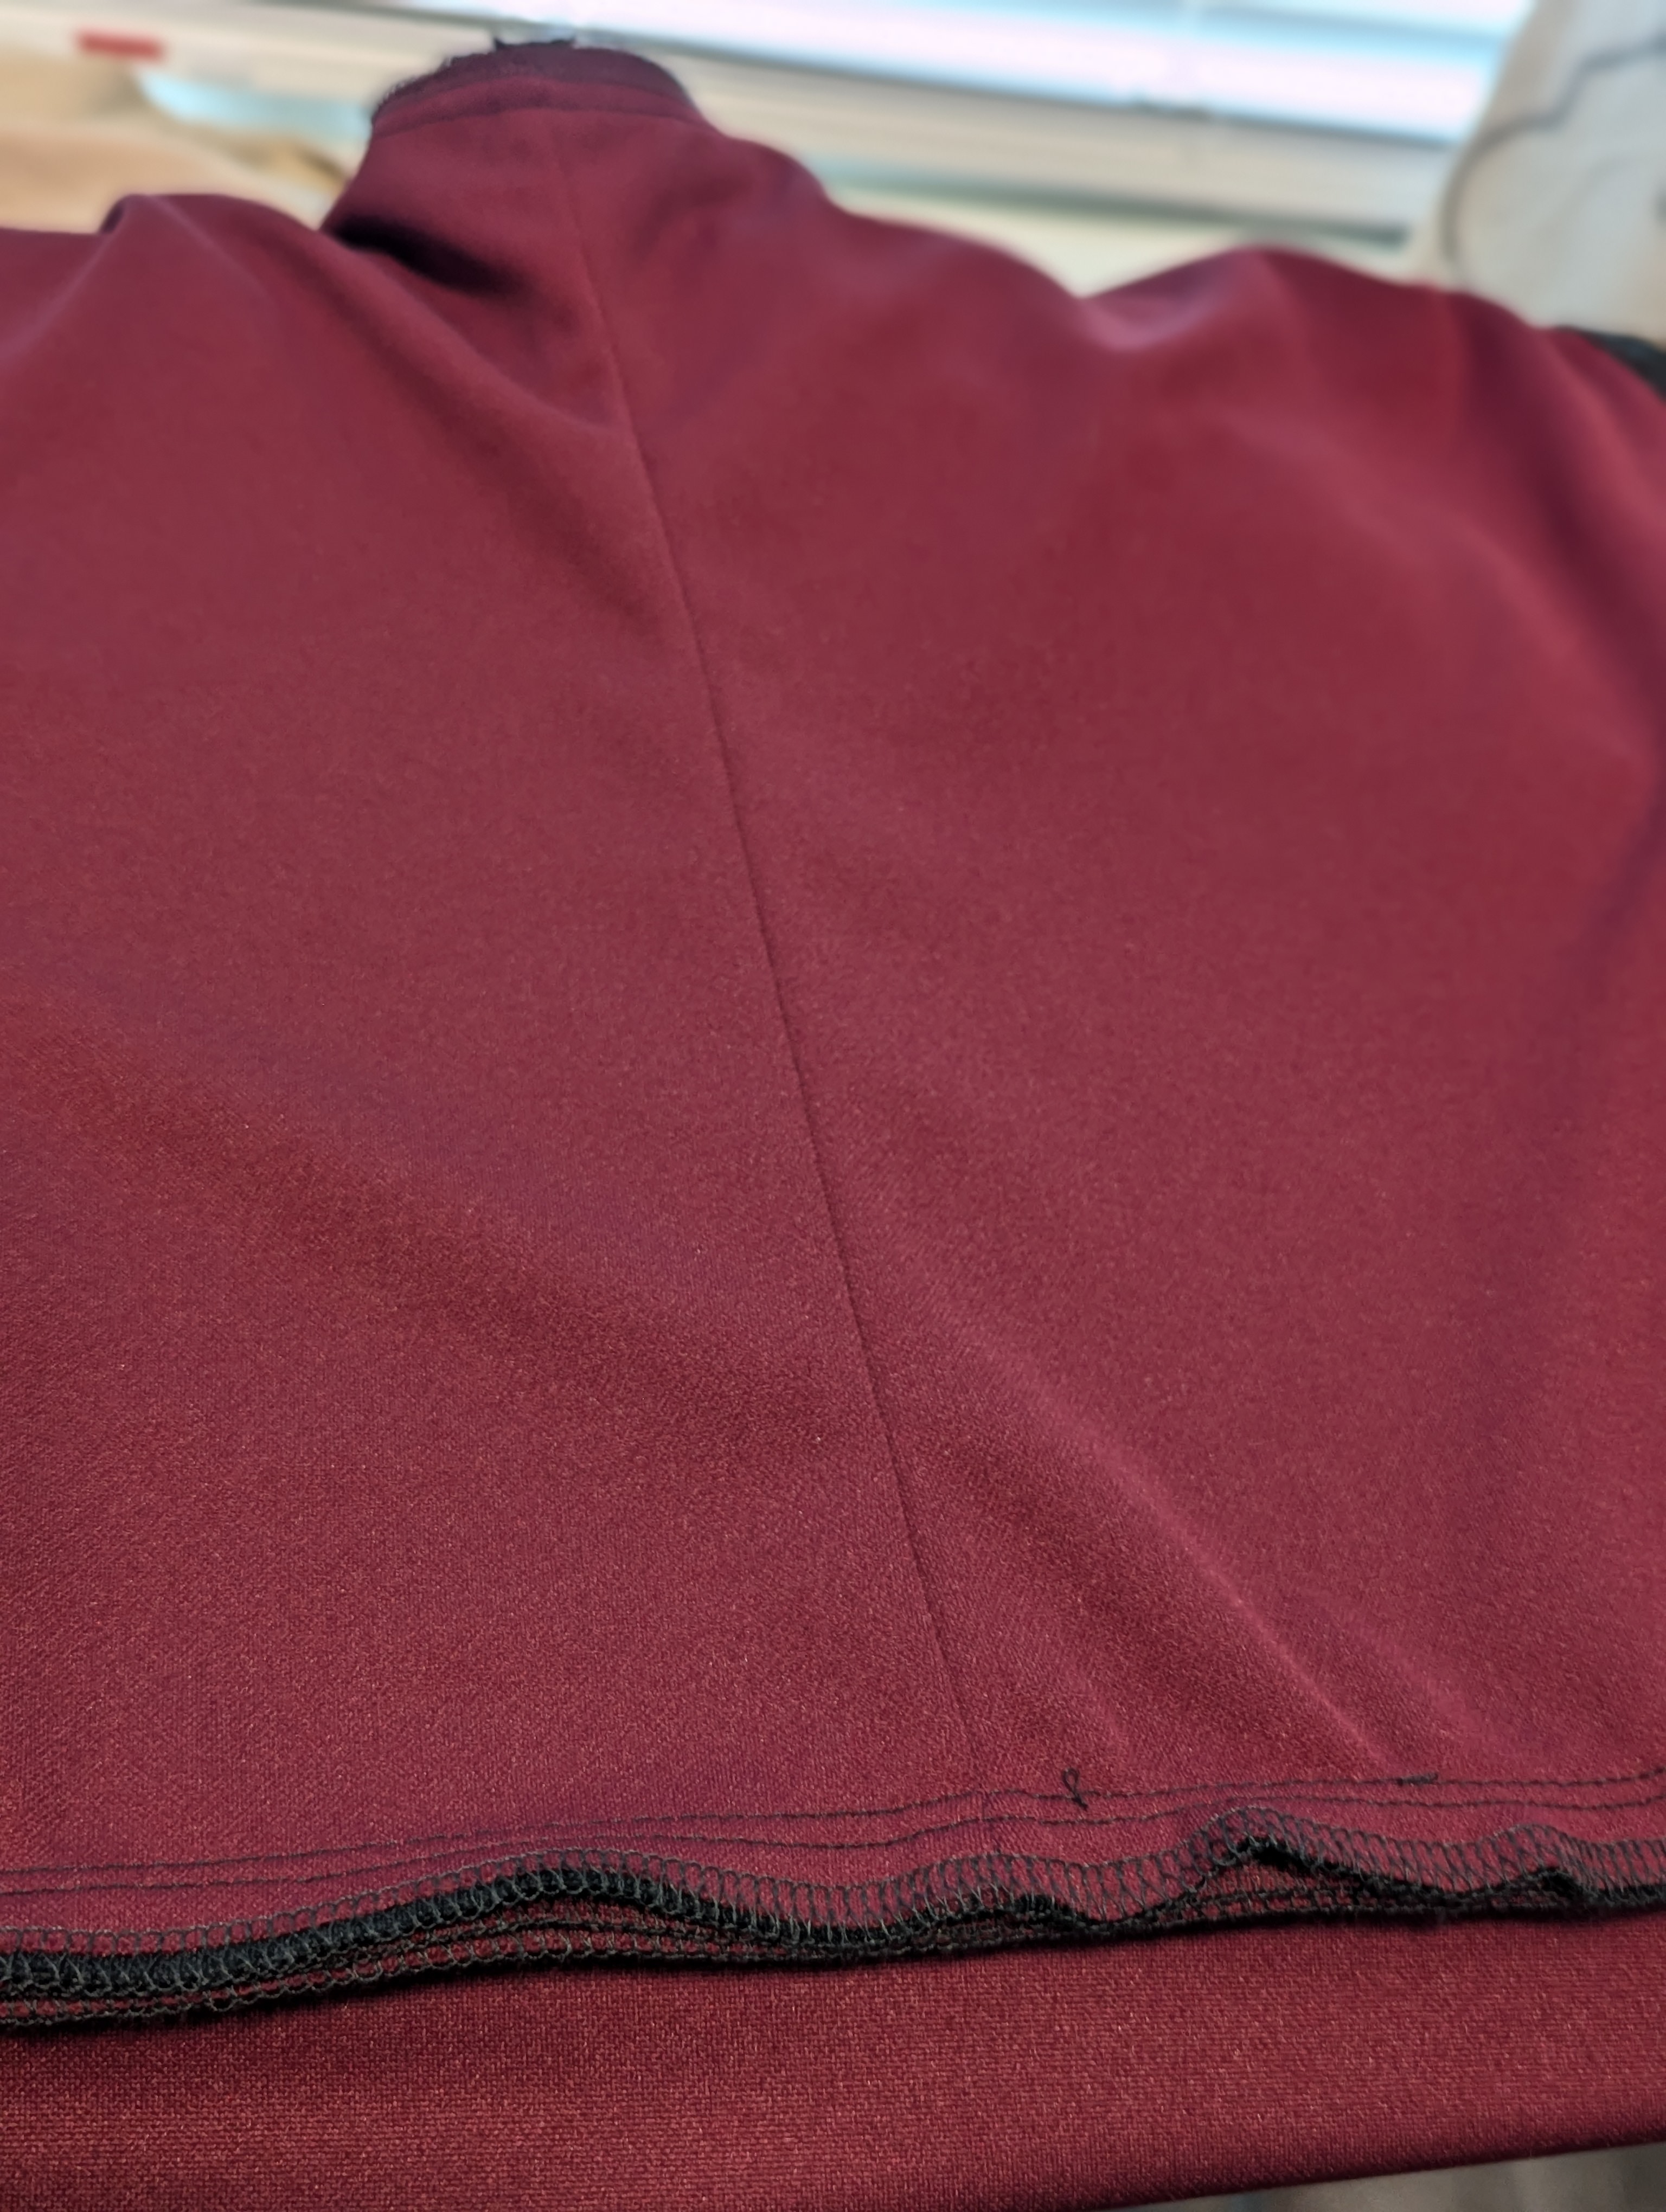
Progress flew with my serger. I can’t believe I waited so long to learn how to use it. And after I realized I could set up my sewing machine at my computer desk? It was over. All I had to do to switch between sewing and serging was move over to a different table. Absolutely brilliant. I felt like such a pro.


Now, me using the serger wasn’t without mistakes. For one thing, I accidentally serged part of the hoodie without the presser foot down, so the thread tension was awful for a portion until I realized my mistake. Rather than go back and fix all of that, I ended up just sort of satin-stitching by hand over the loose thread to hide them. You win some, you lost some.

Another thing I learned was when to serge in the zipper process. Silly me thought I could sew the zipper on as usual and then serge the raw edges. Wrong. I don’t have a zipper foot for the serger, so I couldn’t get as close to the edge as I needed. No worries though, I ended up tacking down that edge anyway, so all mistakes are hidden. Note to self: serge raw edges first, then proceed with the zipper as normal.

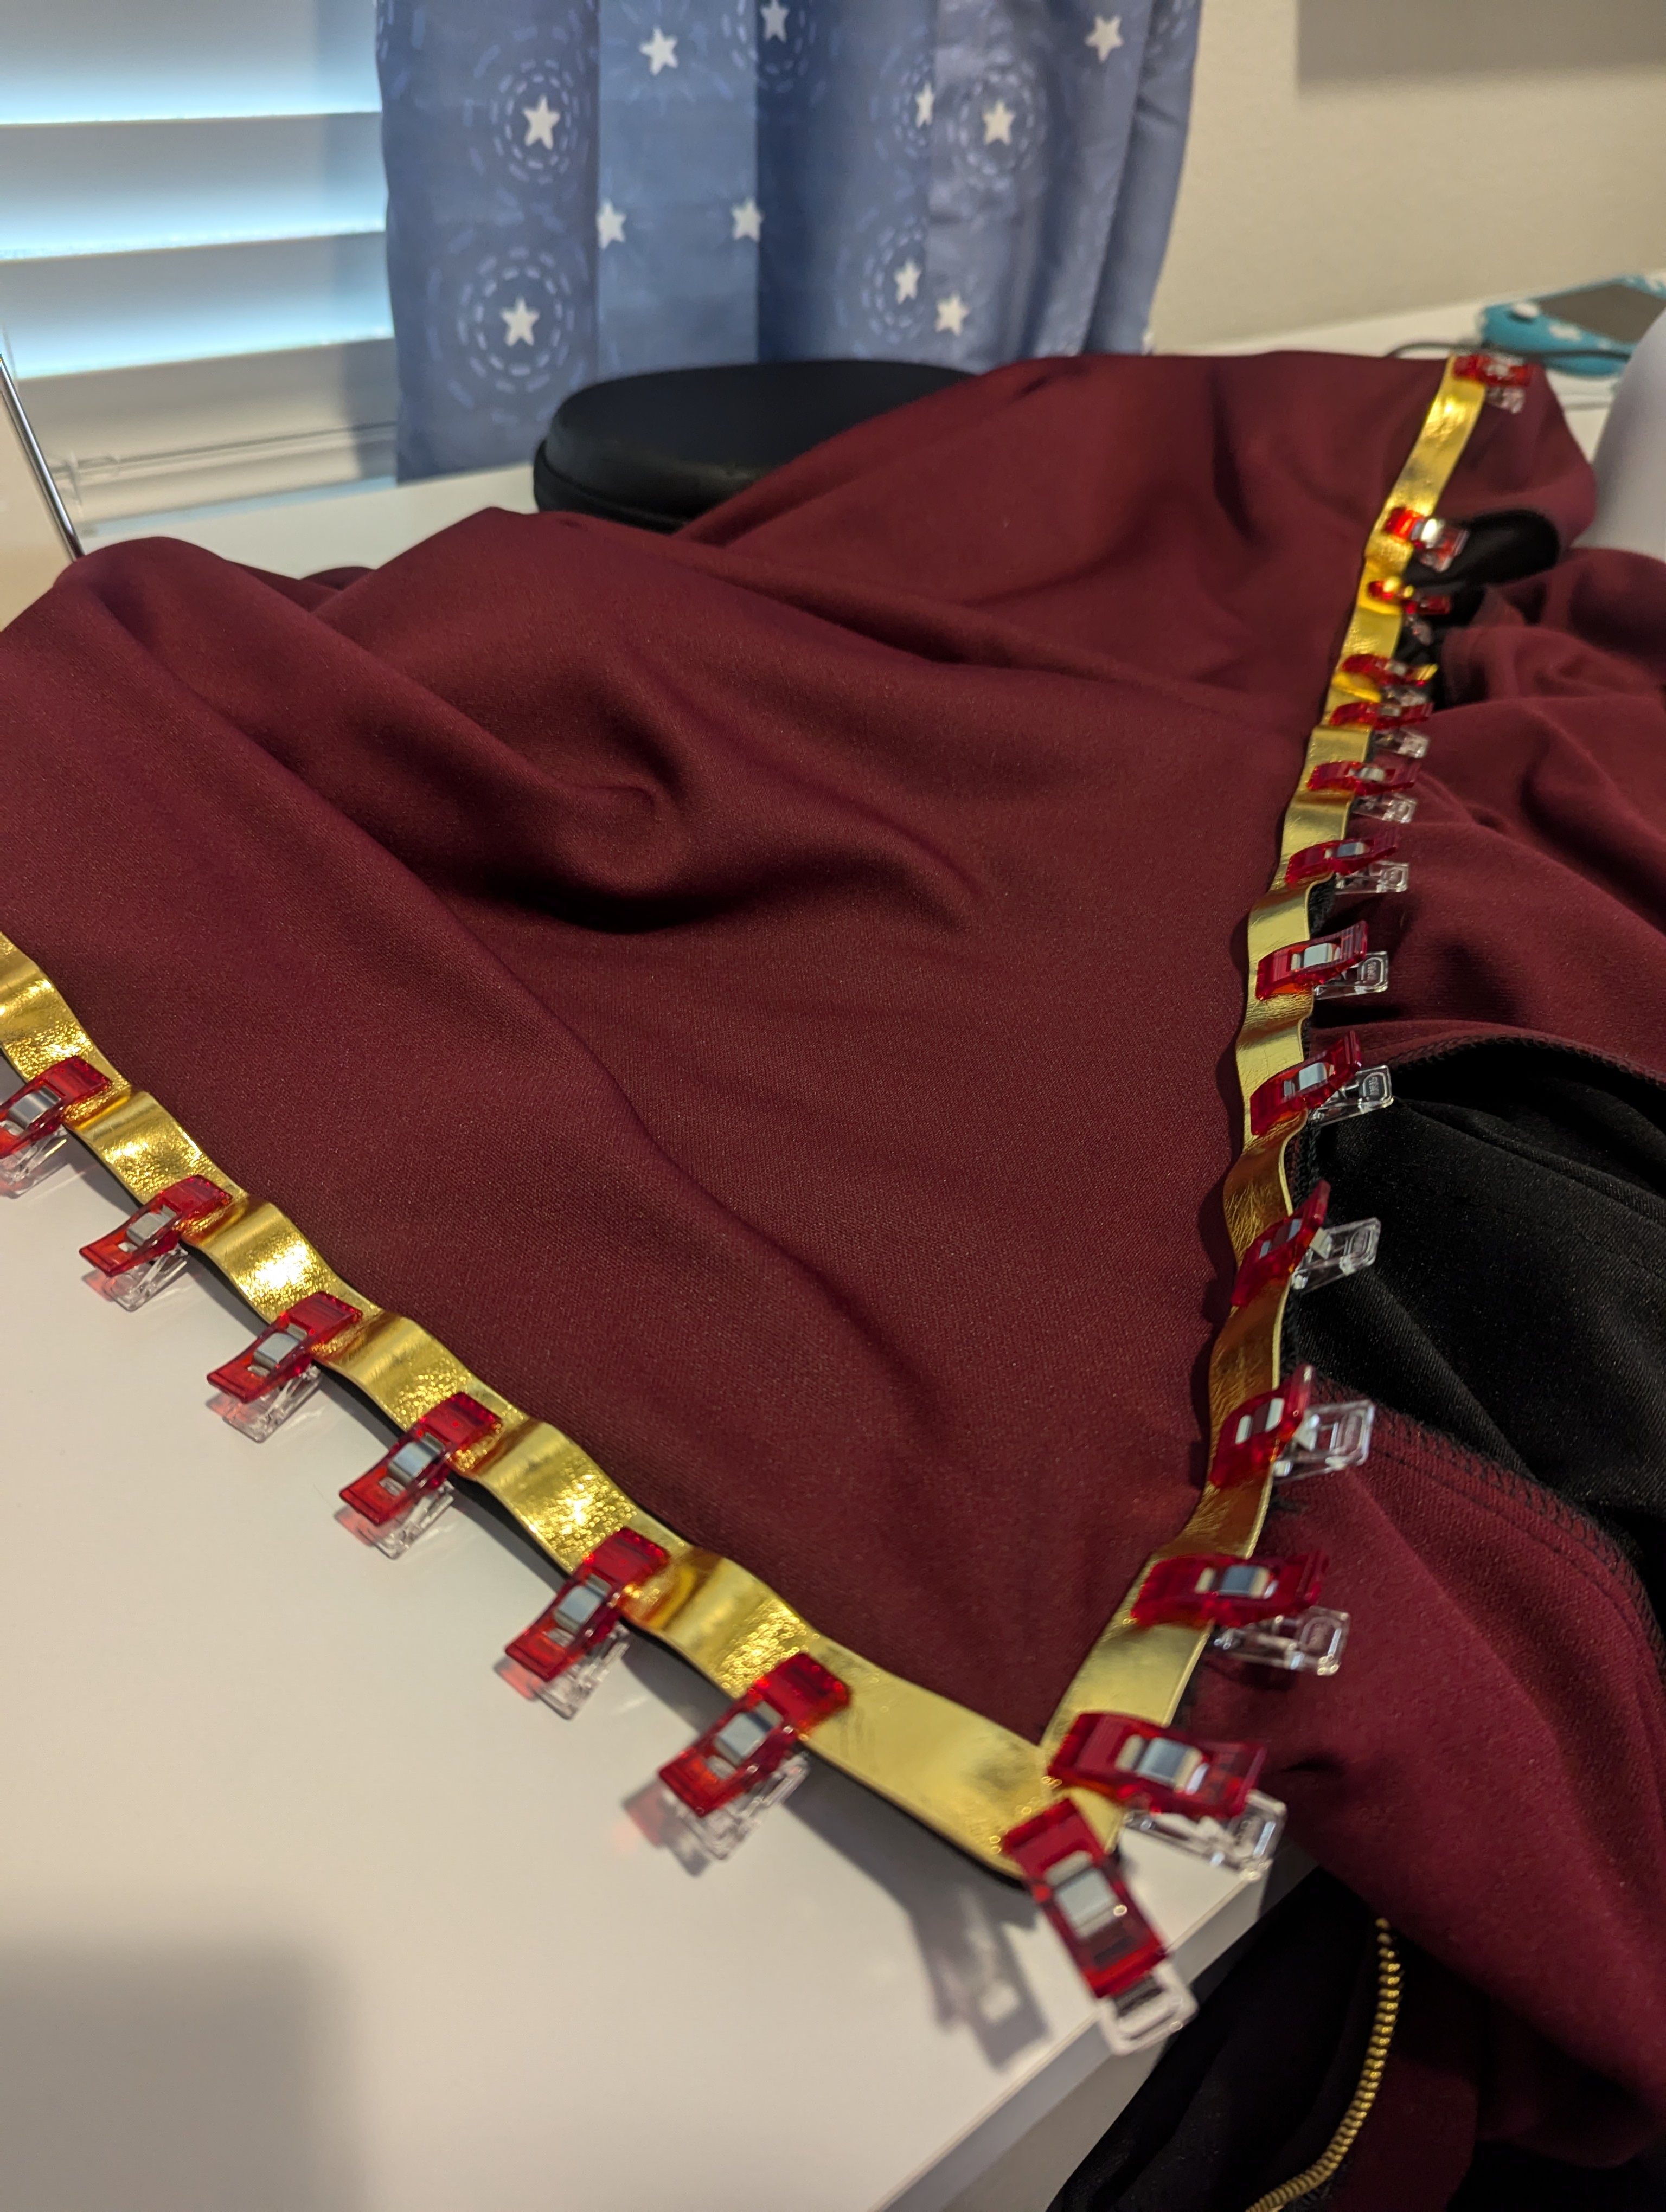
So. Much. Gold. Trim.
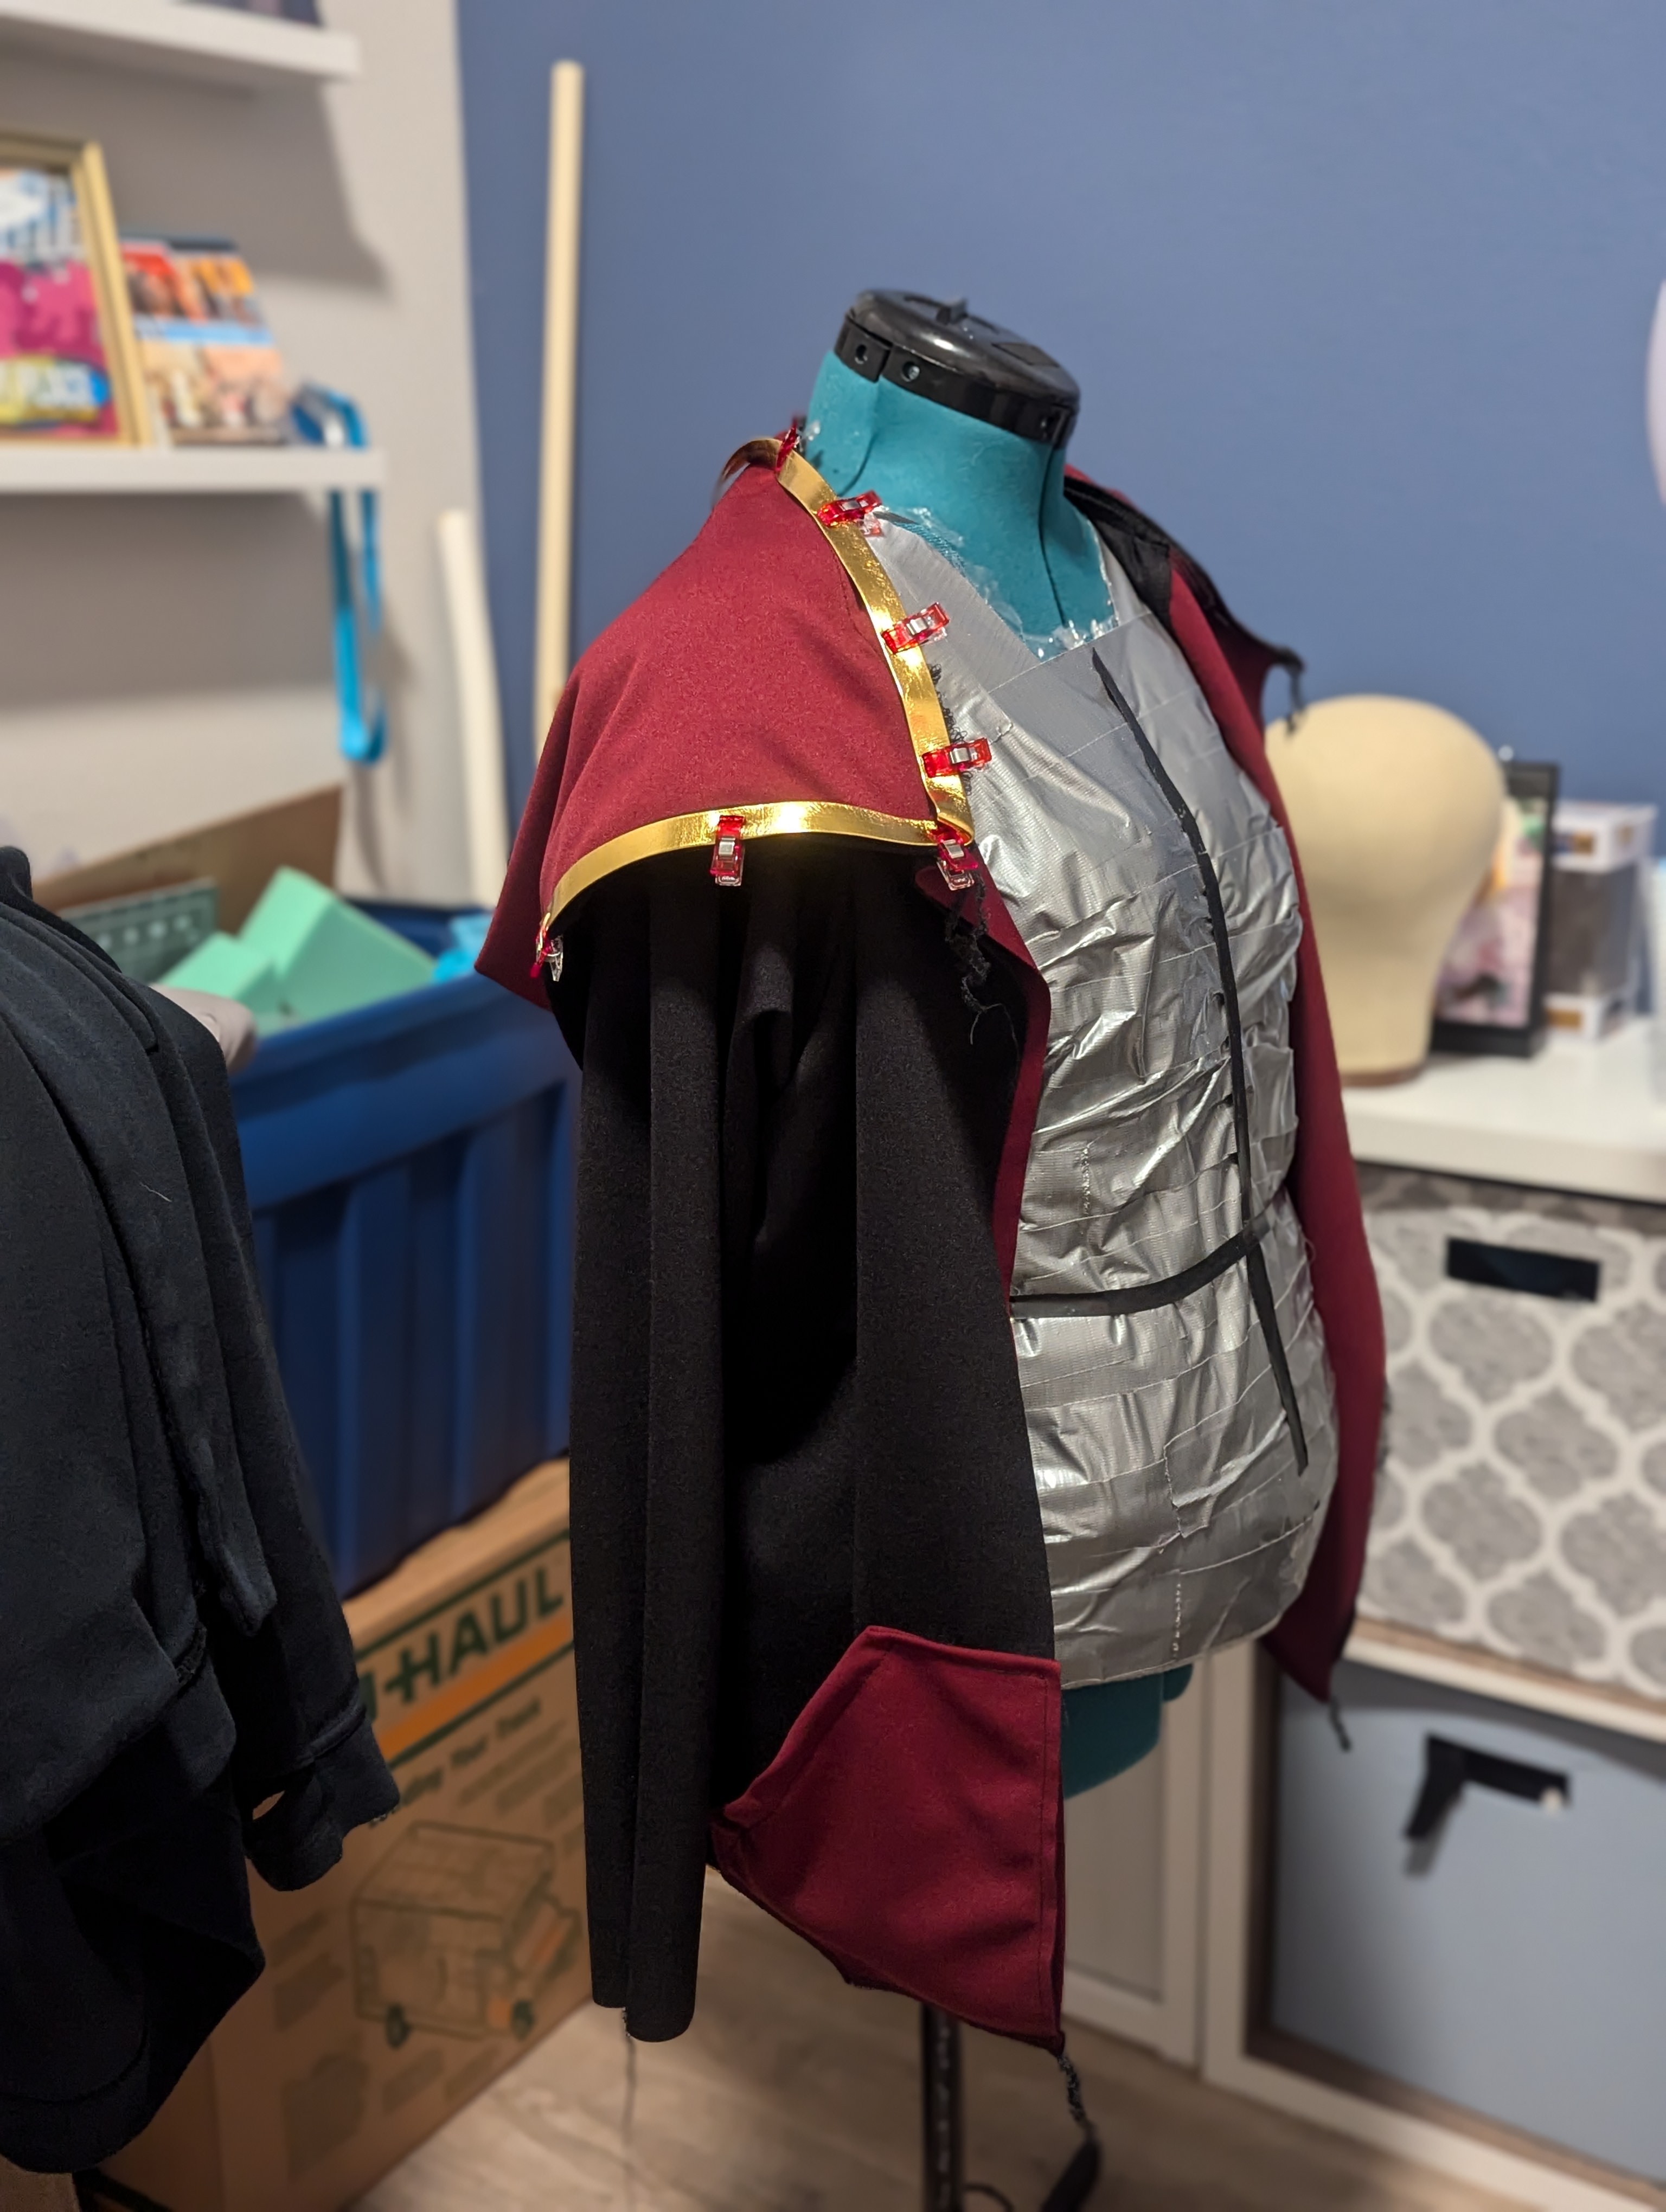
If not for the gold trim, this hoodie would’ve been done over a weekend. But, because Silco is Silco and Ashweez is Ashweez, I had to do it. After blanket stitching down one edge of the trim on the hoodie, pockets, and cuffs, I used a blind stitch to sew down the other edge and lay it flush. At this point, I ran out of trim and had to order more. But once I got more, I was able to do the bottom portion of the trim. That one required blind stitching for all sides.


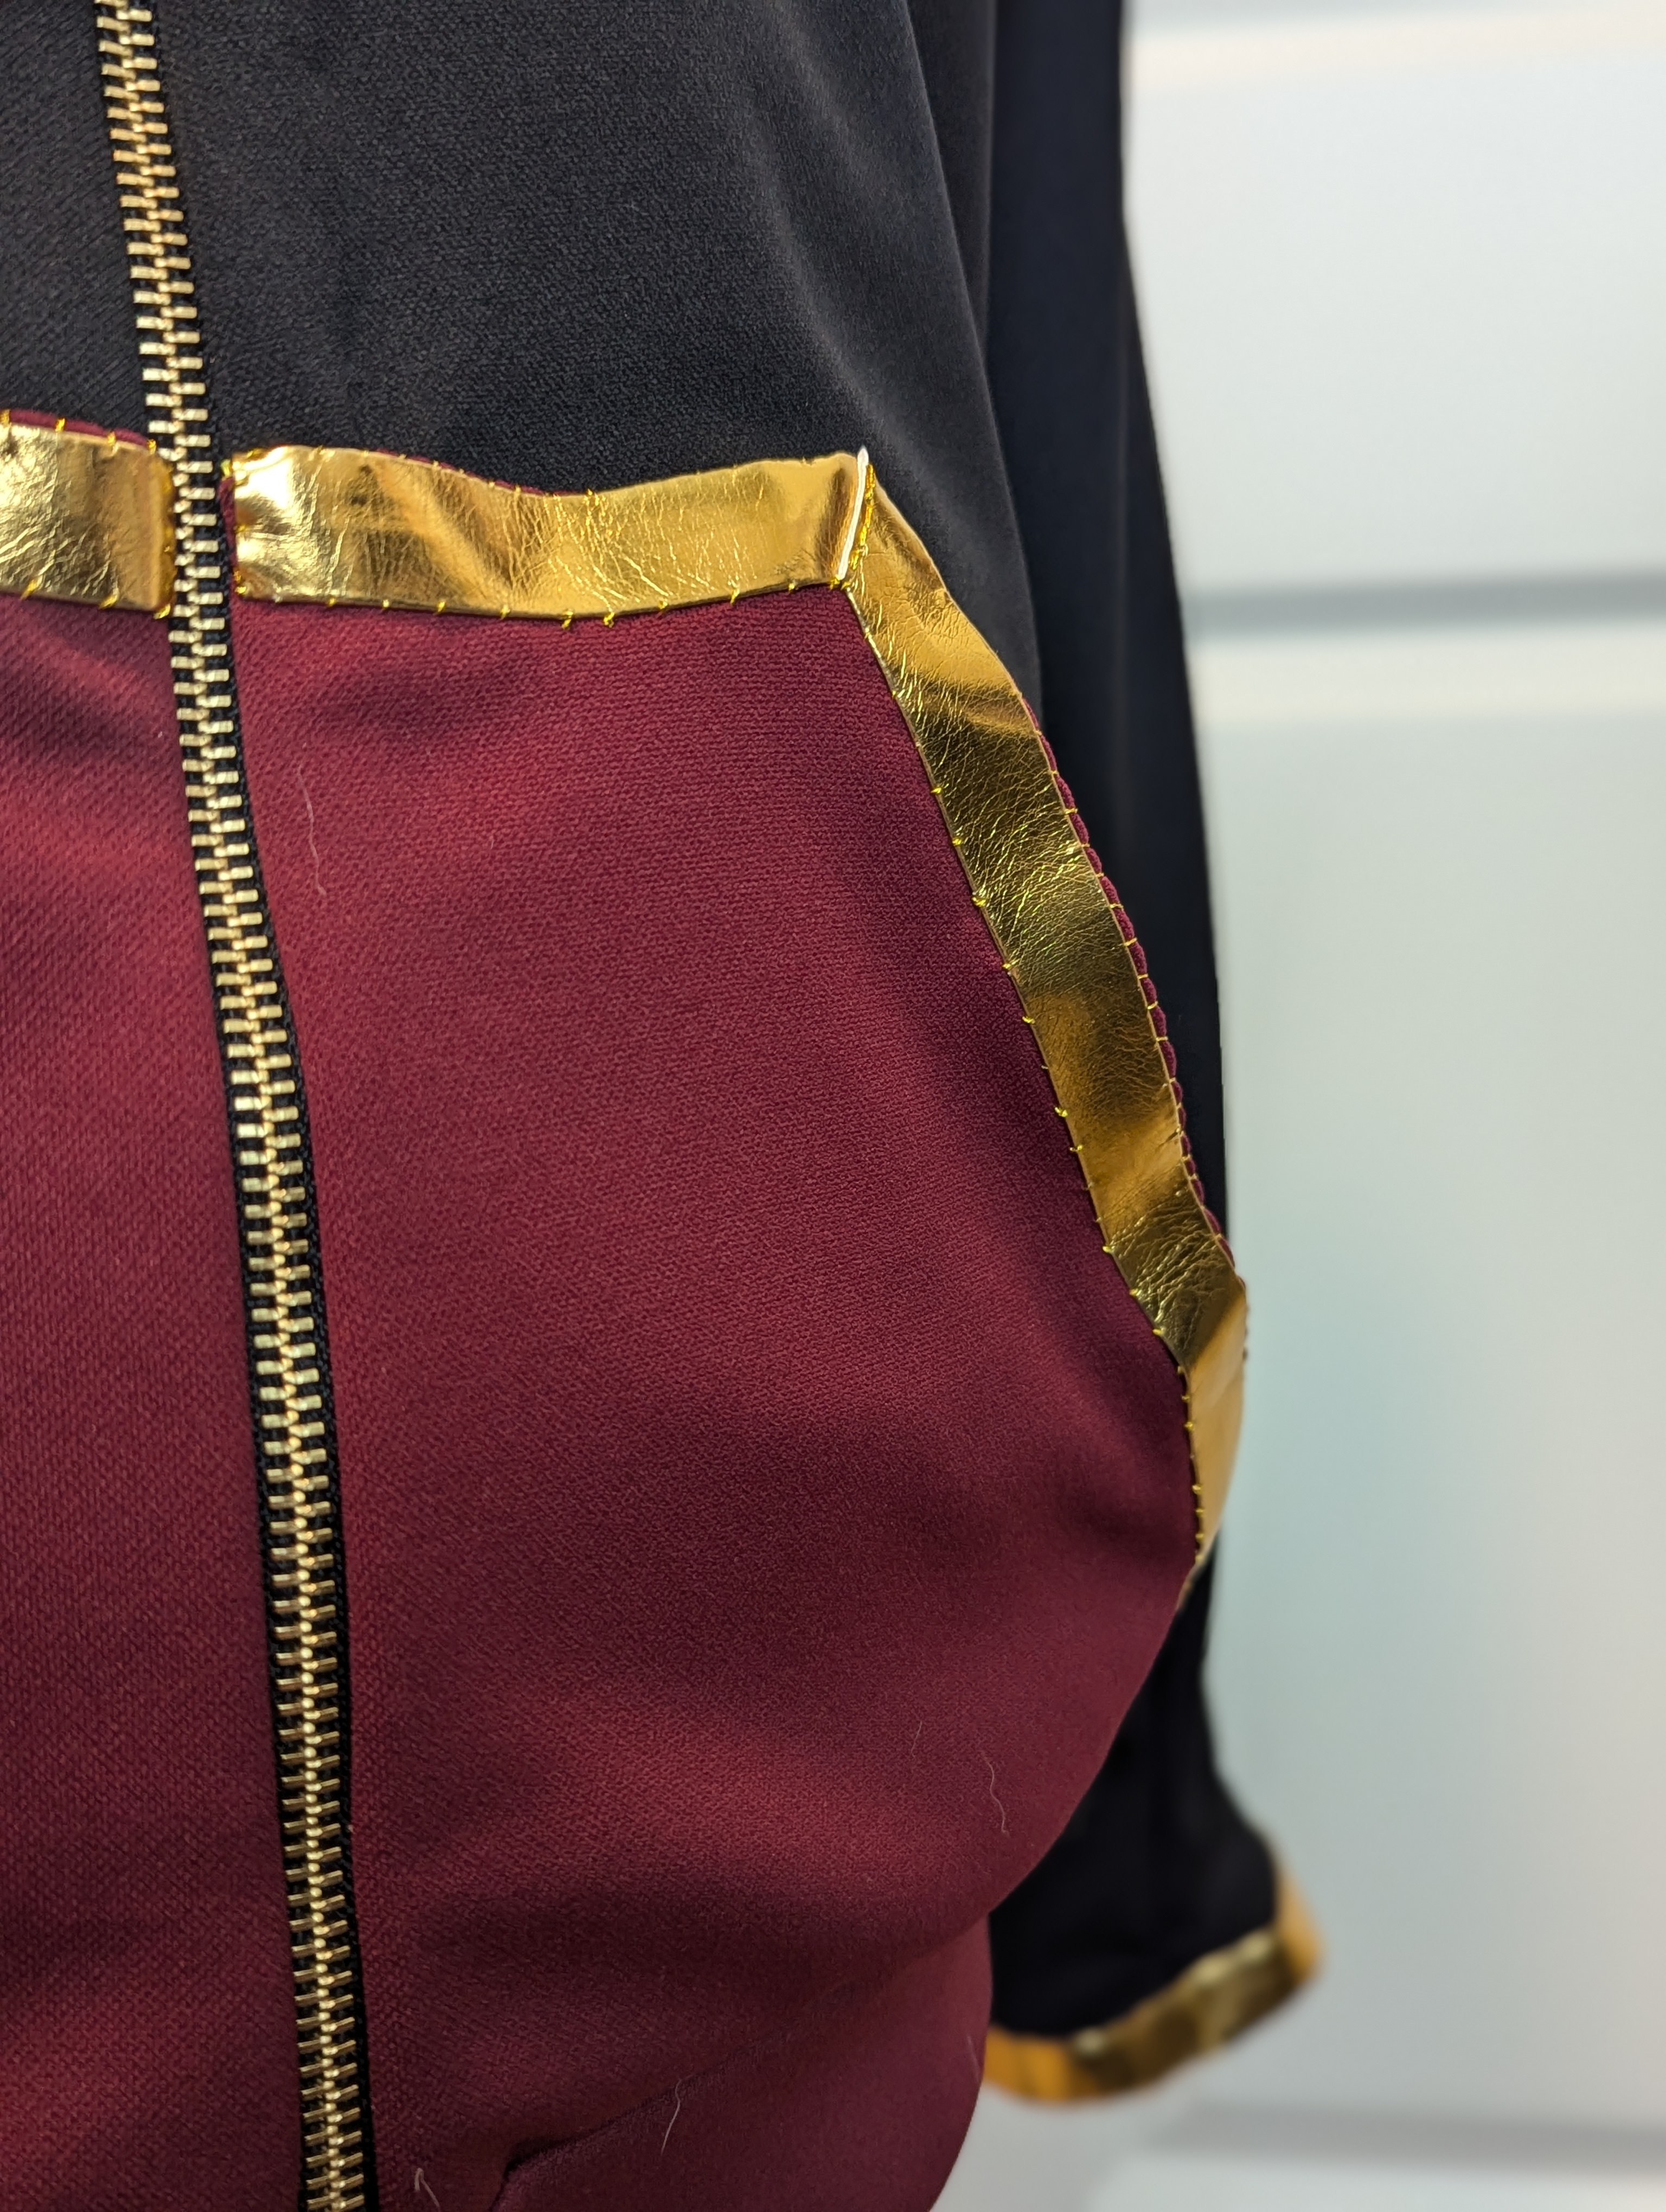
It’s All in the Details
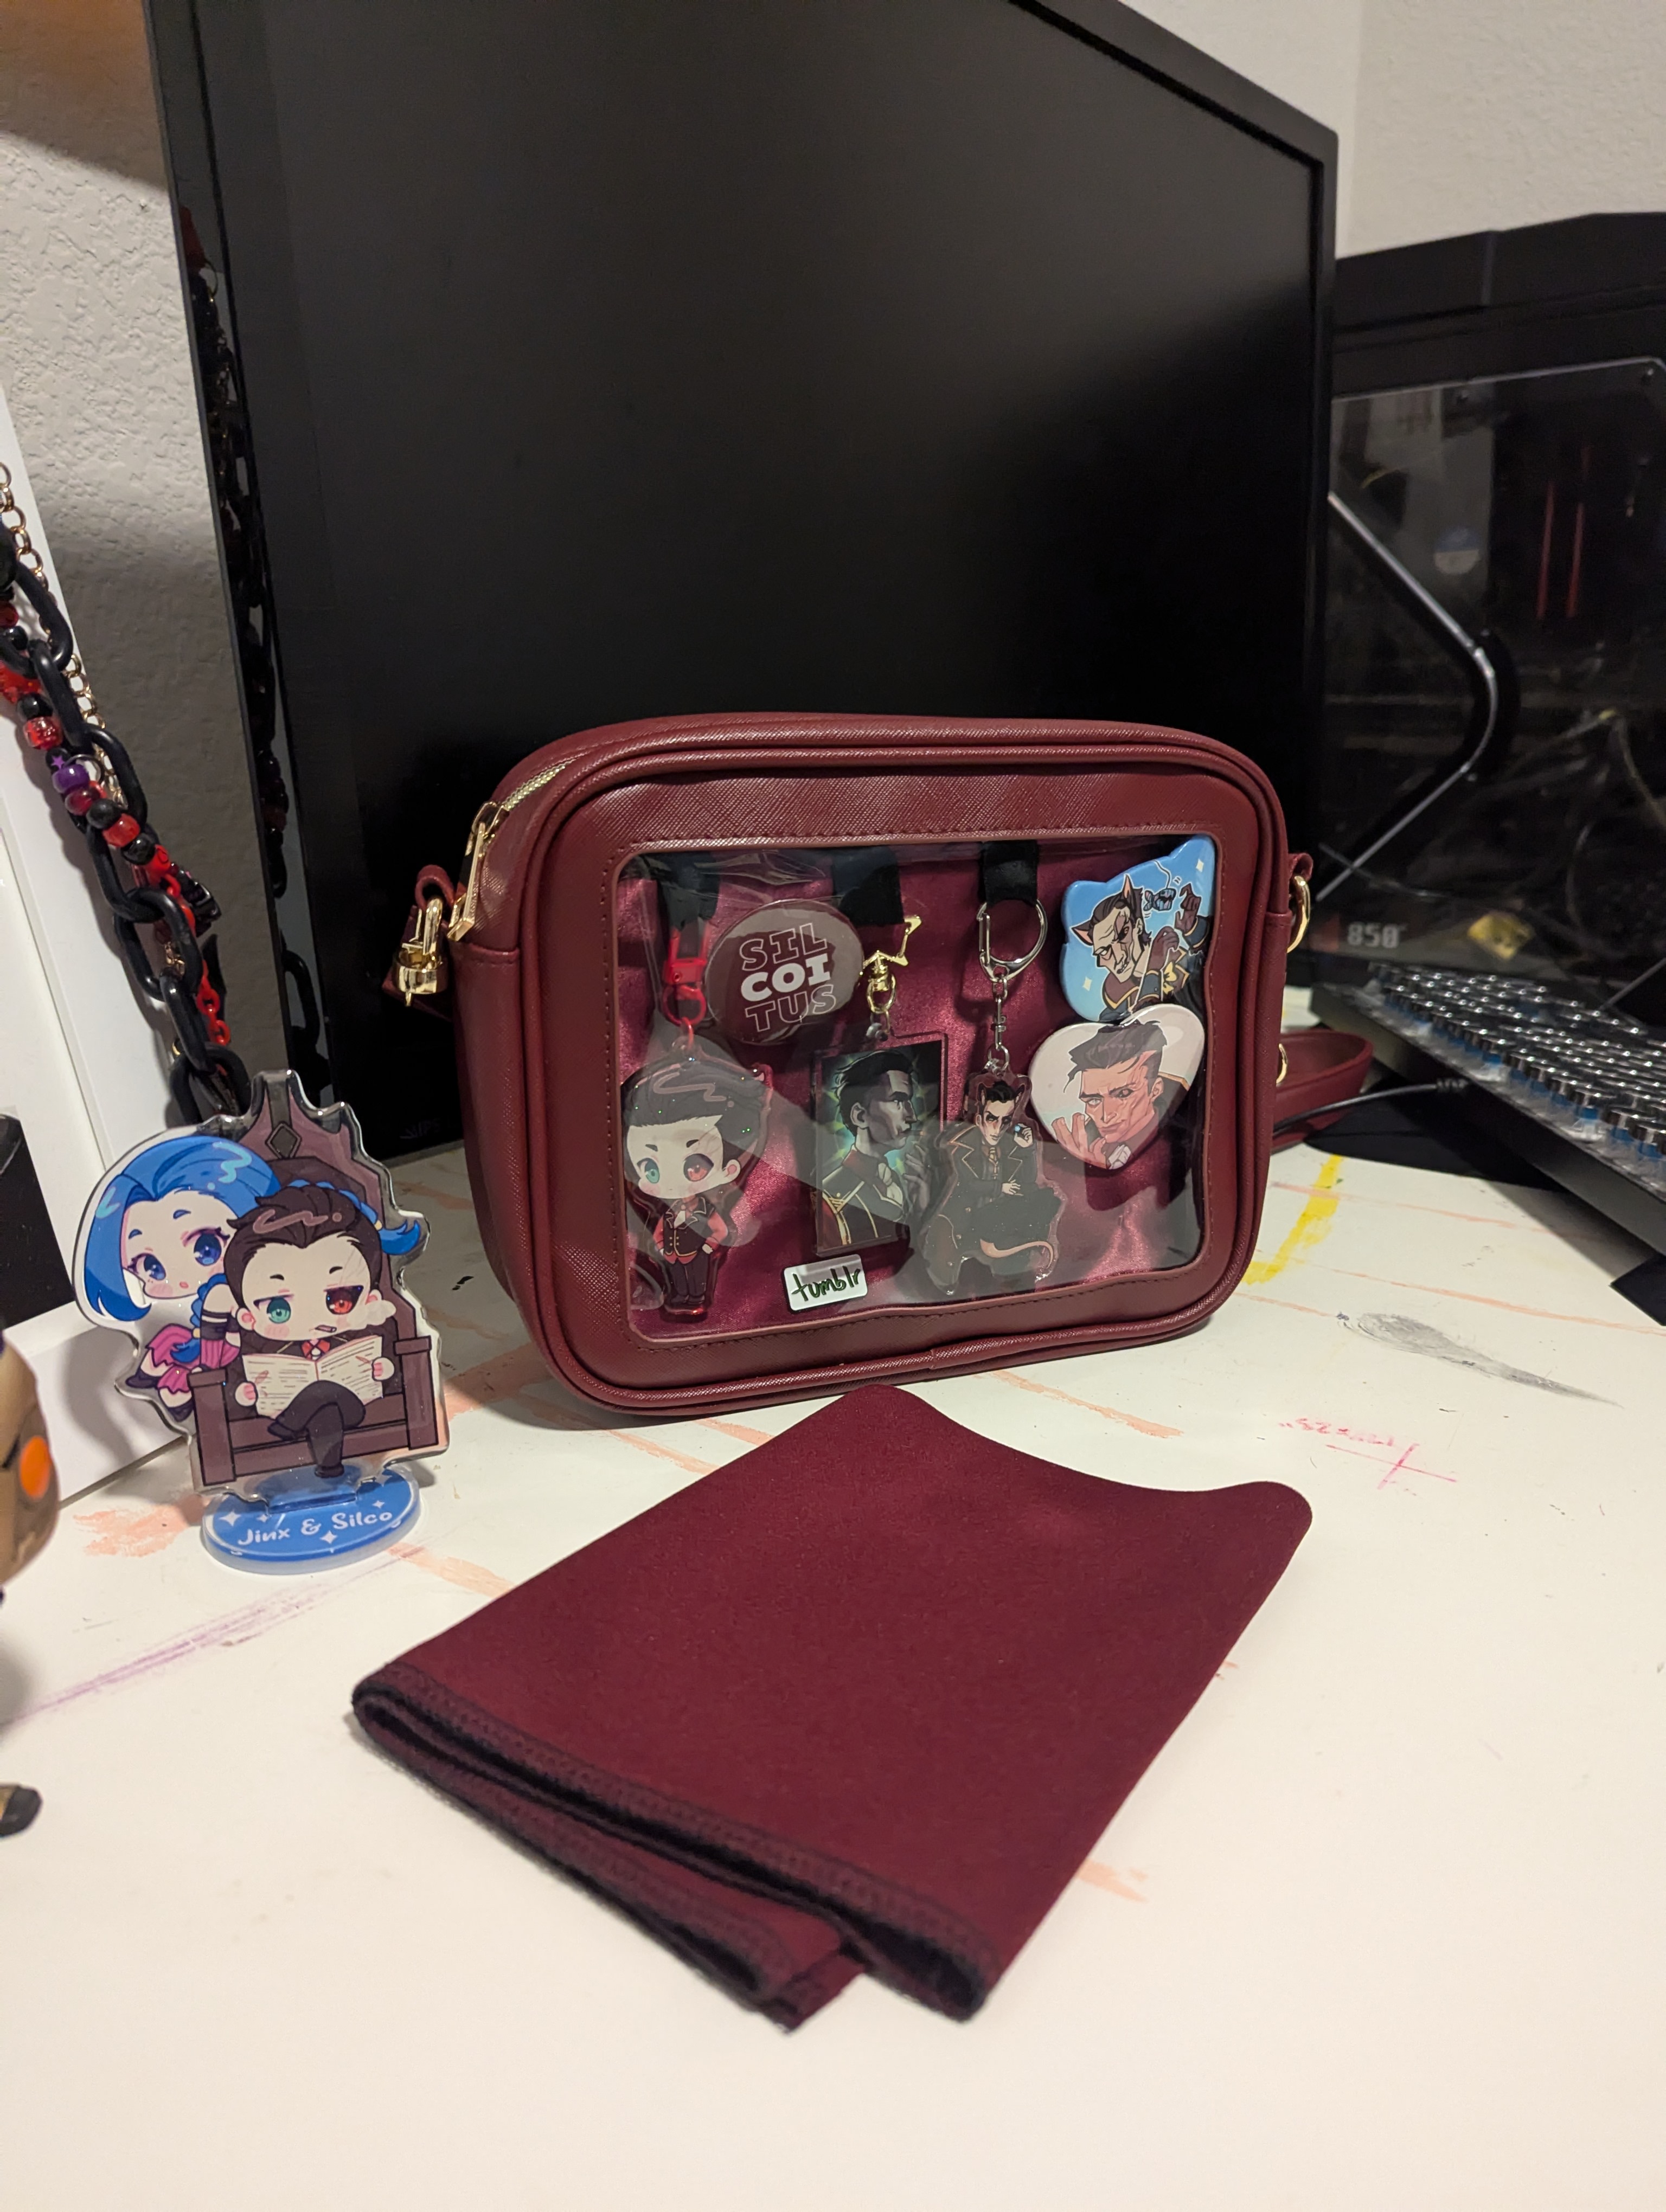
I couldn’t resist taking some detail shots of some of my favorite parts. The gold trim really sets this hoodie apart and takes it from just a cool hoodie to a Silco hoodie. And while the blanket stitching is very obvious compared to a blind stitch, I think it’s kinda cool to show off the metallic gold embroidery floss.


Conclusion
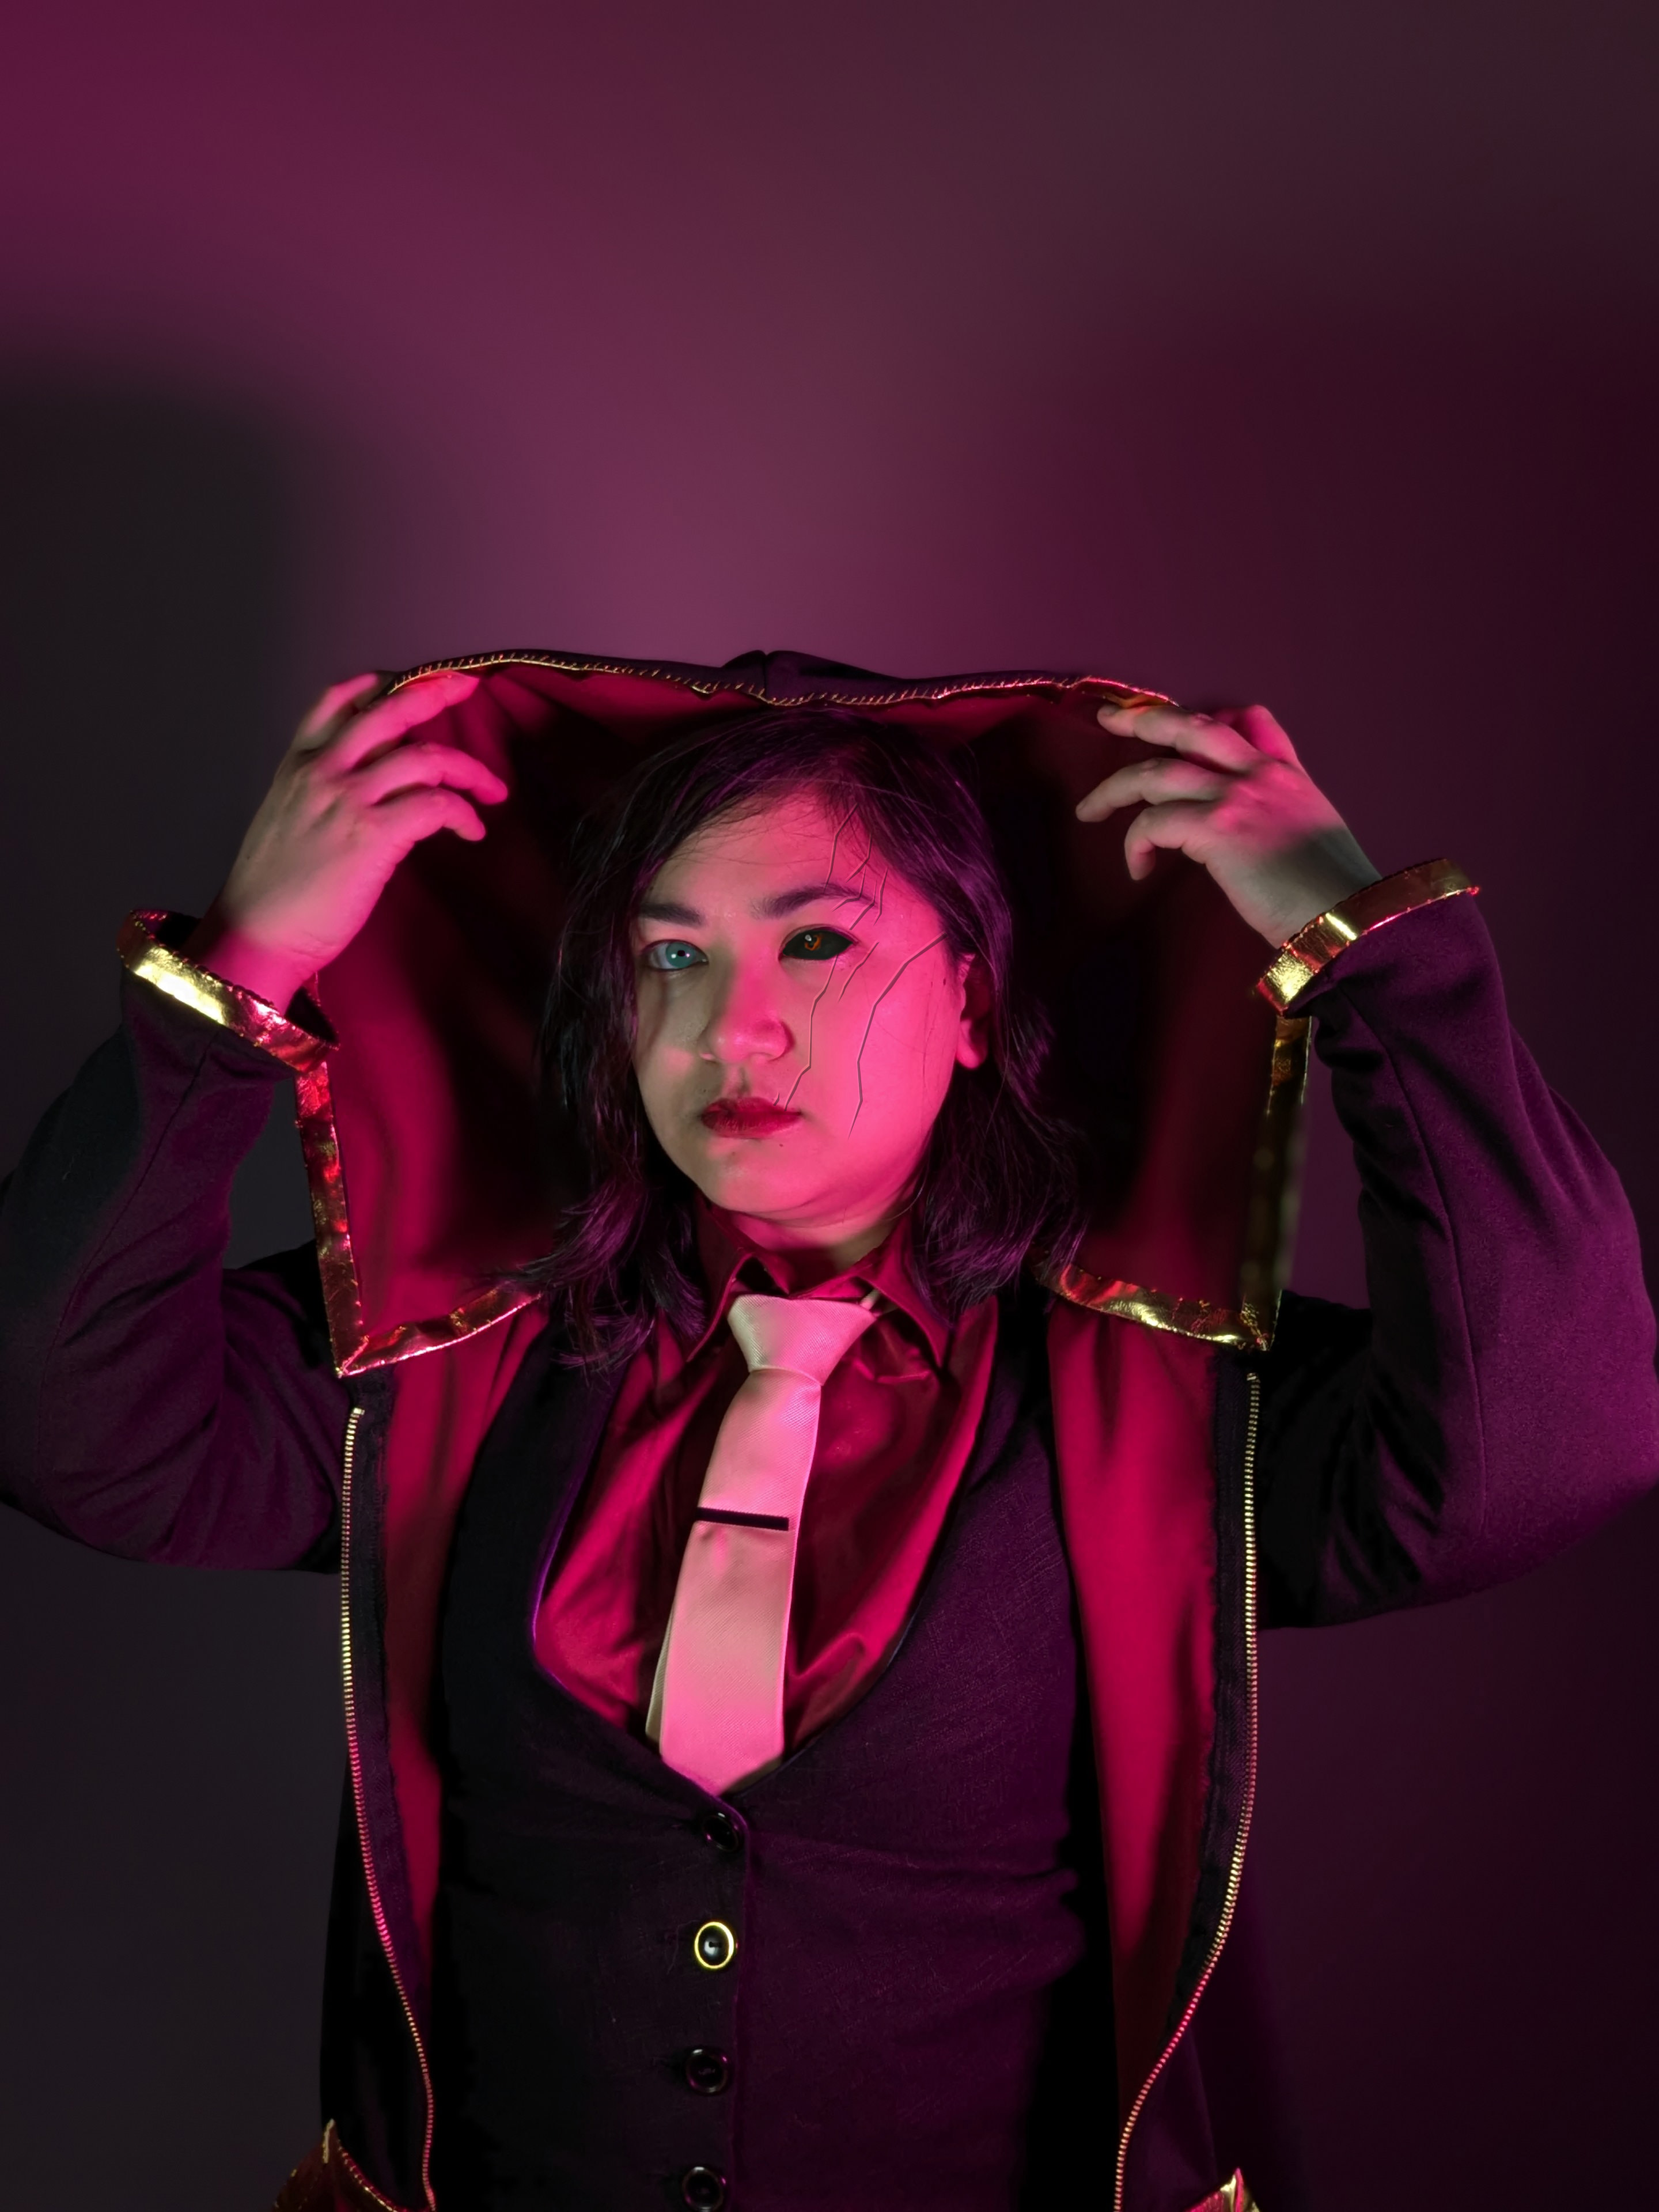
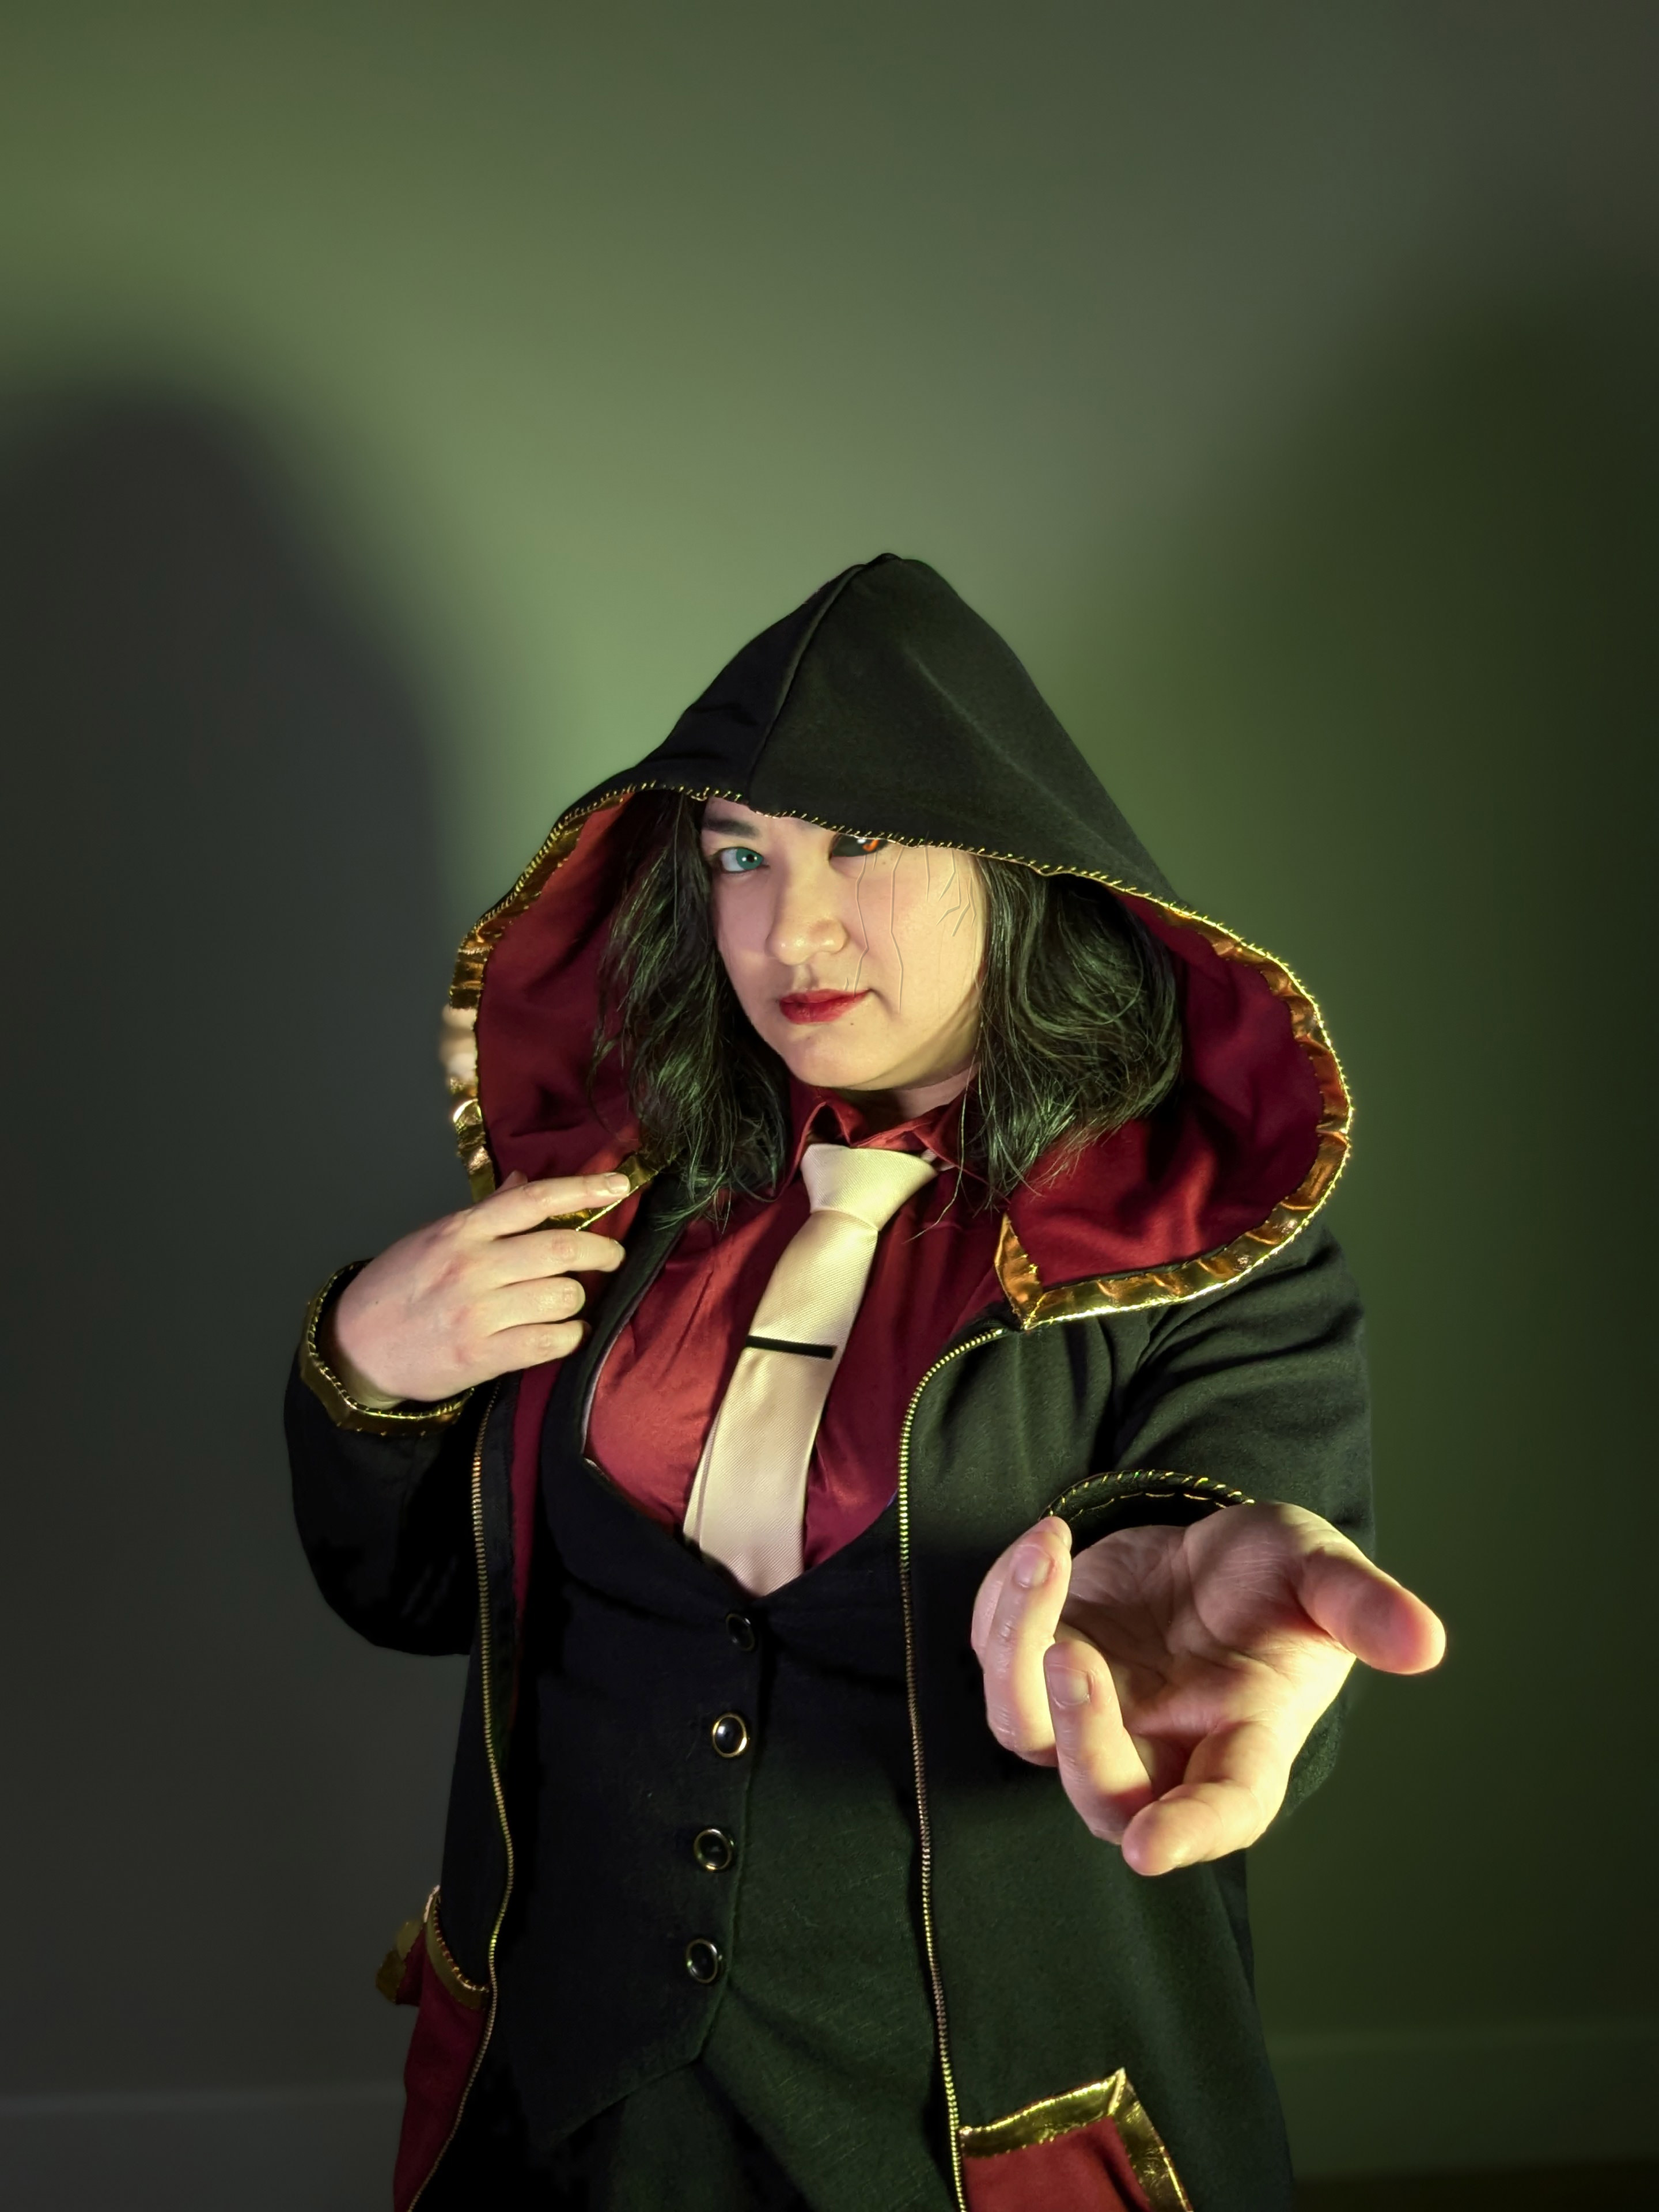
All in all, this was a pretty speedy and simple project. I really just wanted to put some hours into my serger and have something Silco-related that I could call my own. (There’s so little merch of him, I have to take what I can get!) I can’t wait to wear this hoodie to conventions and see if anyone gets it or not.

Use my build post as inspiration? Let me know!
If you followed along with my build post to help you make your cosplay, I’d love to see it! Leave me a comment or send me an email at ashweezcosplay(at)gmail(dot)com. If you’re comfortable with it, I’d love to showcase your cosplay photo(s) in the blog! I will of course give you credit and link to any socials you may have.

Leave a comment