

This was one of those cosplays that was planned months in advance but constructed over very little time. This cosplay only took 6 hours of work (spread over 3 days because I like napping on weekends lol) between the dress, lei, sash, and bandana. The process involved lots of online shopping from Amazon and getting lots of quality time with my serger.
Back in April, the Avatar: The Last Airbender Instagram account announced that they were doing a concert tour. Naturally, I wanted to go with some friends. And, also naturally, we wanted to cosplay for it. We quickly decided on the group of nomads from the episode “The Cave of Two Lovers.”
Initially, I called dibs on Lily because I liked her character design. But then, while gathering references for the cosplay, I realized Chong and Lily were married. So, I suggested I swap with ComfiiCutie since she and JCVibrant—our Chong—are dating.

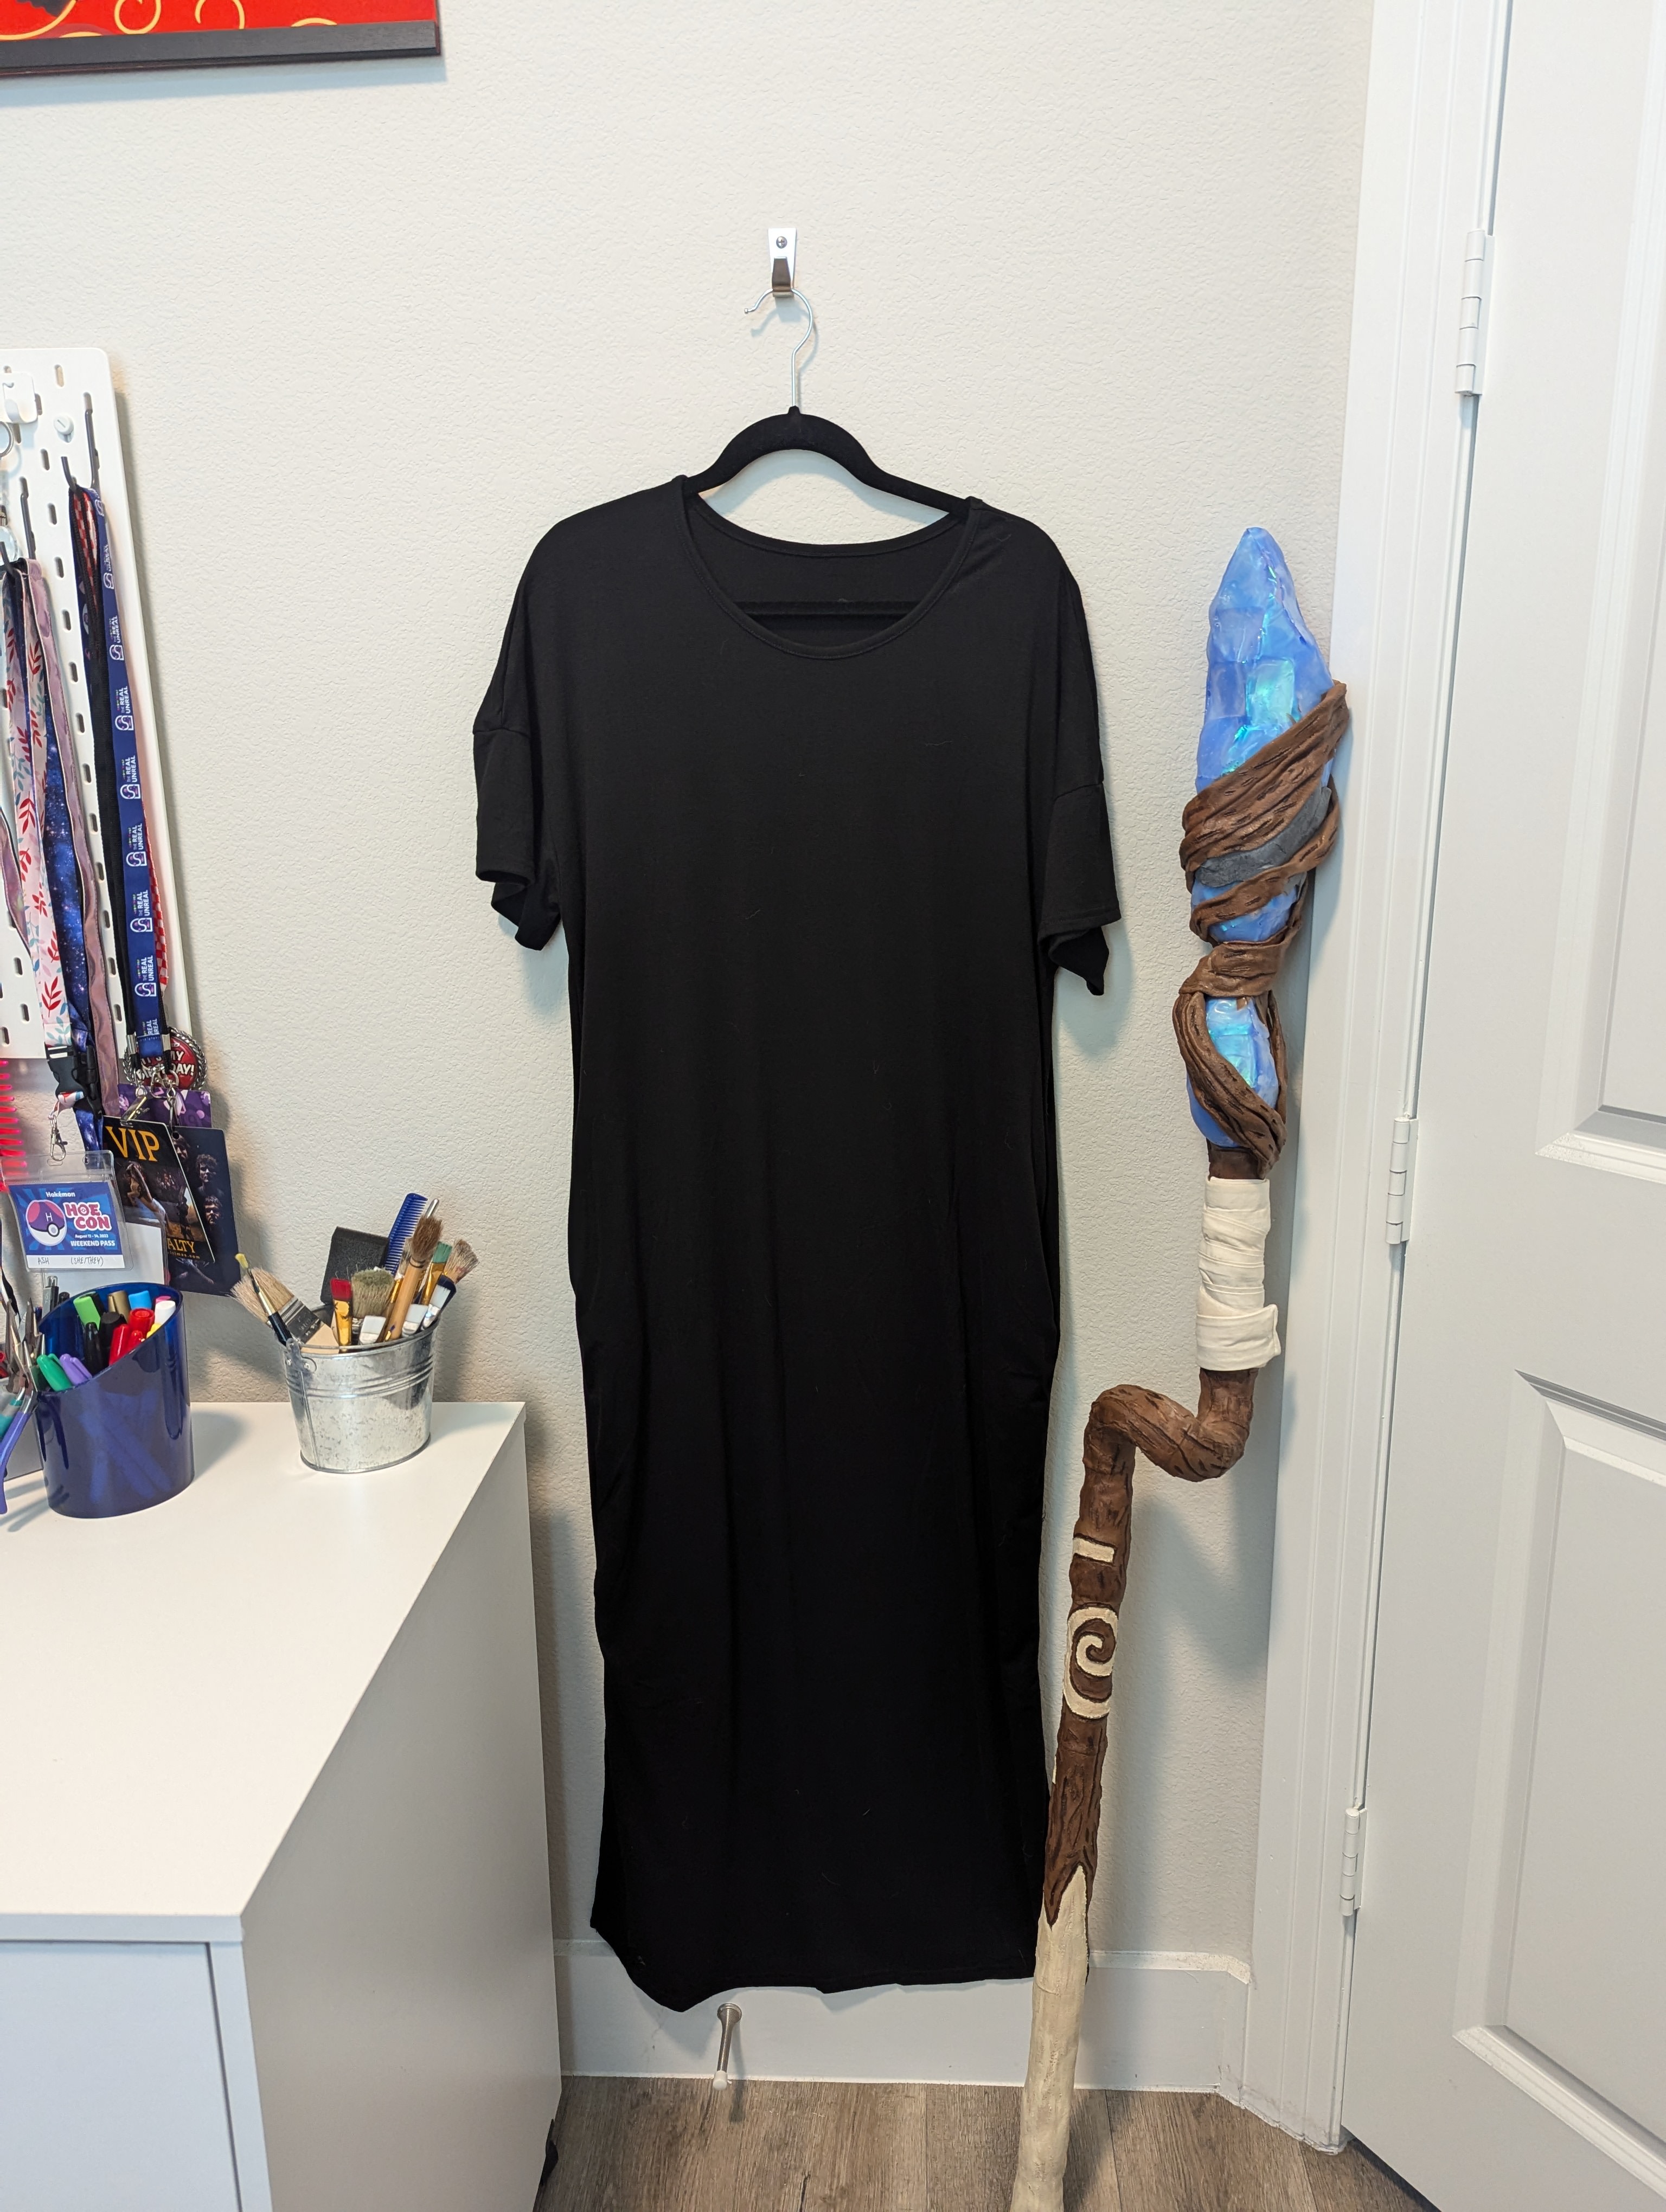
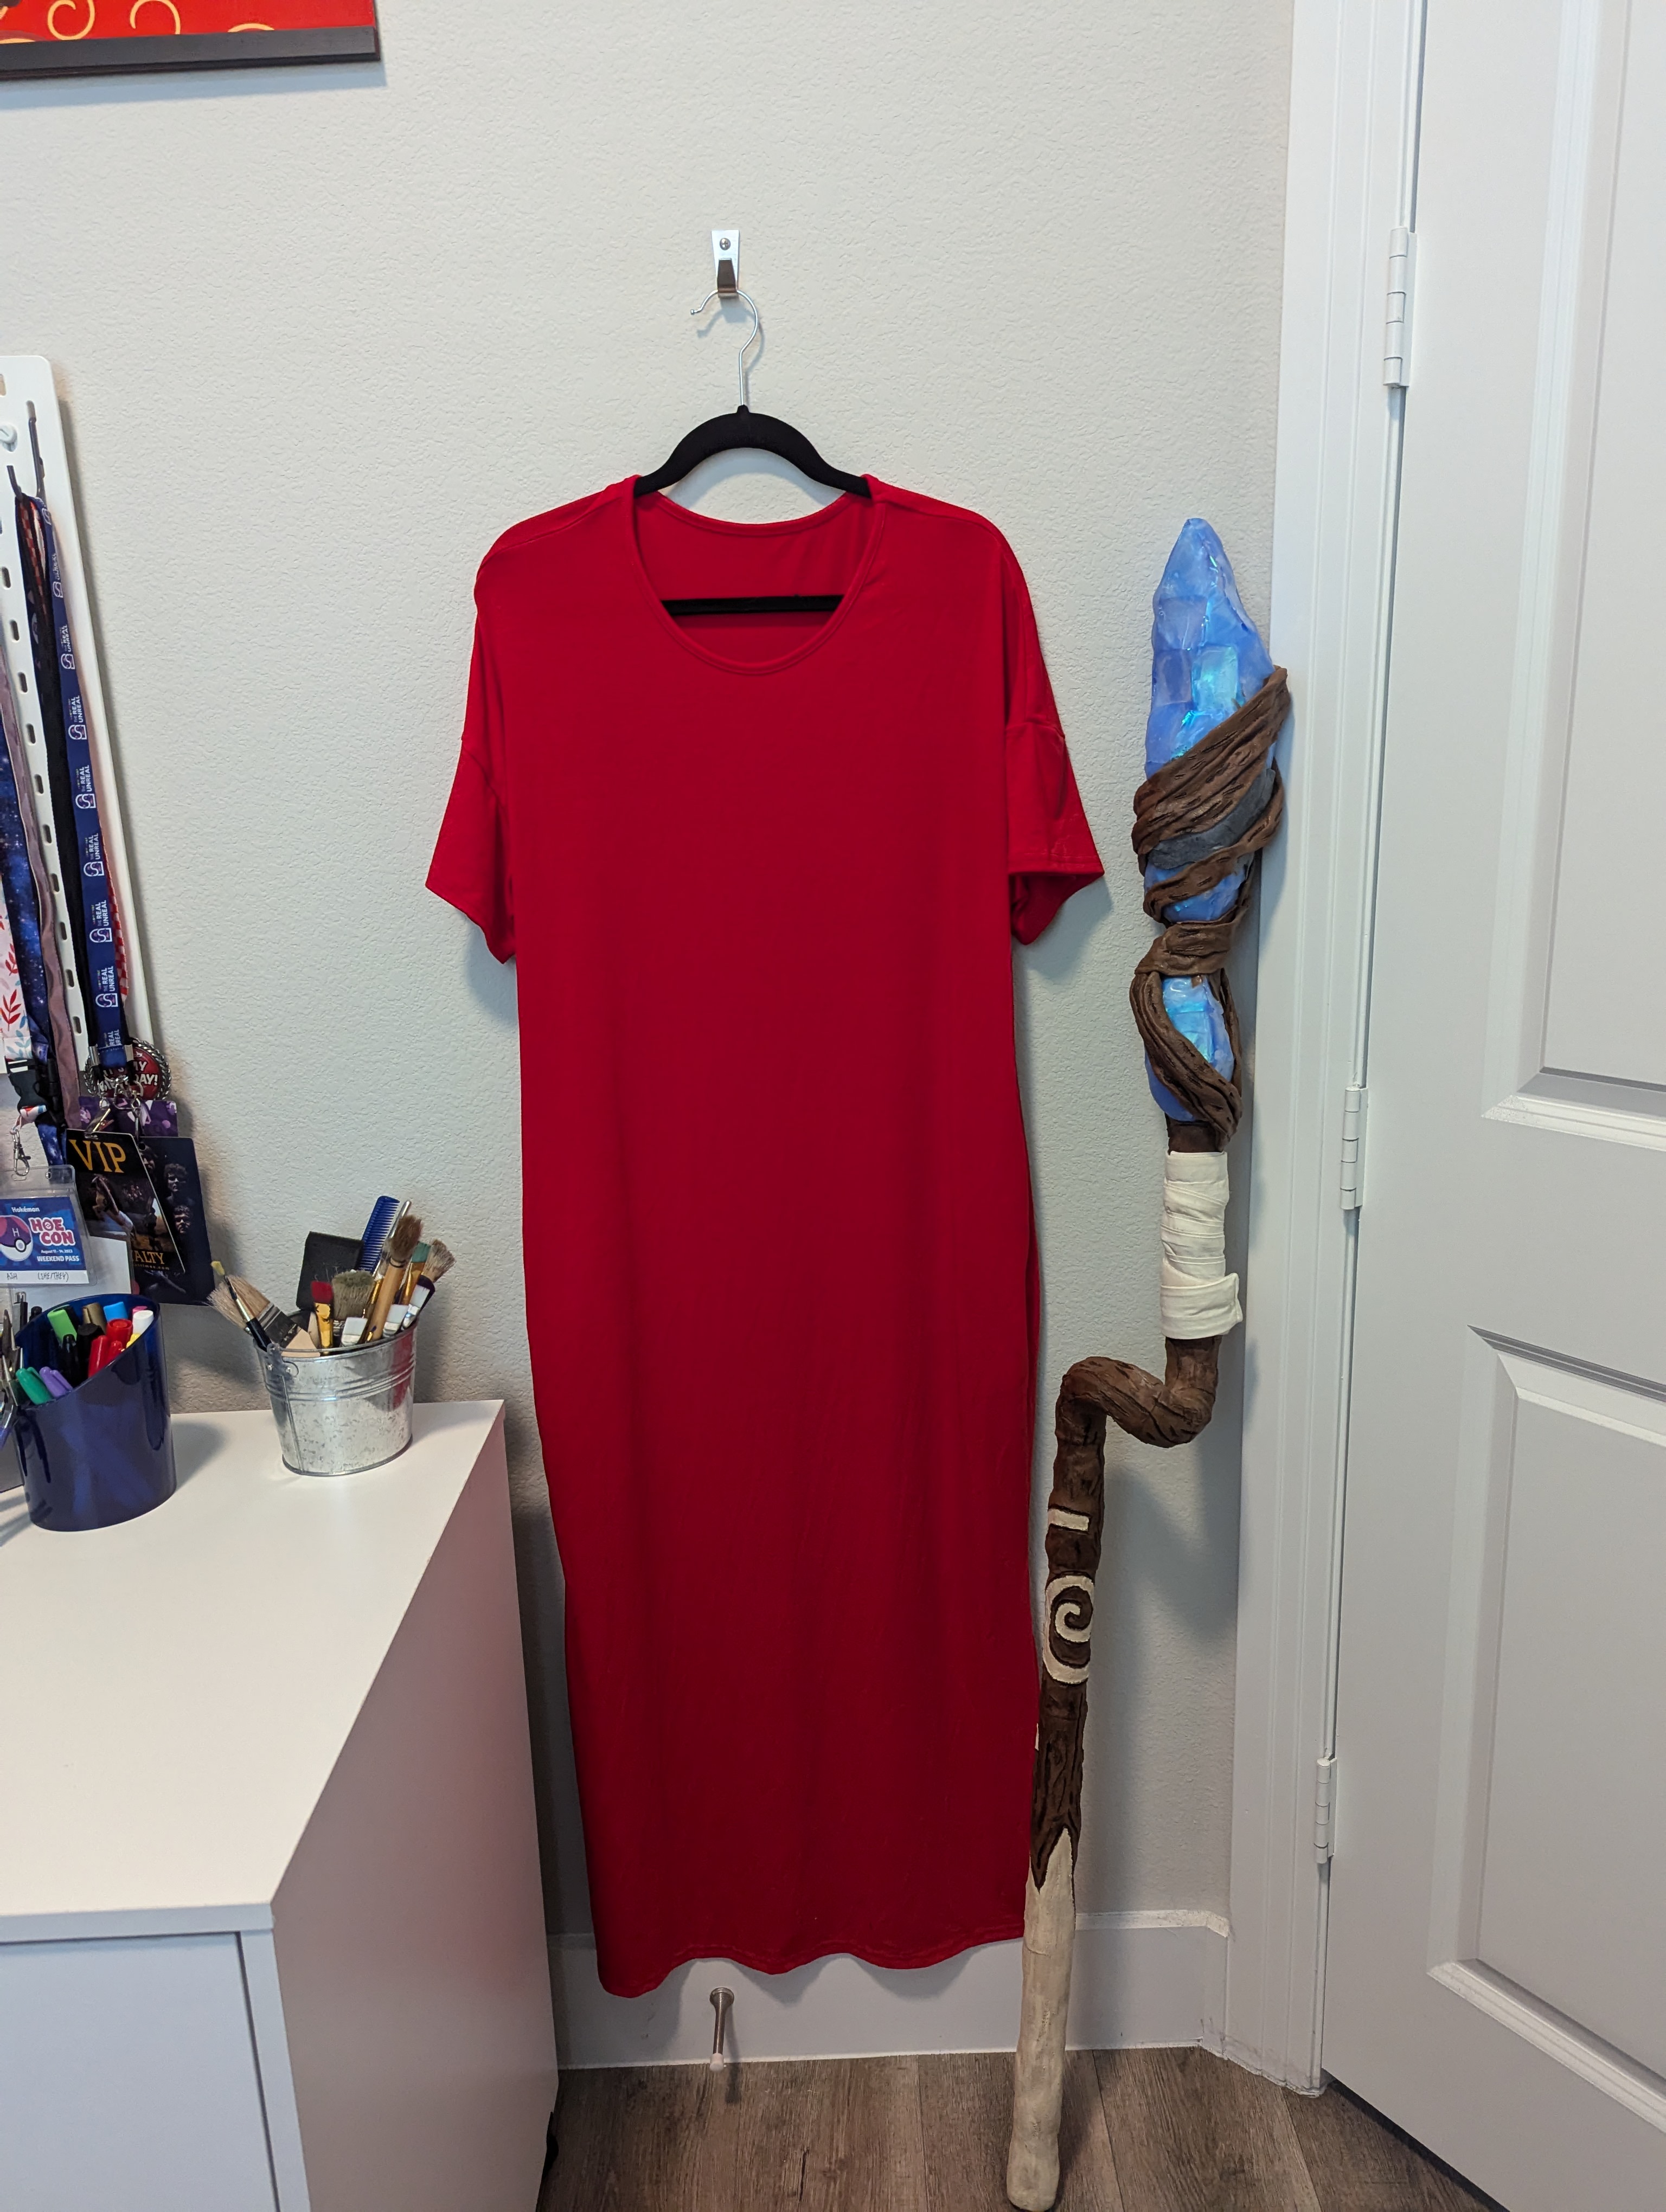
Dress
I bought two t-shirt dresses off Amazon, one red and one black. I did this rather than buy fabric because I wanted to just modify an existing dress that fits me already. And I bought two of the exact same so that they’d be the exact same material, size, and cut.
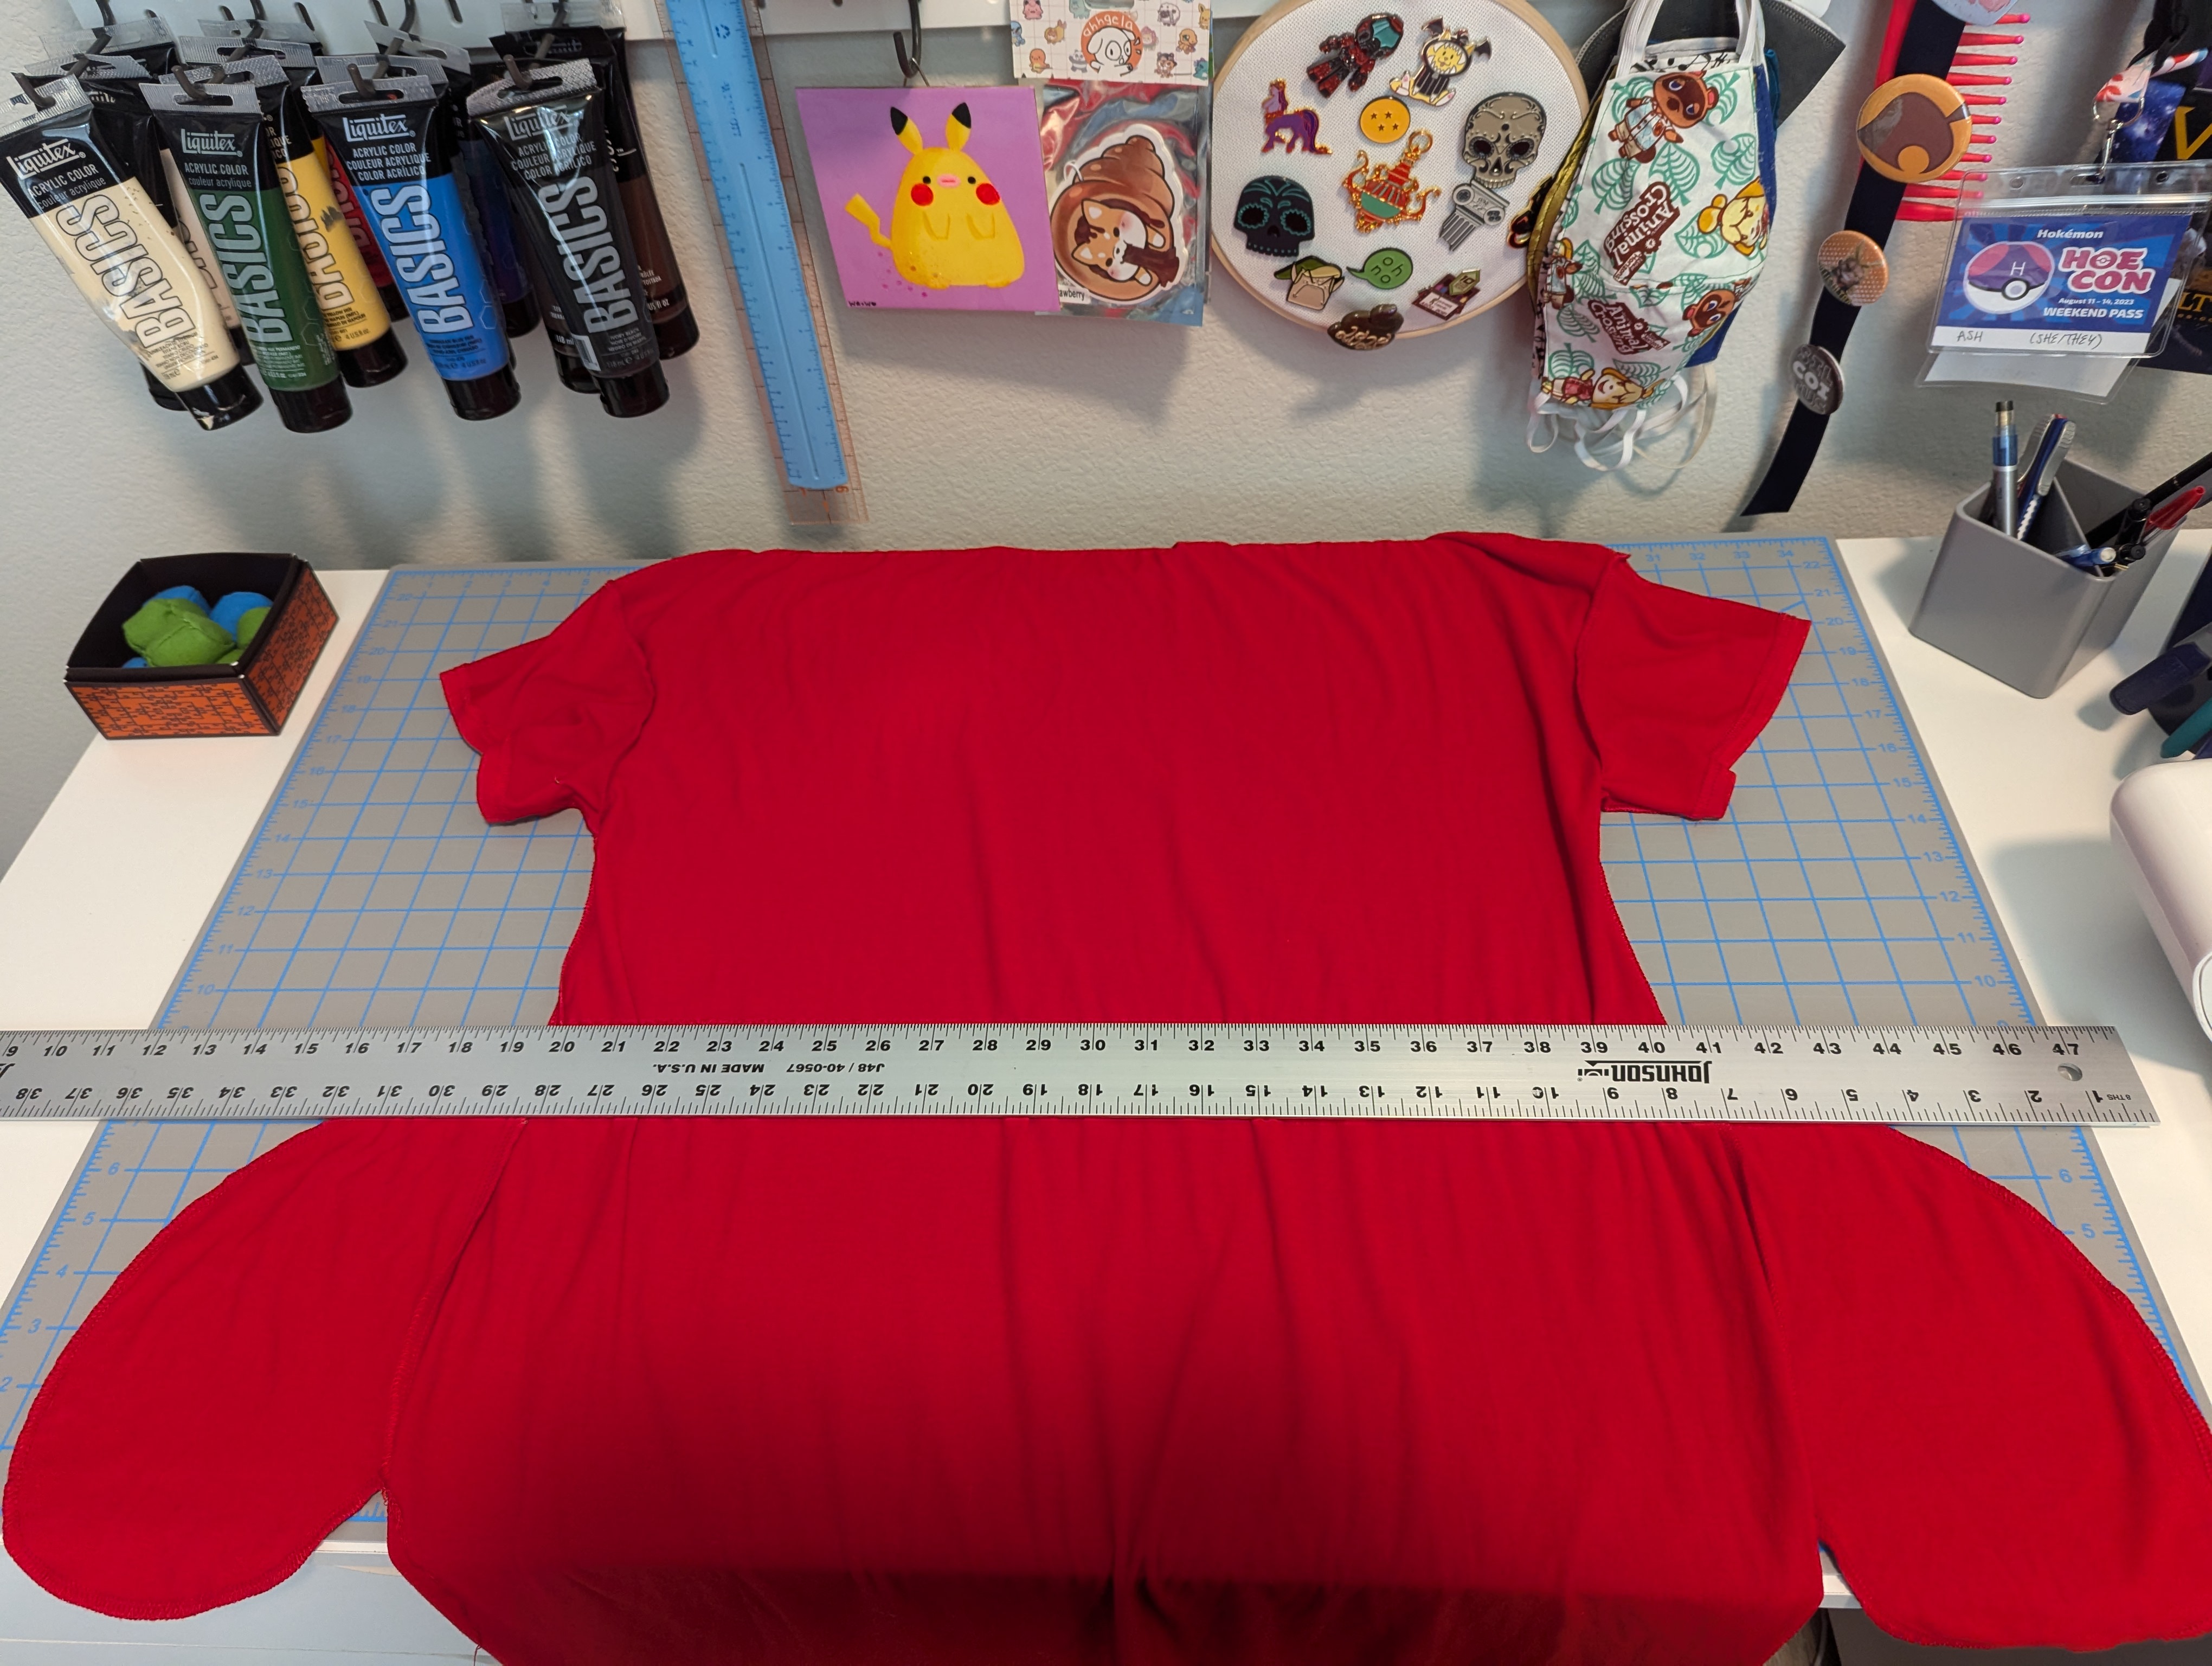
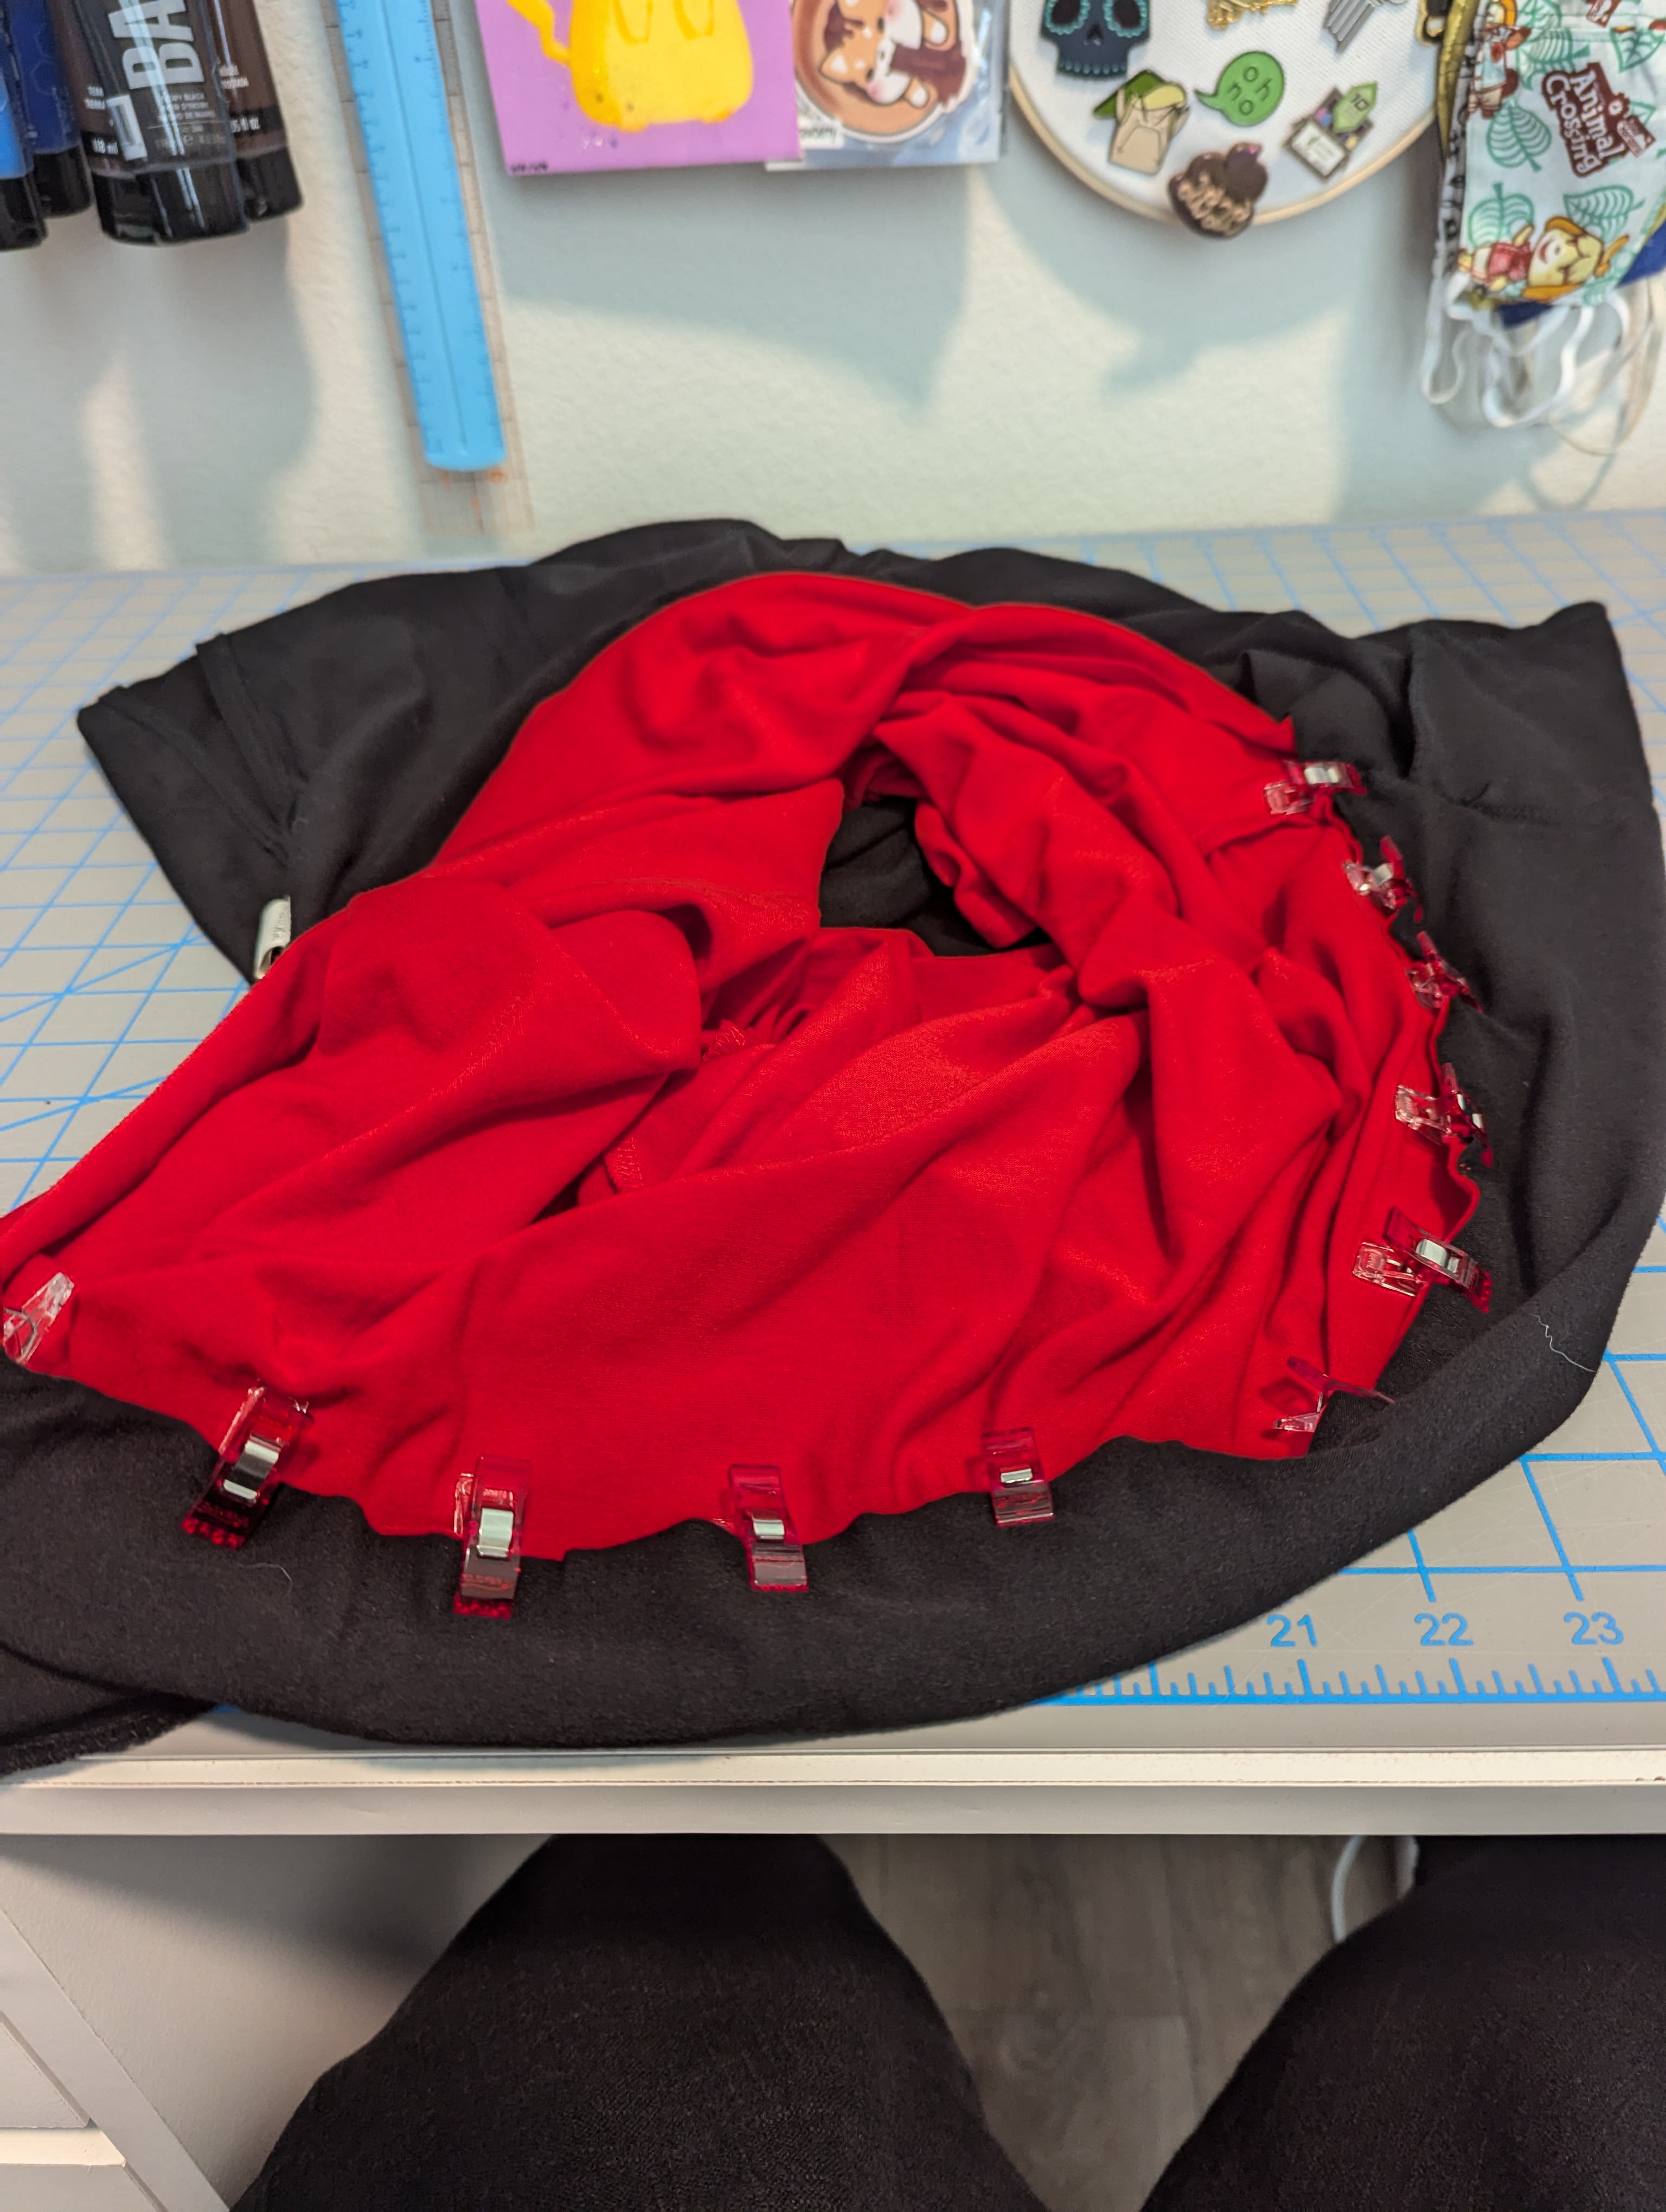
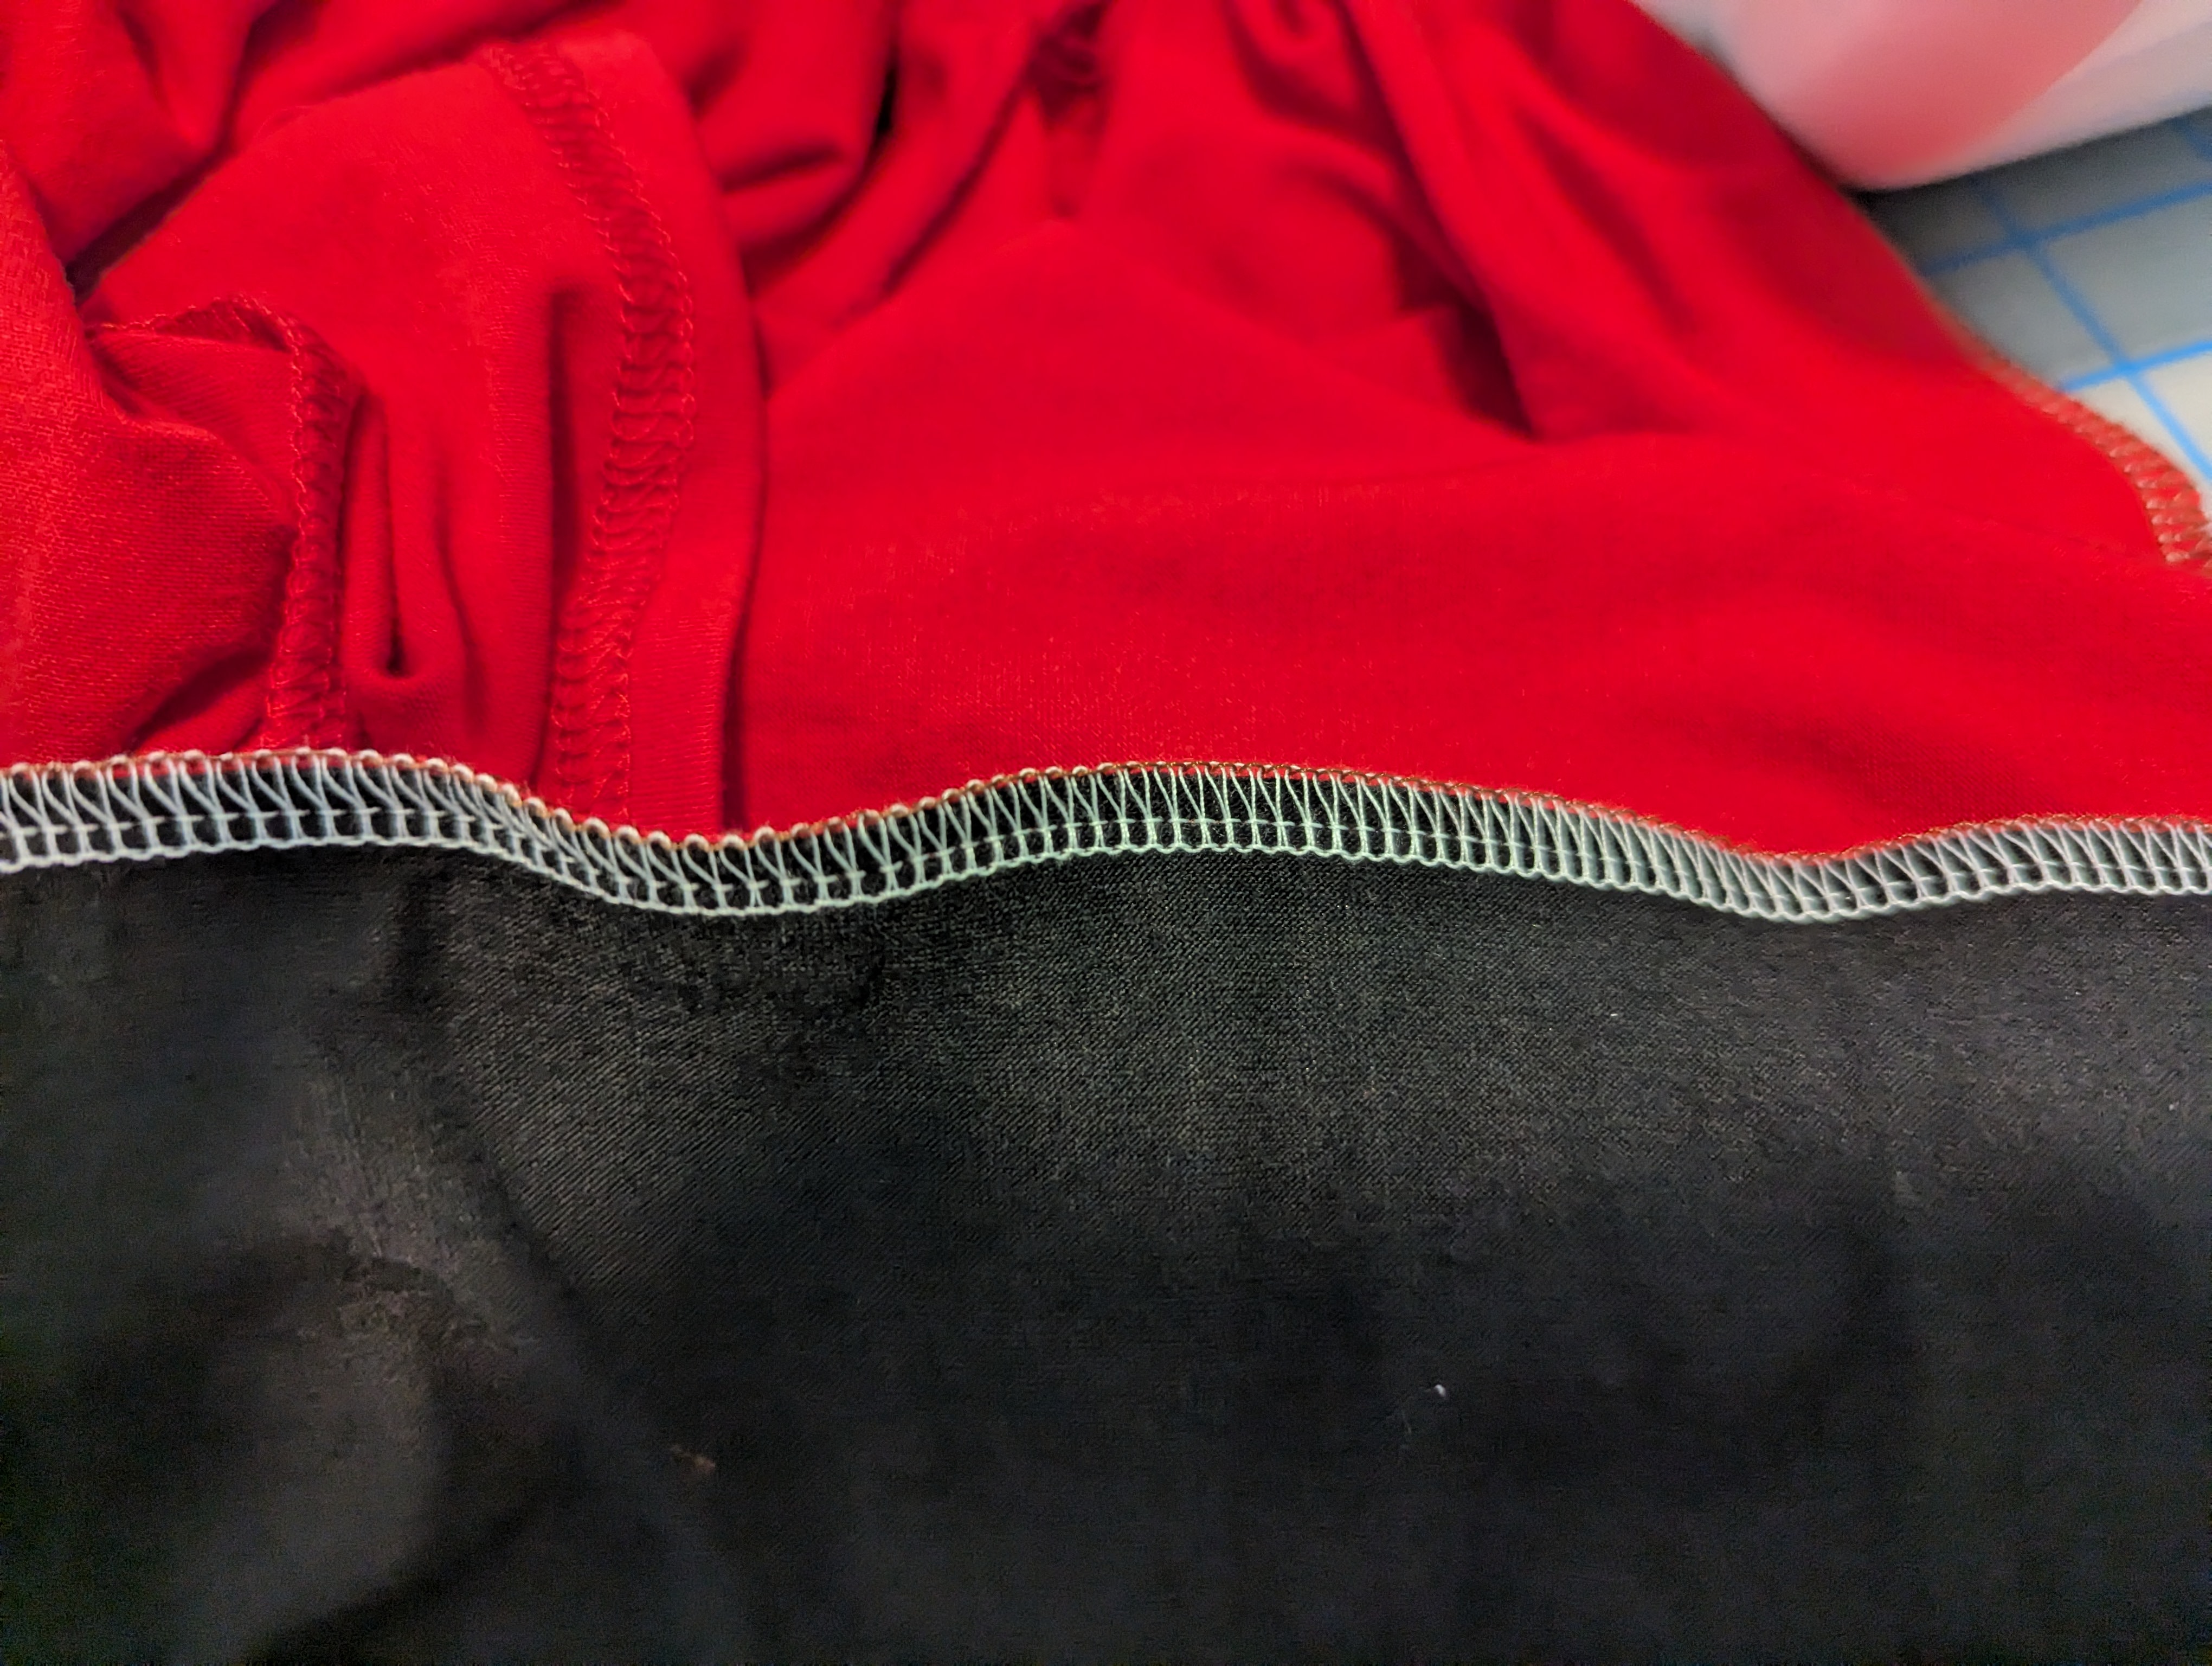
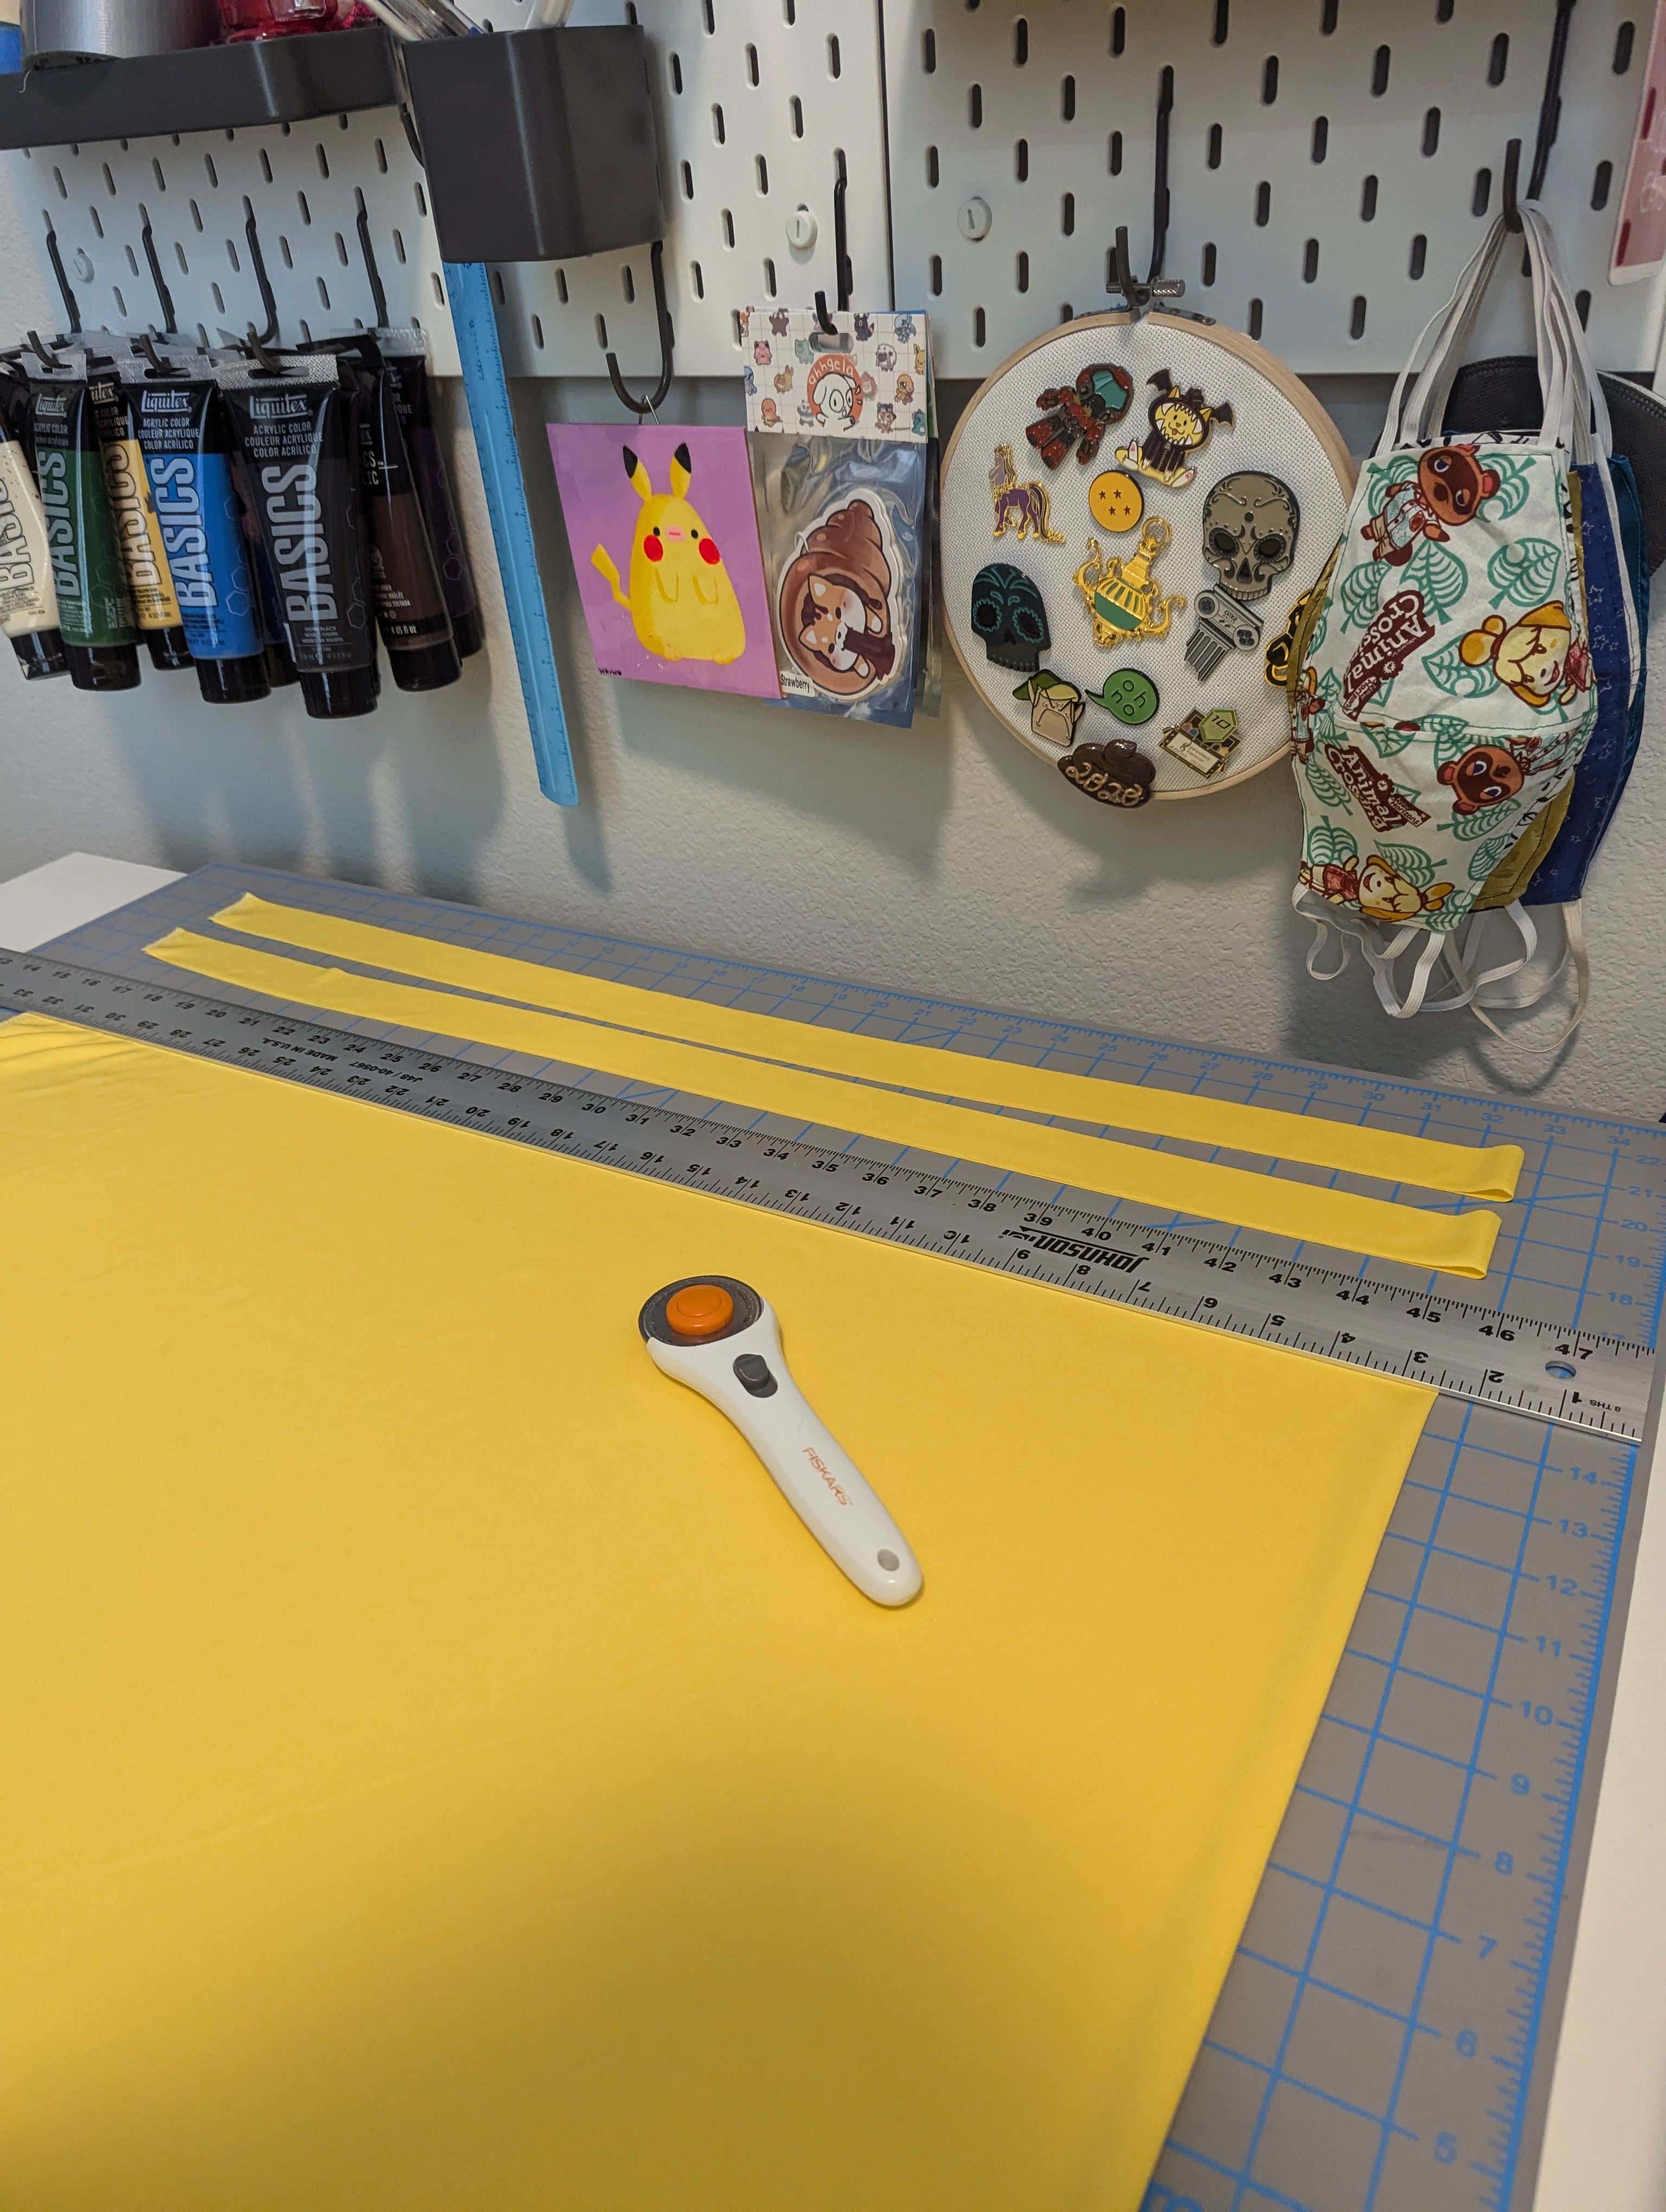
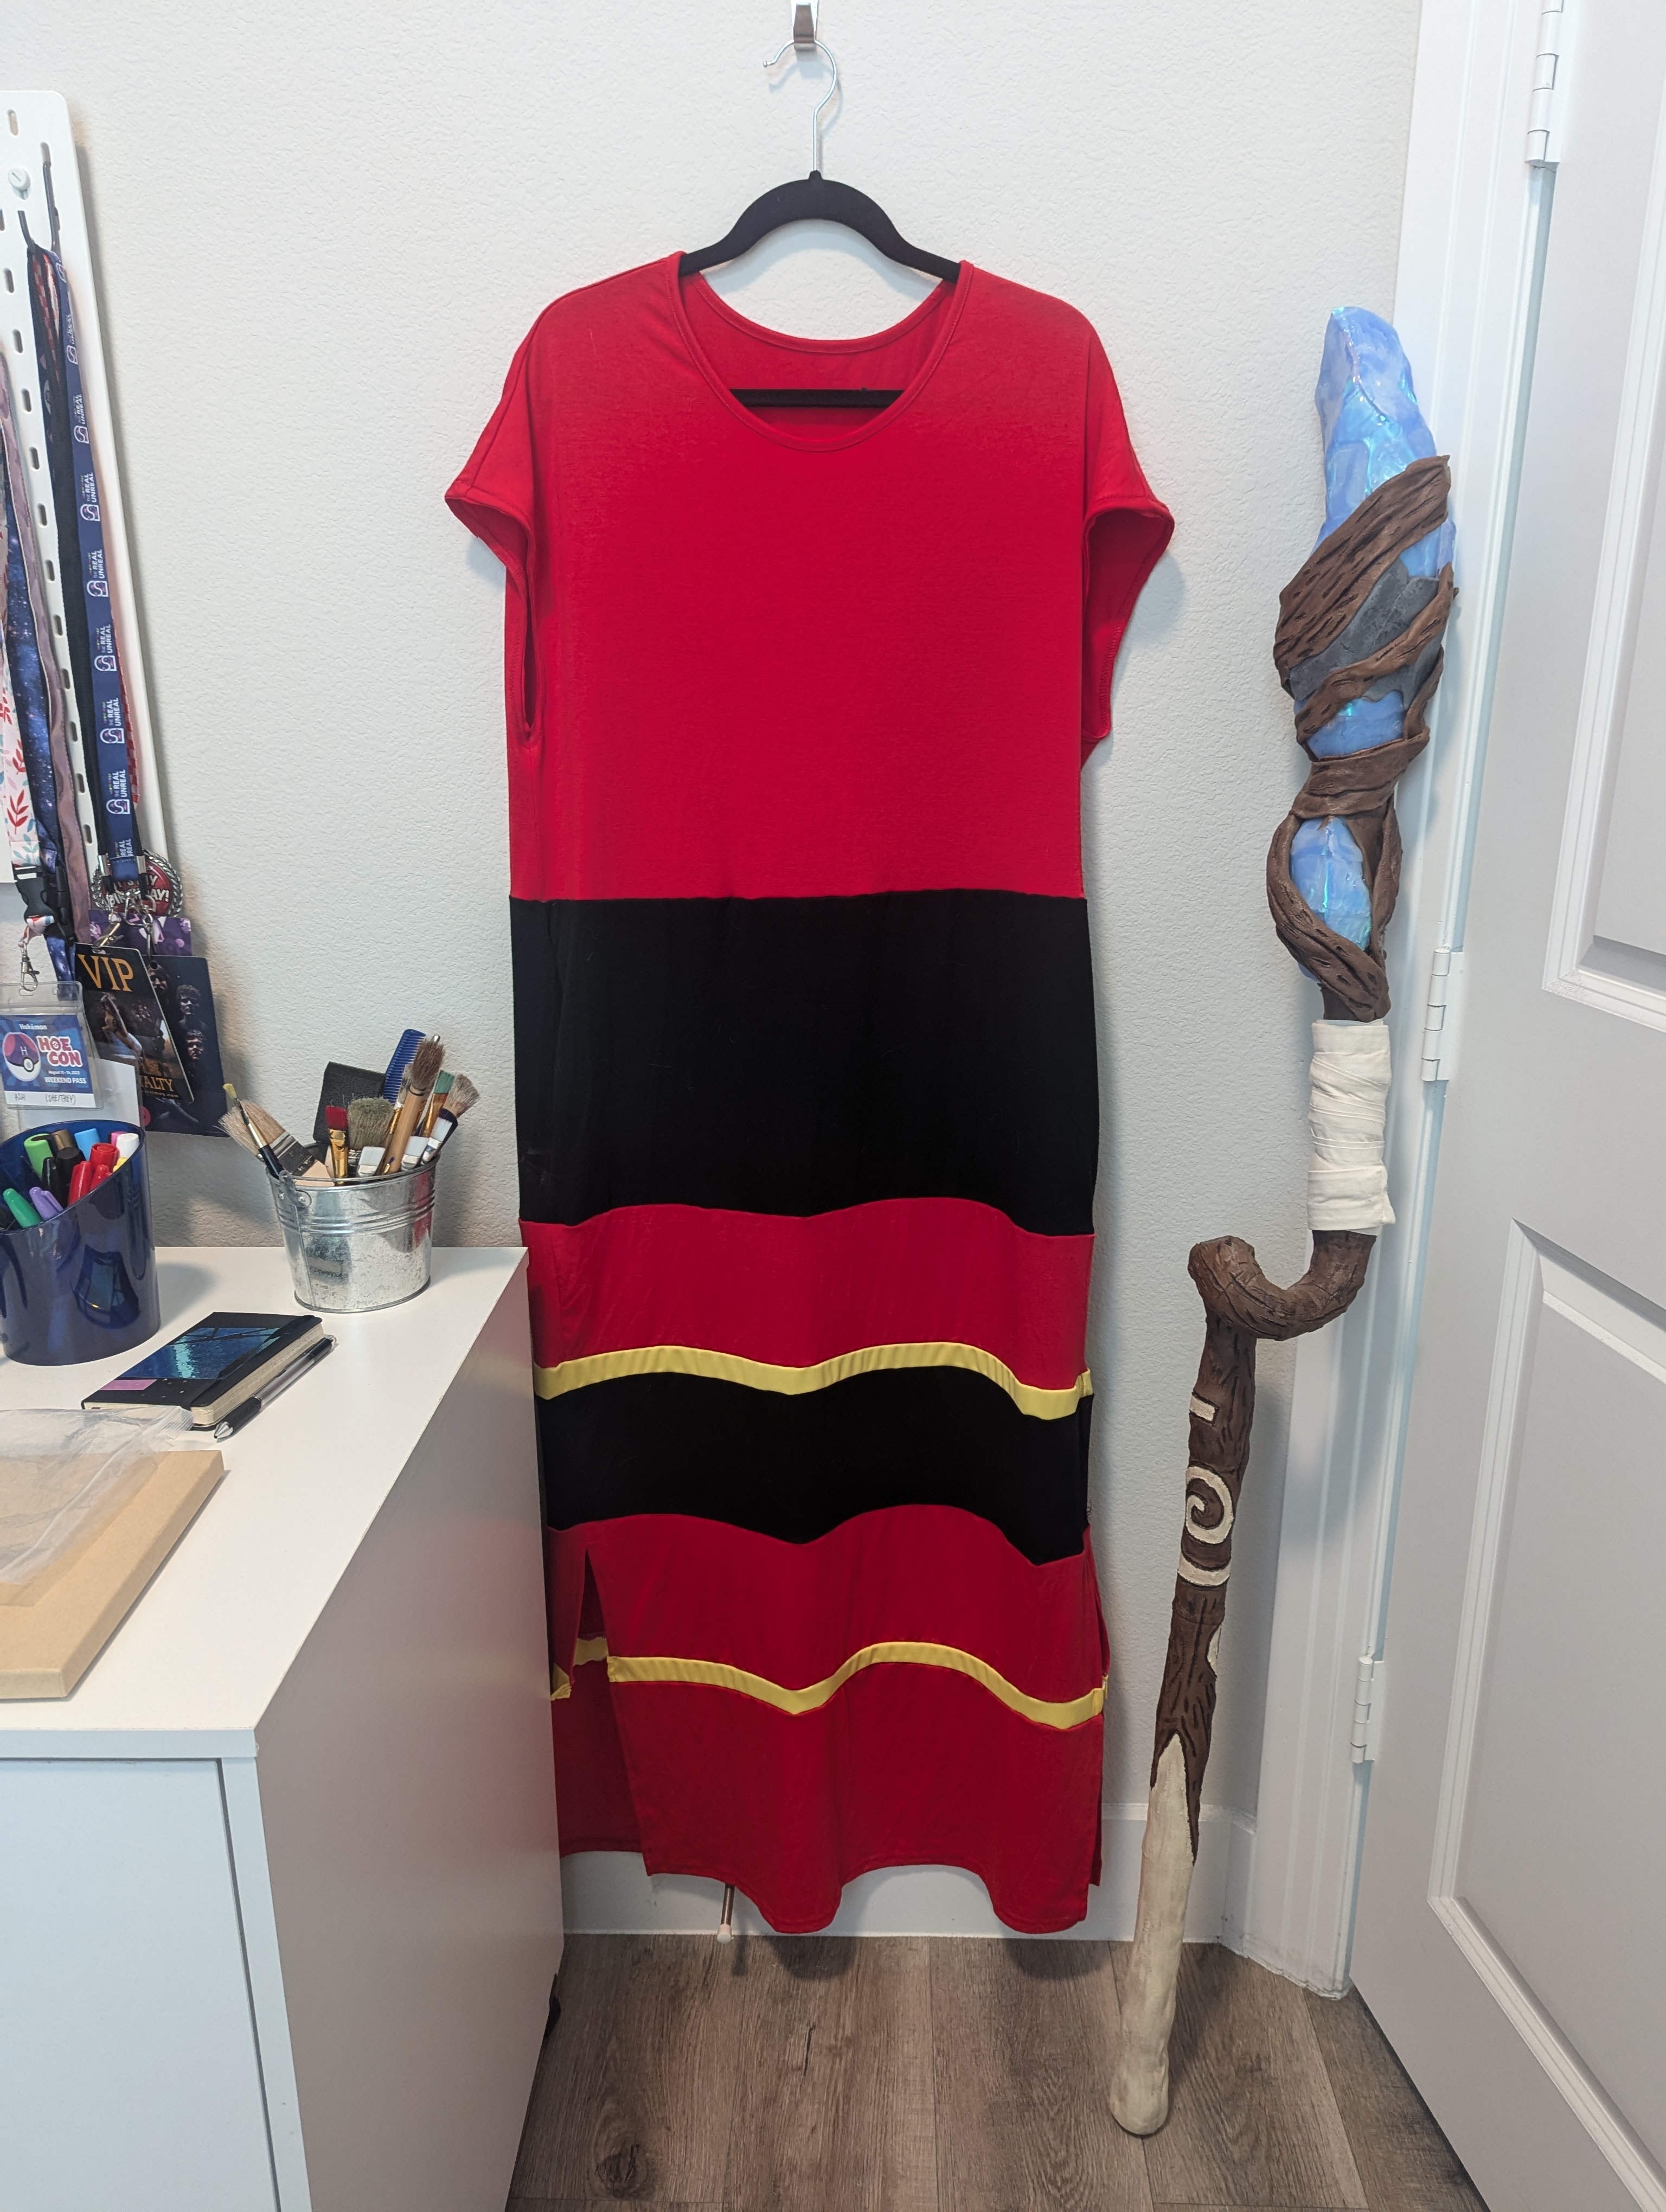
The MVPs for this dress are my big cutting mat, large metal yard stick, rotary cutter, and serger. I first cut the red dress just above the pockets. Then, I did an identical cut on the black dress. After serging the two halves together, I cut the black part to be shorter (making sure to leave the pockets). Then it was a matter of cutting the red in the same way and reattaching via serger.


After a quick stop of Joann’s for 1 yard of yellow jersey knit, I cut two long lengths of it 1.5″ wide for the trim pieces, leaving the rest for the sash.


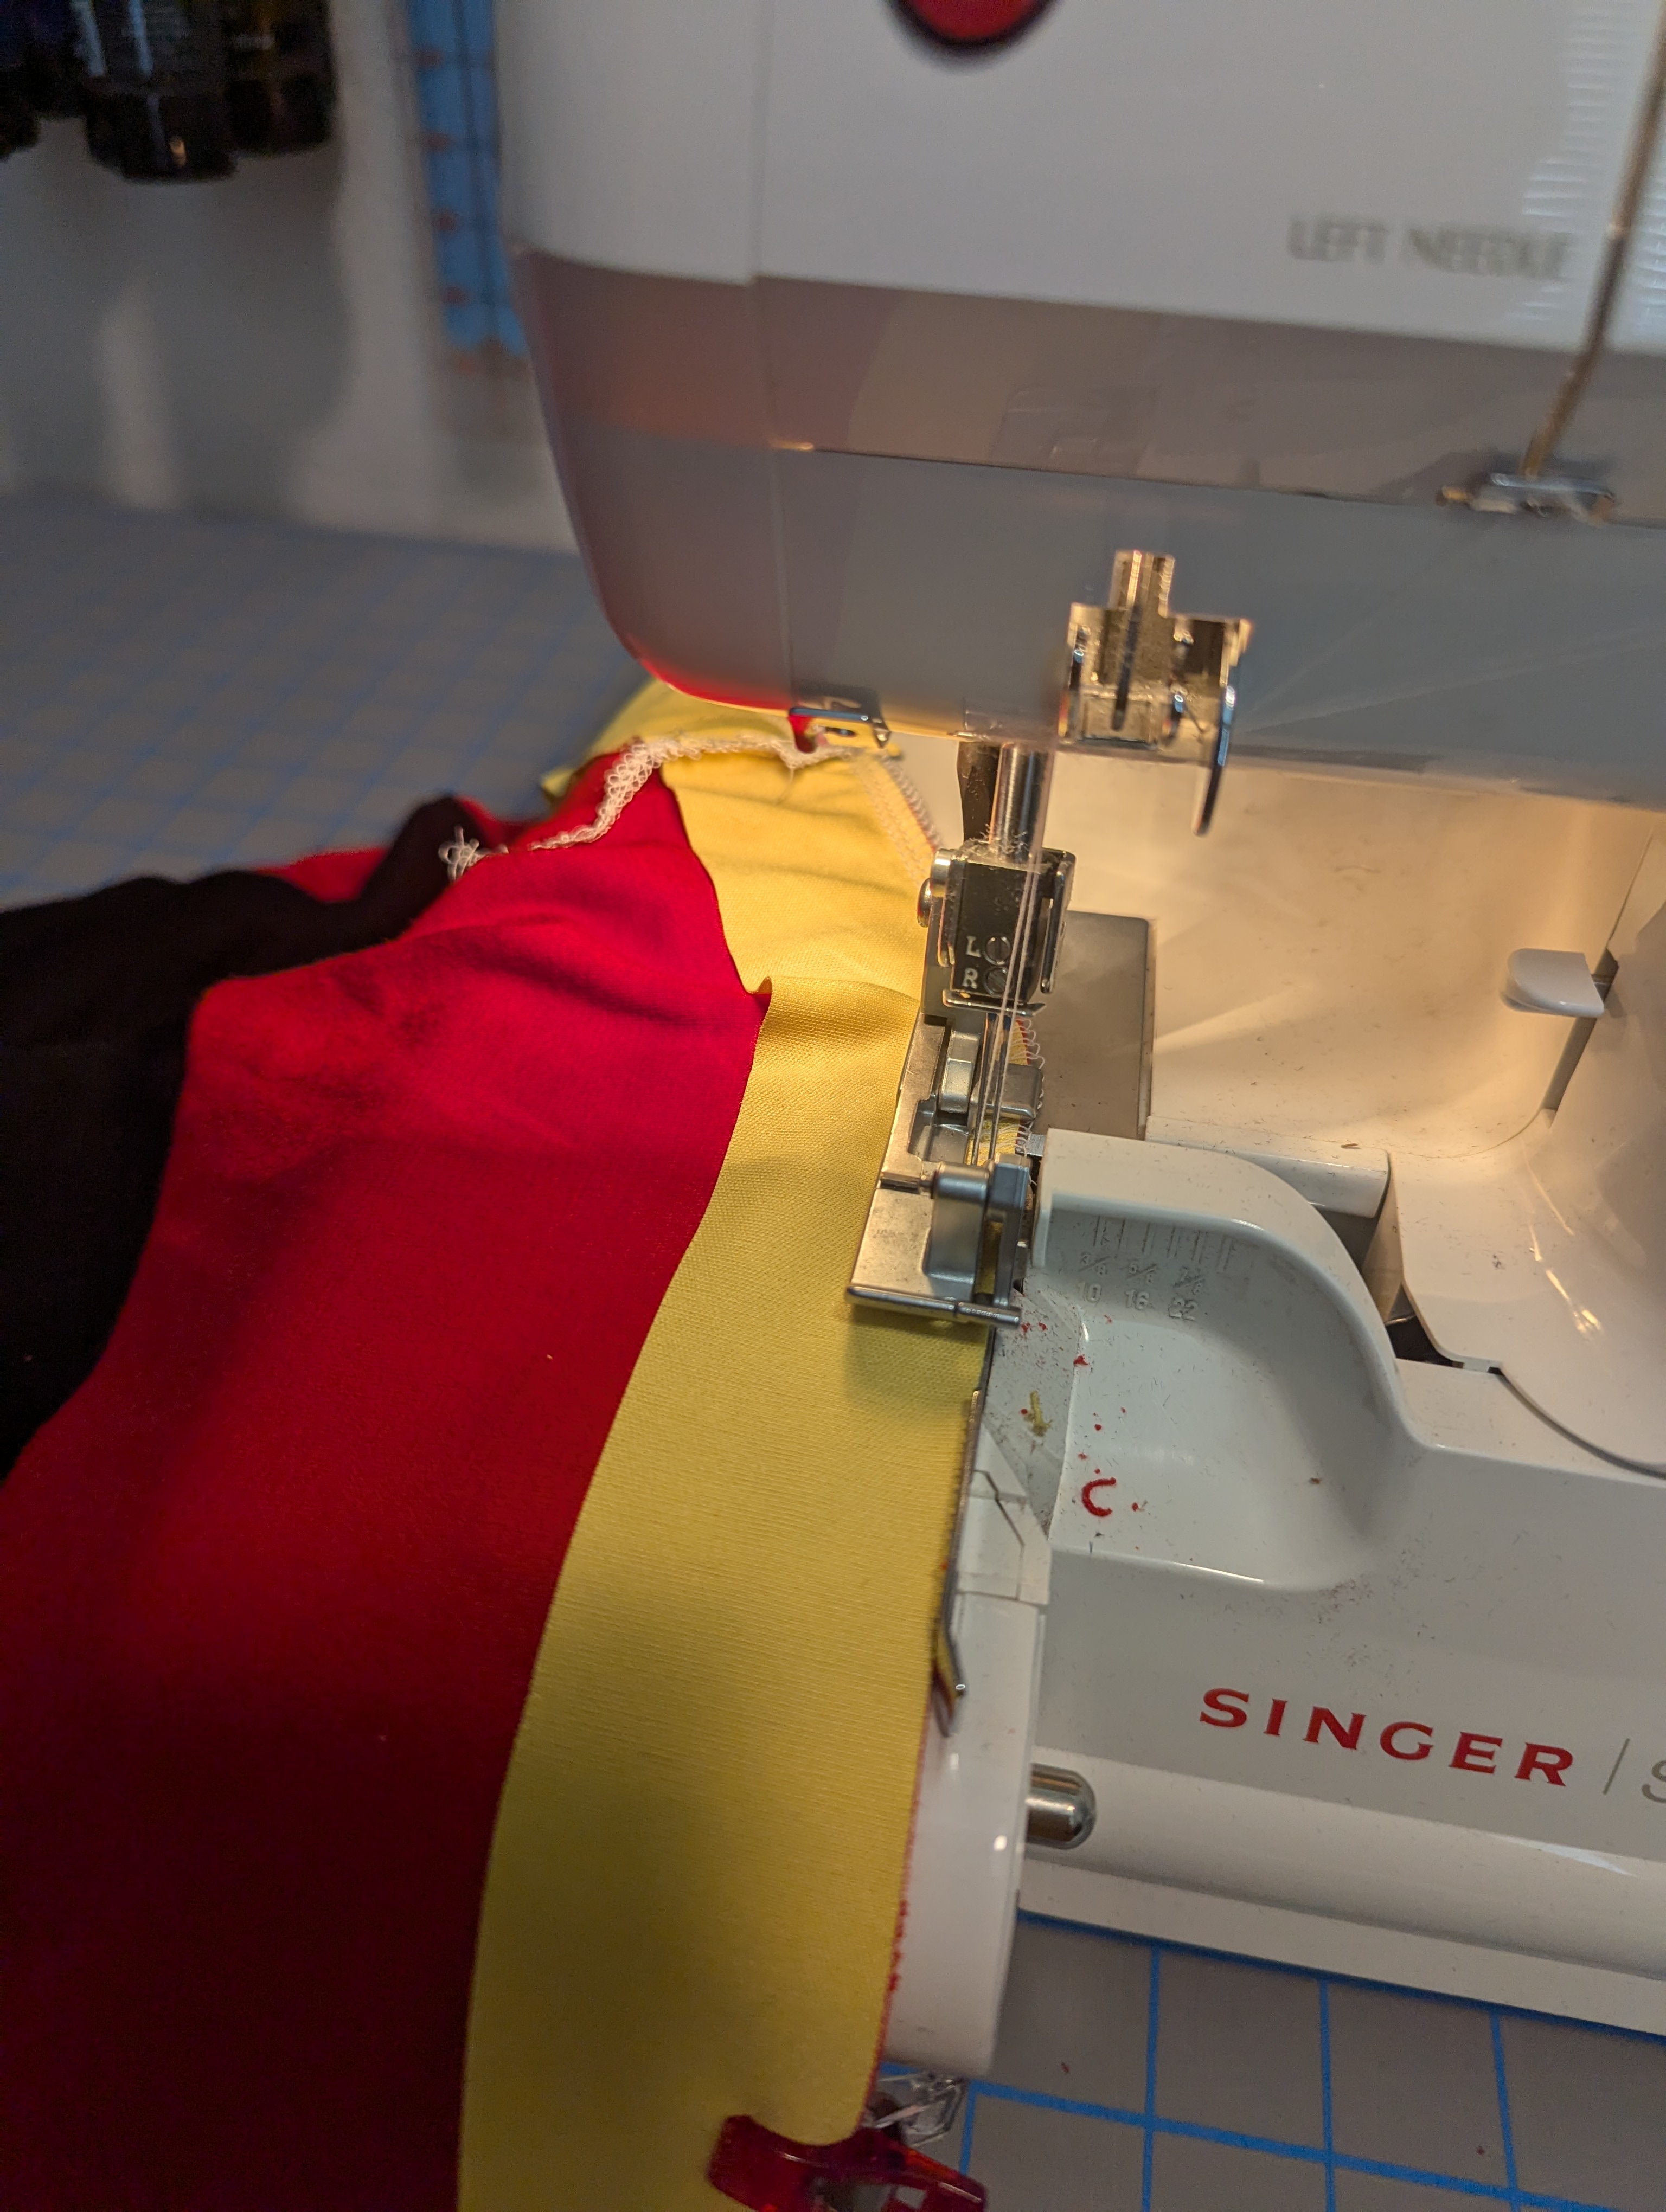

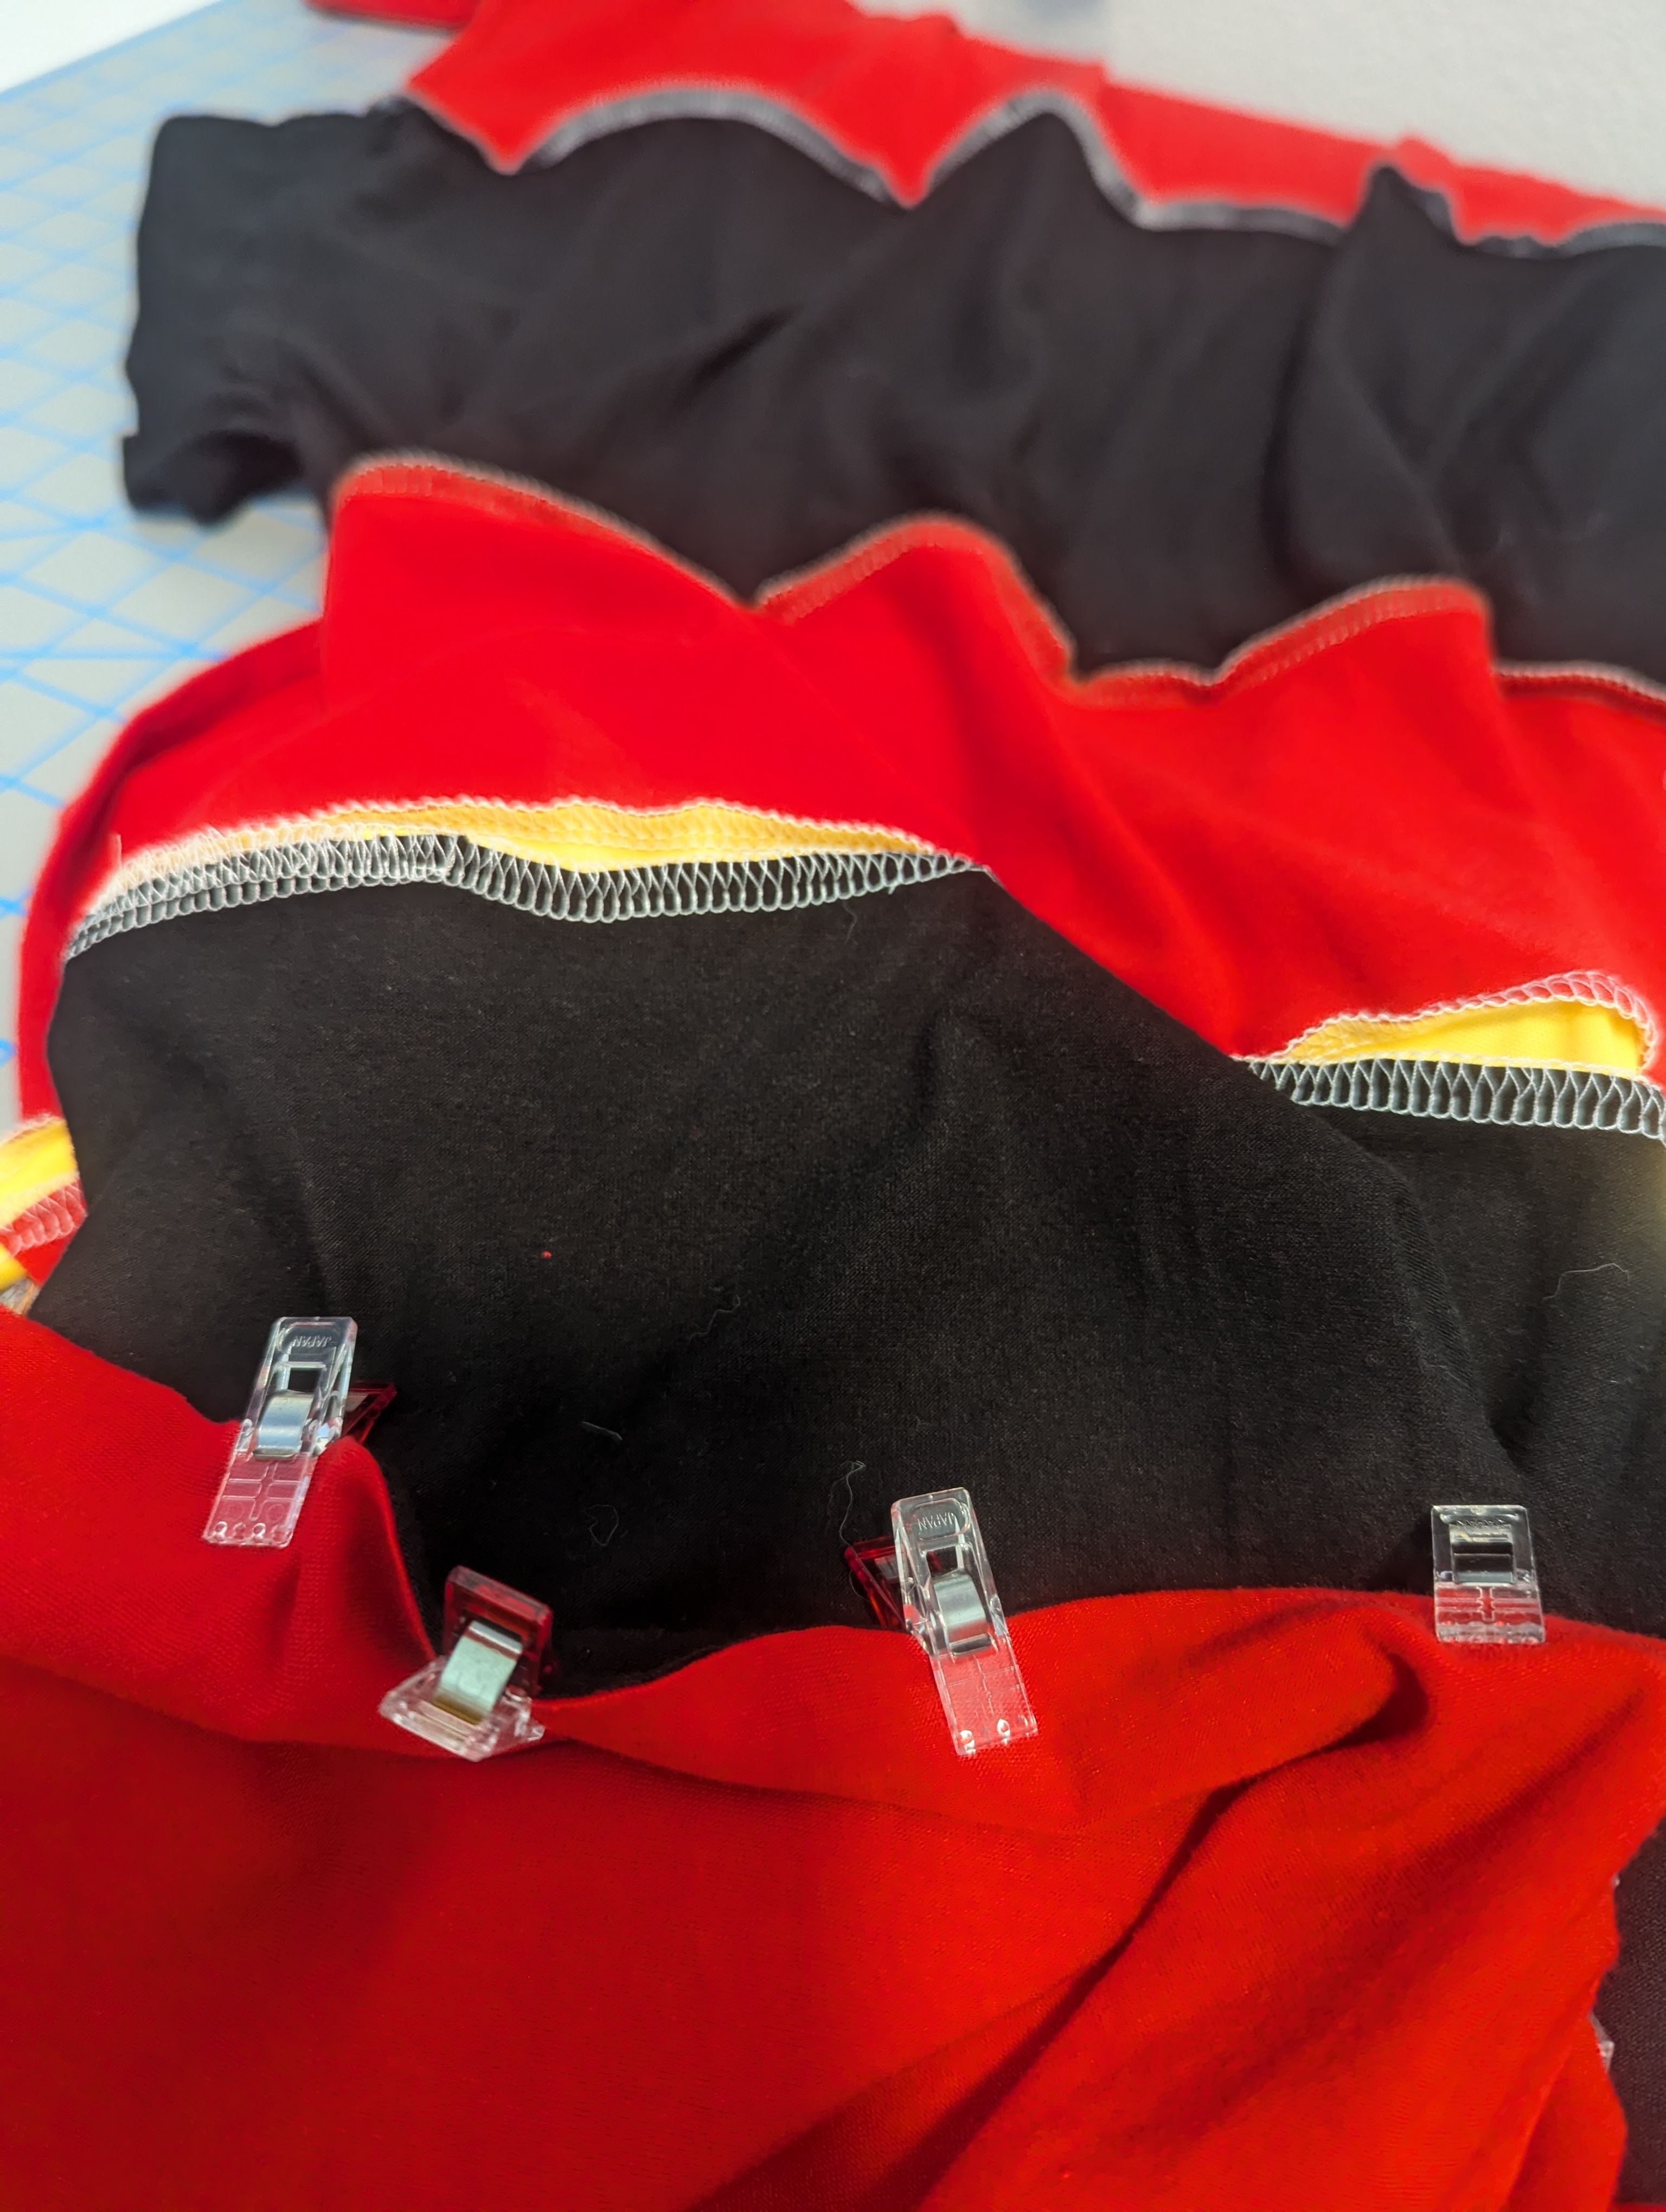

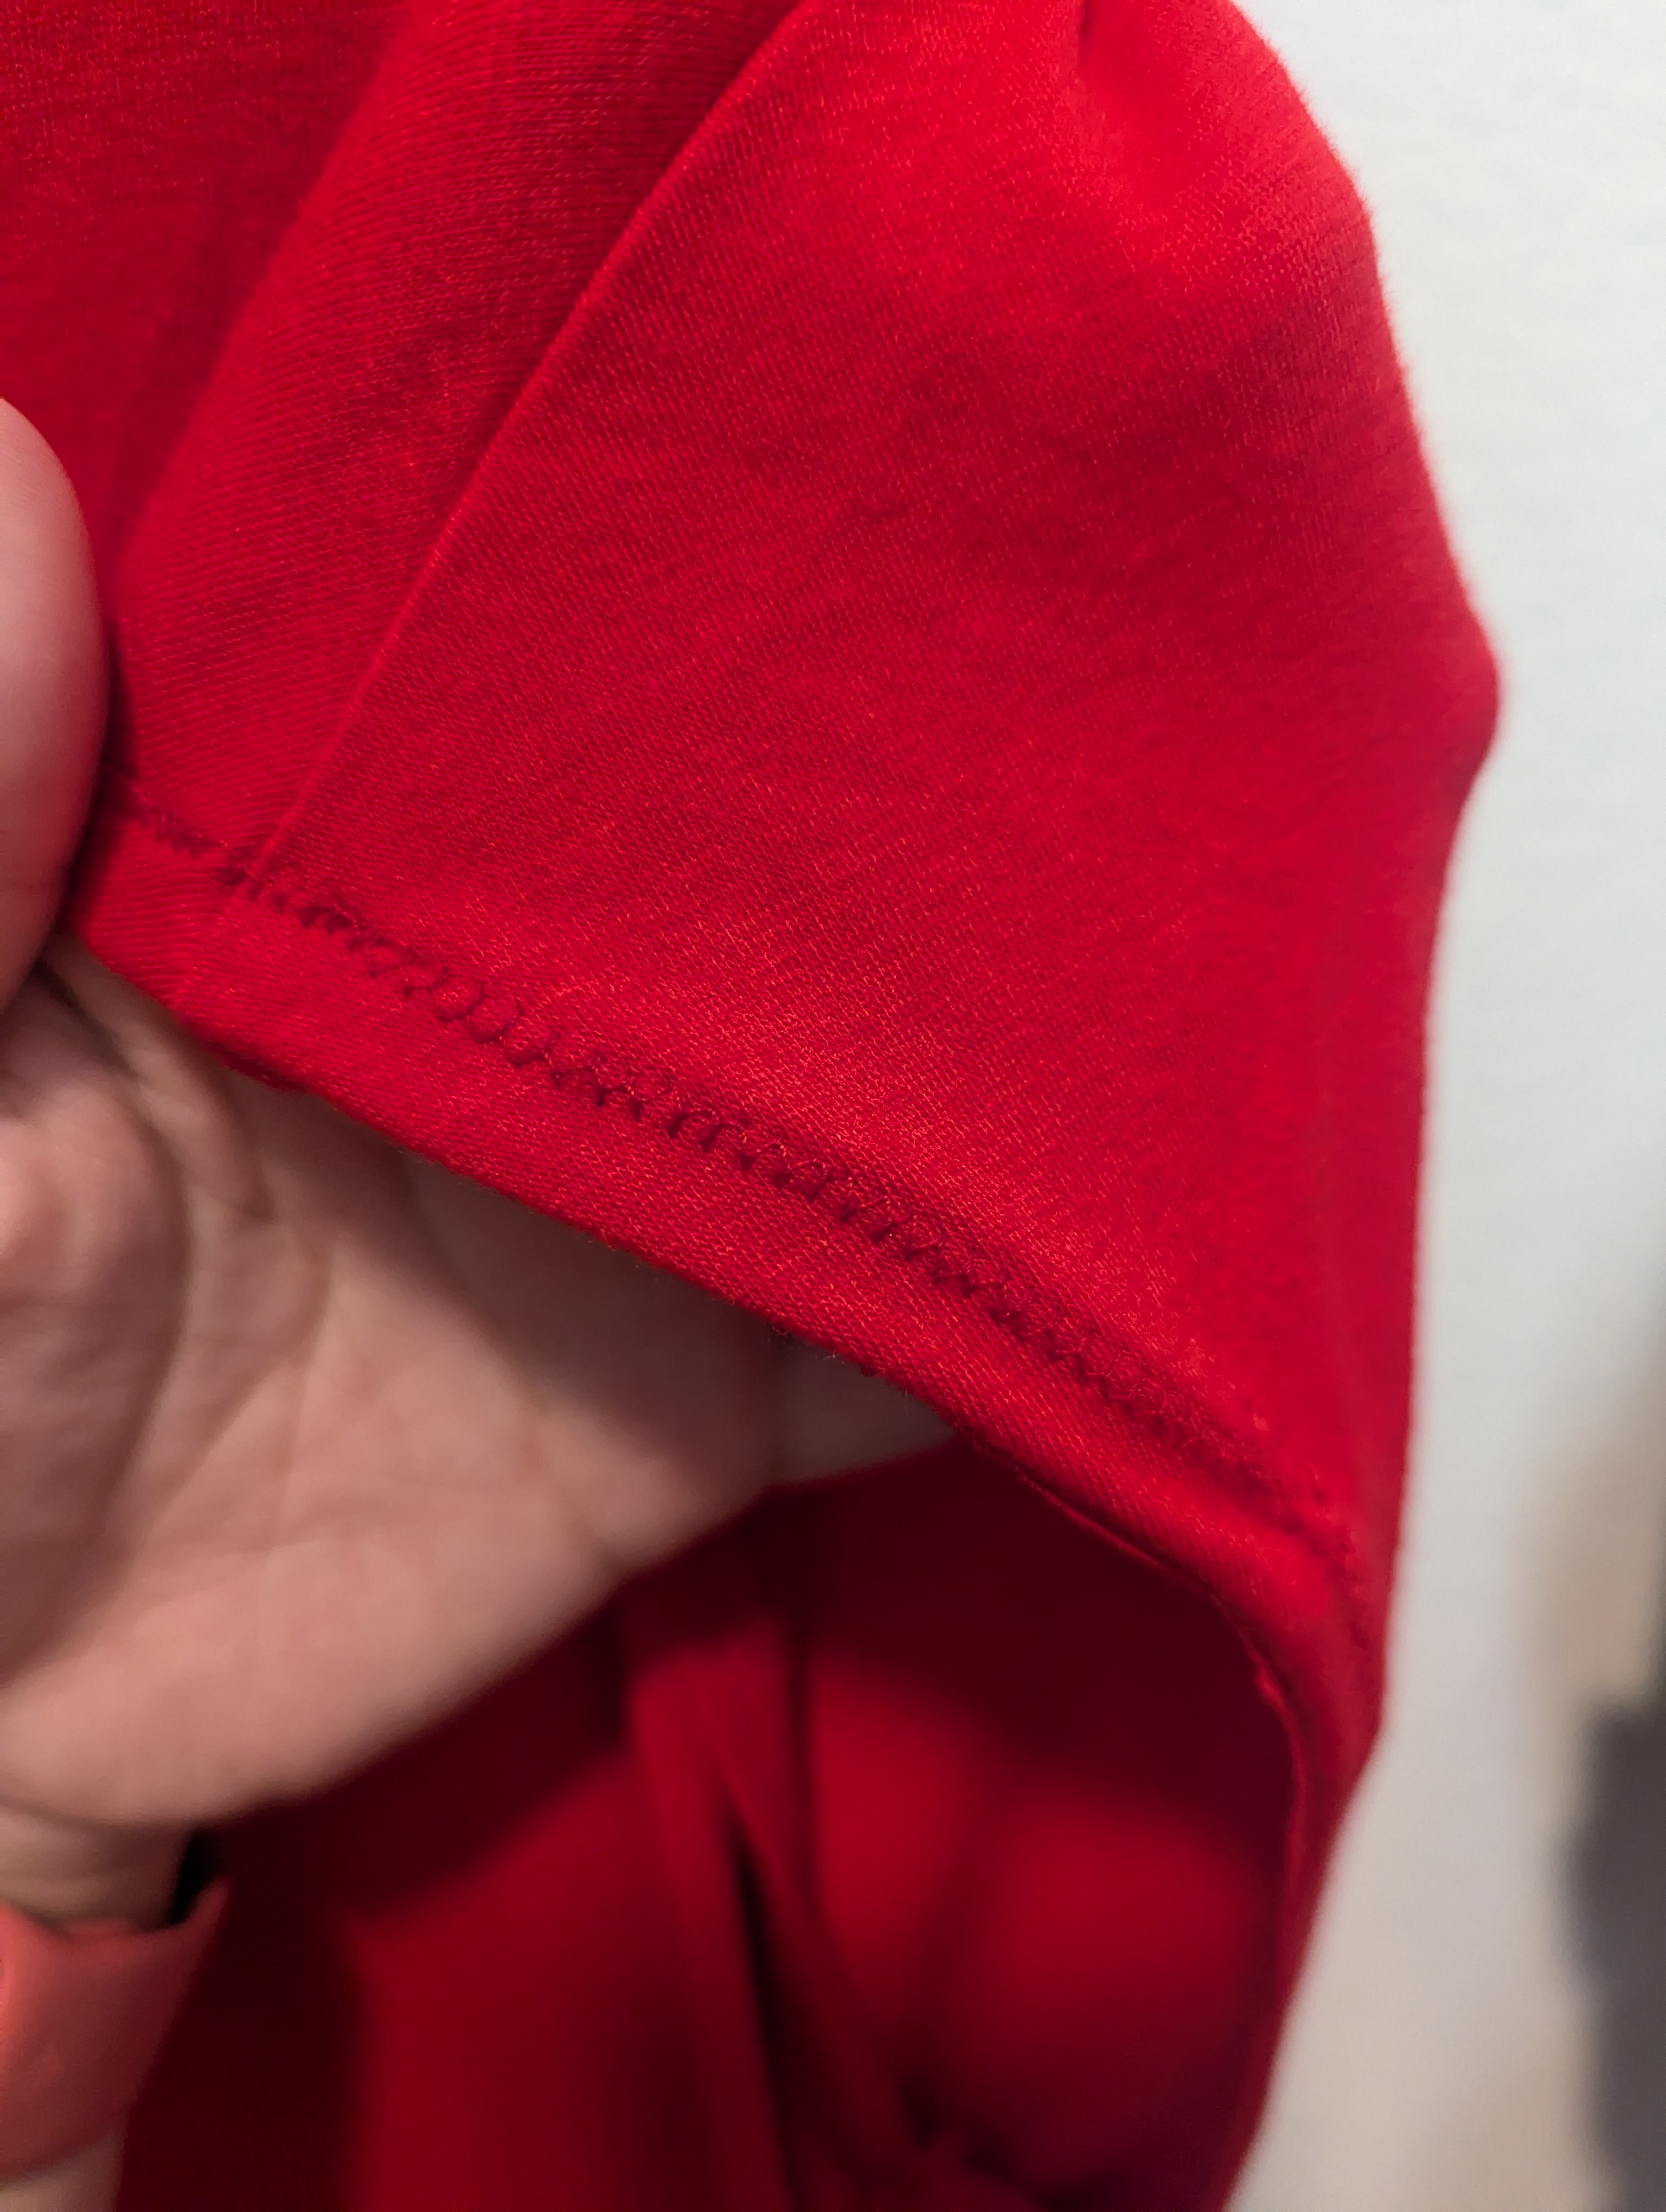
The rest of the dress was the same process: cut, serge, cut, serge. I had to rethread a few times because my thread spools are the small size. (Note to self to buy the larger sizes for later.) After cleaning up the serger tails and yellow trim edges, I cut off the sleeves and finished the arm holes with zigzag stitches.

Sash
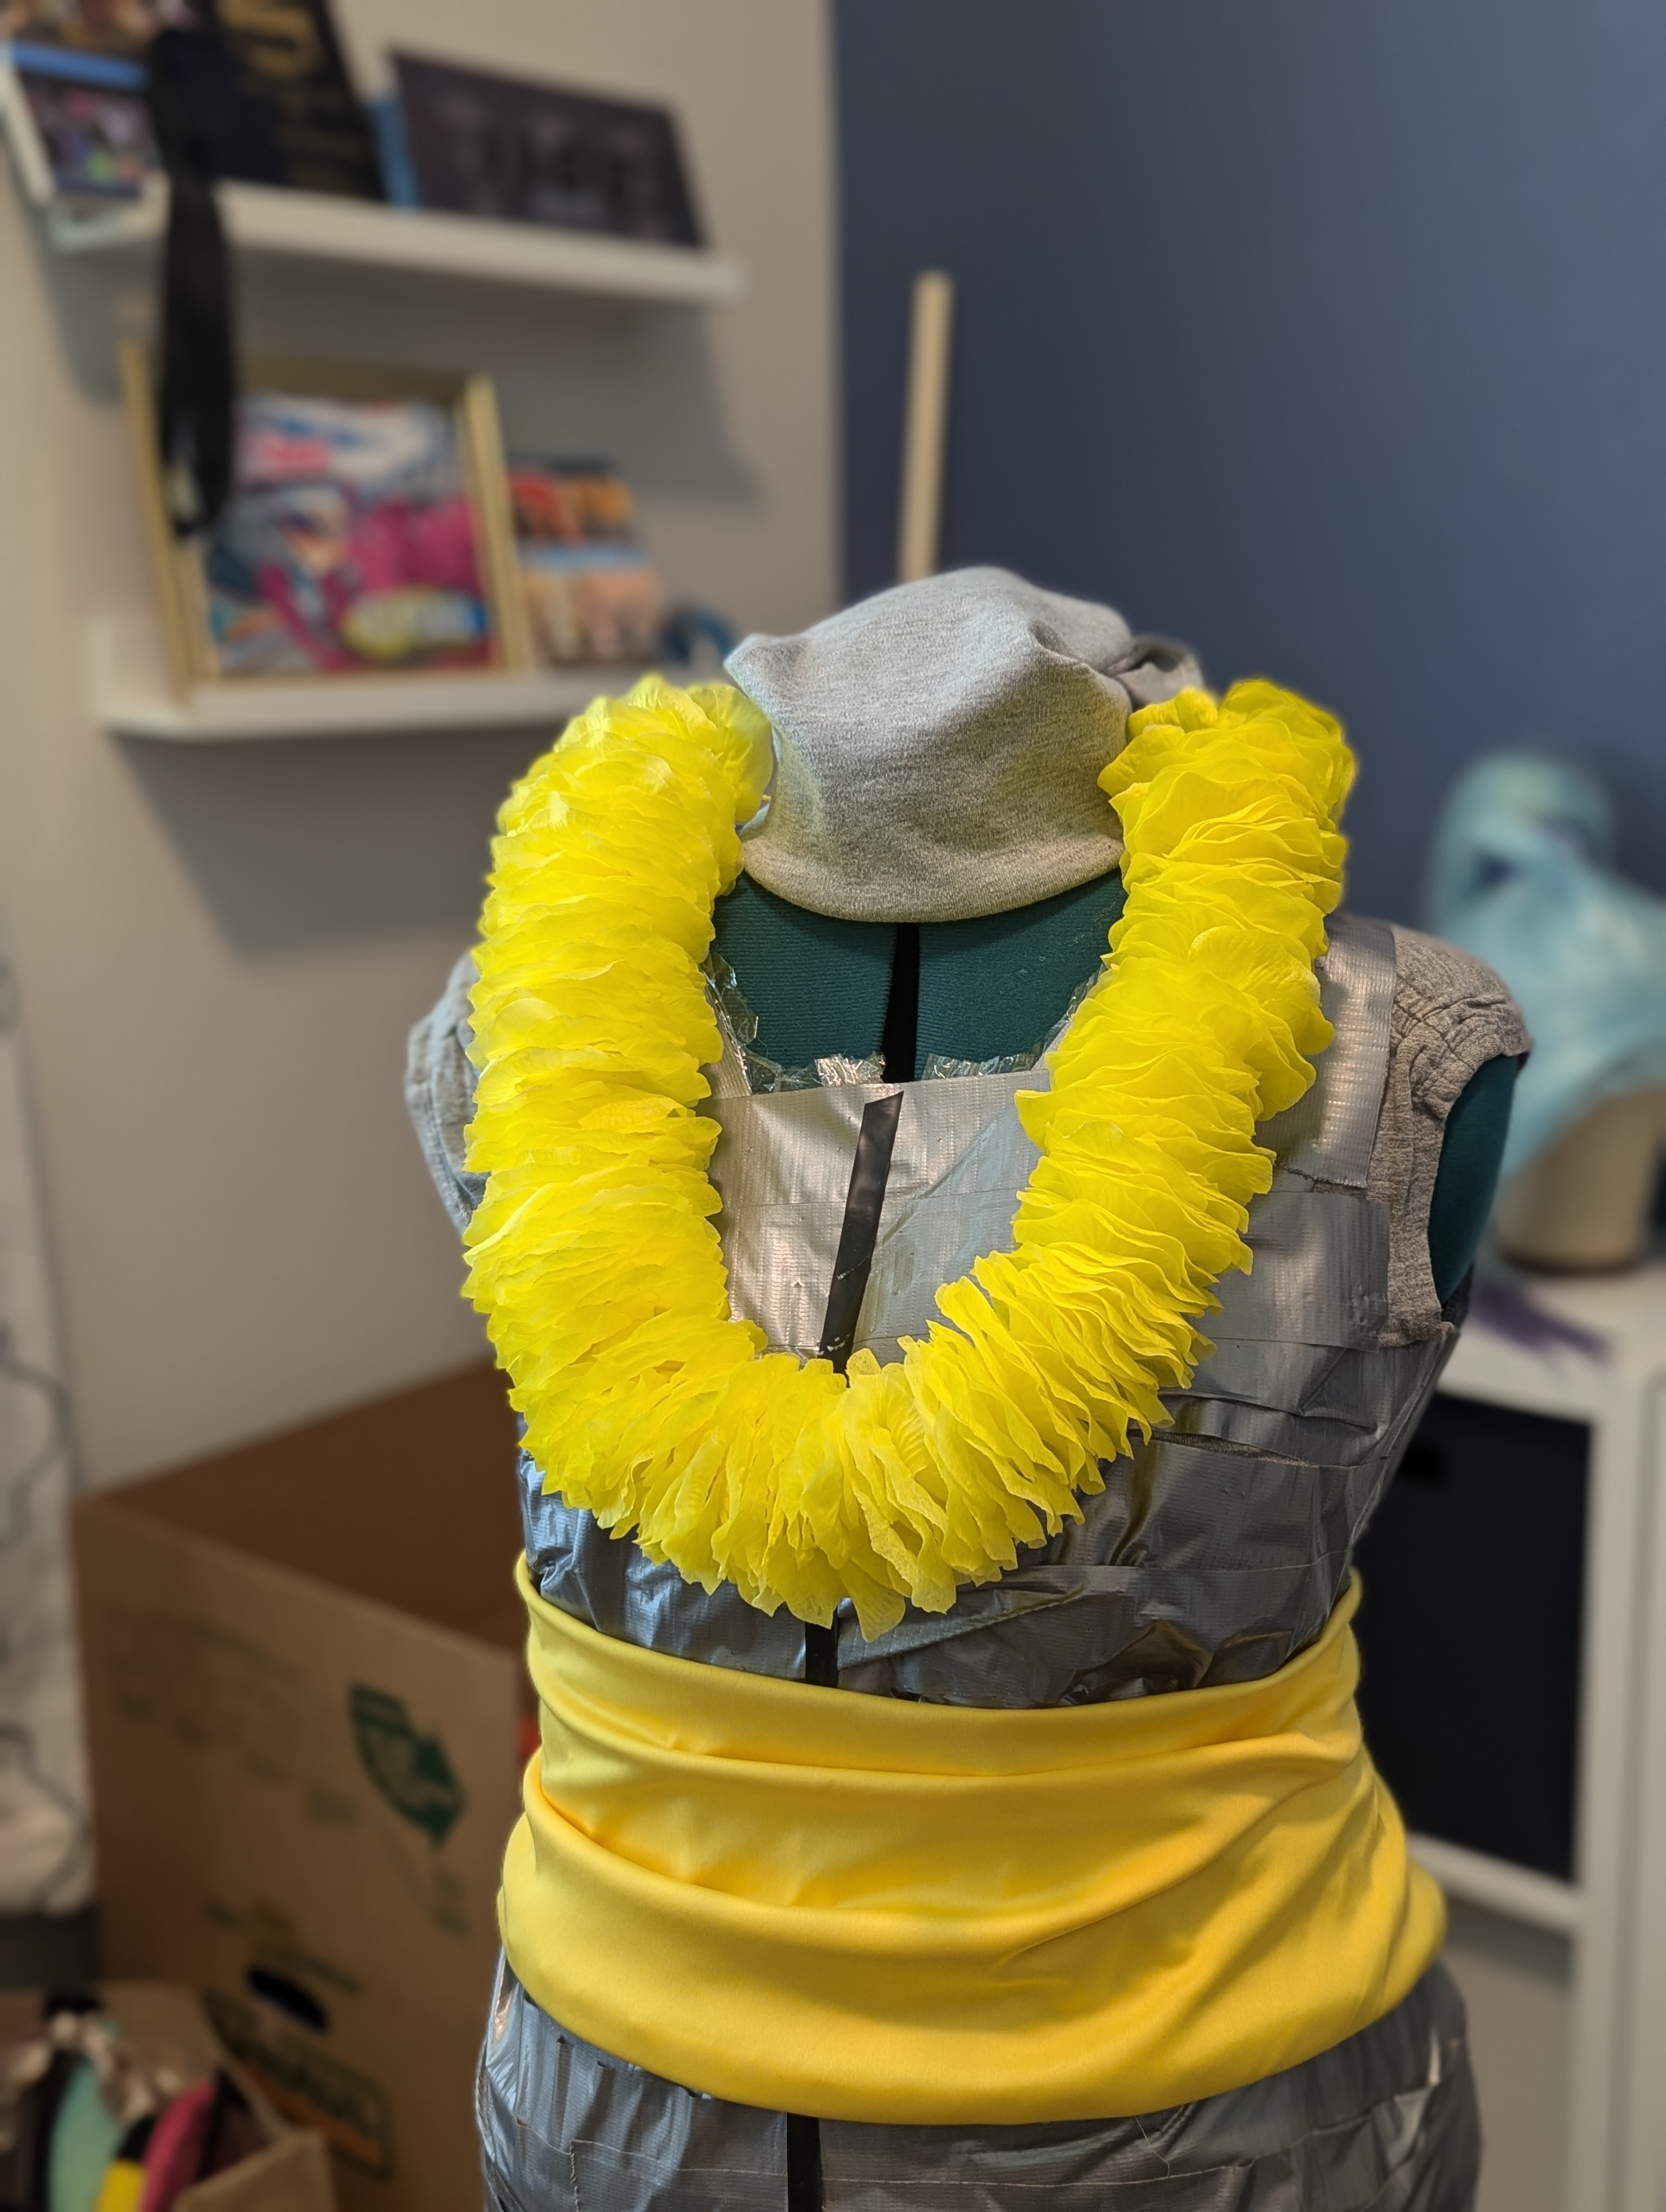
The sash was simple: I cut a rectangle twice as wide as I wanted it at about my waist measurement. I serged the two long ends together then, after turning it right side out, serged the two short ends together to form a loop. Putting it on is as easy as throwing it over my head.


I initially bought trim to go with this, but the trim doesn’t have any stretch and I realized that I wasn’t liking how it looked anyway, so I skipped it. (Here’s hoping that trim comes in handy in some other way down the line.)

Bandana
Originally I was going to use a beanie pattern for this. But given the lack of seam lines, I ended up just doing a bandana, and not even a full one. Rather than a square of fabric, I just made one big triangle.


In hindsight, had I known I’d end up doing this, I would have bought a larger width of fabric so I could do a full square folded over into a triangle like a normal bandana. (I had only purchased half a yard of the fabric, which would require sewing two pieces together to make it a square.)
Lei
I tried to find a cheap lei on Amazon but none of the reviews looked promising. Many said they had a weird chemical smell to them and others were said to fall apart easily. After visiting Joann’s and seeing nothing good enough, I ordered a pack of 1,200 fake yellow flower petals. They’re typically used for decorations, but they were perfect for the lei.

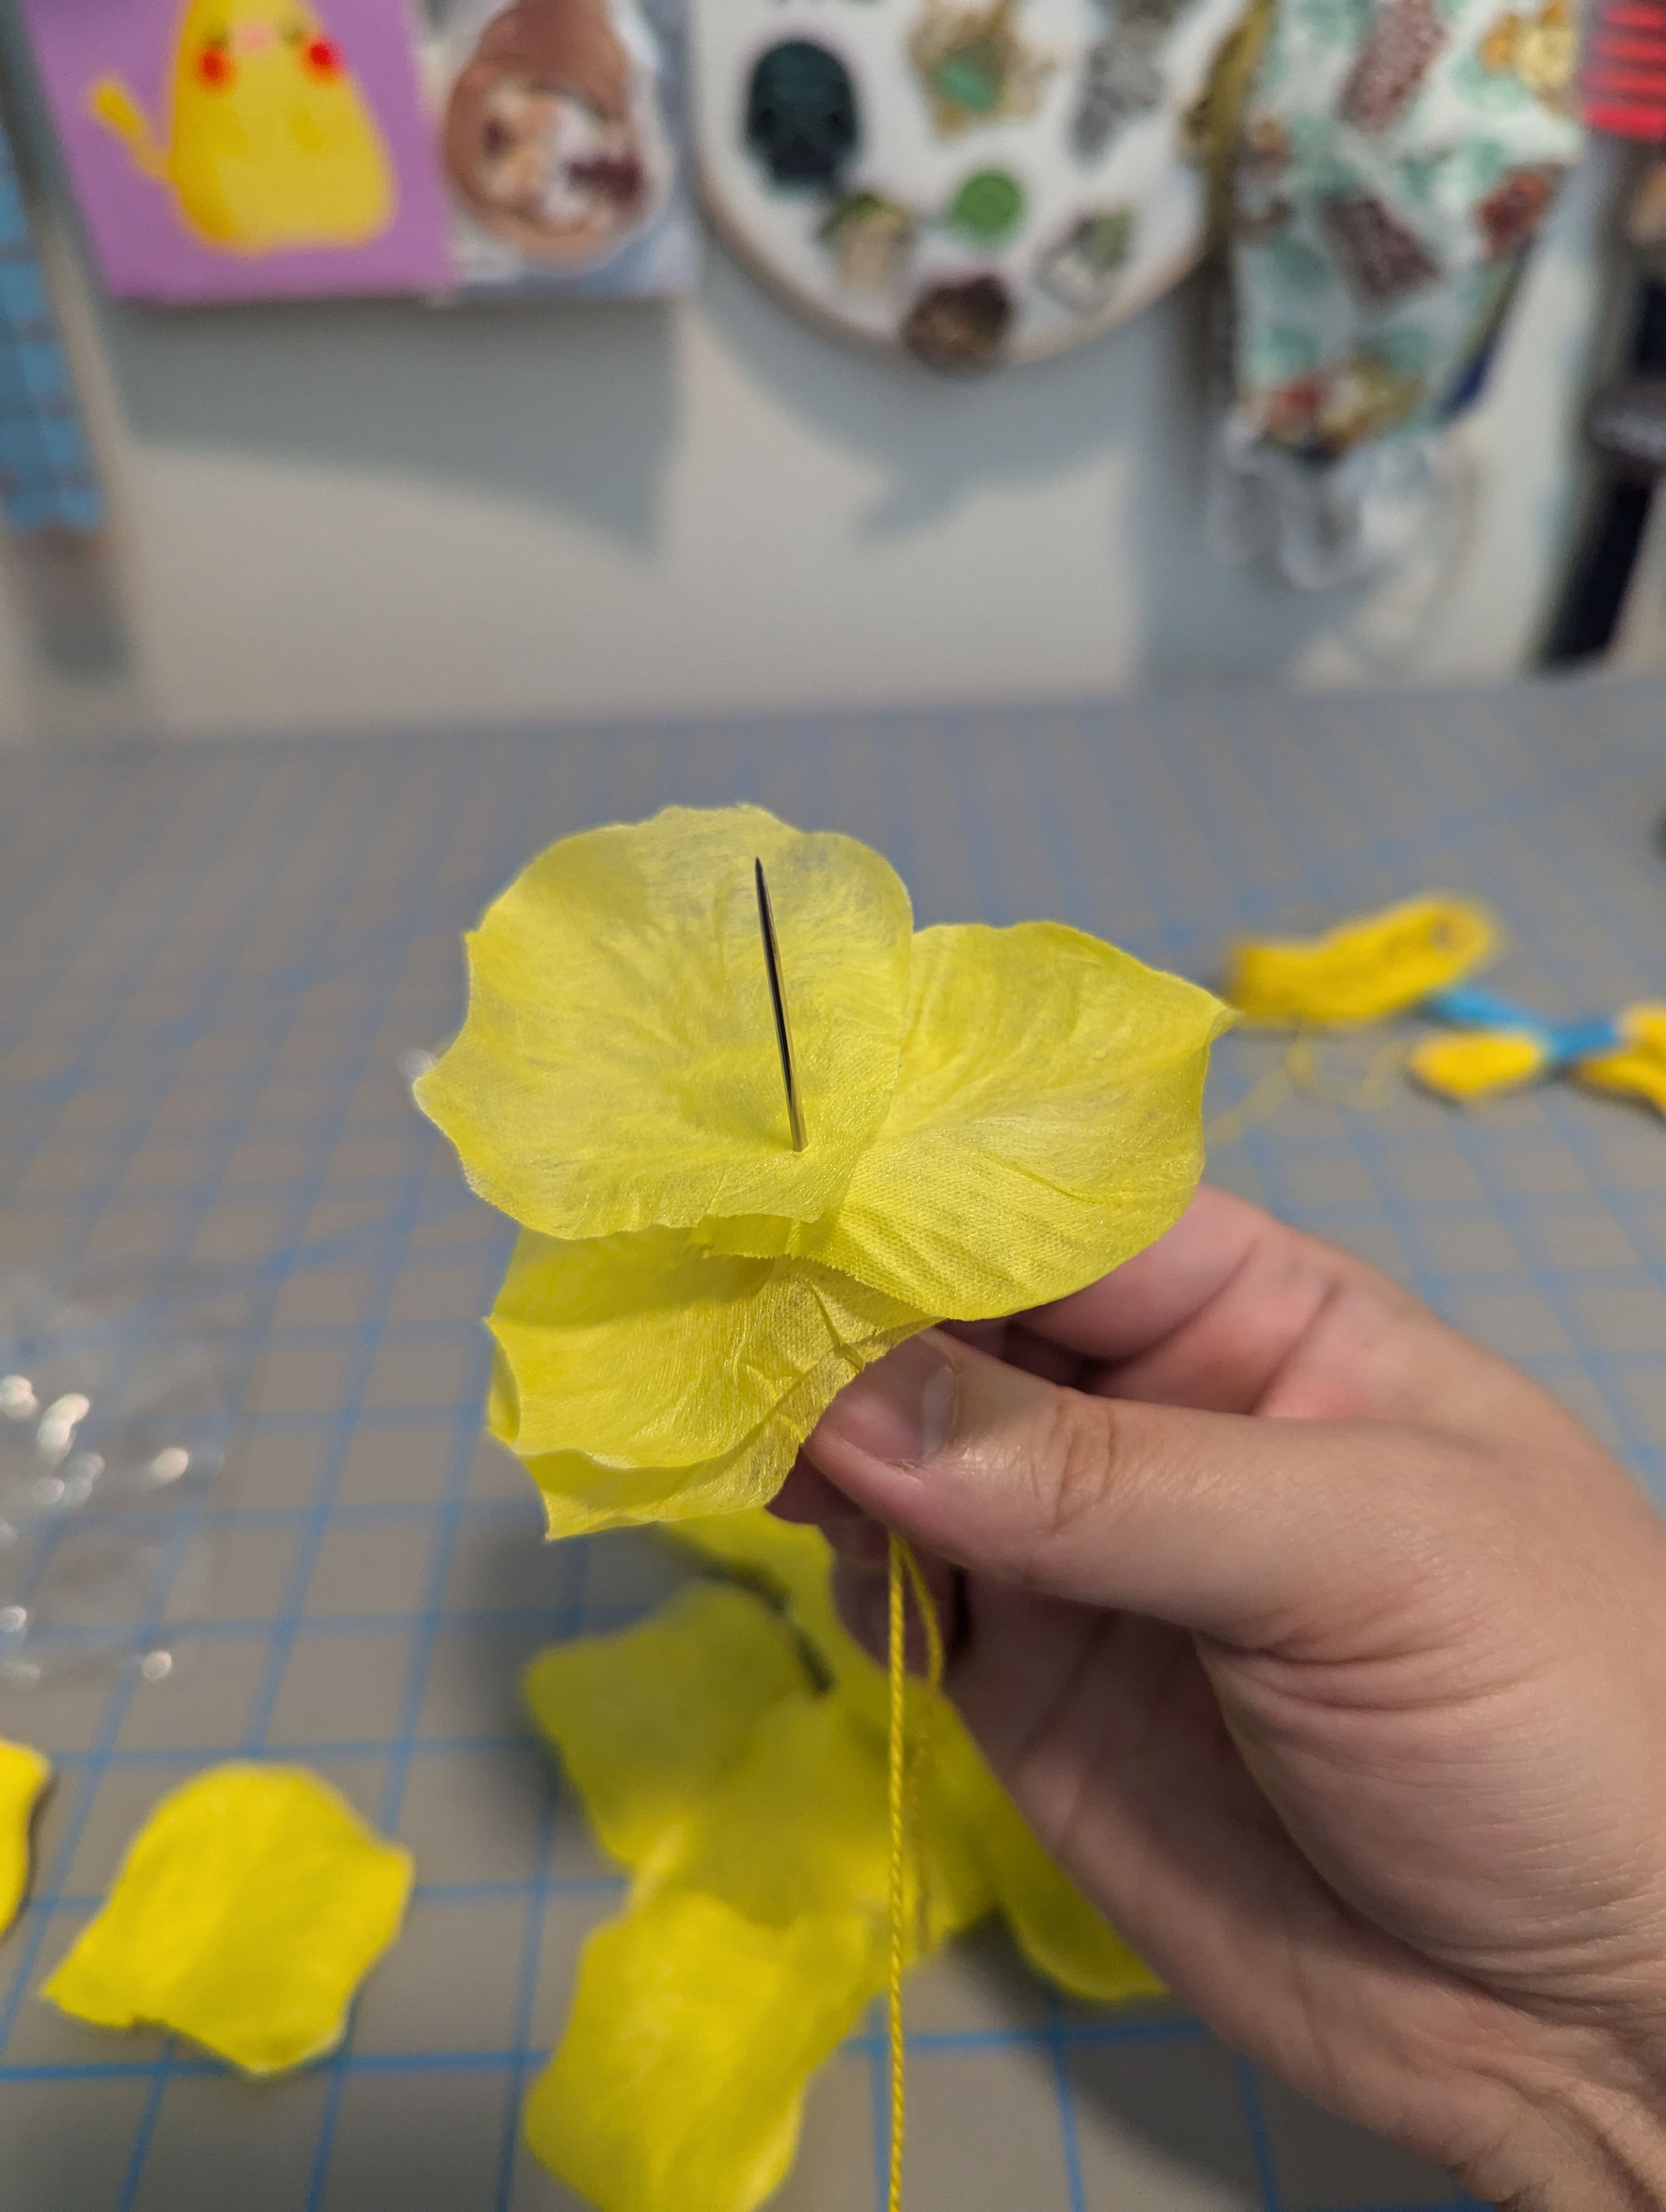
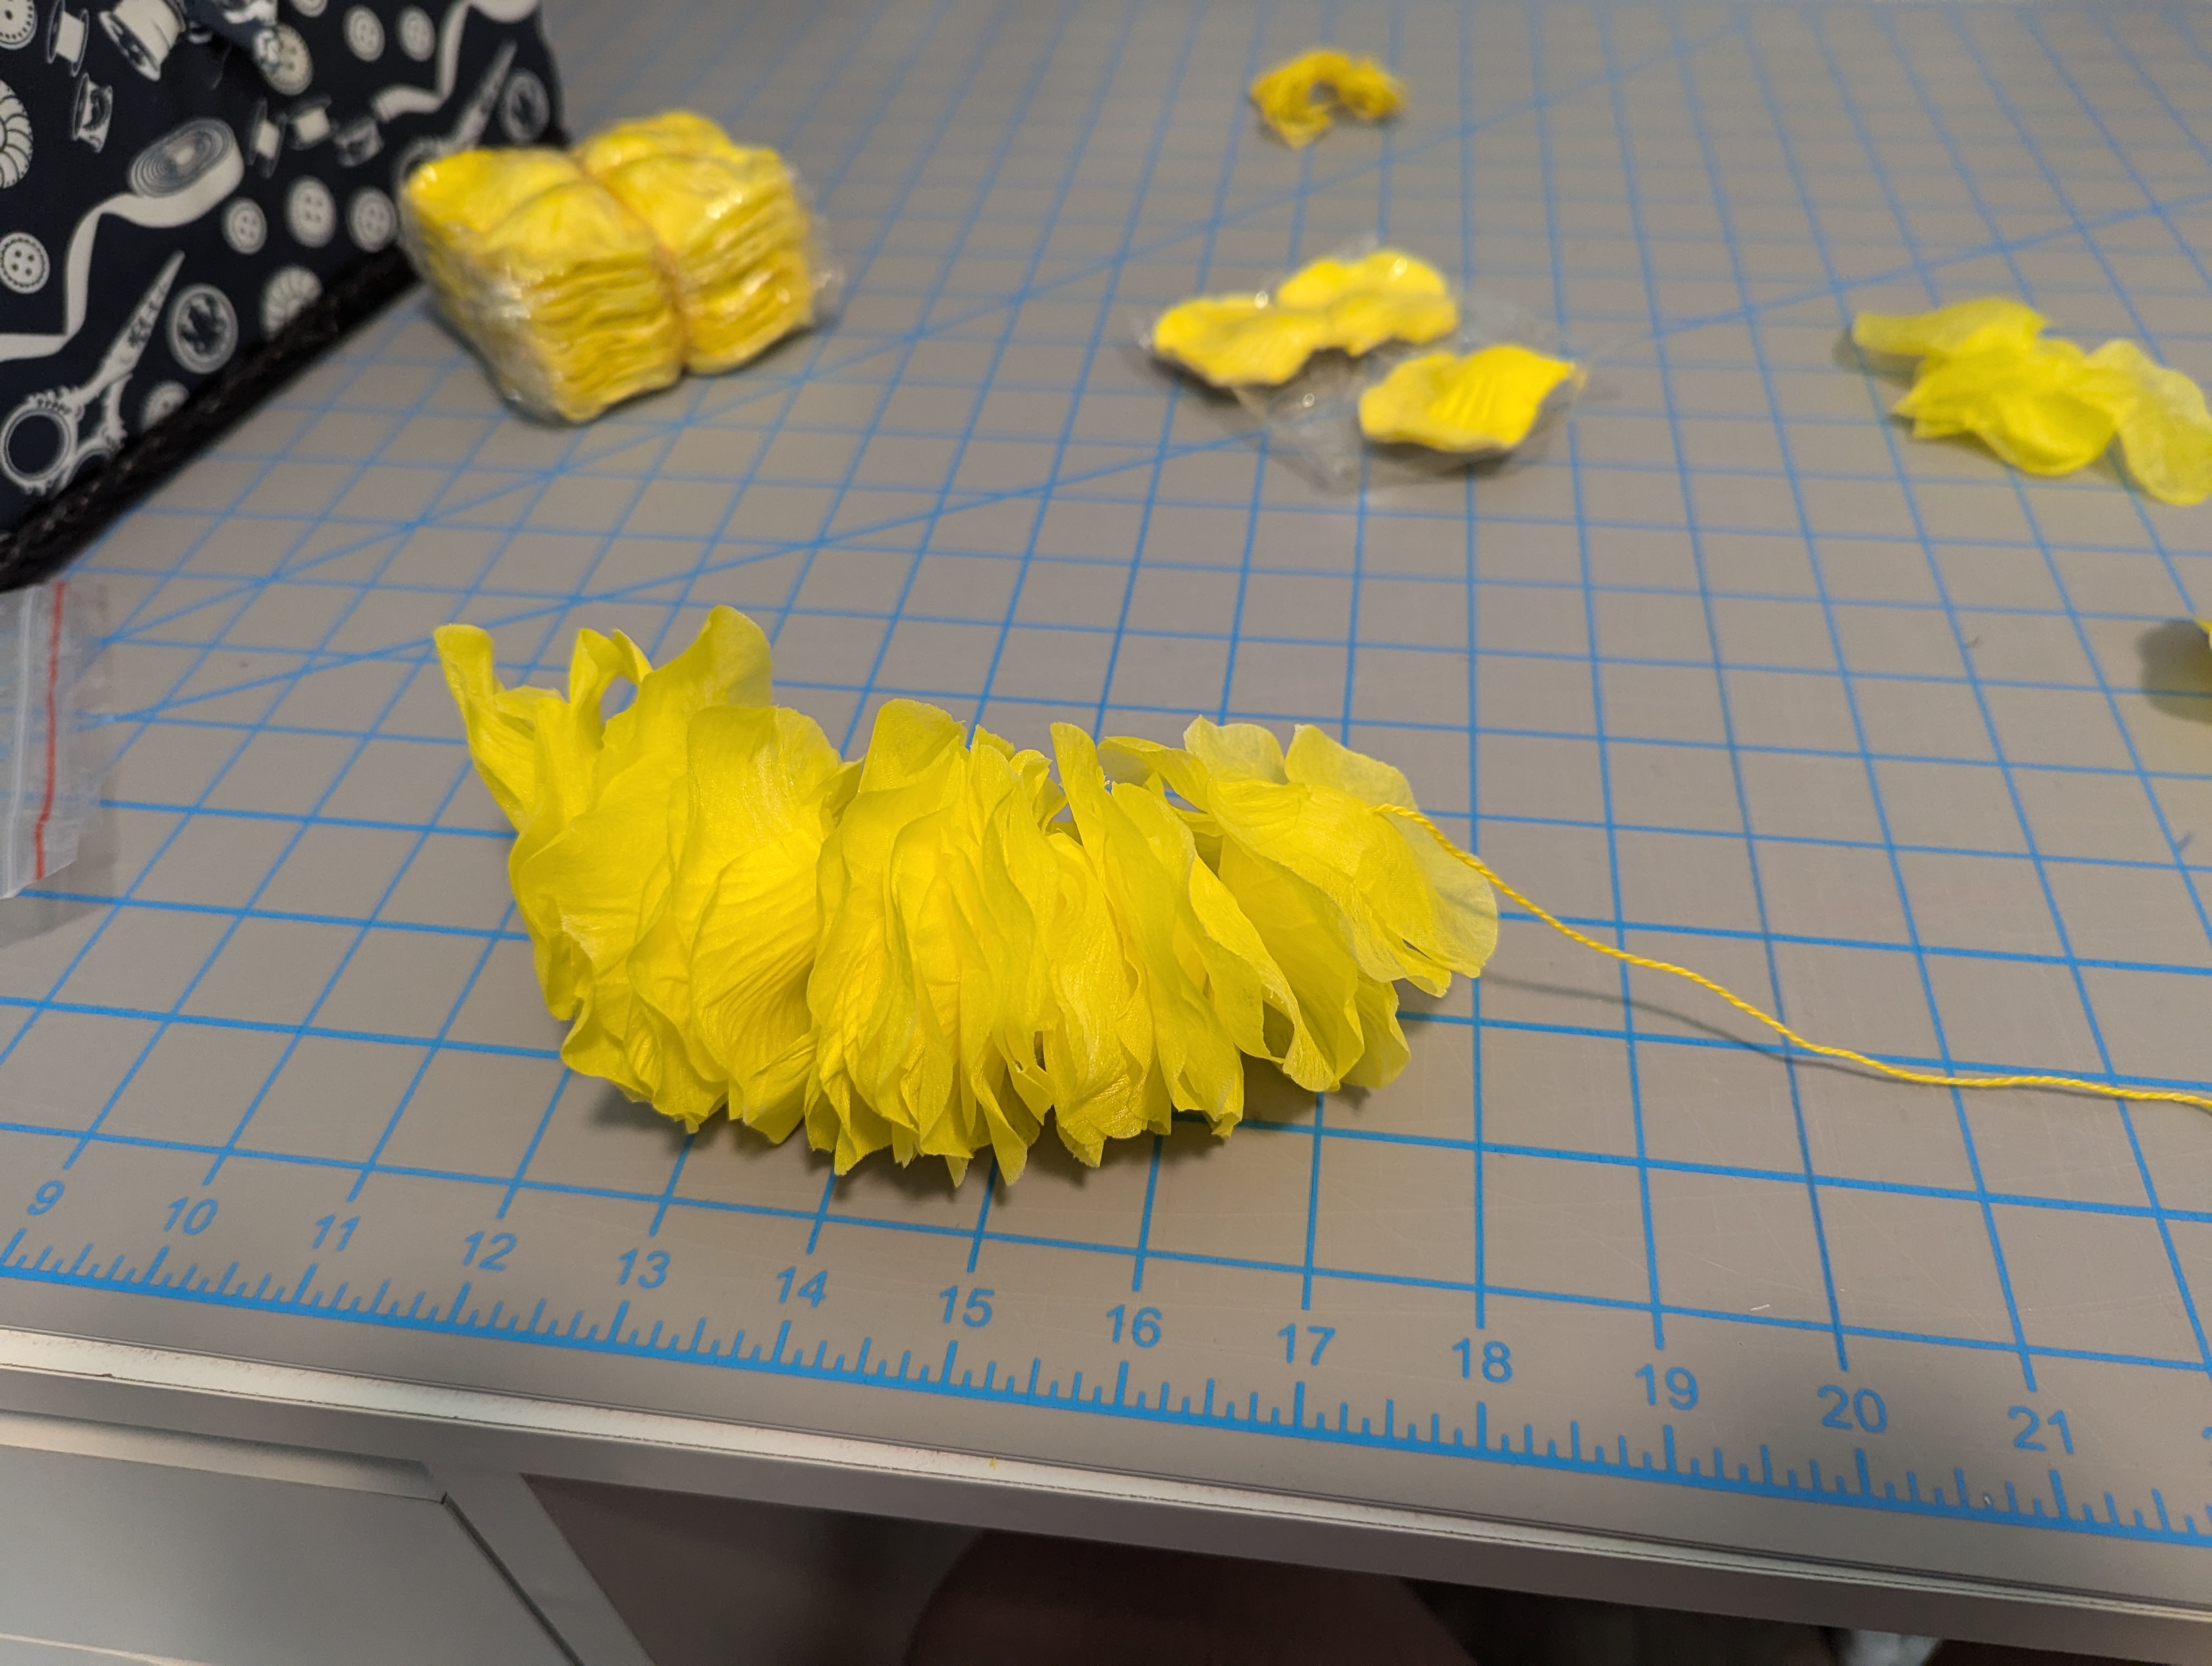
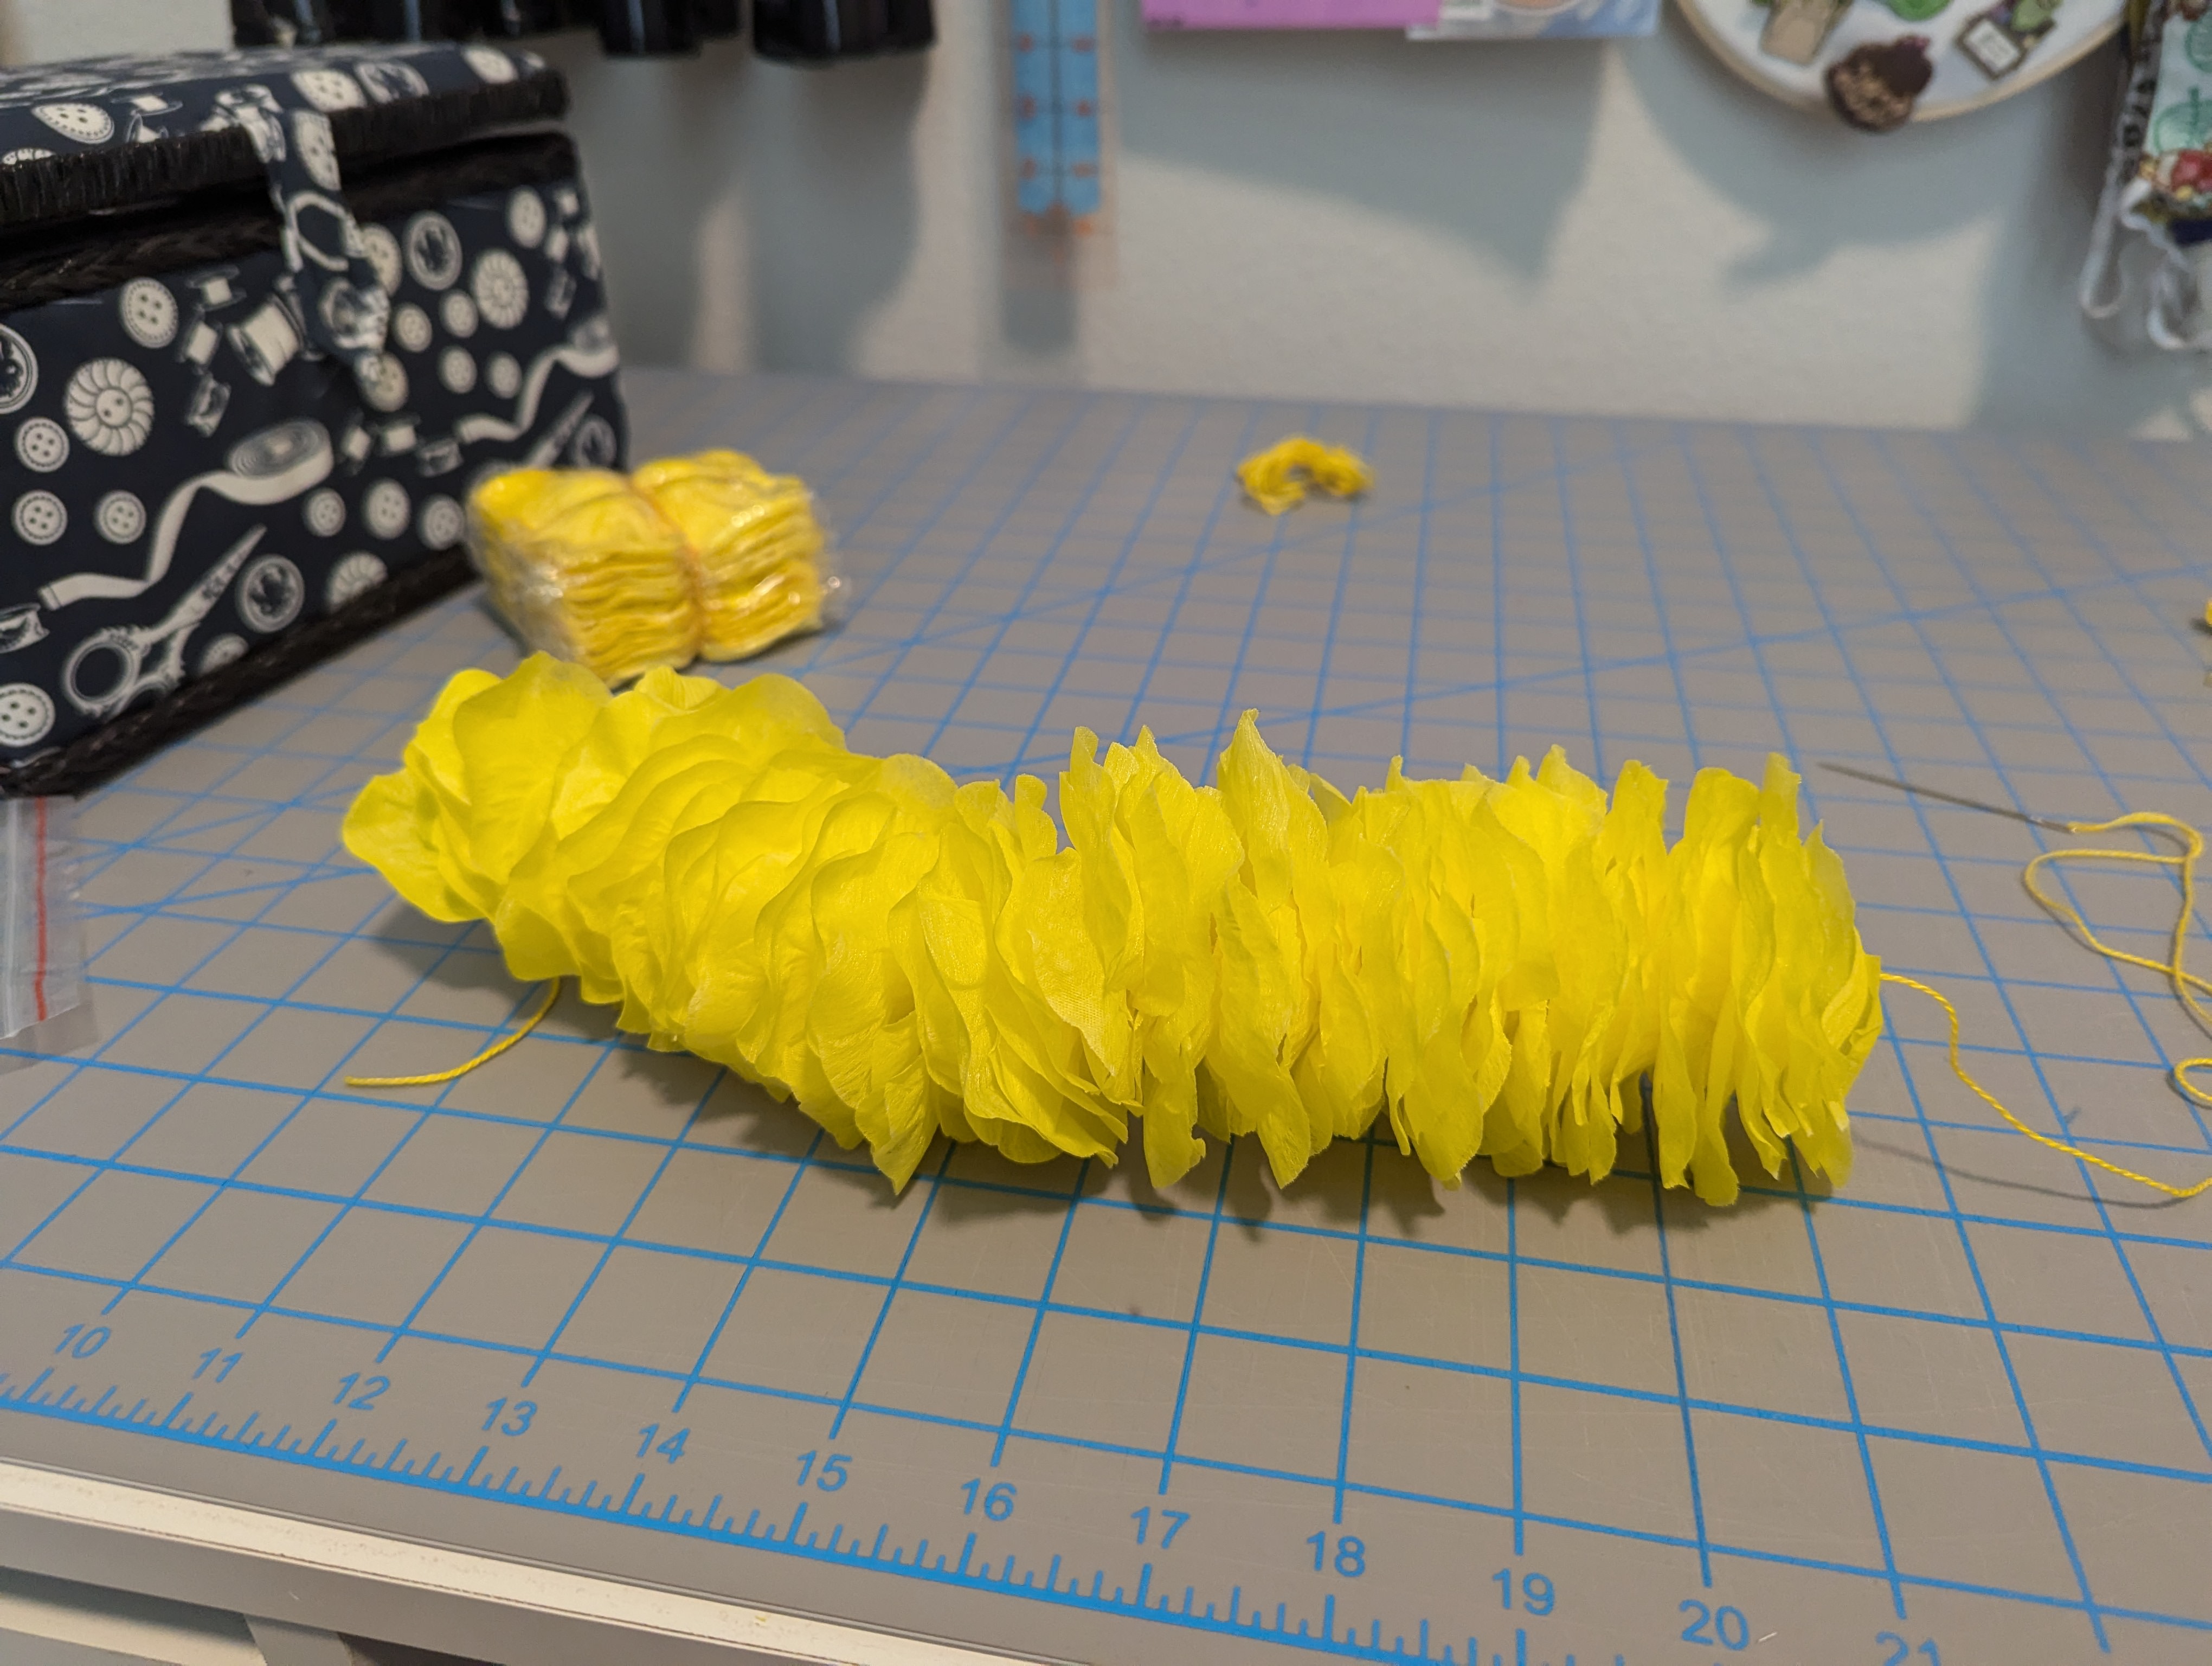
Making it was as simple as cutting a length of embroidery floss, knotting off one end, and poking a hole in each individual petal. It took 80 minutes and 500 petals total. (Listening to podcasts helped pass the time.)


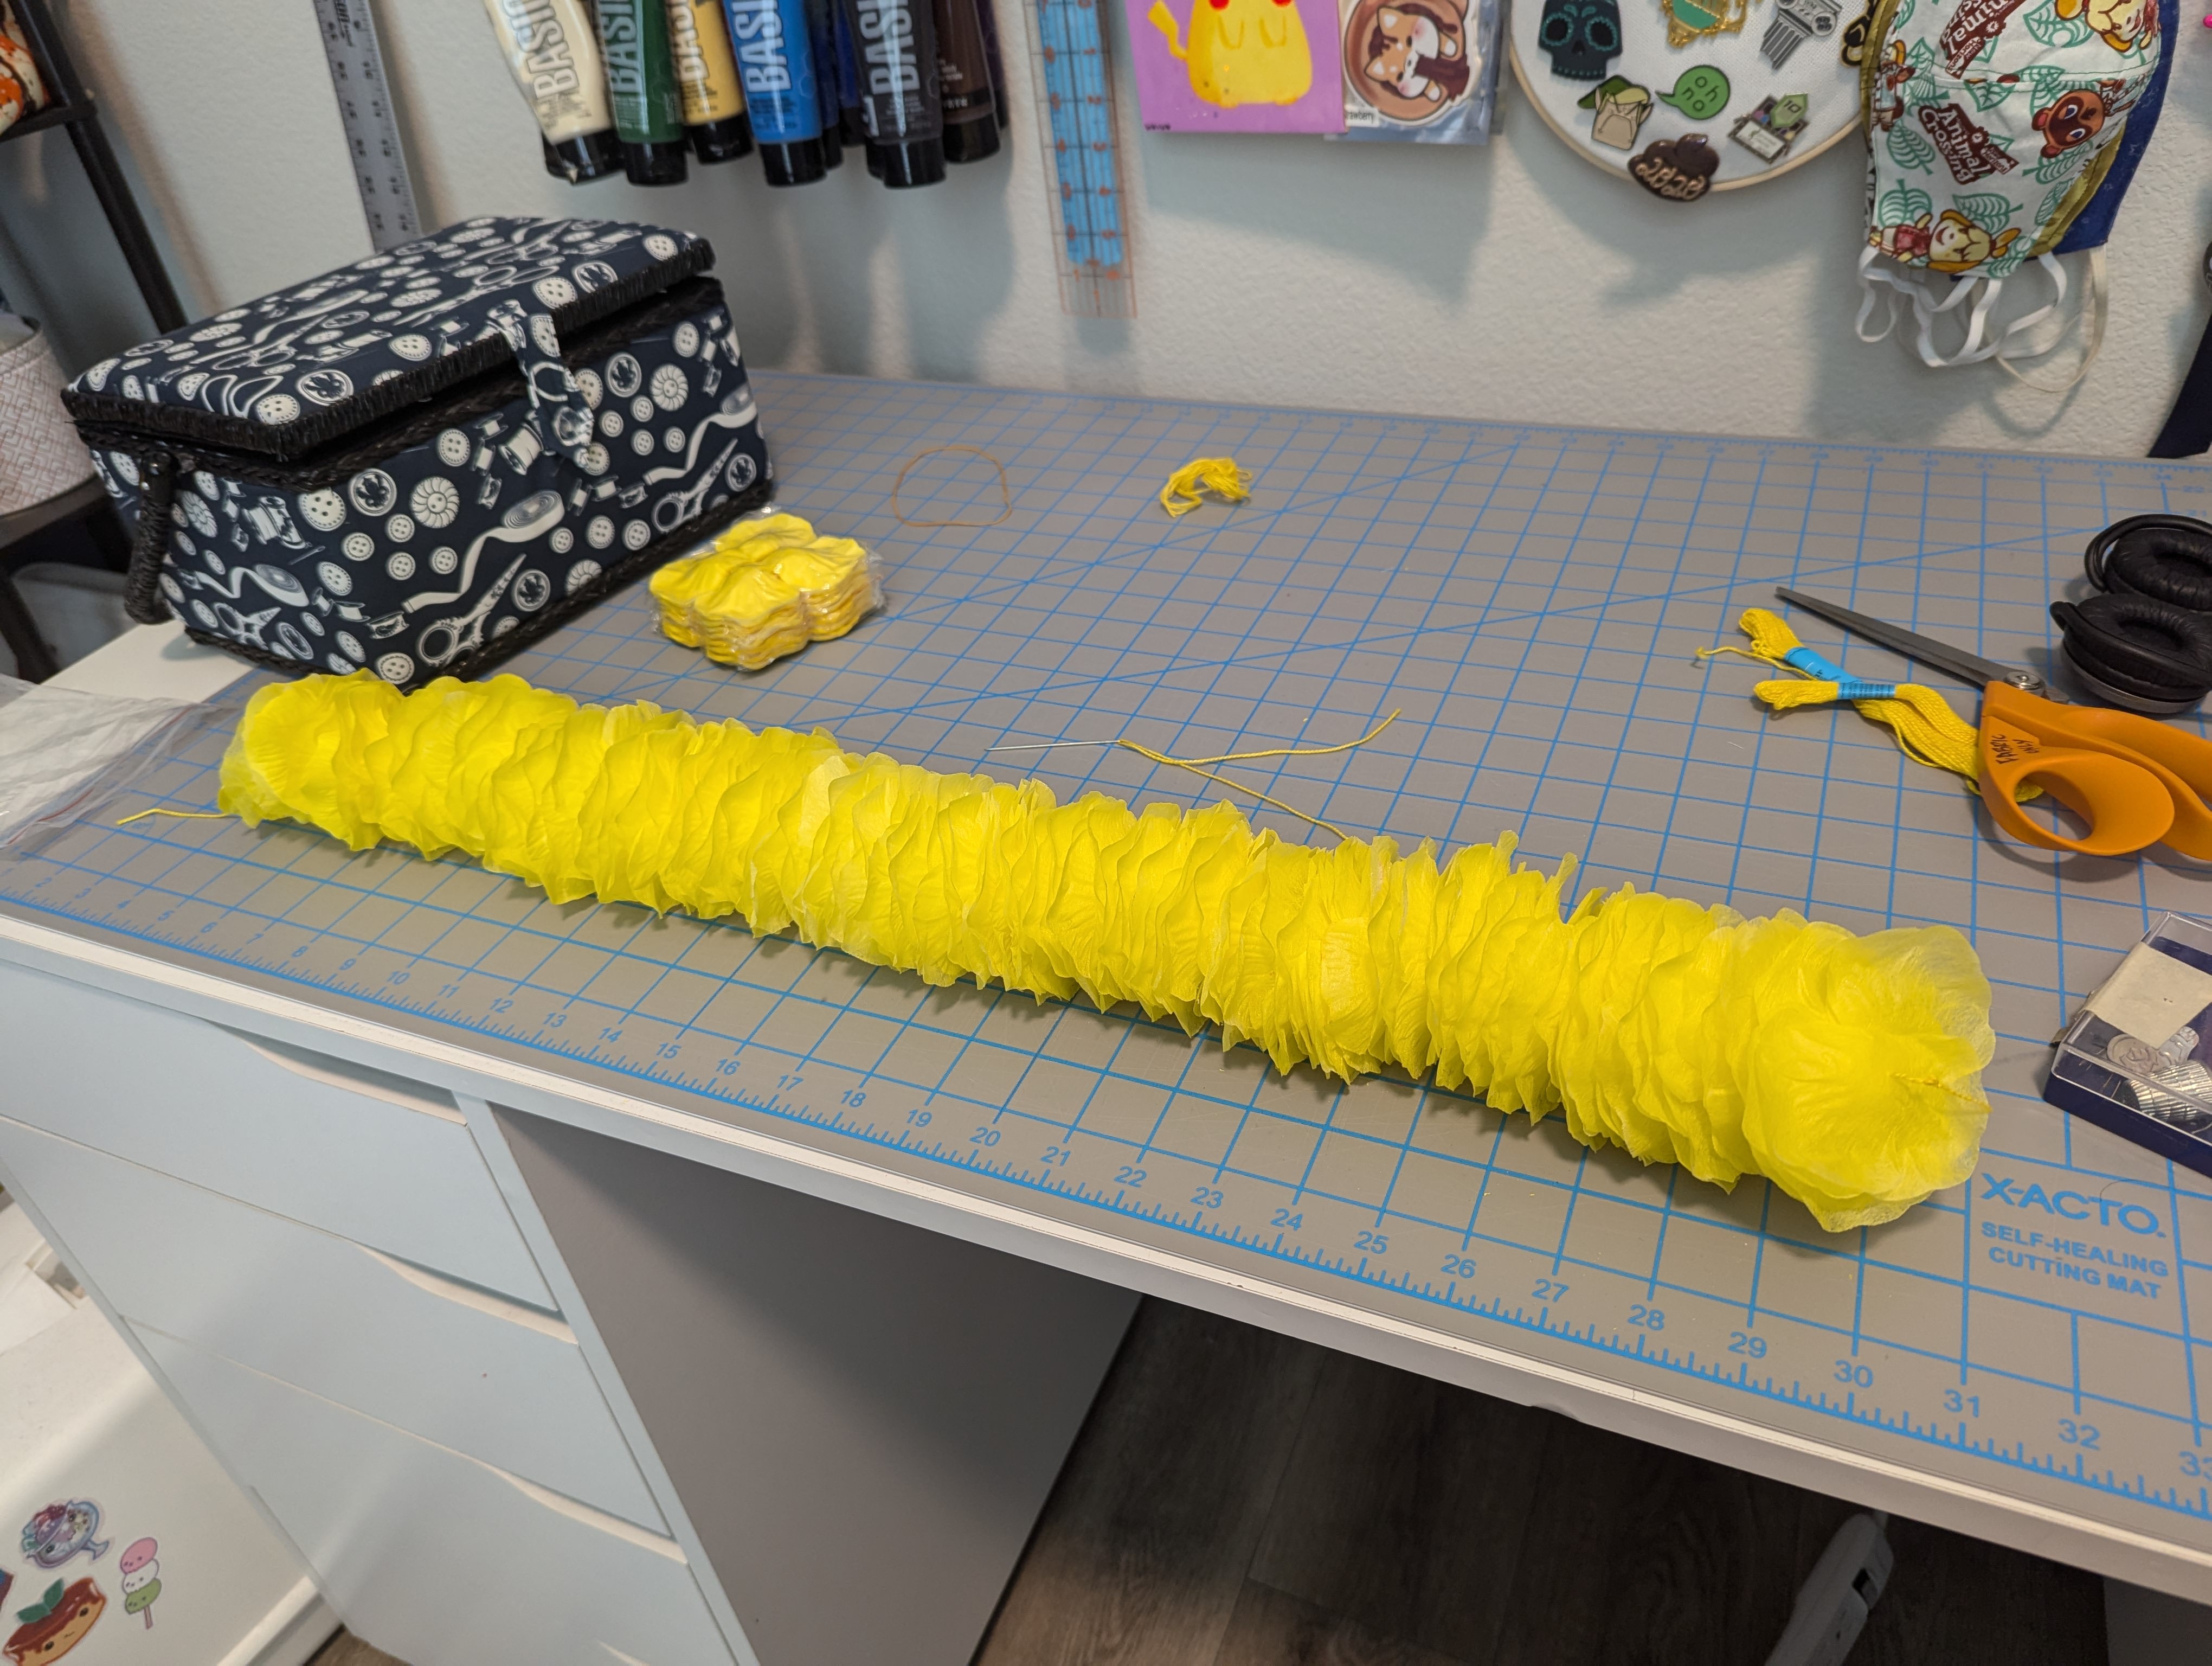
I didn’t fully cover the string because I didn’t want the sensation of it scratching the back of my neck, so I left about 8″ of embroidery floss on the end and tied the two ends together, knotting it a few times for good measure.
Other accessories
I bought a few more things to complete the look. Two were things I already wanted to buy for myself outside of cosplay, so this just gave me an excuse to finally do it.
- Set of 5 silver bangles
- A black canvas messenger bag (it’s brown in the show, but black matches more of my wardrobe)
- Black ballet flats with straps


With all those put together—and locating an old, long black wig—the cosplay was complete!
I’m happy with how quickly and easily this cosplay came together. It was nice getting some quality practice time in on my serger and immediately seeing the benefits of it. I’m really pleased with the color blocking of the dress as well as how easily the lei came together.


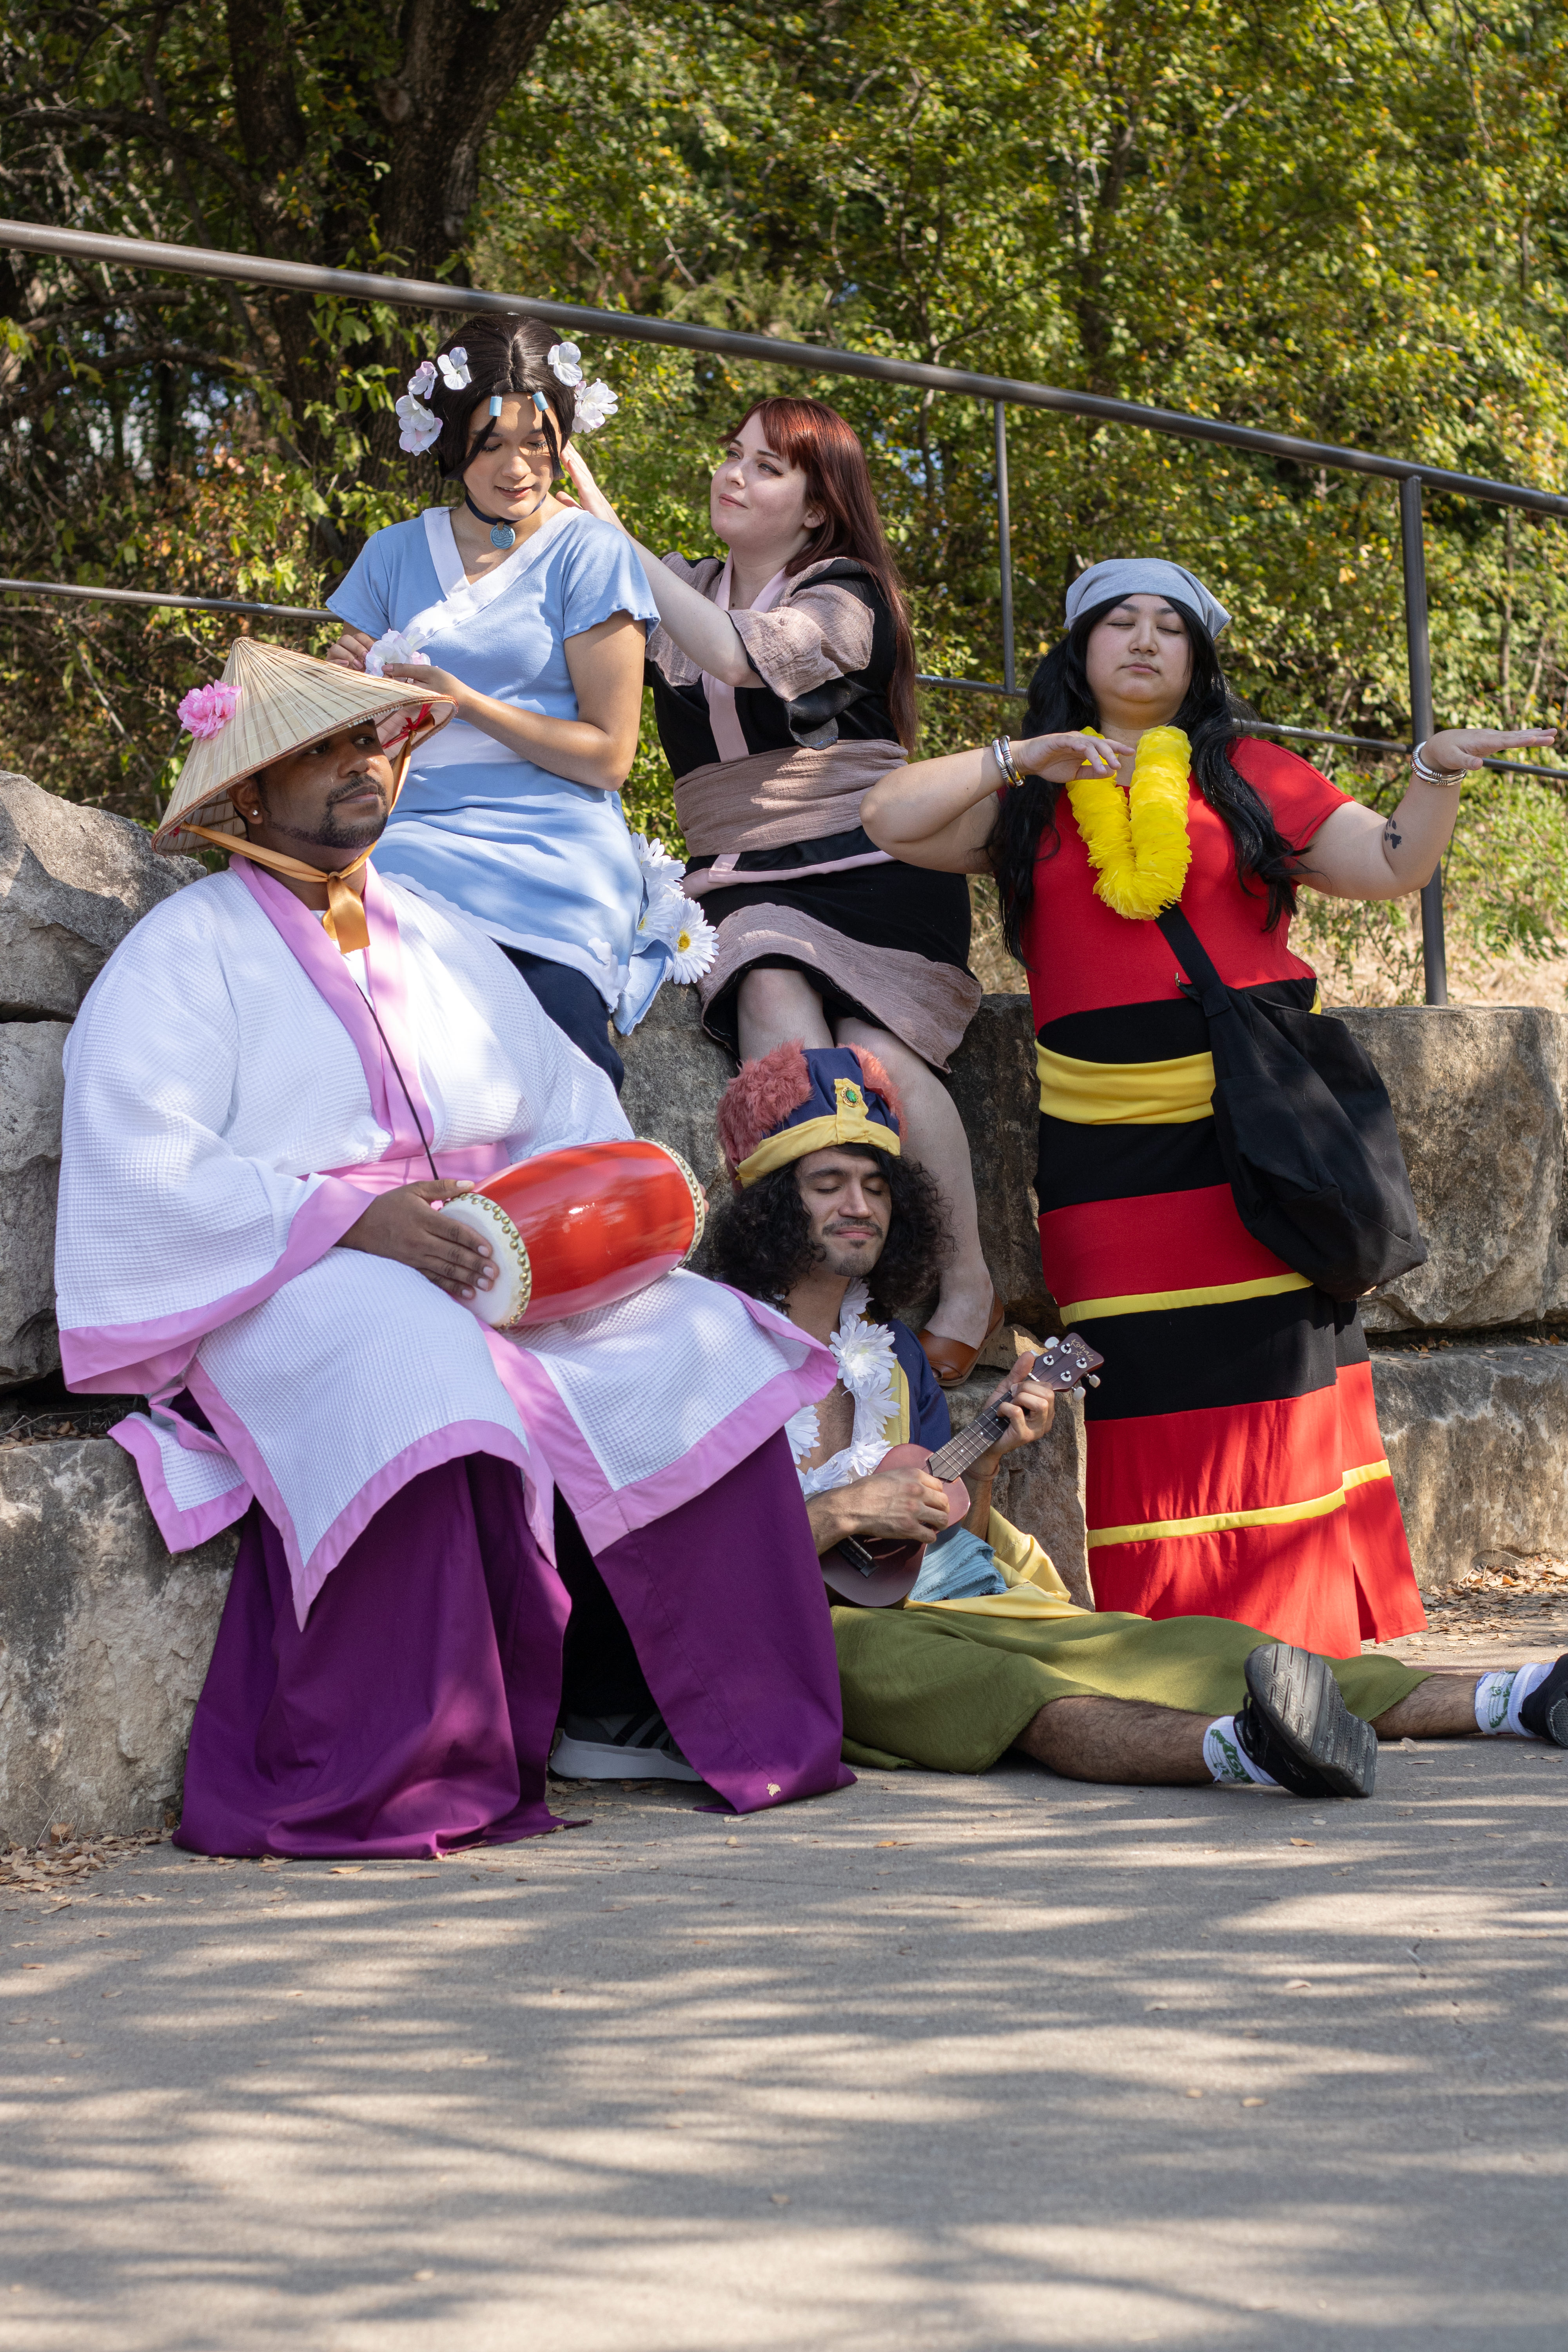
Photos by xaeri
Use my build post as inspiration? Let me know!
If you followed along with my build post to help you make your cosplay, I’d love to see it! Leave me a comment or send me an email at ashweezcosplay(at)gmail(dot)com. If you’re comfortable with it, I’d love to showcase your cosplay photo(s) in the blog! I will of course give you credit and link to any socials you may have.

Leave a comment