

In Part I of this series, I went over my research for my wedding dress. Today’s post will focus on buying everything necessary for the project and a short blurb about making the mockup.
Constant Vigilance! Inspiration can strike at any moment!
After getting engaged, it didn’t take very long to start buying pieces for the dress. I had done my research and knew what pattern I wanted, so I bought it at my local Joann’s. Later in the process, the design of the dress would change, but I was still able to incorporate this original pattern.
In January, I went to the Humane Society of Central Oregon Thrift Store as a volunteer project with some coworkers. We were tasked with sorting clothing donations and helping to stock said donations downstairs in the shop. After we were done volunteering, we were given some time to shop around and look for anything we might like. I found a display of 3-4 wedding dresses and of course started looking in earnest for inspiration and anything that could help me with my dress. I found one dress in particular that had beautiful fabric. I tried it on and it was too small; I couldn’t even zip it up all the way. But the fabric was irresistible and the whole dress only cost $25! So I bought it.


The dress sat in the bathroom for a very long time as I kept delaying getting it dry-cleaned. Then, a few months later, Jason and I moved back to Texas. My mom graciously had the dress dry-cleaned and I spent a good 4 hours seam ripping it to get to that sweet, sweet fabric.
As I mentioned before, the original idea for my design of the dress changed. This actually happened because I was telling a friend about a cosplay idea I had that I would love to make and enter into a cosplay contest. He said that I should try to do something similar for my wedding dress and I just knew I had to. With that, I had to go buy a new pattern as well as more fabric. The $25 thrift store dress would still very much come in handy, but these changes meant it was going to look nothing like initially intended.
Buying Supplies AKA This Wedding Dress is Brought to You by Joann’s
Here’s a breakdown of all the things I ended up buying for my wedding dress, from cheapest to most expensive:
- Dress pattern – $1.99 (Joann’s)
- Baby blue bias tape – $1.99 (Joann’s) – For “something blue,” even though it wouldn’t be seen at all since it’ll be used as boning casing, but I would still know.
- White 14″ invisible zipper – $3.49 (Joann’s) – This ended up being used for the mockup.
- Baby blue 14″ invisible zipper – $3.99 (Joann’s) – For “something blue!”
- Snaps – $5.99 (Joann’s)
- 1 yard of boning with casing – $6.99 (Joann’s)
- 3 yards of Interfacing – $8.97 (Joann’s)
- Bra cups – $9.99 (Joann’s)
- Tear away stabilizer – $9.99 (Joann’s)
- Skirt pattern – $10.77 (Joann’s)
- Lining fabric – $13.78 (Joann’s) – I forgot to write down how many yards of this I got.
- 4 yards of 2″ horsehair braid – $16.50 (Amazon)
- Wedding dress – $25 (Humane Society Thrift Store) – For “something old!”
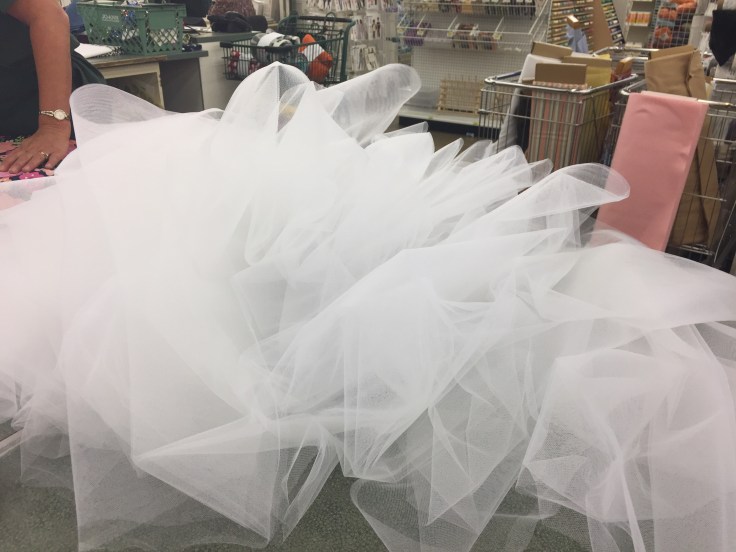
- ~17 yards of white tulle – $26.82 (Joann’s)
- Lace appliqués – $42.85 (Etsy: here and here)
- 4 yards of “Paradise” Peau De Soie fabric – $115.75 (The Dessy Group via Circle Park Bridal)
Total: $304.86
Not too shabby
Regardless of what the average or median cost of a wedding dress in the Unites States is, a little over $300 is not bad at all! And sources can’t really agree on that magical number anyway. The Knot’s 2016 Real Wedding Study says that the average cost of a wedding dress for 2016 was $1564. The Wedding Report in 2016 reported that the average was $890. And then multiple publications are siting Lyst’s survey, stating that the average is $998 for 2017, down from $1334 for 2016. It’s also important to note that all these sites (WhatWhatWear, Cosmopolitan, Allure, and HelloGiggles) all quote Lyst’s survey which I cannot find anywhere. When they link out to Lyst, they only link out to Lyst.com, not a specific survey. It’s also worth noting that 2017 isn’t actually over yet, so that $998 figure may not be very accurate. But who cares about an average anyway? Buy whatever you’re comfortable with! You do you! I just happen to want to do me by doing it myself and spending less than $400.
Onto the mockup!
I delayed this part of the dress for a while. I gave myself a warmup project by making myself a new skirt using a pattern I had held onto for years. After making the skirt, I finally had to accept that it was time to start in earnest on this dress.
I started by making a mockup of the dress, using the $1.99 dress pattern I had purchased. Mom was gracious enough to let me use some bed sheets as mockup fabric, so I didn’t have to go and buy muslin. I tried to be as precise as possible when making the mockup. For whatever reason, I decided to skip the interfacing part: most likely due to laziness and a desire to save supplies for the actual dress. The mockup actually turned out great! I never fully completed it, choosing to forgo hemming the yoke or adding that final button in favor of starting the actual dress. The mockup fit fine and I didn’t want to waste anymore time.
Unfortunately, I won’t be sharing a picture of the mockup or me in said mockup because I feel like the cut of the pattern itself is a bit of a spoiler. (I’ll most likely update this blog post after the wedding with the spoilery details I’m choosing to leave out now.) Instead, please enjoy these timelapse videos of me working on it:
https://www.instagram.com/p/BVYeP3MB9mx/?taken-by=ashweezcosplay
https://www.instagram.com/p/BVqVEN2BJr9/?taken-by=ashweezcosplay
The Real Deal
Next step is the Real Deal. The actual dress. As of writing this, I’d say I’m about 30% done with the final dress. It’s going about as smoothly as I had hoped it would. My only real goal being to finish before Halloween, so I can enjoy the holiday season. It’s so exciting to see it taking shape and I can’t wait to write the next blog post about it. I’ll warn you that it’s going to be months until that happens because the next post will be about sewing the final dress, and I won’t be sharing that until after the wedding in January. Sorry folks!

Leave a comment