

In my previous post, I talked about making three pinafores/skirts. They were so much fun to make and having something I could wear daily is such a nice change compared to cosplays that only get worn once in a while. A retirement party as well as a insatiable urge to continue creating led me to making matching vests for the brown and black skirts.
The One-Day Vest
After getting invited to a tita’s (aunt) retirement party and learning that the theme was “bohemian attire,” I realized I had absolutely nothing that suited that style. A dress, maybe, but it would need some accessories to make it work. After doing a little research, I settled on adding two things to the dress to make it feel more boho: a brown hat from Amazon and a brown vest using the leftover fabric from my brown pinafore.
President Loki Saves the Day
It helps to have an existing garment that already fits; makes patterning so much easier. And as luck would have it, I had a green vest from my President Loki cosplay that still fit me okay. (Not great, but not terrible.) Using the large roll of butcher paper I have, I traced out patterns for the front panels as well as one back panel.


Then, using my ruler, I added a seam allowance all around of half an inch before cutting the paper patterns out. For the lining, I used some fabric I had in my stash. For the fashion layer, I ended up not having enough brown linen left over from the pinafores, so I used what I could for the front and then supplemented the back piece by using the black linen, knowing that it’s the exact same type of fabric
Lining as a Mockup
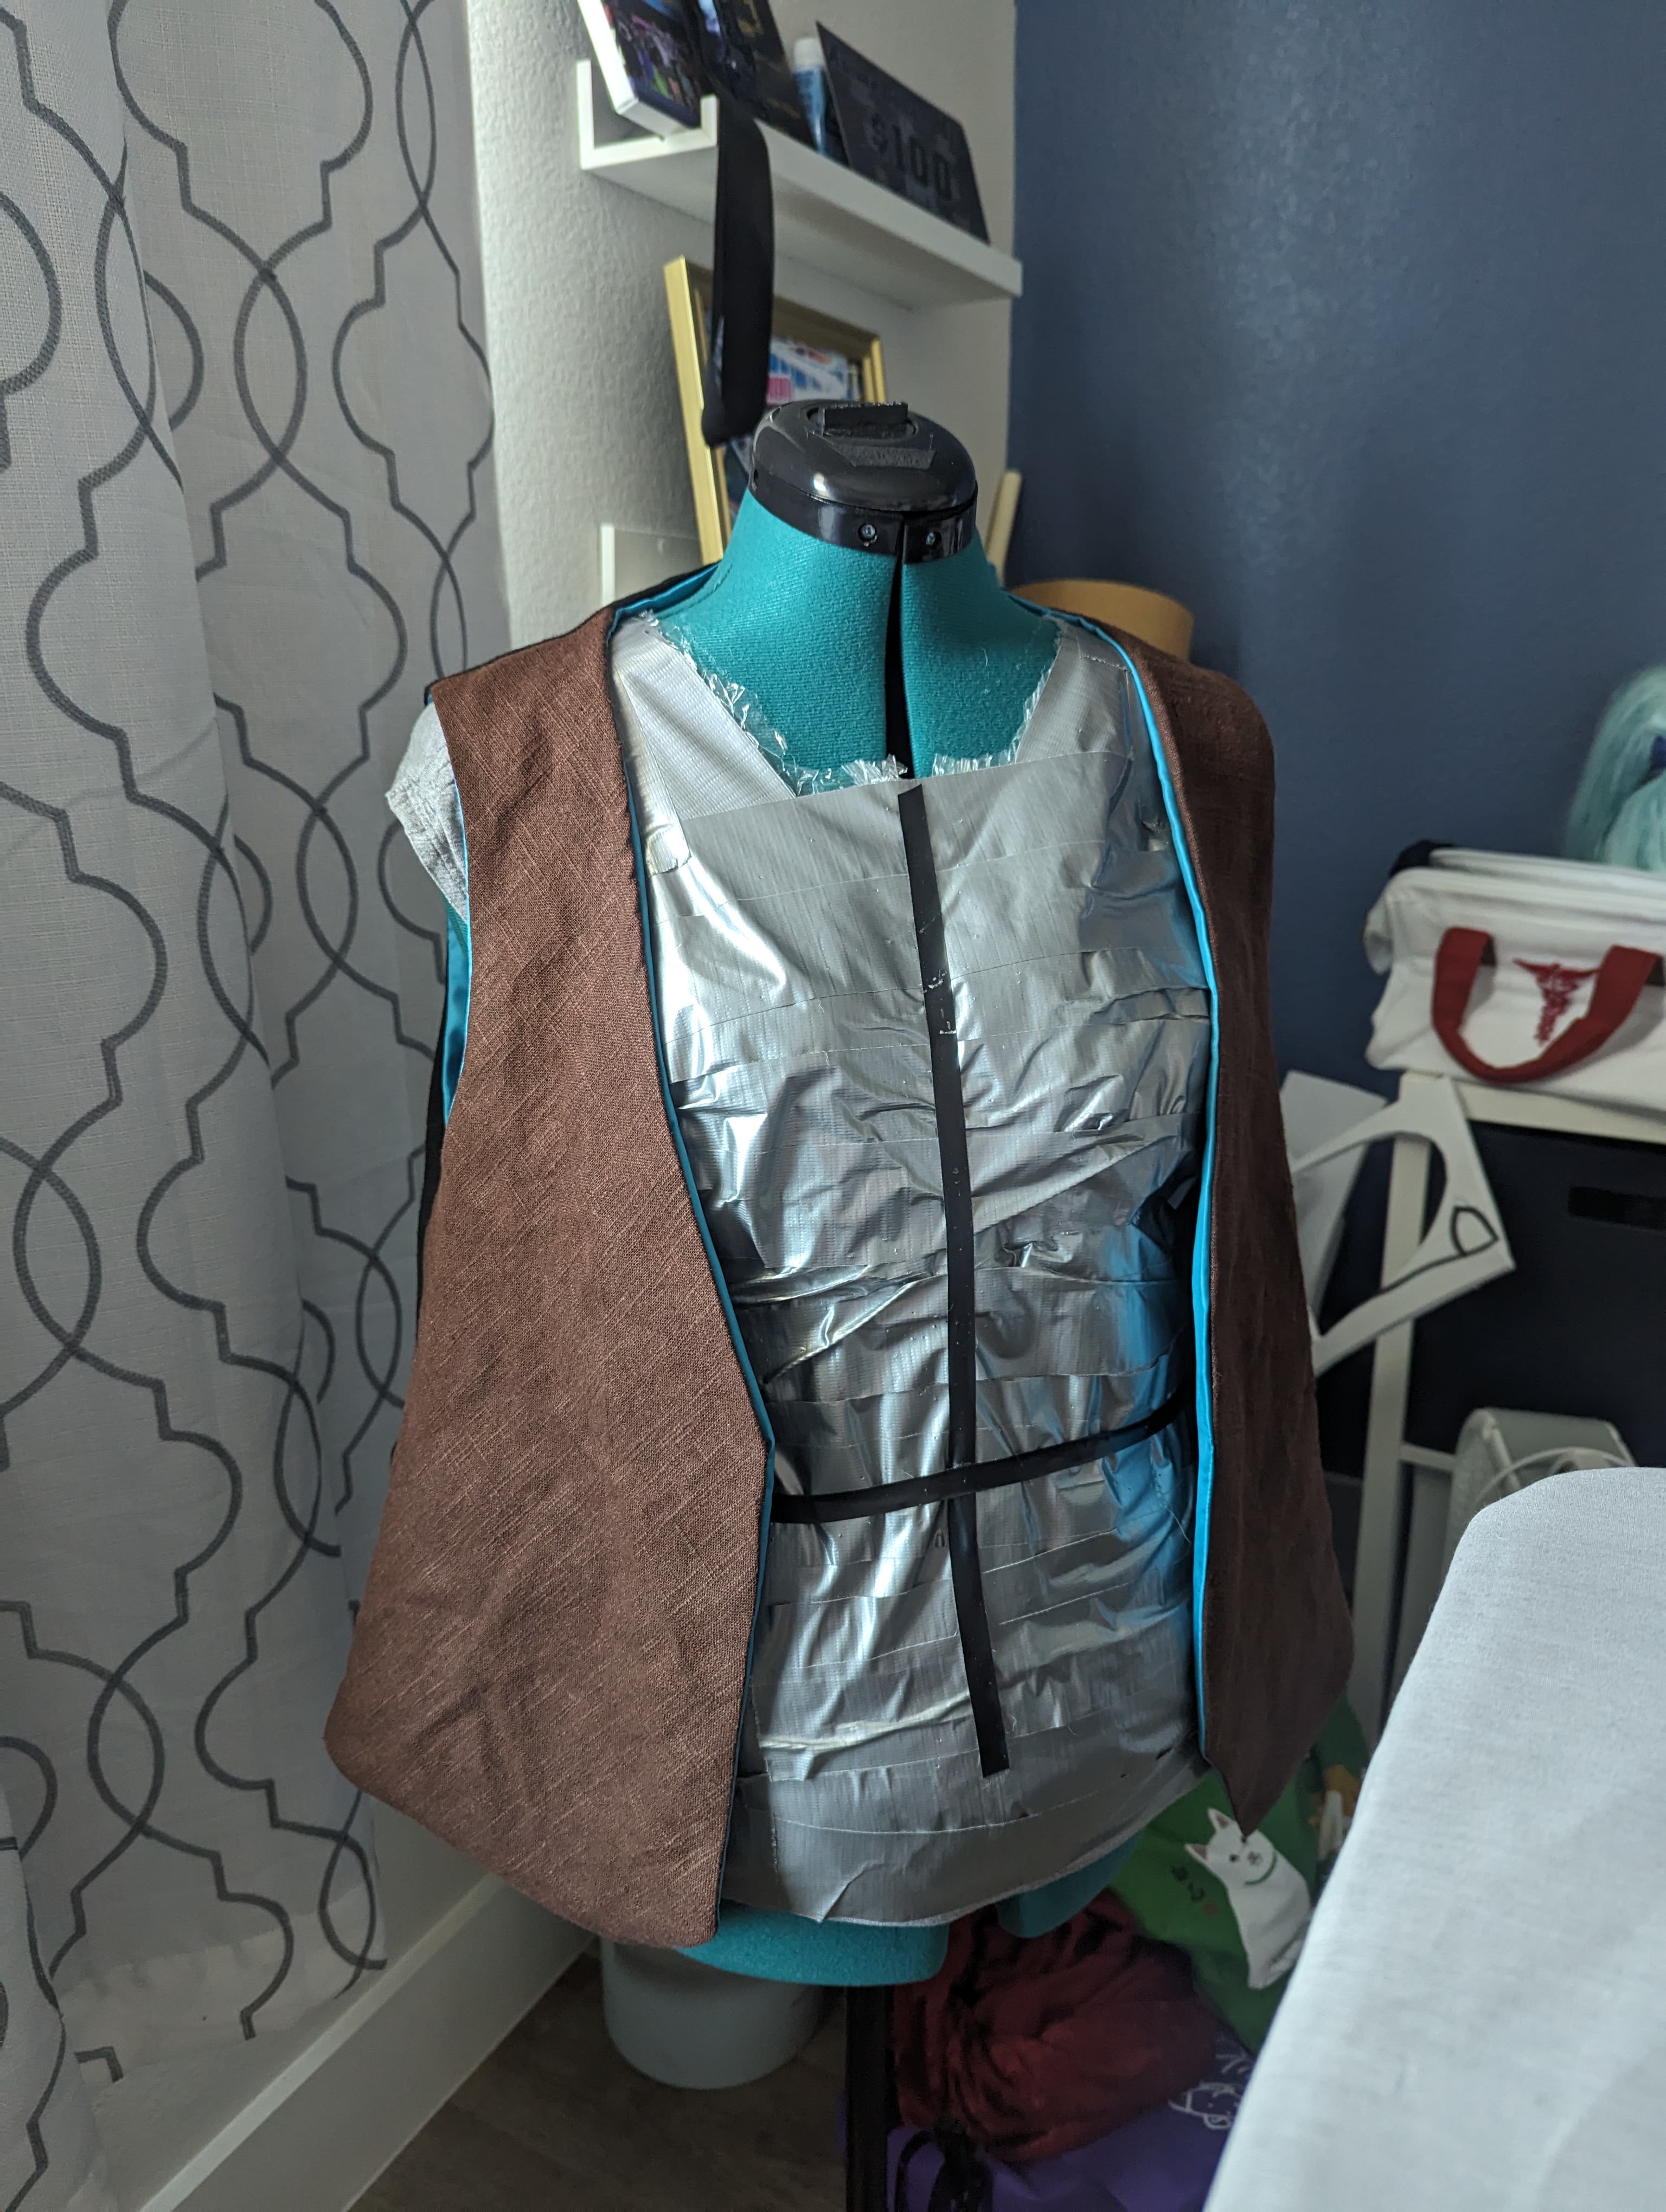
First step: lining. Much like my Kali cosplay, I was using the lining as my mockup. Risky, but efficient when you’re on a time crunch, and I was certainly in a time crunch considering I made this decision the morning of the party.


This post will be a little sparse on pictures as I was prioritizing building over documenting. It happens way more often than it should.


WTF is the Order of Operations for This???
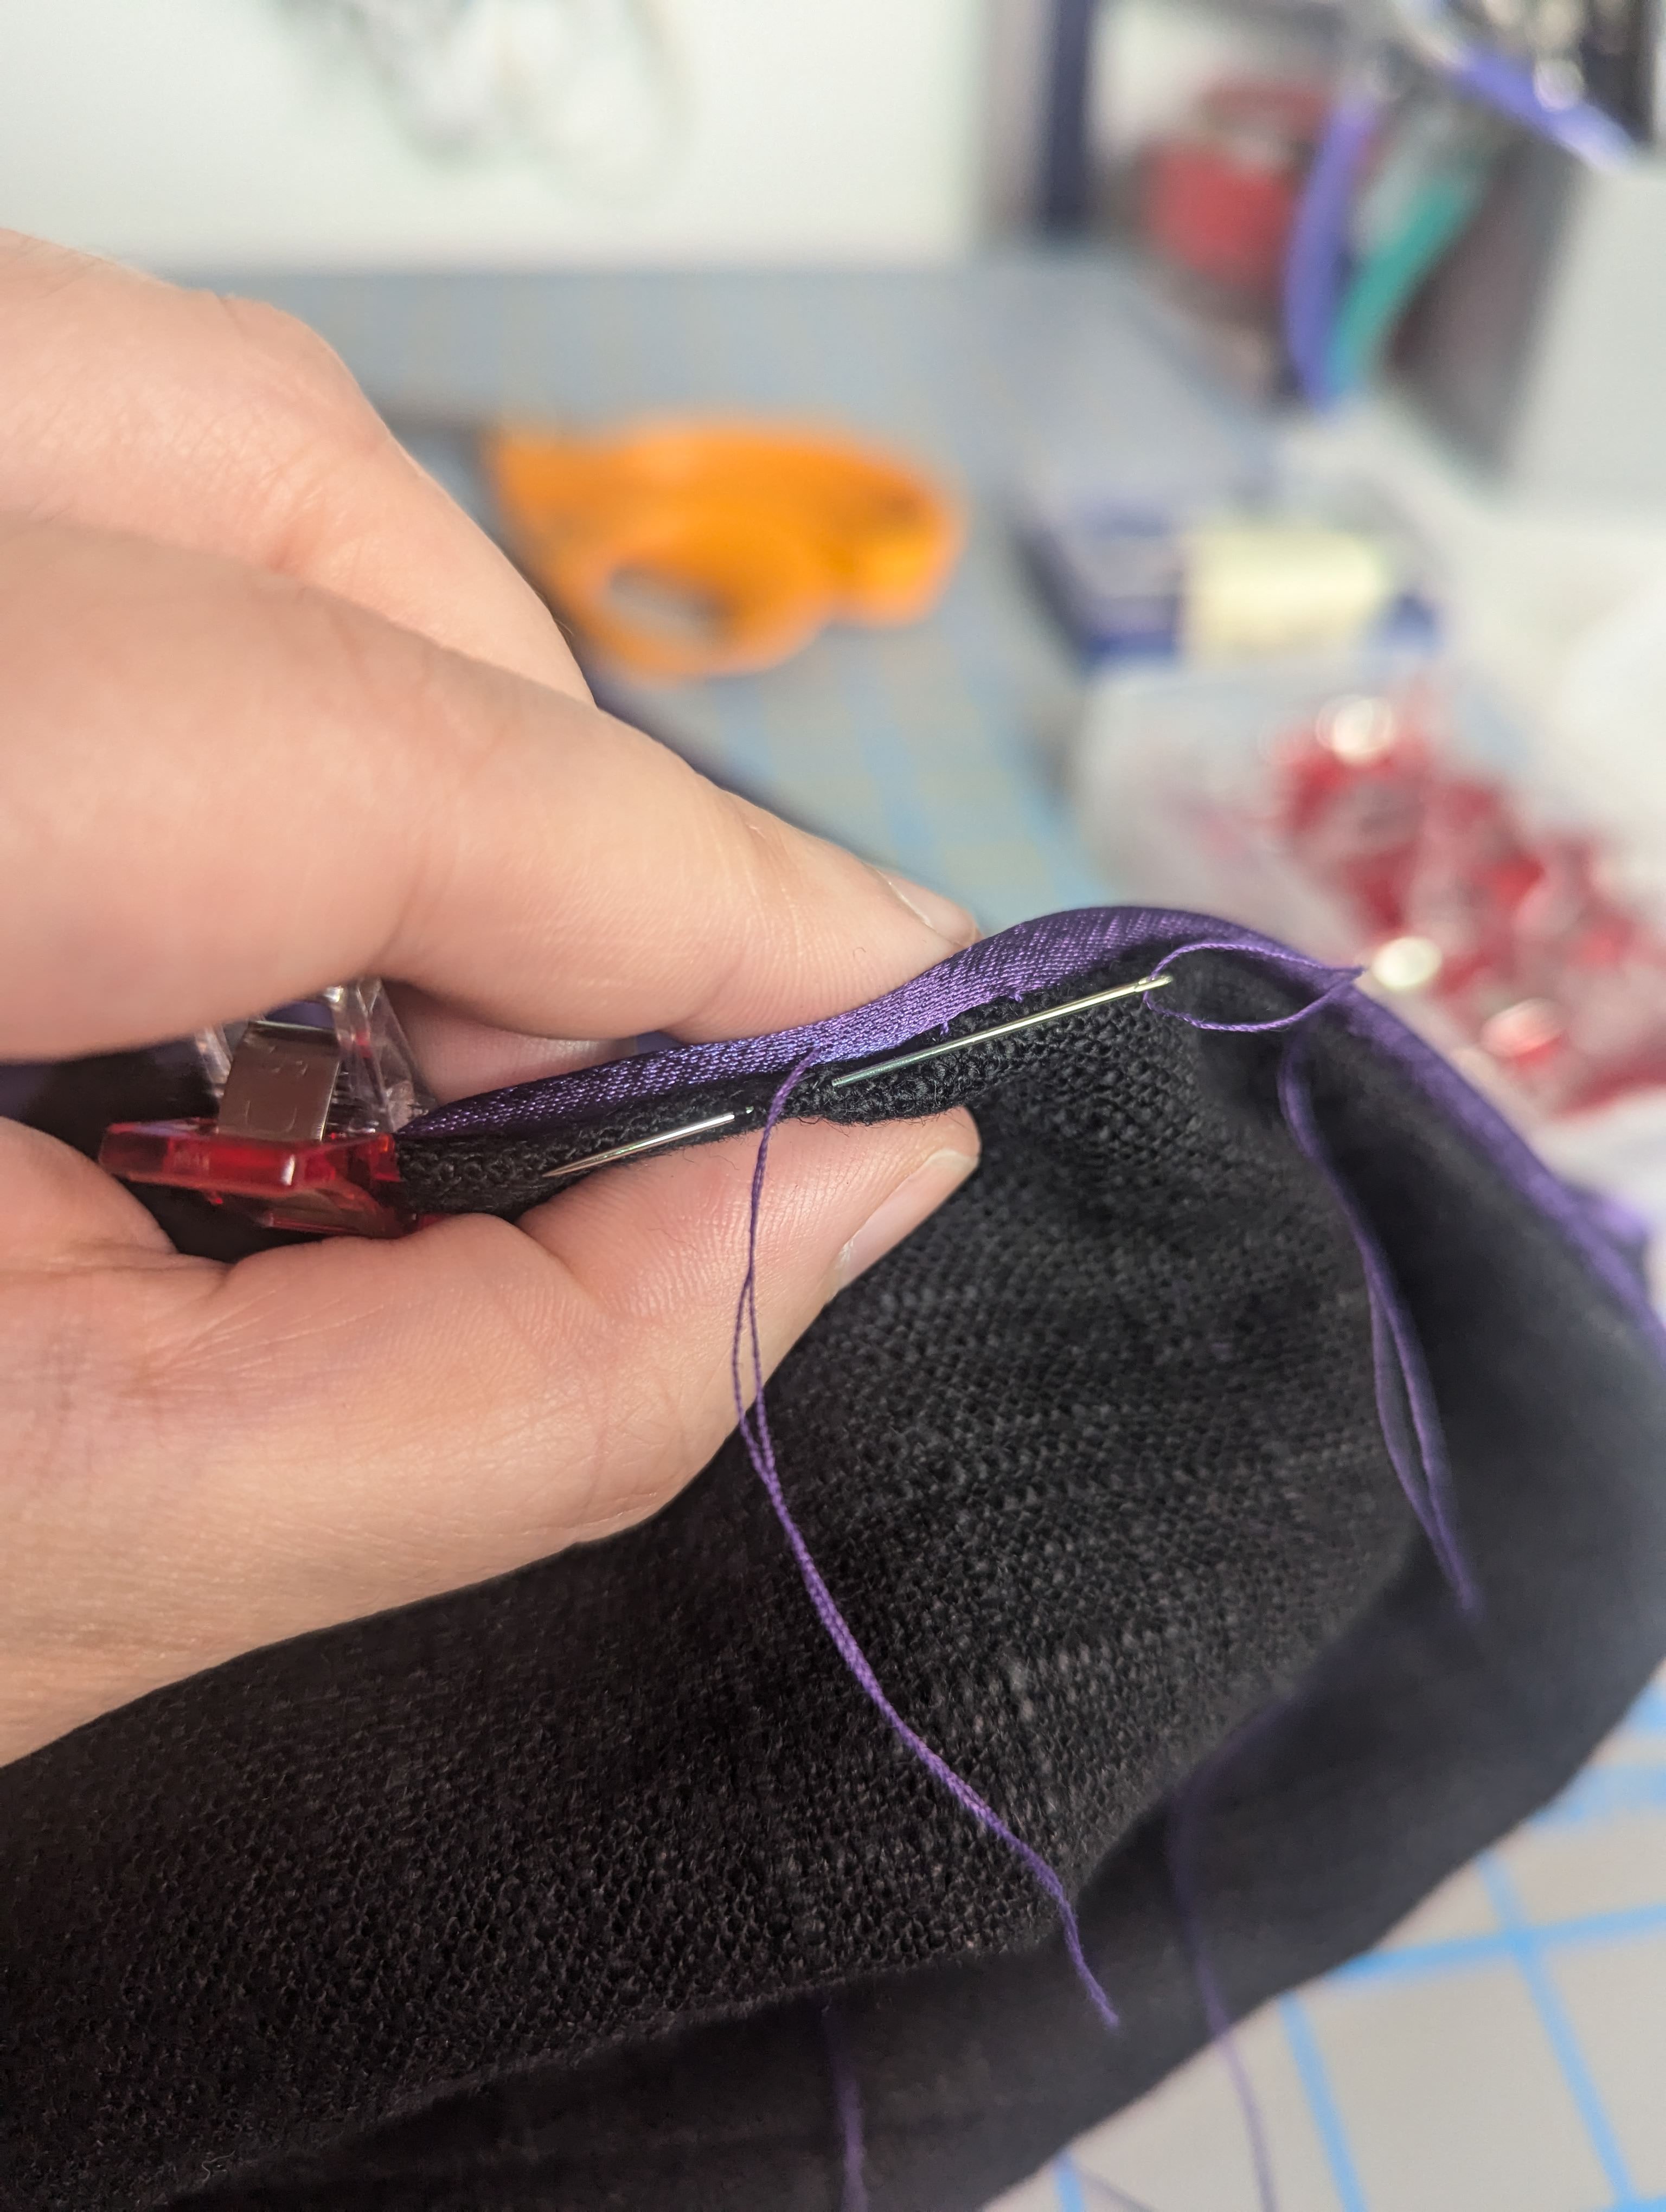
I will take the time now to shout-out this vest tutorial for helping me with the entire process. I used the first method and referred to this website constantly during the build. At one point, I proceeded to clip and stitch the pieces on wrong, resulting in having to seam rip before trying again—a mistake I probably wouldn’t have made if I had been taking my time and sufficient breaks.

I also made a point of actually pressing my seams open. I’ve been doing that a lot more lately (and have added a clapper to my wish list). It really does make life so much easier. I finally took that season of Making the Cut I had watched to heart. (The amount of times I saw the contestants ironing or pressing their garments during the mad rush of sewing really drove the point home of how important it is for making everything look clean and professional.)
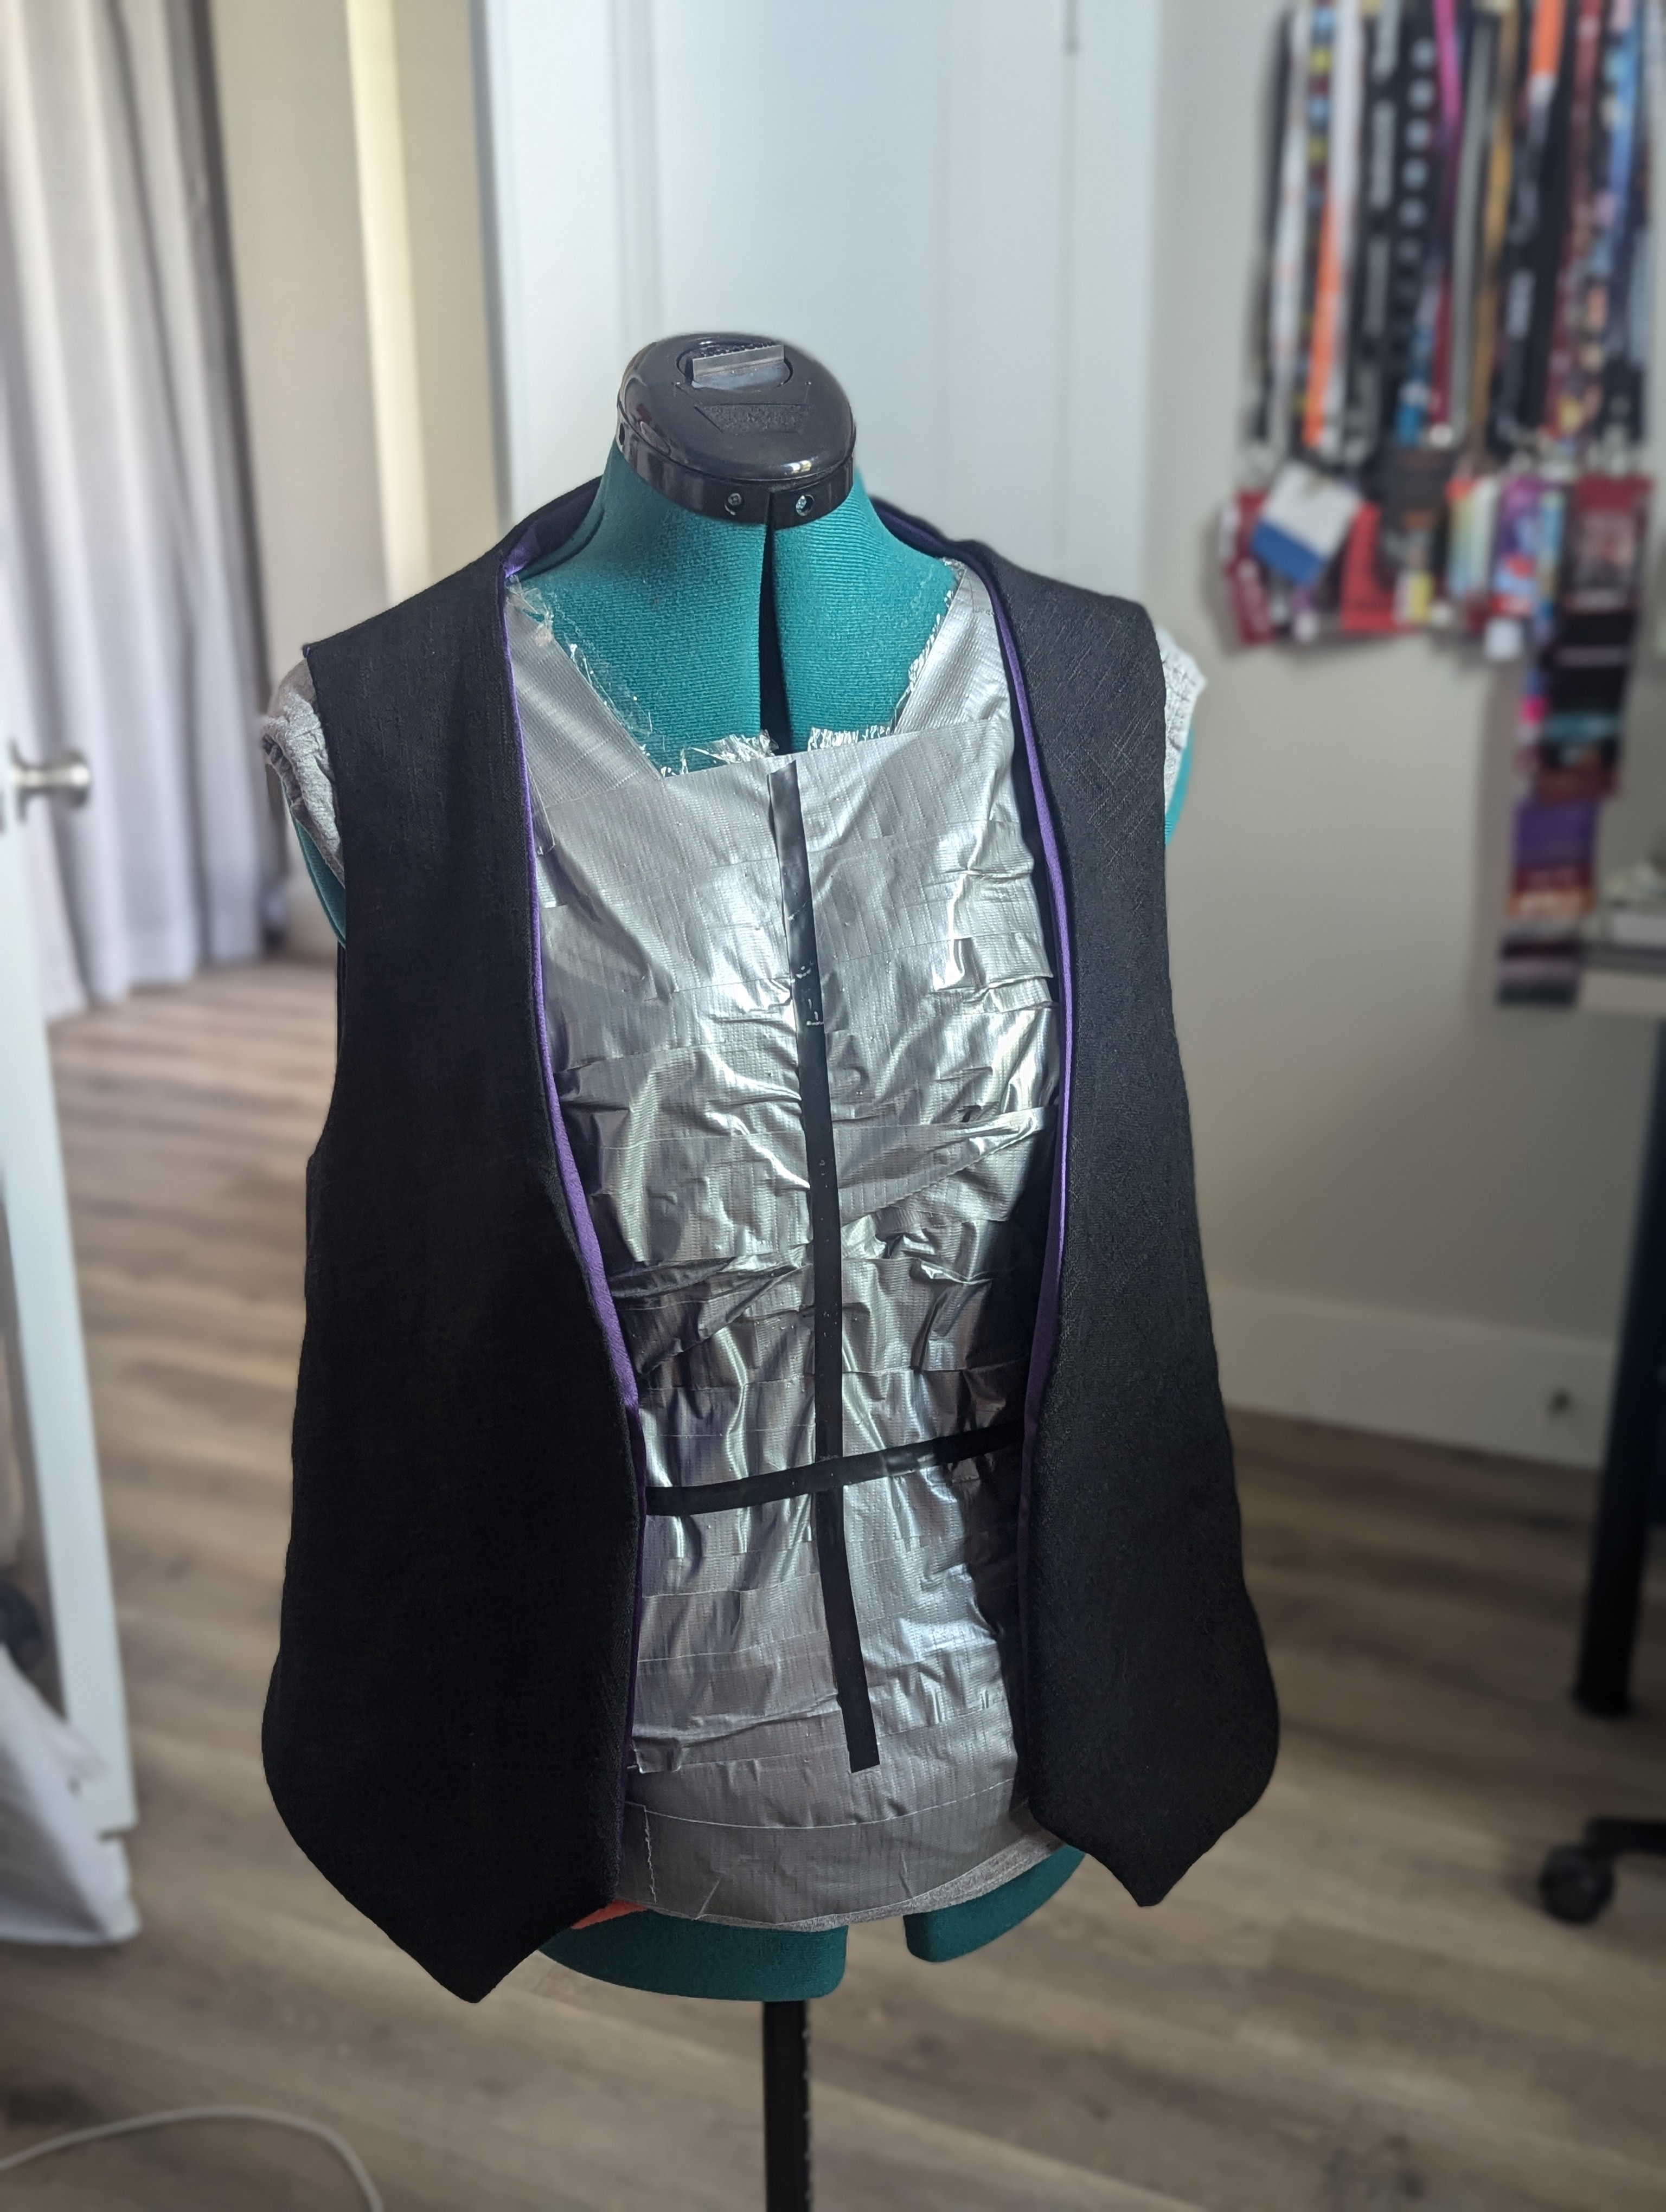
I didn’t bother with buttons at this stage. Time was running out and I had zero intention of wearing it closed anyway. So I called this project Good Enough for the retirement party.


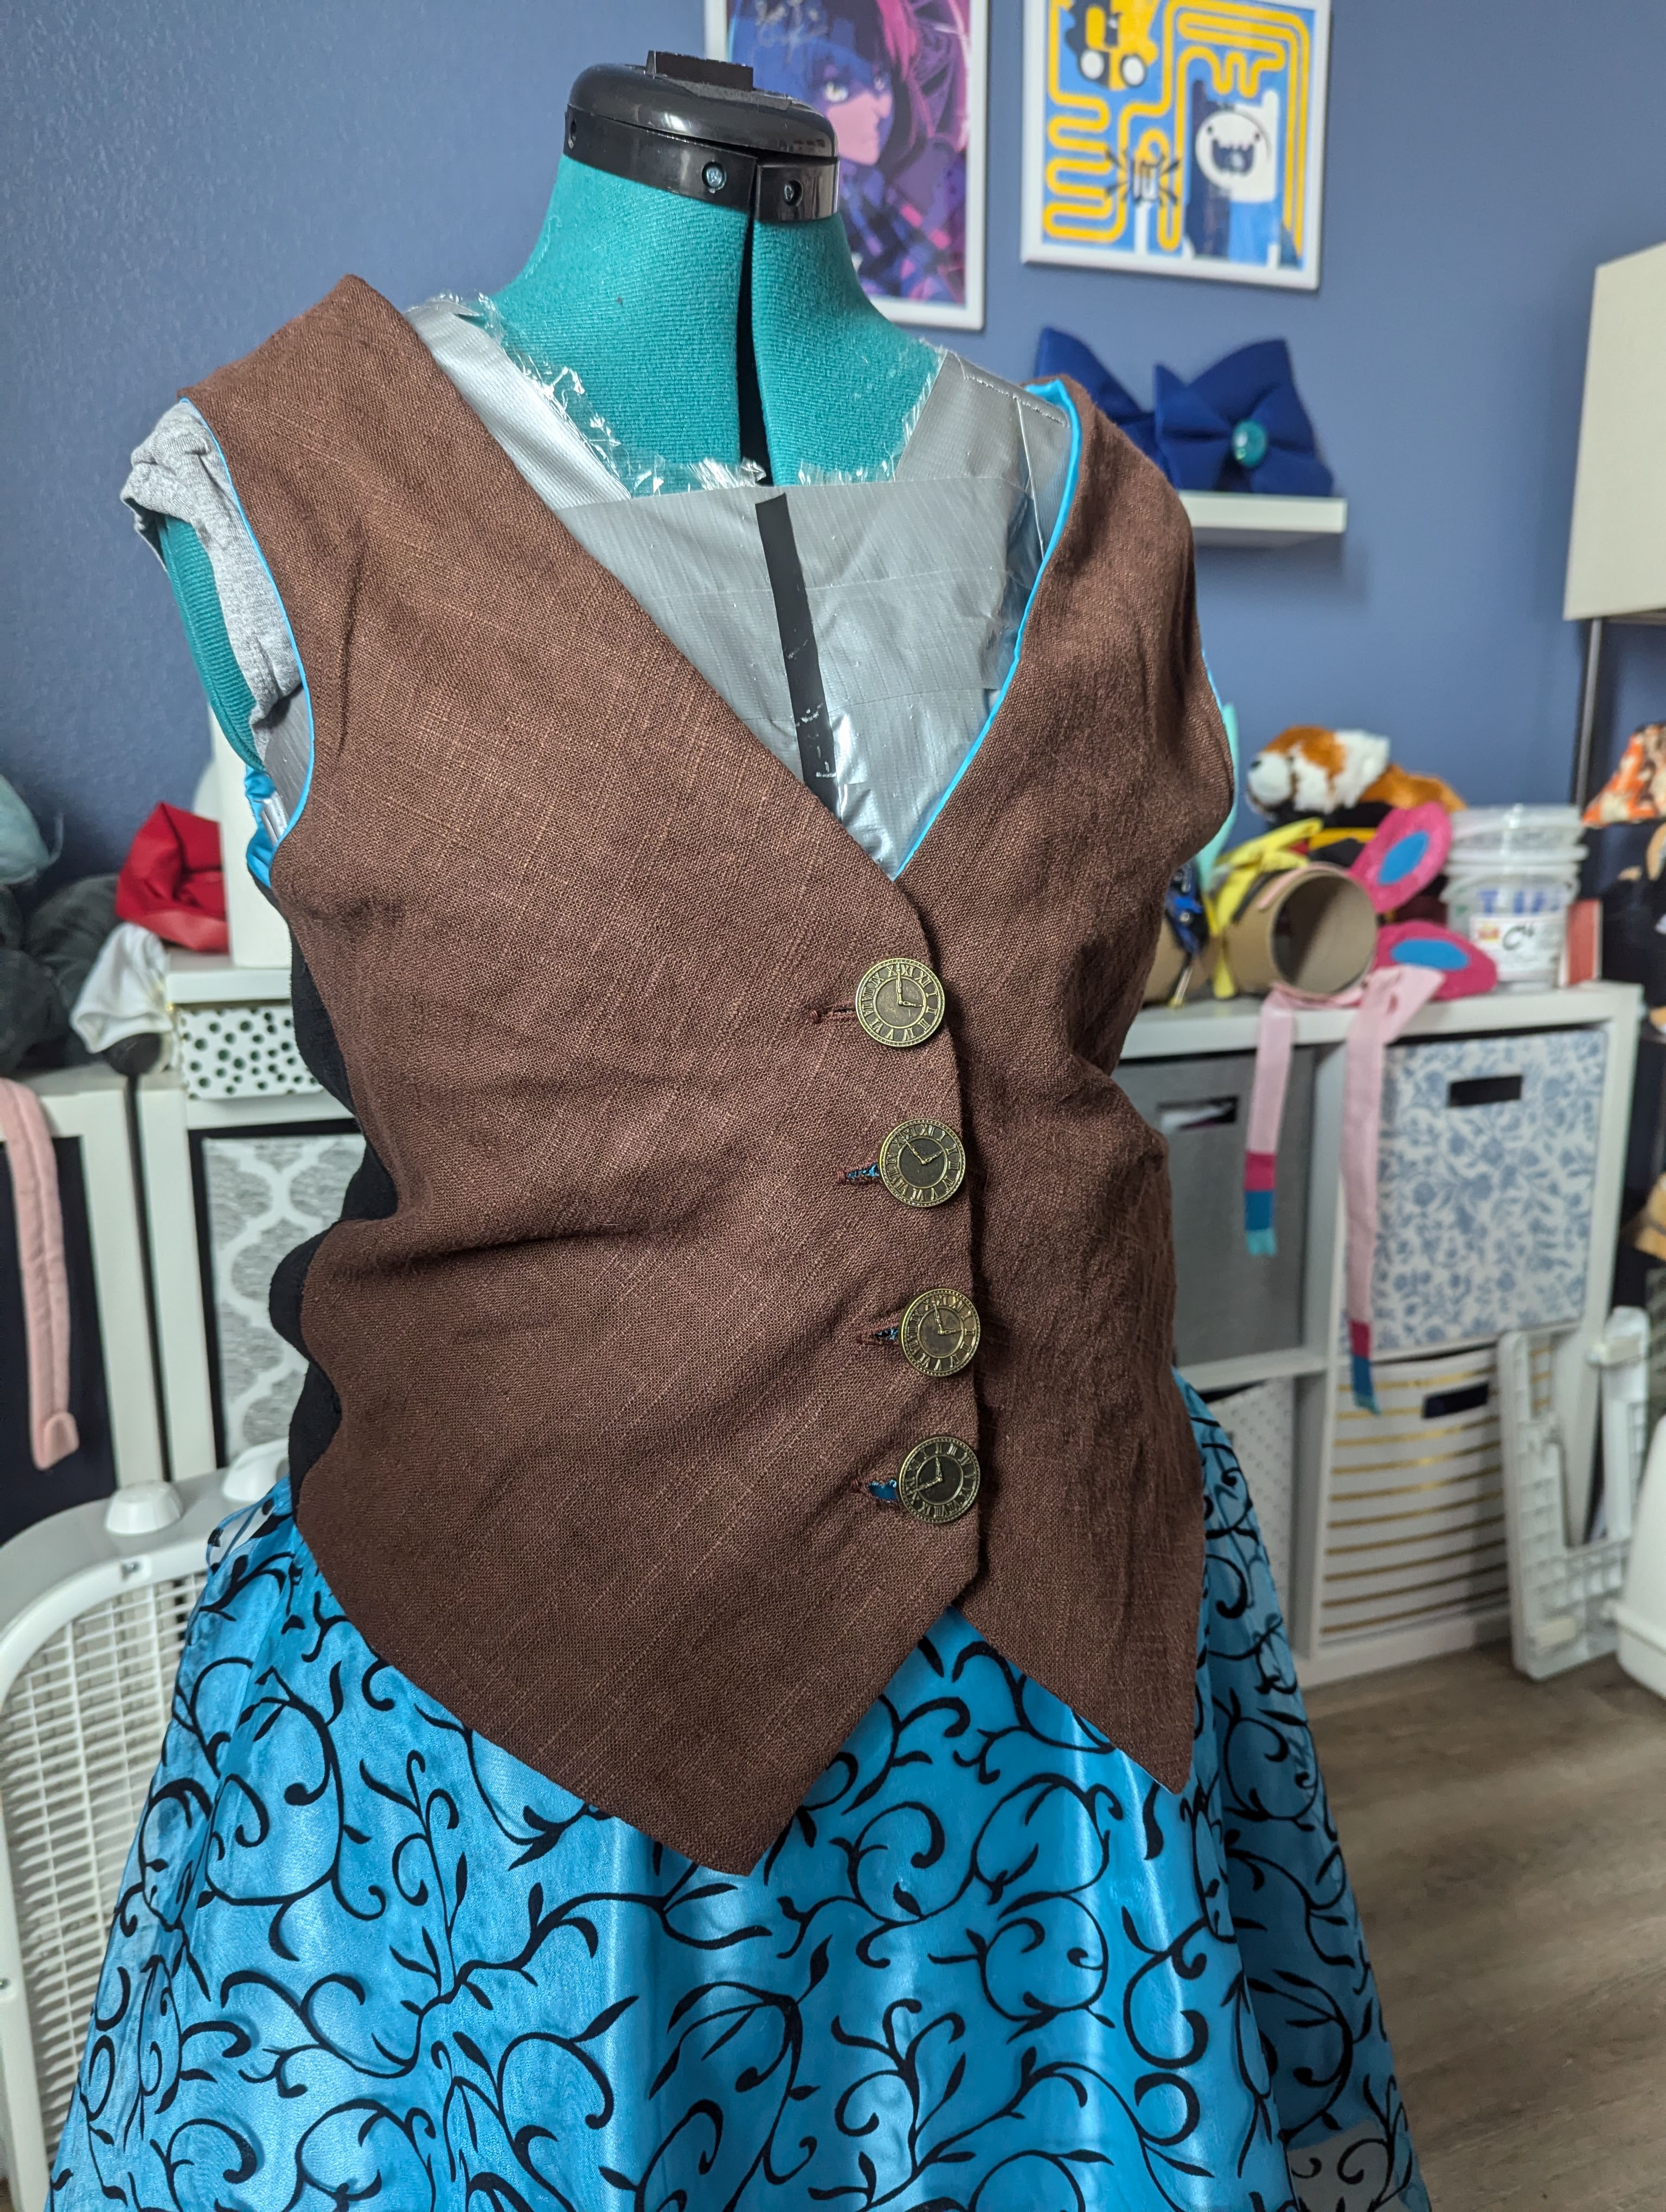
Clock Buttons Make a Triumphant Return
Later, I added the four remaining clock buttons to the vest. Predictably, this was spurred on by wanting to complete something for a themed party, namely a chill D&D themed hangout. My fit was not fantastical in the slightest, but it was nice to have an excuse to finish the vest.

Slight blog post spoiler in one of the above photos. Can you spot it?
Again! But Much Faster!
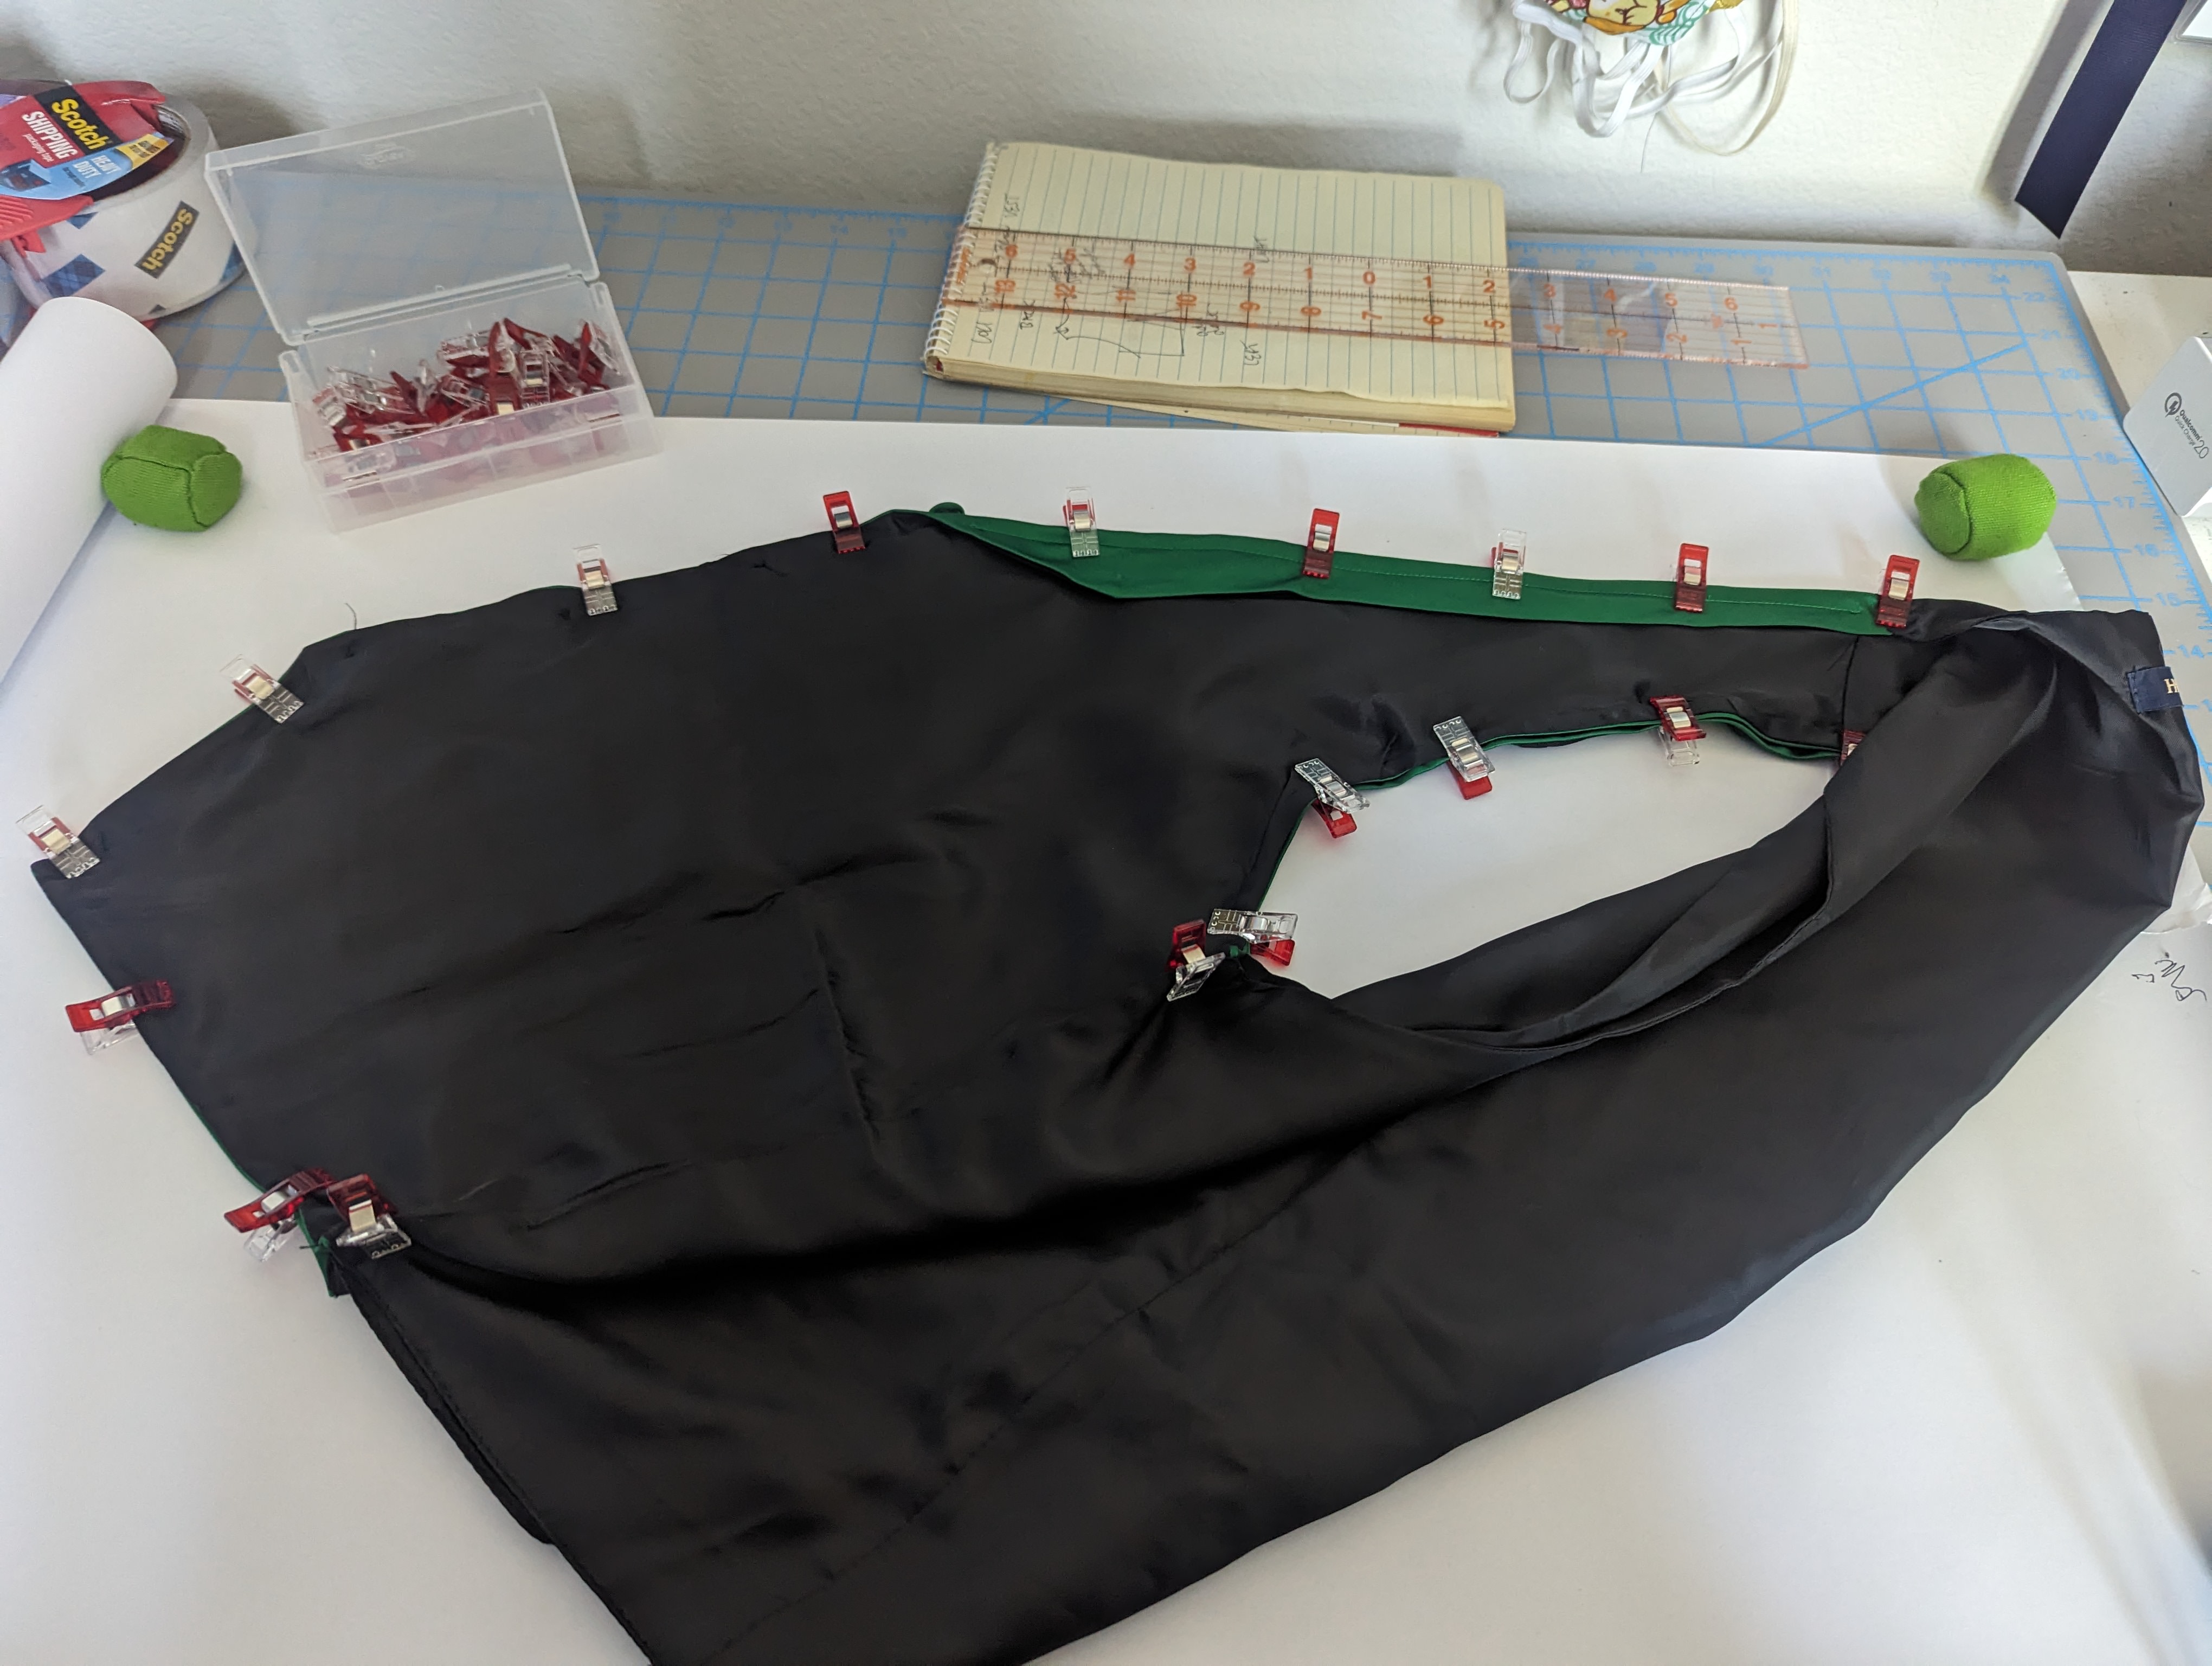
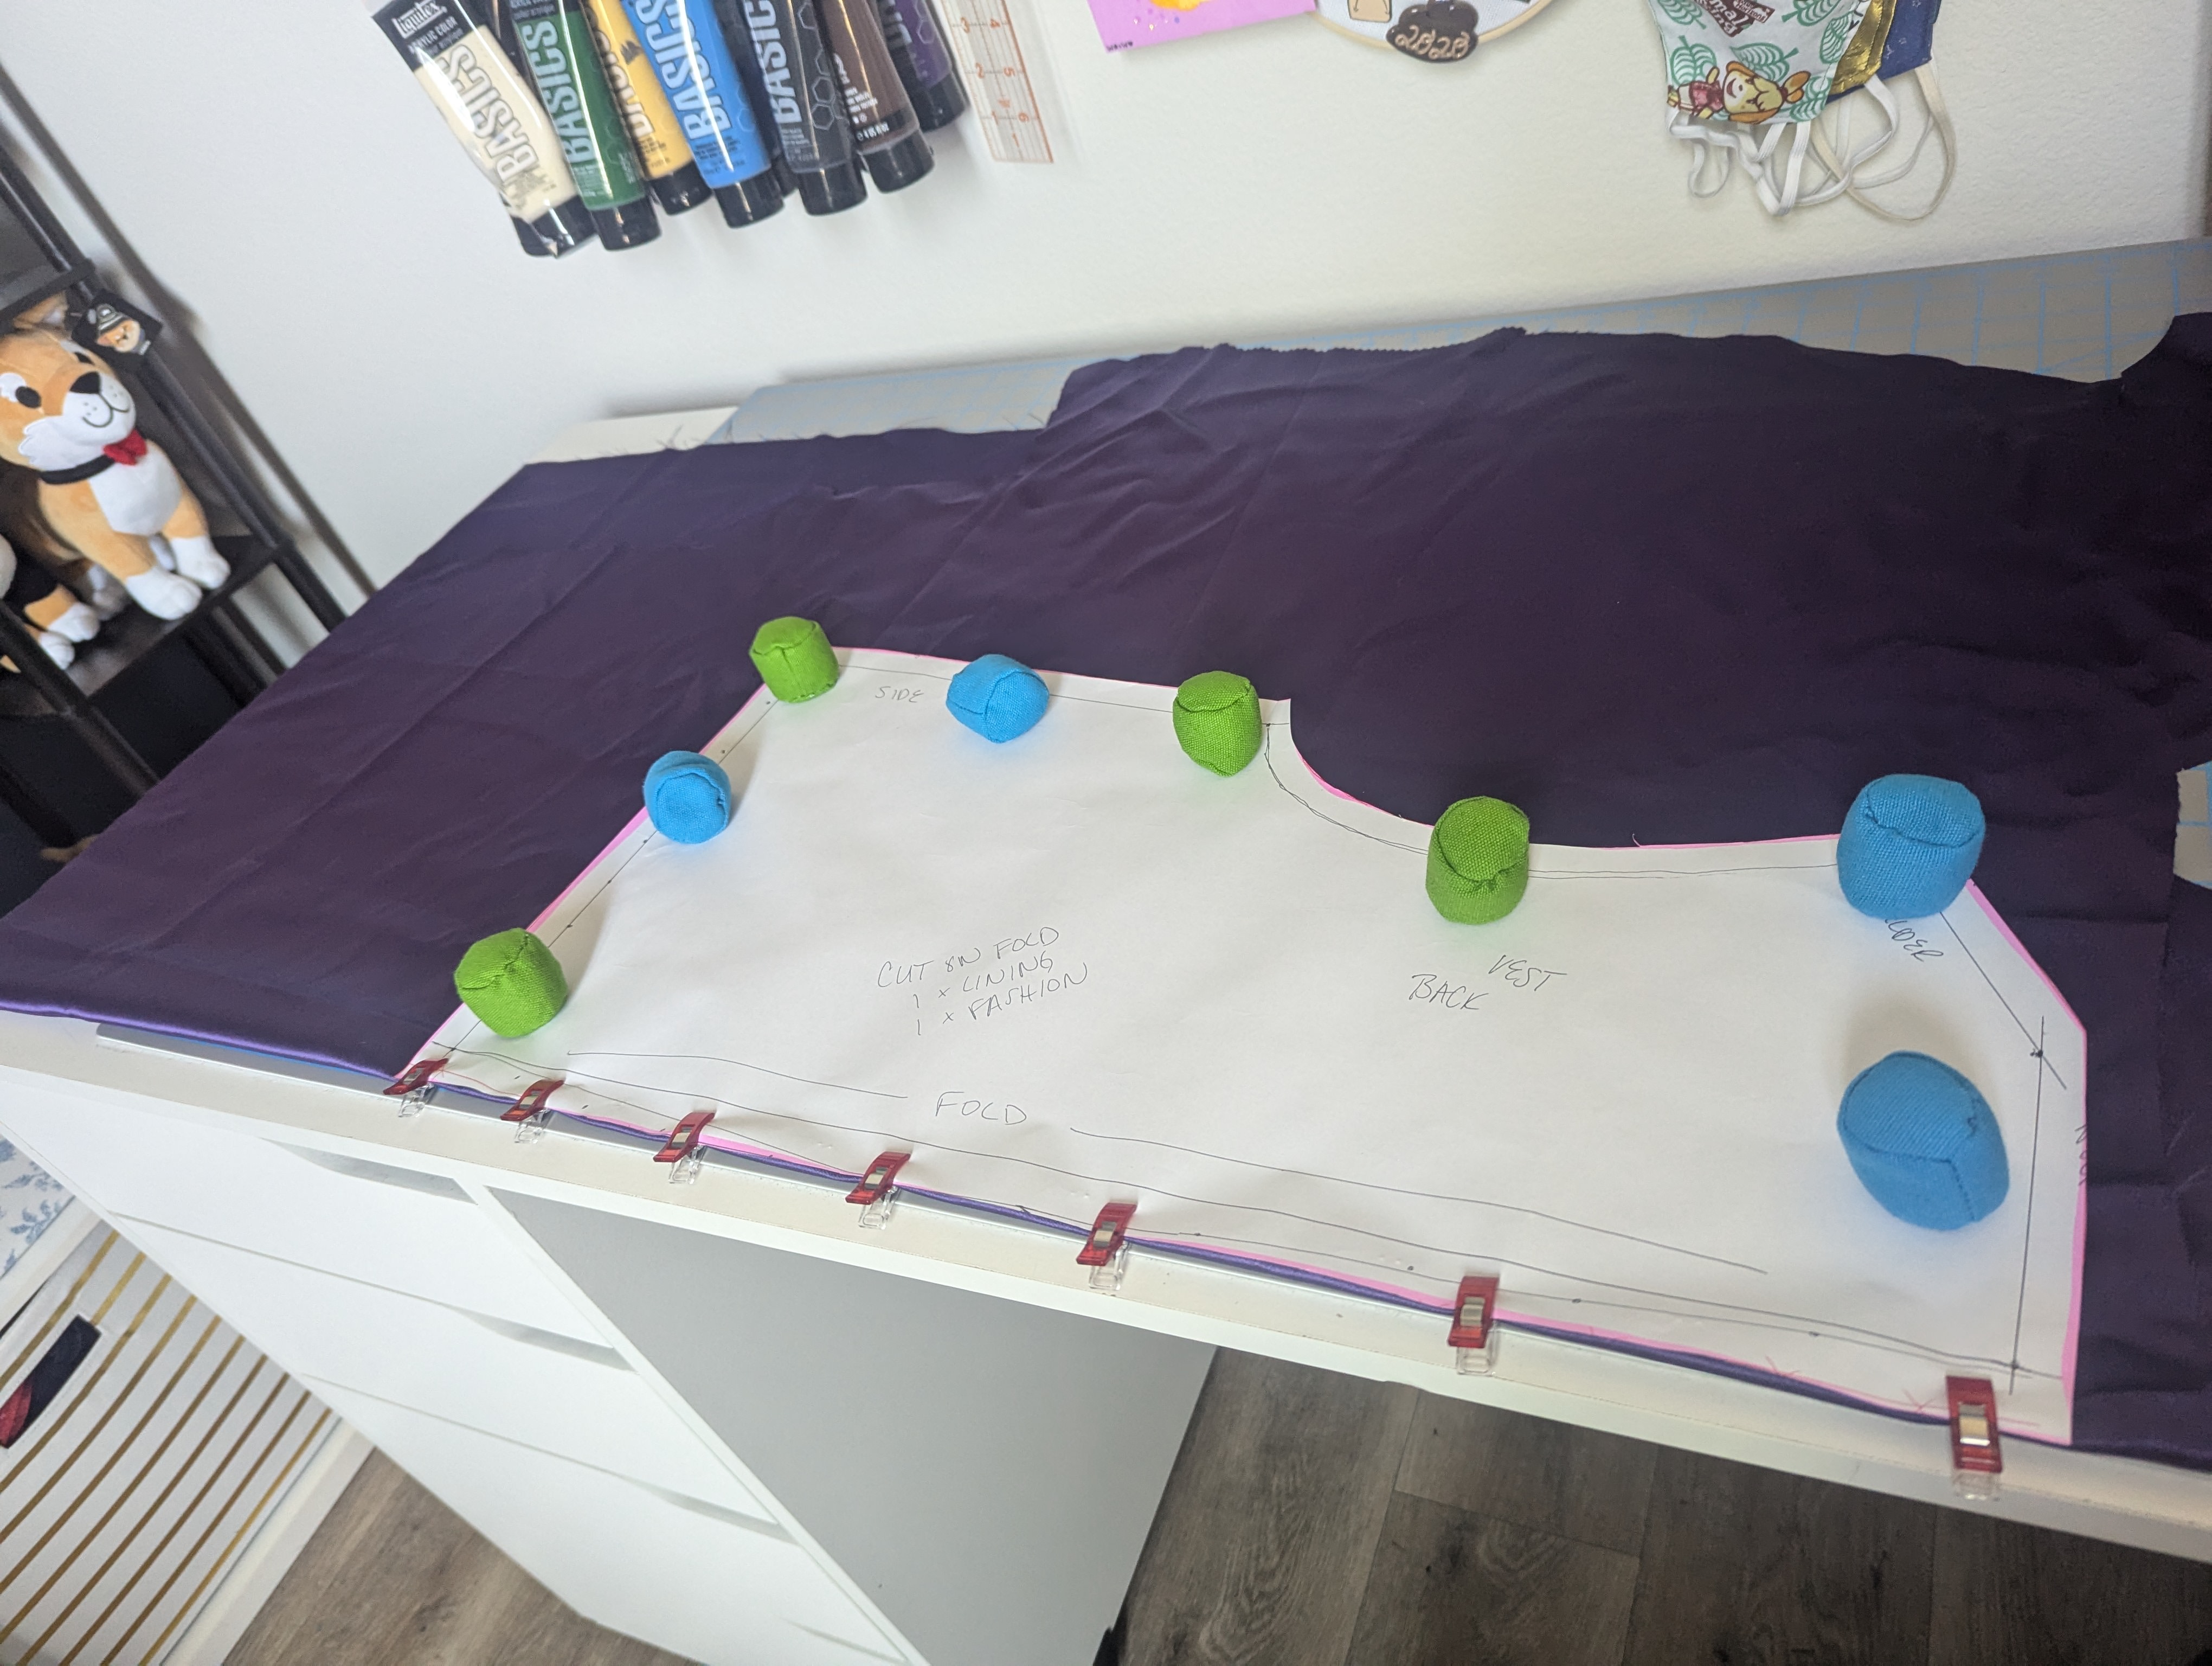
Motivated by the quick turnaround time for the brown vest—and a desperate need to do something with my hands—I made a black vest using the same exact method. I got to use my paper pattern and some leftover purple fabric for the lining. I would have to make a stop at Joann’s for buttons, but overall, it was a very cheap build. The only difference is I could not cut the back piece on the fold, so I had to add seam allowance to the line down the center and then cut it out twice. Worked out just fine!

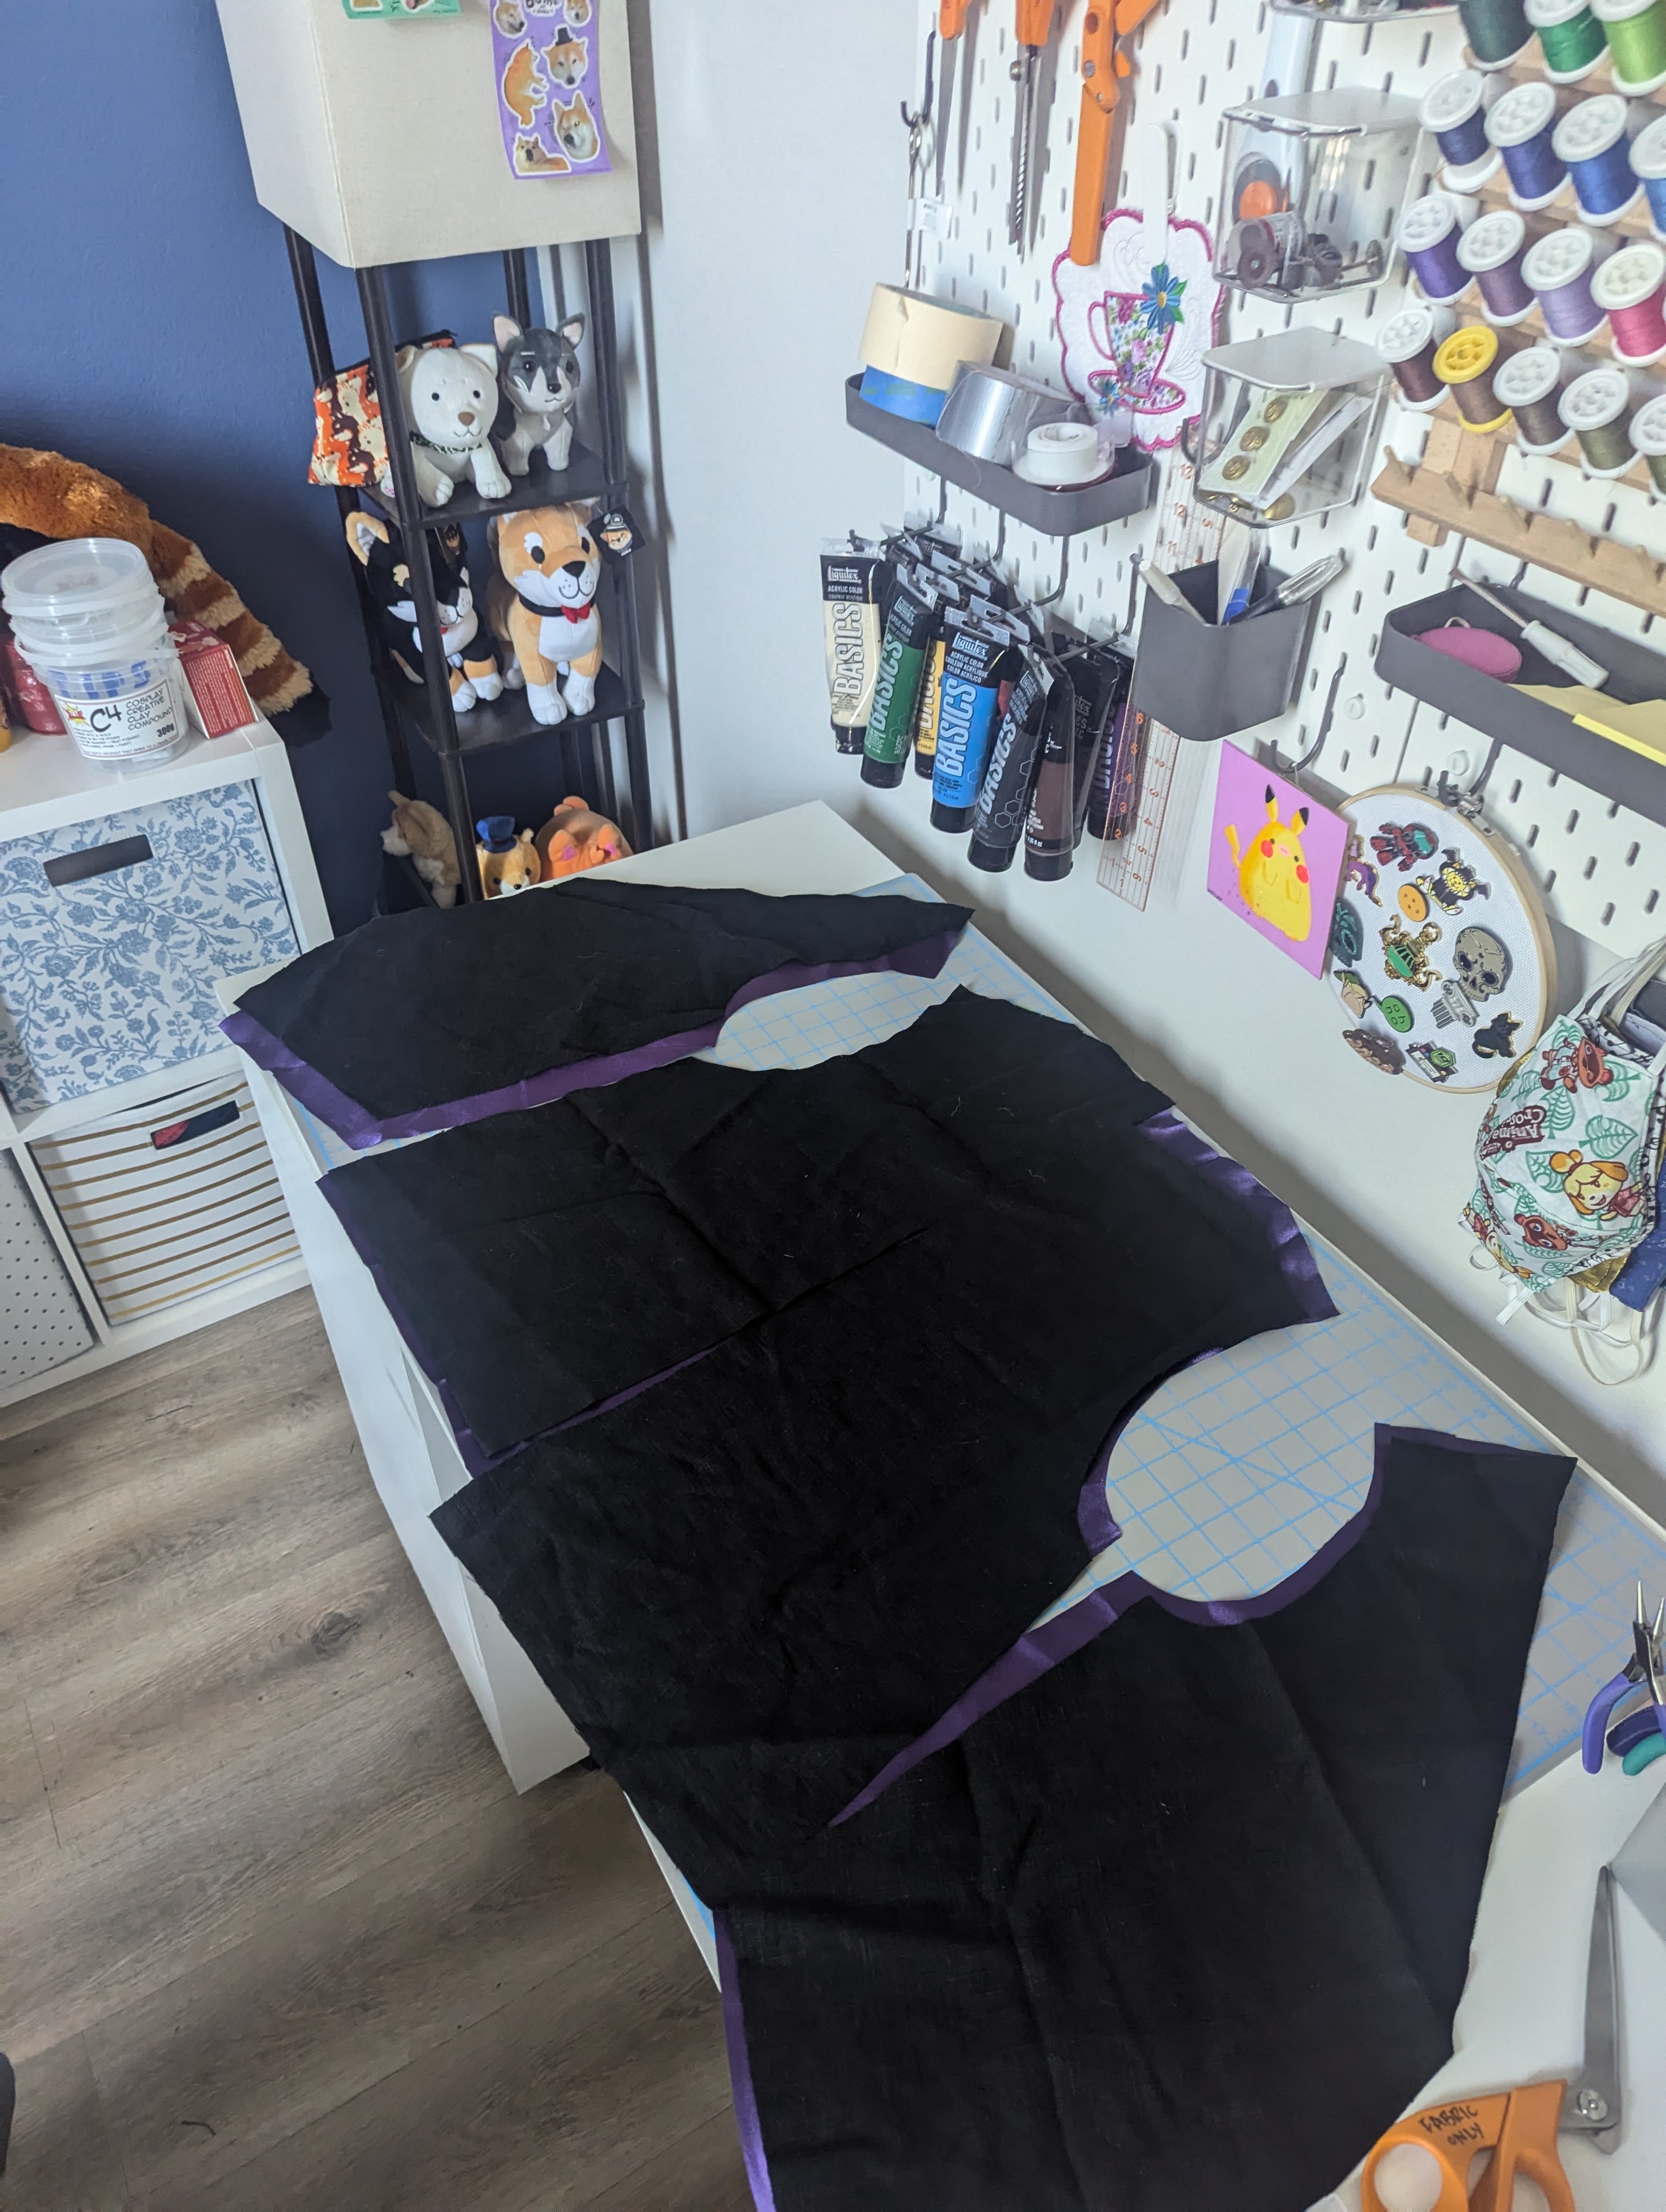

I won’t bore you by doing another play-by-play considering it was the exact same. I will however tell you that I didn’t make the same side seam mistake again. I clipped them wrong, but I managed to catch myself before actually stitching them together. That saved me so much time!


Hurray! All done!
When paired with a green shirt and the boho hat, the brown ensemble really gives park ranger vibes. And honestly, I’m kinda digging that.


The black vest with the skirt kind of gives dark academia vibes? Maybe? I feel like I need a giant, long wooly jacket. (And weather that would accommodate such a heavy garment.)


Excited for this New Chapter
I really feel like this project has gotten me back into sewing. Having pieces that I can wear all the time that I think are flattering is such a nice pick-me-up. There’s definitely a sense of pride when I wear any of these pieces.
With the weather being a constant summer heat-wave, there’s no telling how often I would actually wear the vests I made, but I’m sure I’ll find excuses for them.
Now the question is: What’s the next project?
I already have another post drafted for something I just wrapped up: a wrap skirt and matching purse for a wedding I just attended. (Go back to that one photo and you’ll see it on the dress form!) I’ll likely post that in a month or so; I’d like to see if there are any good shots of me in the skirt from the official wedding photographer.
I don’t know what my next non-cosplay sewing project will be, but I do know what my next cosplan is. In September, I’ll be attending the Avatar: The Last Airbender concert. Along with some friends, we intend to cosplay the nomads from the infamous “The Cave of Two Lovers” episode, more well-known as the “Secret Tunnel” episode. The concert is sure to be a good time and I look forward to getting some use out of my serger. I’ll likely be using some stretchy jersey fabric, a perfect use case for the serger.
