After making my first circle skirt for my Melon Lord cosplay and seeing how simple it was, it inspired me to make one for everyday use with old blackout curtain fabric. Once I made that, it wasn’t long before I was making an entire set.
Shout-out to this circle skirt calculator for doing the heavy-lifting when it came to figuring out the dimensions I would need for my skirts. For each of them, I ended up doing a half-skirt.
Blackout Curtains Are Super Easy to Draw On
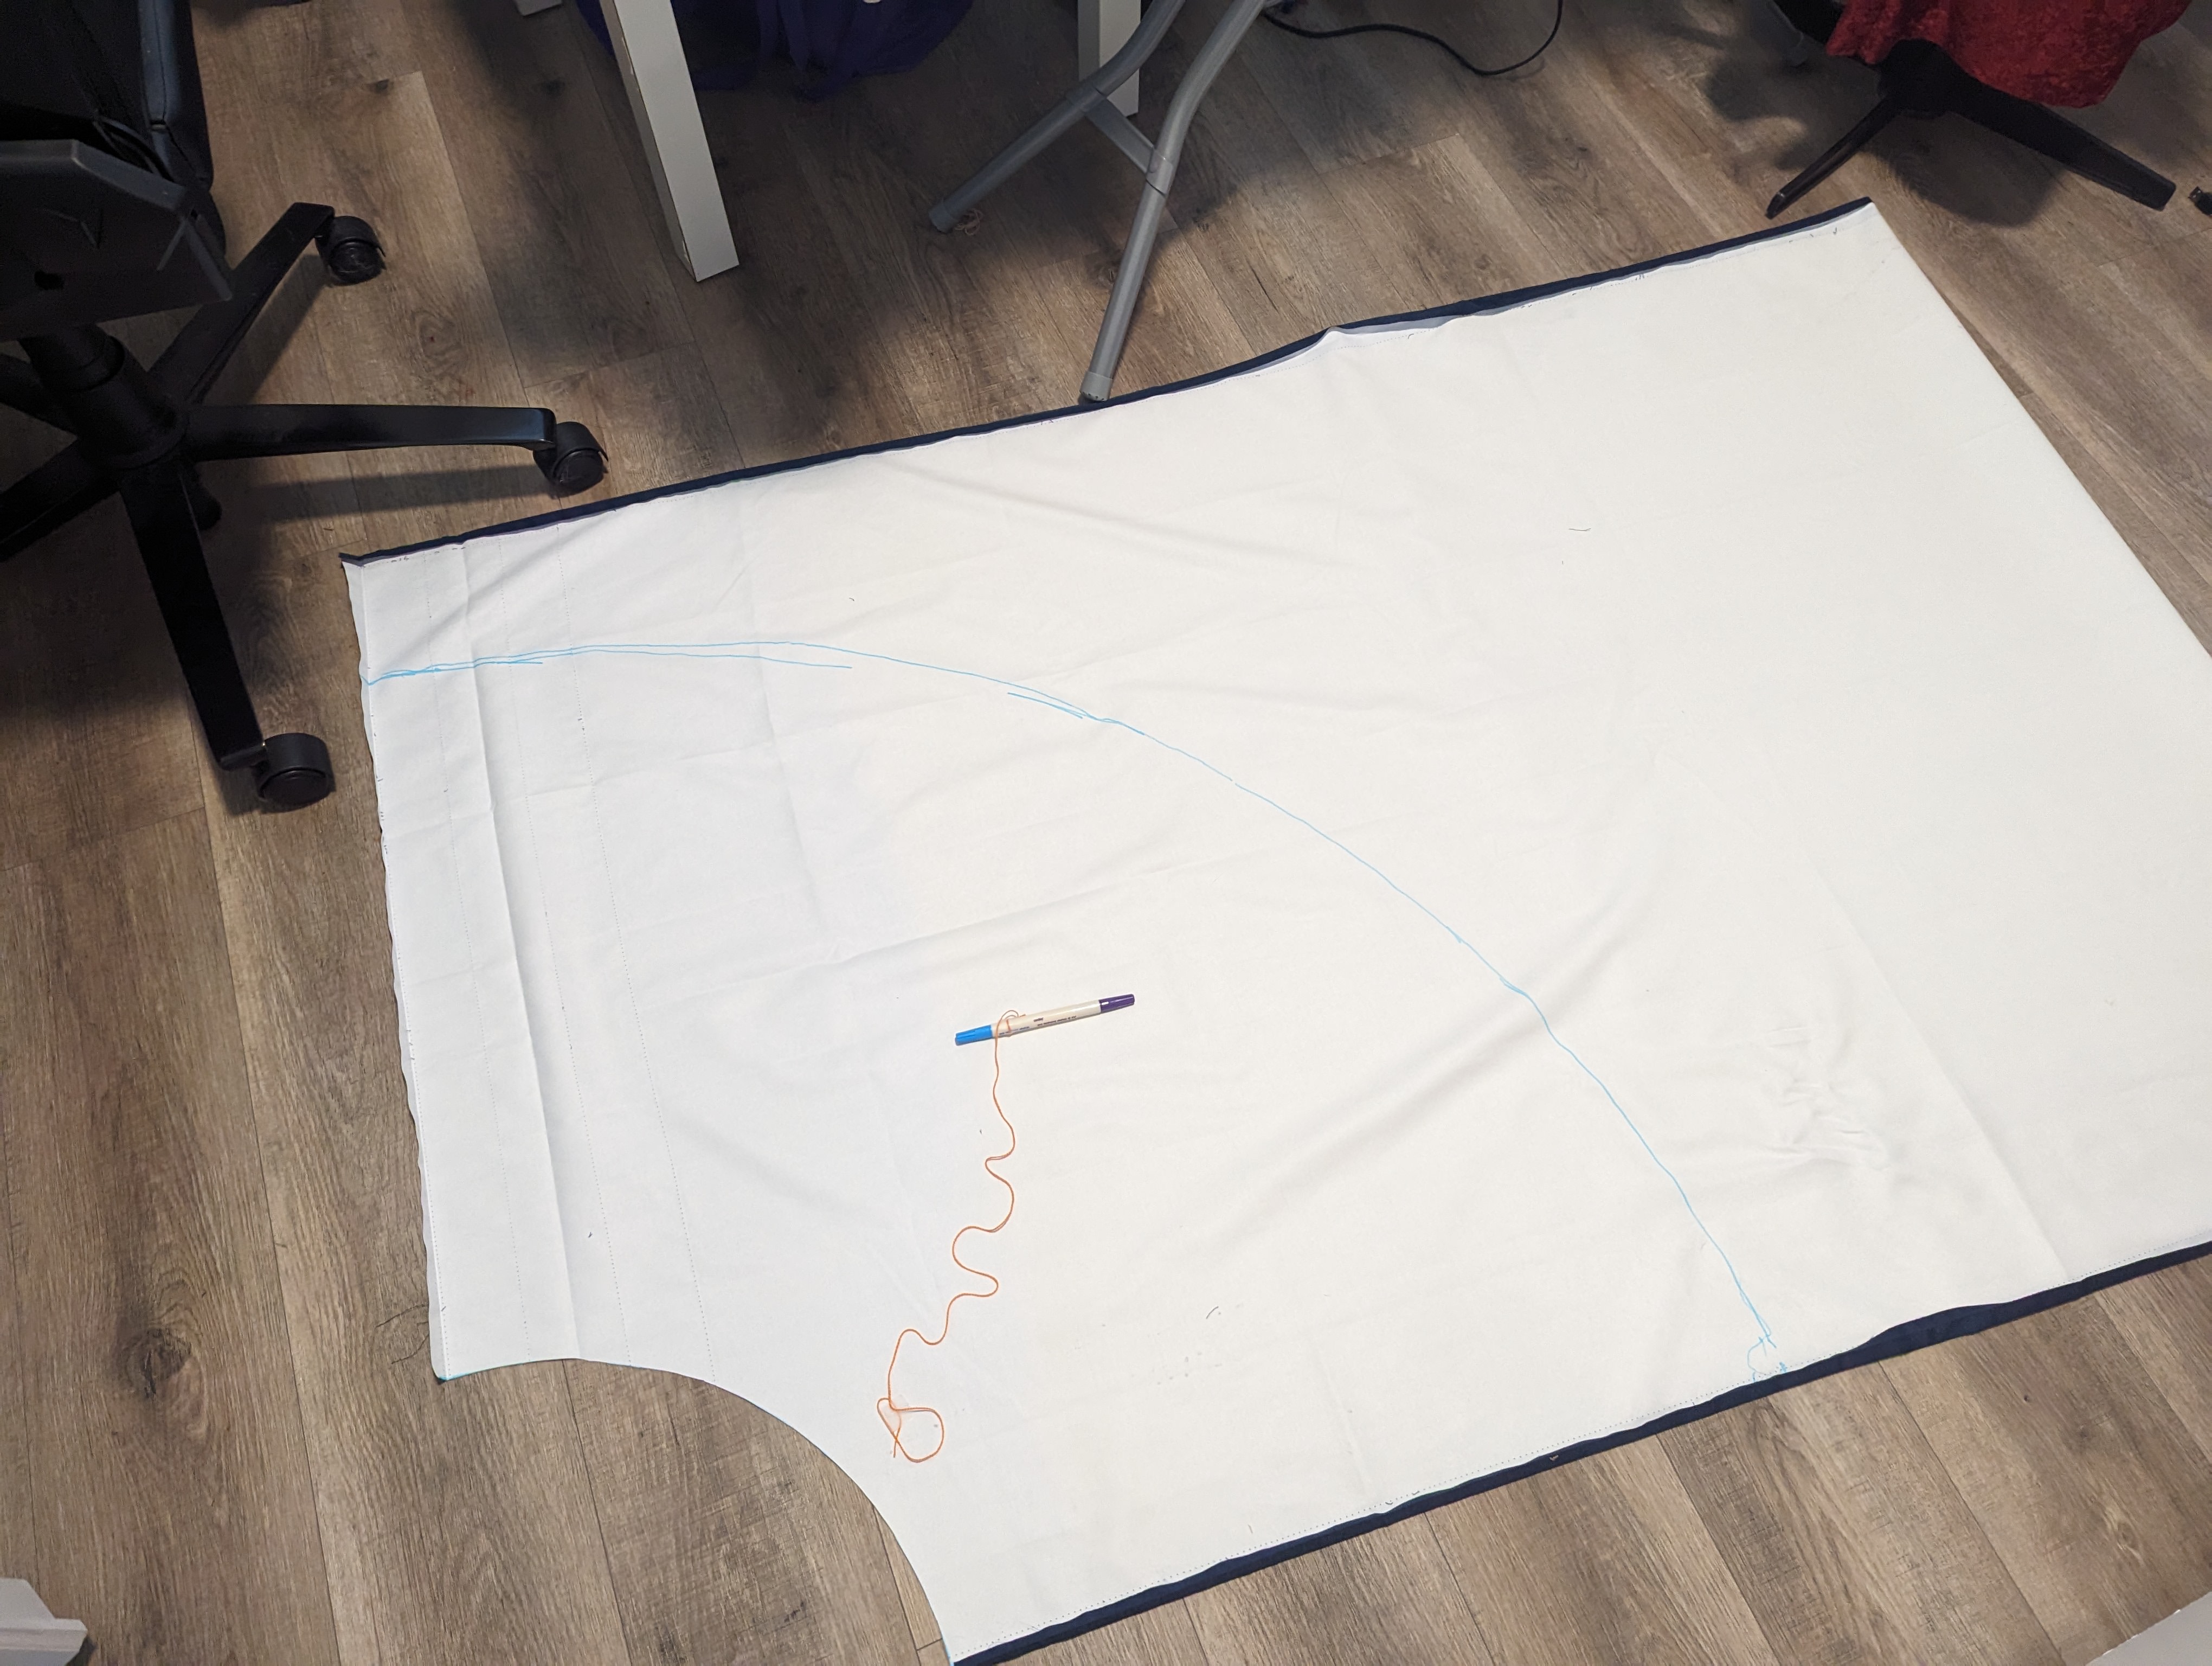
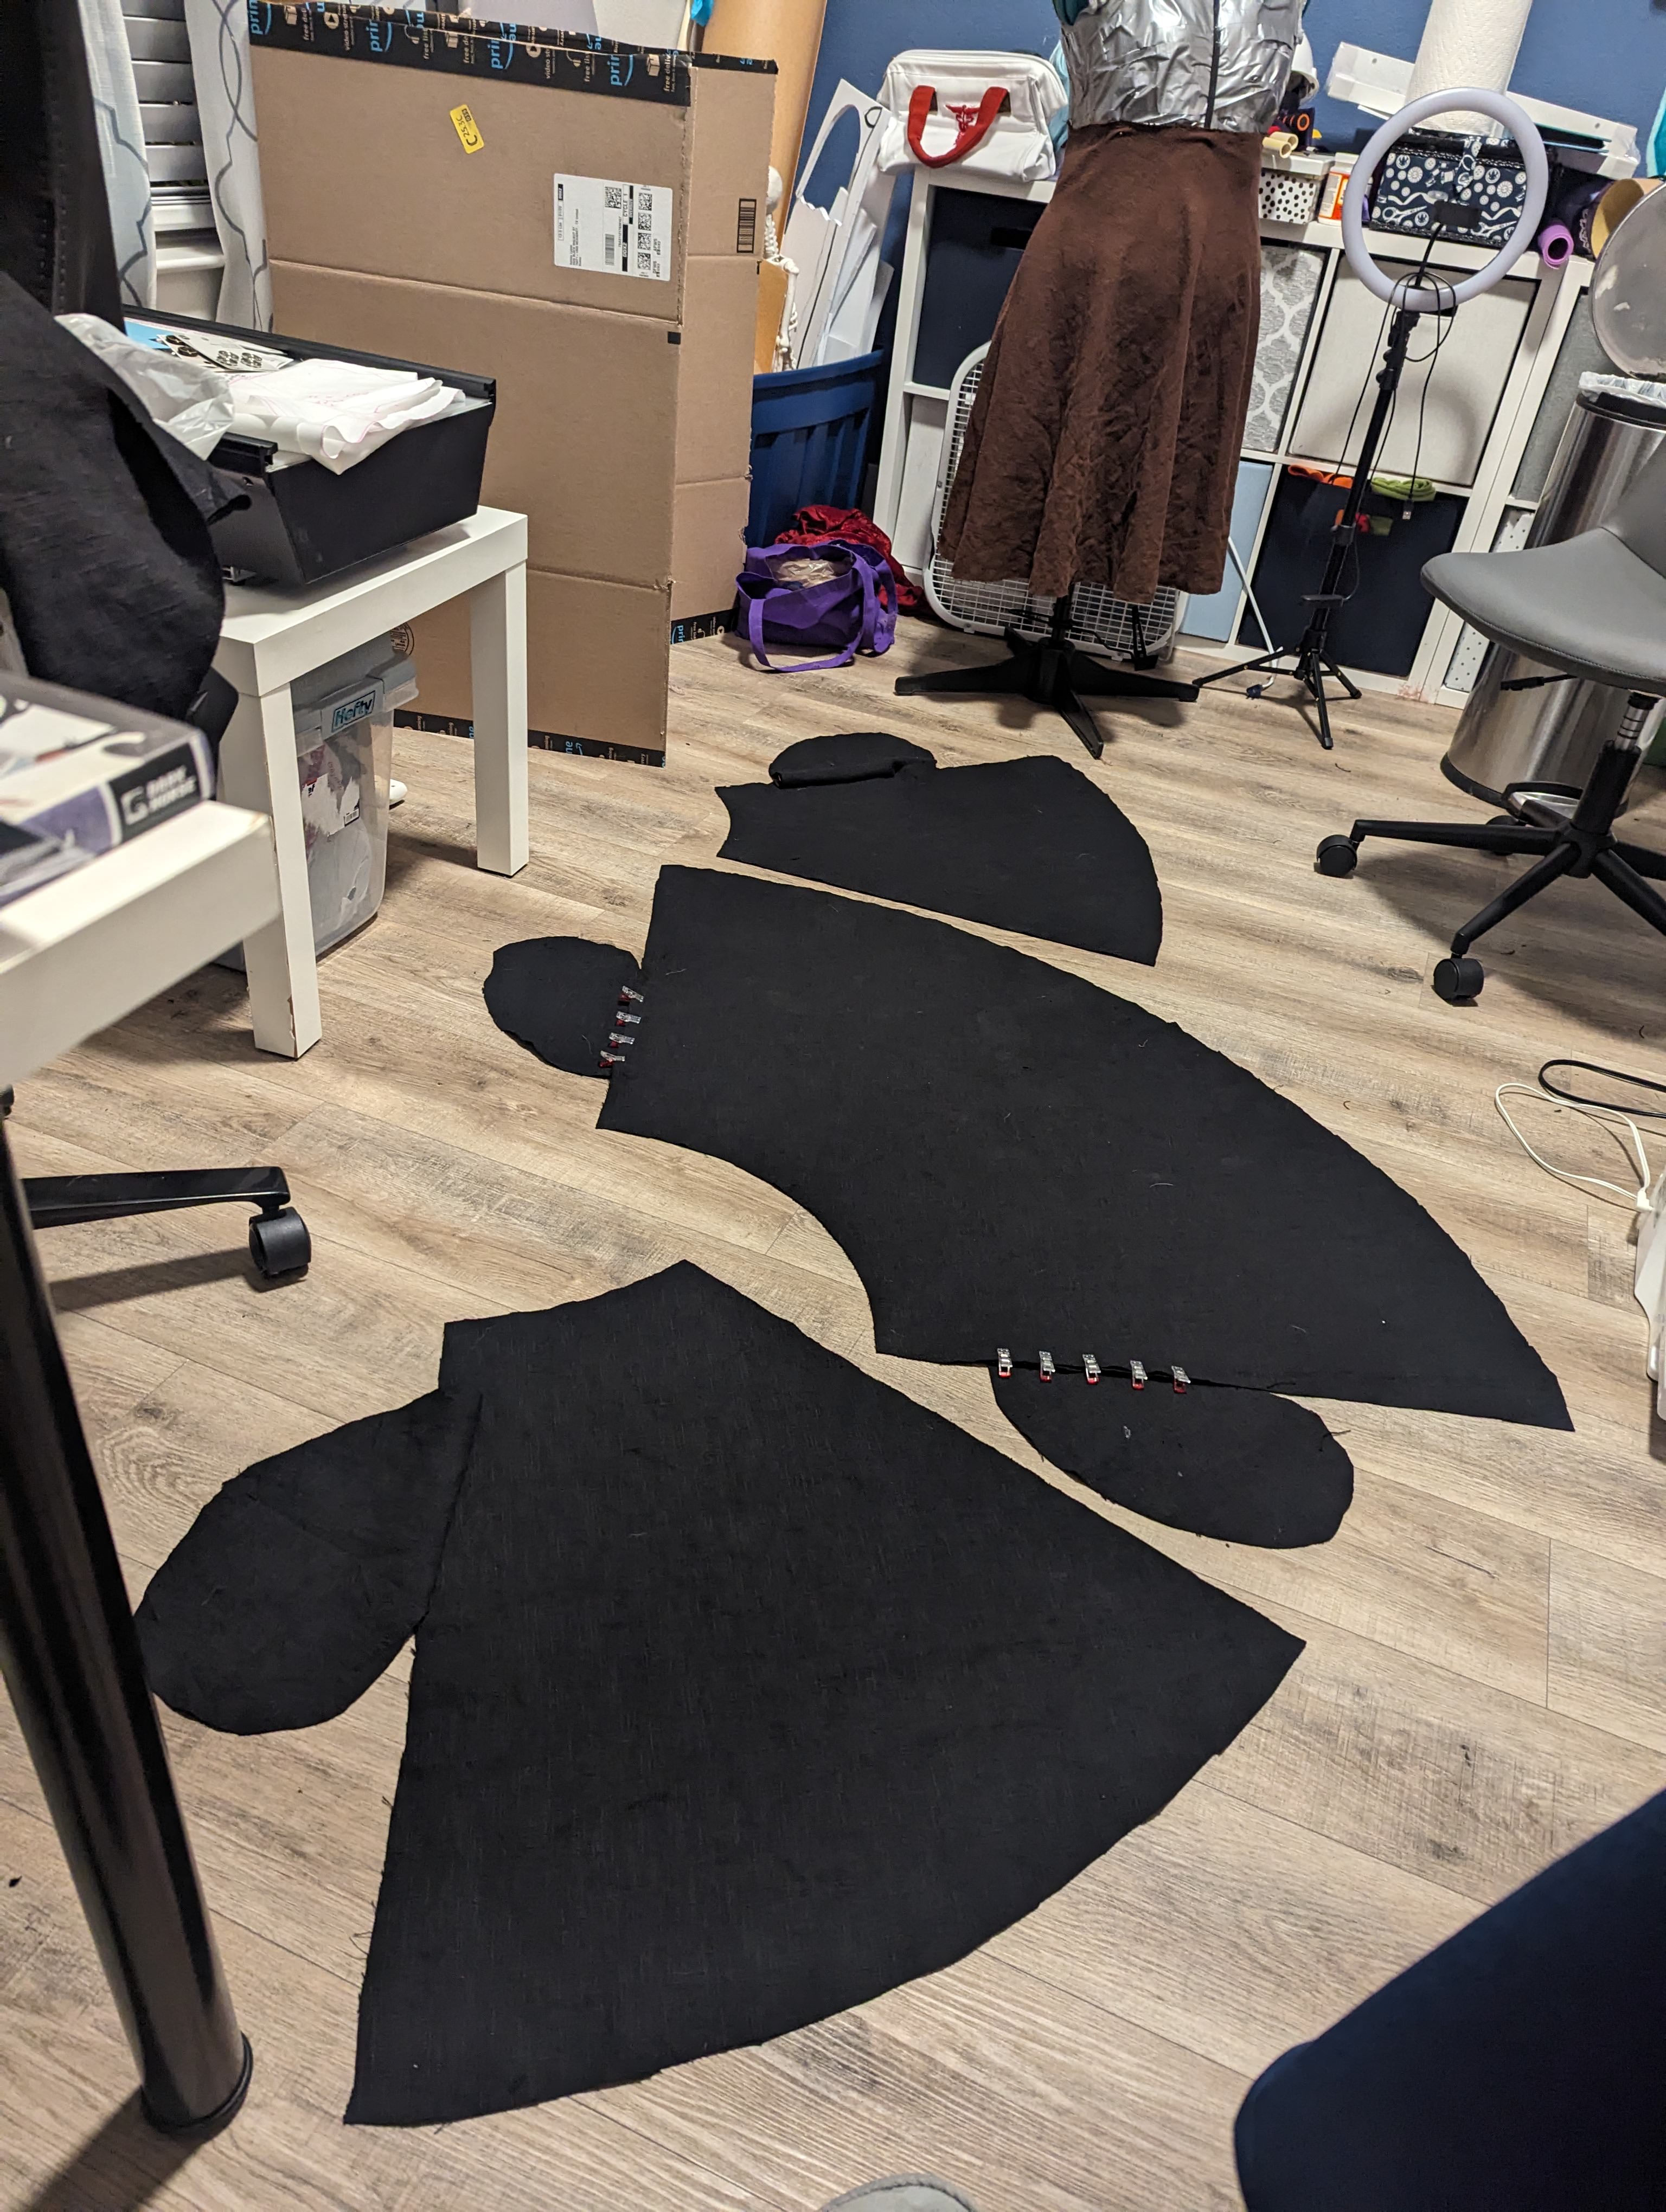
I figured out an easy way to trace the curves for the circle skirt involving a length of embroidery floss, some scotch tape, a water soluble fabric pen, and a cup filled with weights. Was it pleasant on my back while I crouched on the floor to trace it out? Not in the slightest. But was it fast? Kind of.

At this point, I started to stitch the side seams together. It wasn’t until after I finished that I realized I was missing something vital: pockets! I rushed to seam rip them, then proceeded to pierce a few holes into the fabric in my haste. Lucky for me, we had plenty of curtain fabric to spare, so I tried again.
Navy Skirt: Take Two
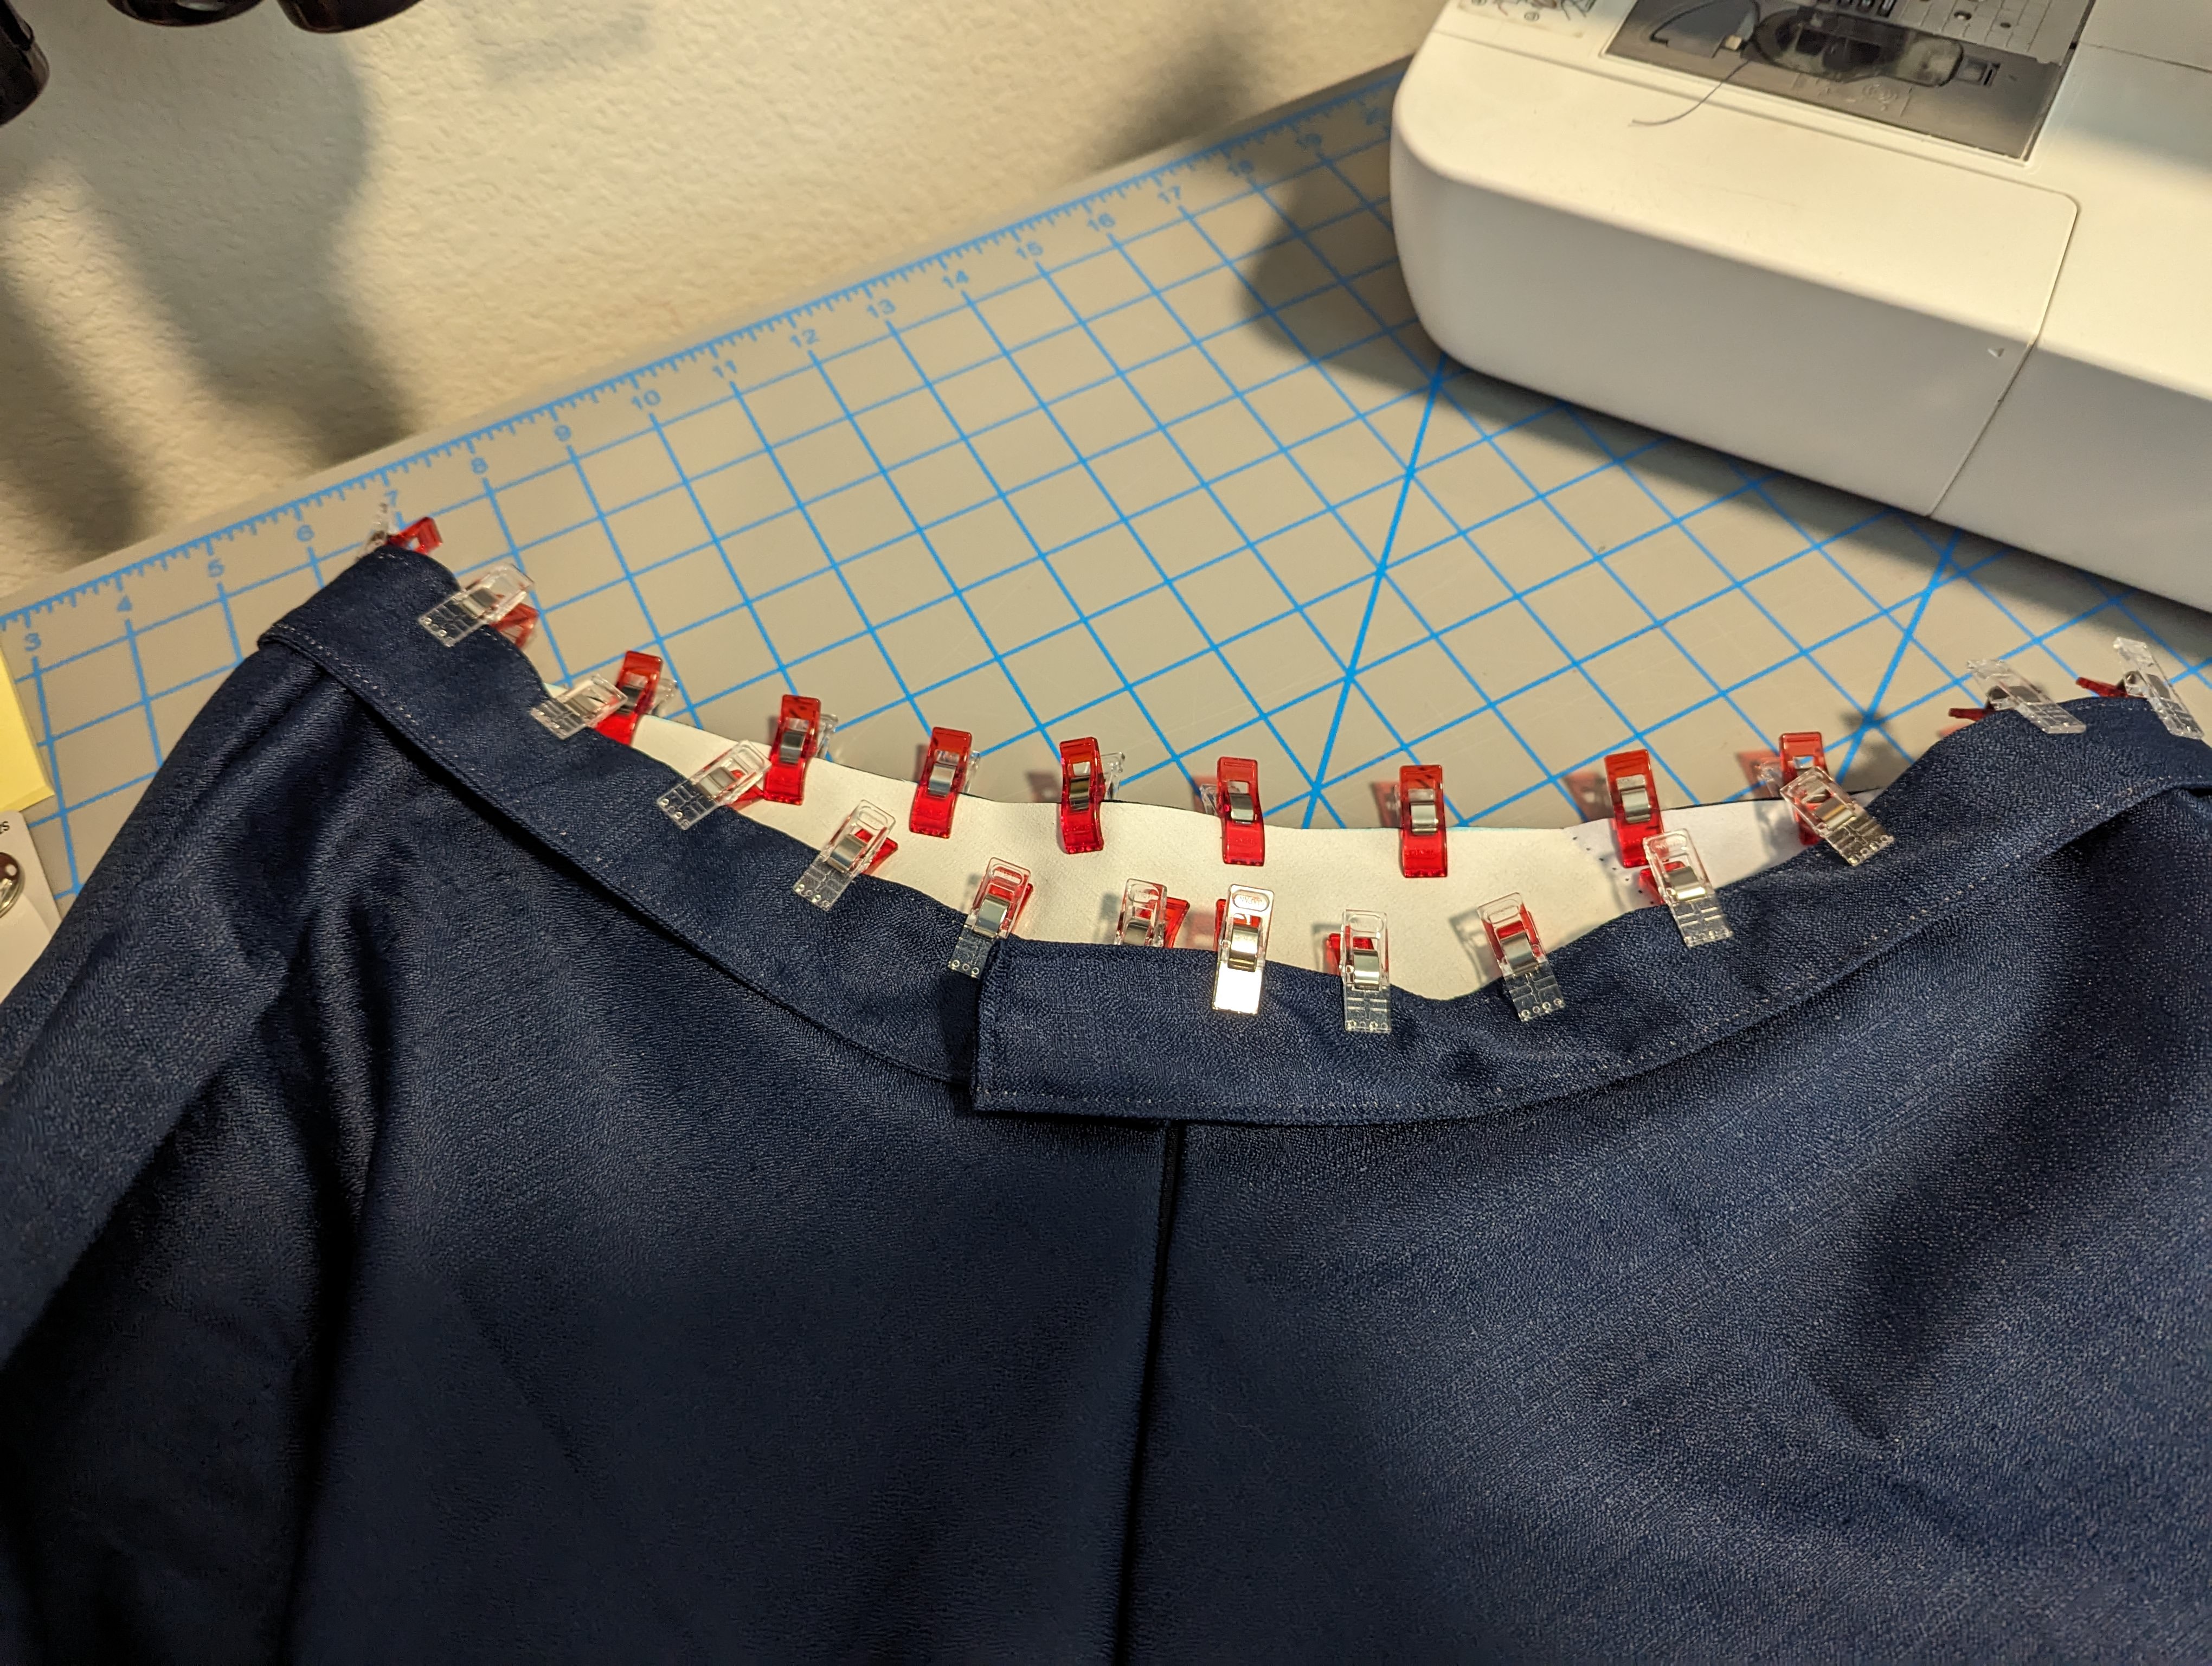
I started over with a fresh curtain and got to work, this time not forgetting the pockets. Because of the backing on the curtains (perhaps what makes them blackout?), this fabric didn’t fray a whole lot, so I was able to stitch everything together easily and just use the overcast stitch on my sewing machine to finish the raw edges on the inside. (At this point, I still hadn’t learned how to use my serger. More on that later!)


Mistakes Lead to Ingenuity
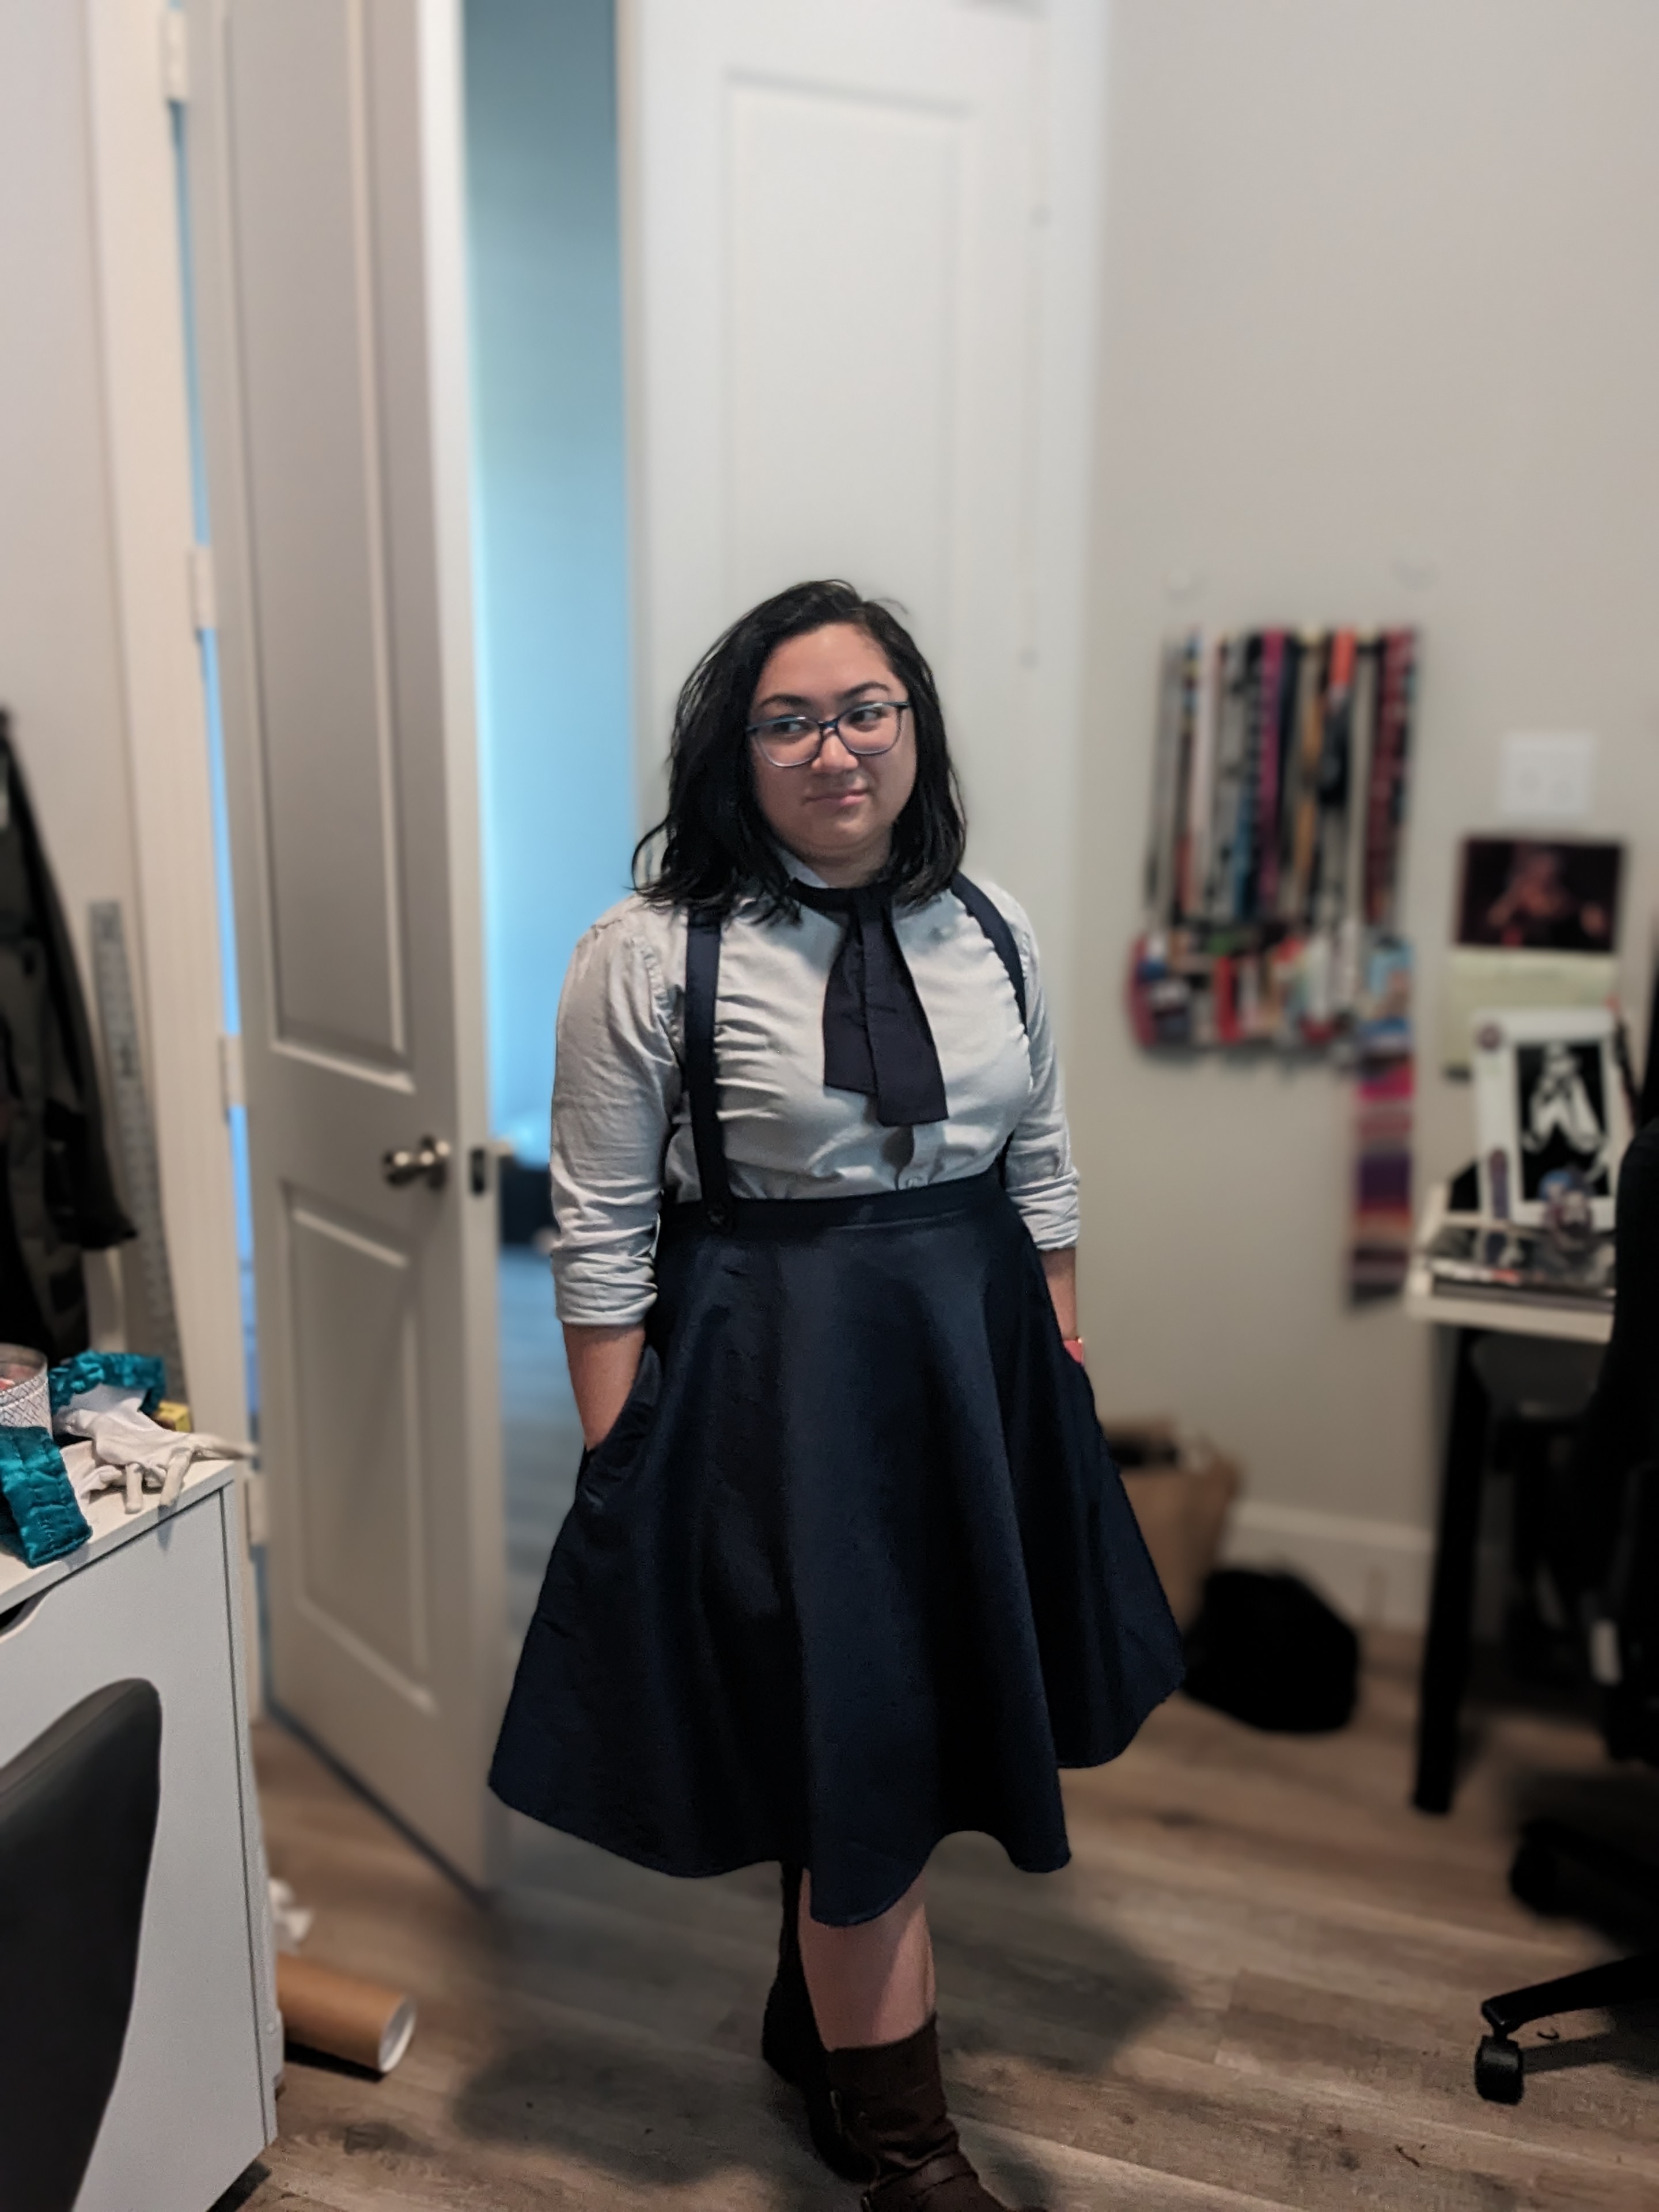
As it turns out, while tracing out the dimensions for Navy Skirt 2.0, I must not have been as precise as before. I had rushed. I don’t even know why! It’s not as if I had a deadline for this project. Either my measurements were off in the initial circle skirt calculations, or my drawing less precise. Whatever the cause, the skirt wasn’t sitting where I wanted it to; it would fall to my hips rather that sit nicely as a high-waisted skirt. This was a rather annoying problem to have, given I had a specific vision for this circle skirt. As a last resort, I decided to use my navy suspenders to hold them up when wearing it at the office once. This solved the problem splendidly and gave me an idea: matching, removable straps. The circle skirt would now become a pinafore!


A Little Experimentation Never Hurt Anyone
After marking where the suspender ends had sat on the waistband of my skirt, I scoured my little bucket of buttons to see if I could find four that matched. I managed to find two black ones from a set and then two other black ones that were close enough. I designated the matching ones to the front and then used the others for the back, decided that the back buttons would go on the inside of the waistband rather than outside to hide the long strap tails.


You see, I for whatever reason, love to avoid doing math when I am able to. Why measure something with a measuring tape when I can just wing it? (Don’t be like me, kids.) I constructed the straps by getting a rough estimate of the length and then cutting 4 lengths of the same navy fabric 2″ wide. After stitching the lengths right side together (leaving a gap on one side in the middle for turning it out), I topstitched it shut and the rest of the way around.
Then, because I’m me, rather than get precise measurements, I just kept adding buttonholes over and over to one side until the skirt sat where I wanted to. It made for a very ugly strap end, hence the back buttons being inside the waistband. But it worked!


With that, I considered this project finished.
The Mighty Urge to Make More Pinafores
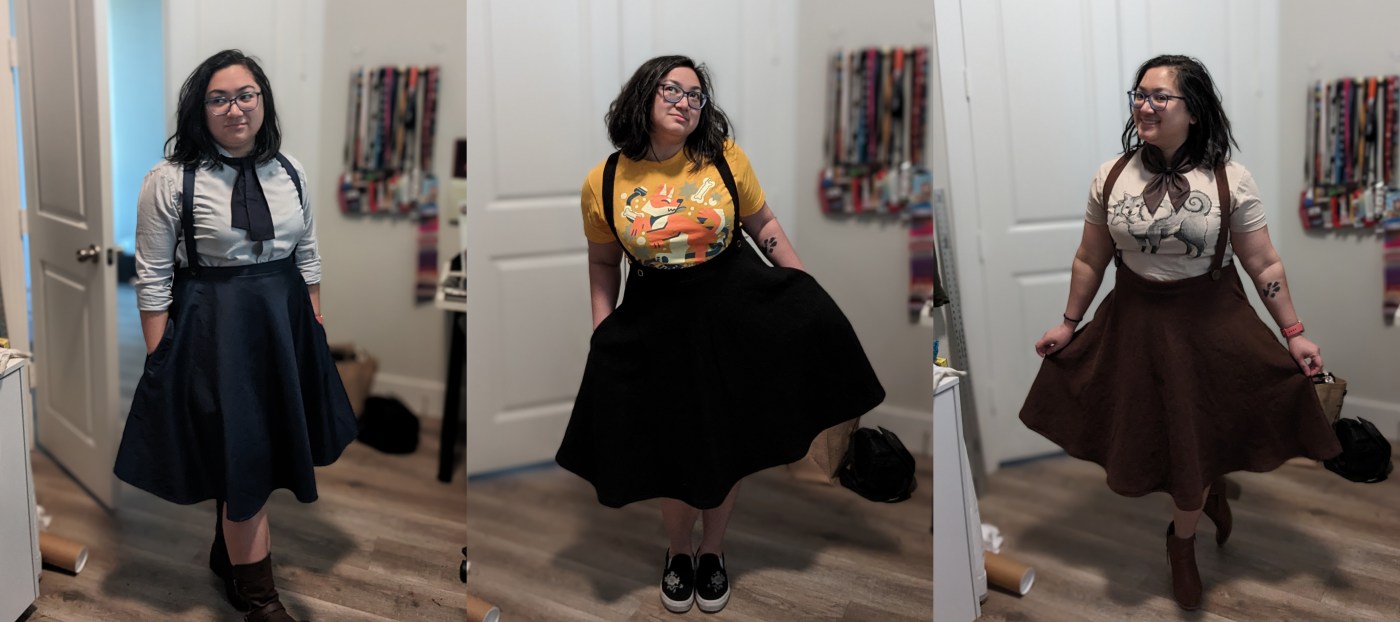
It was so easy to do. The navy curtain skirt was so fast, much faster than any cosplay project. Much simpler than any character design. What if I just… bought more fabric and made more in different colors so I could coordinate outfits? Once the idea struck me, it was impossible to ignore.
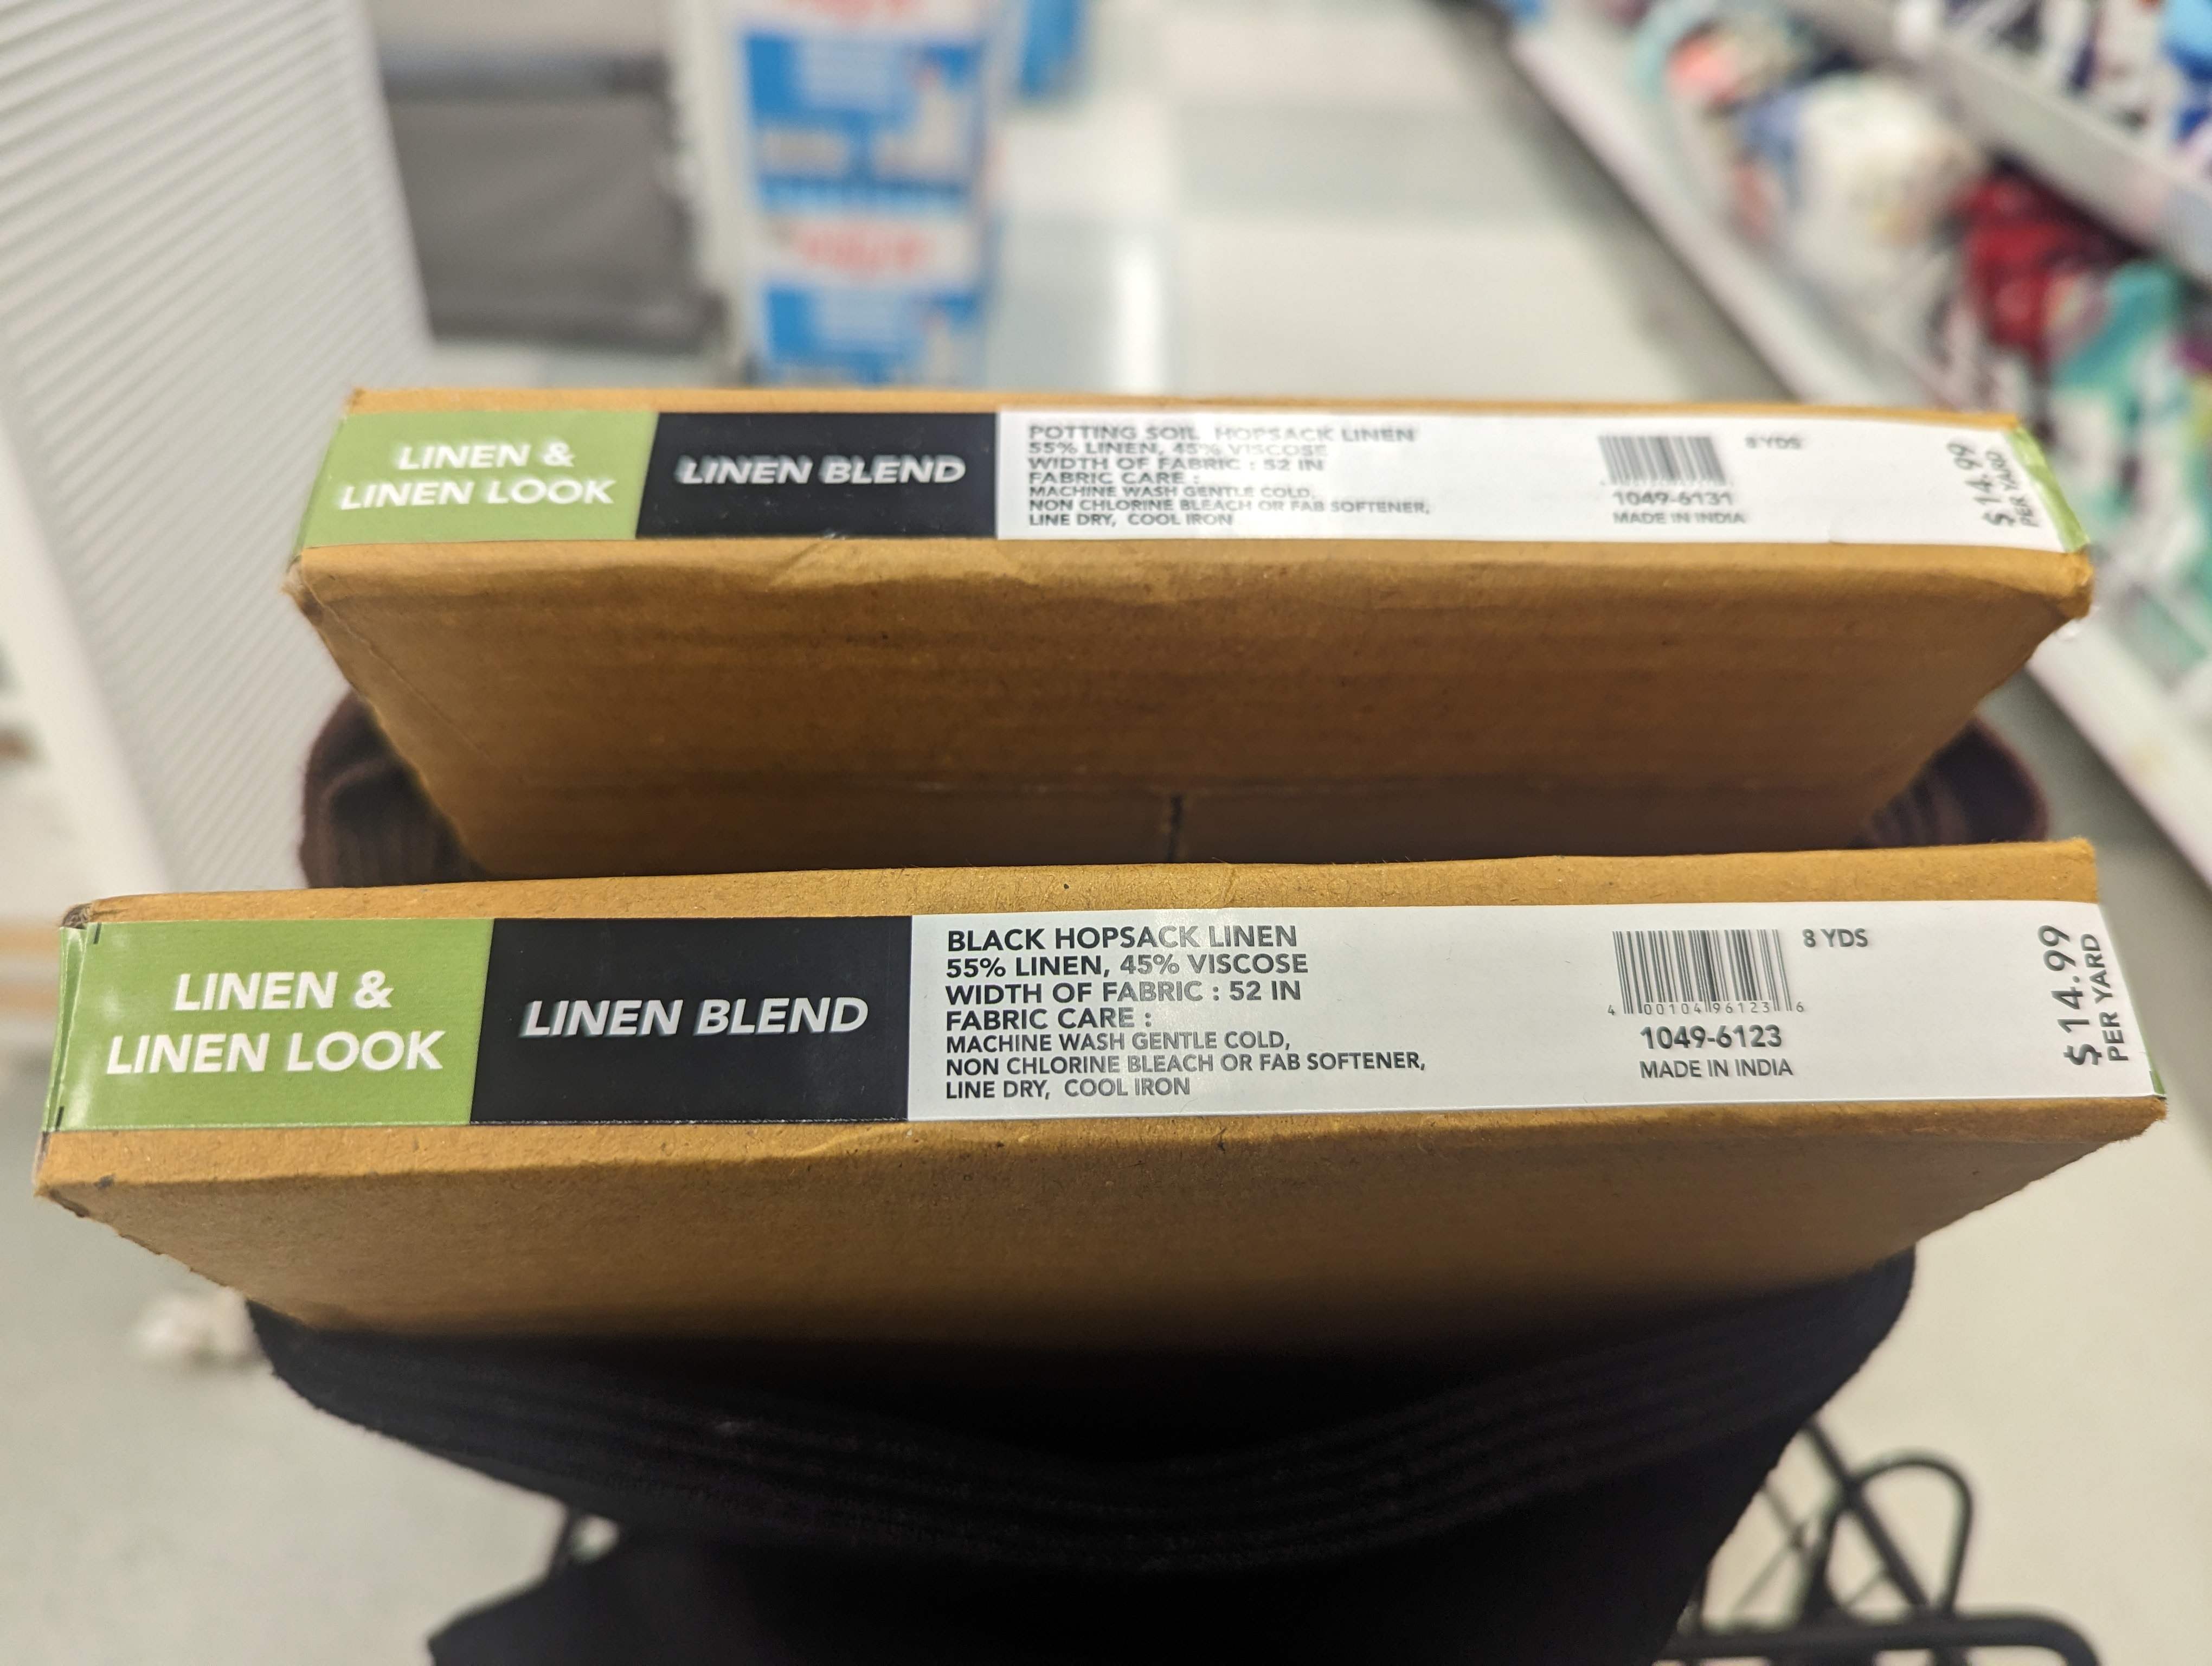
I’m terrible about fabric. I’m not good with names and I am the type that just goes down the aisles of Joann’s touching everything until I find something I like. This is the method I used to find fabric for a brown and black pinafore.


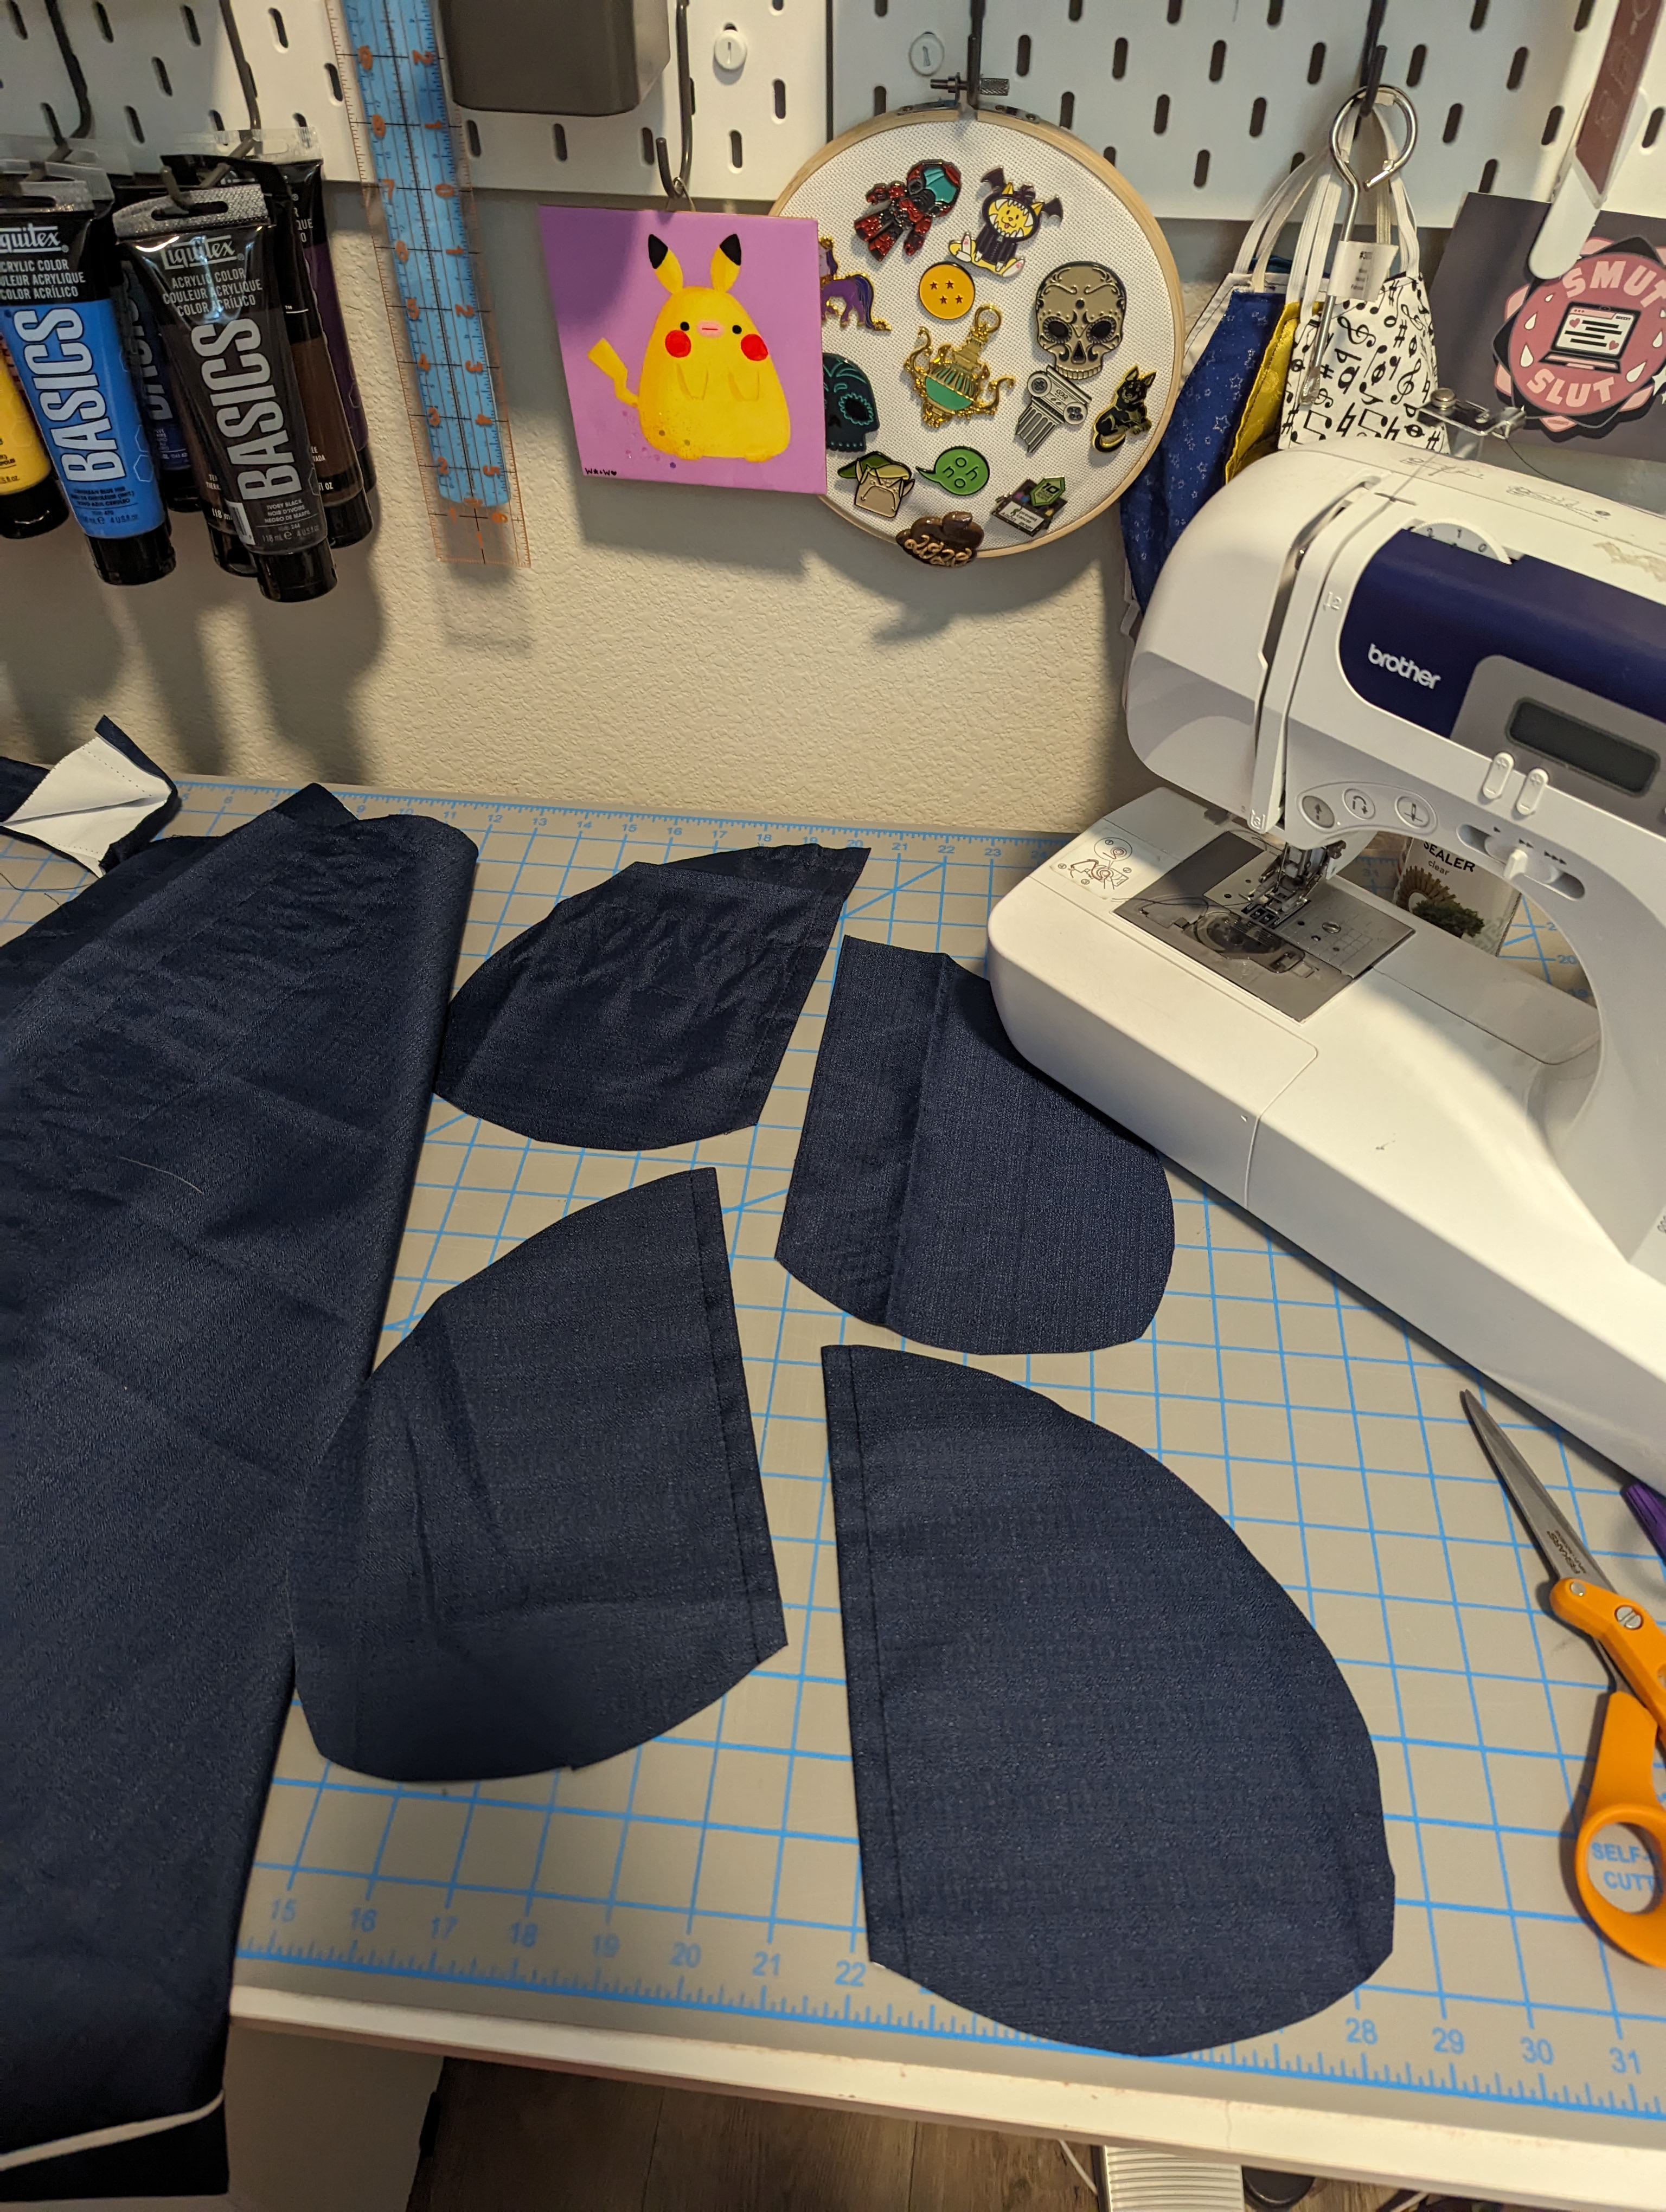
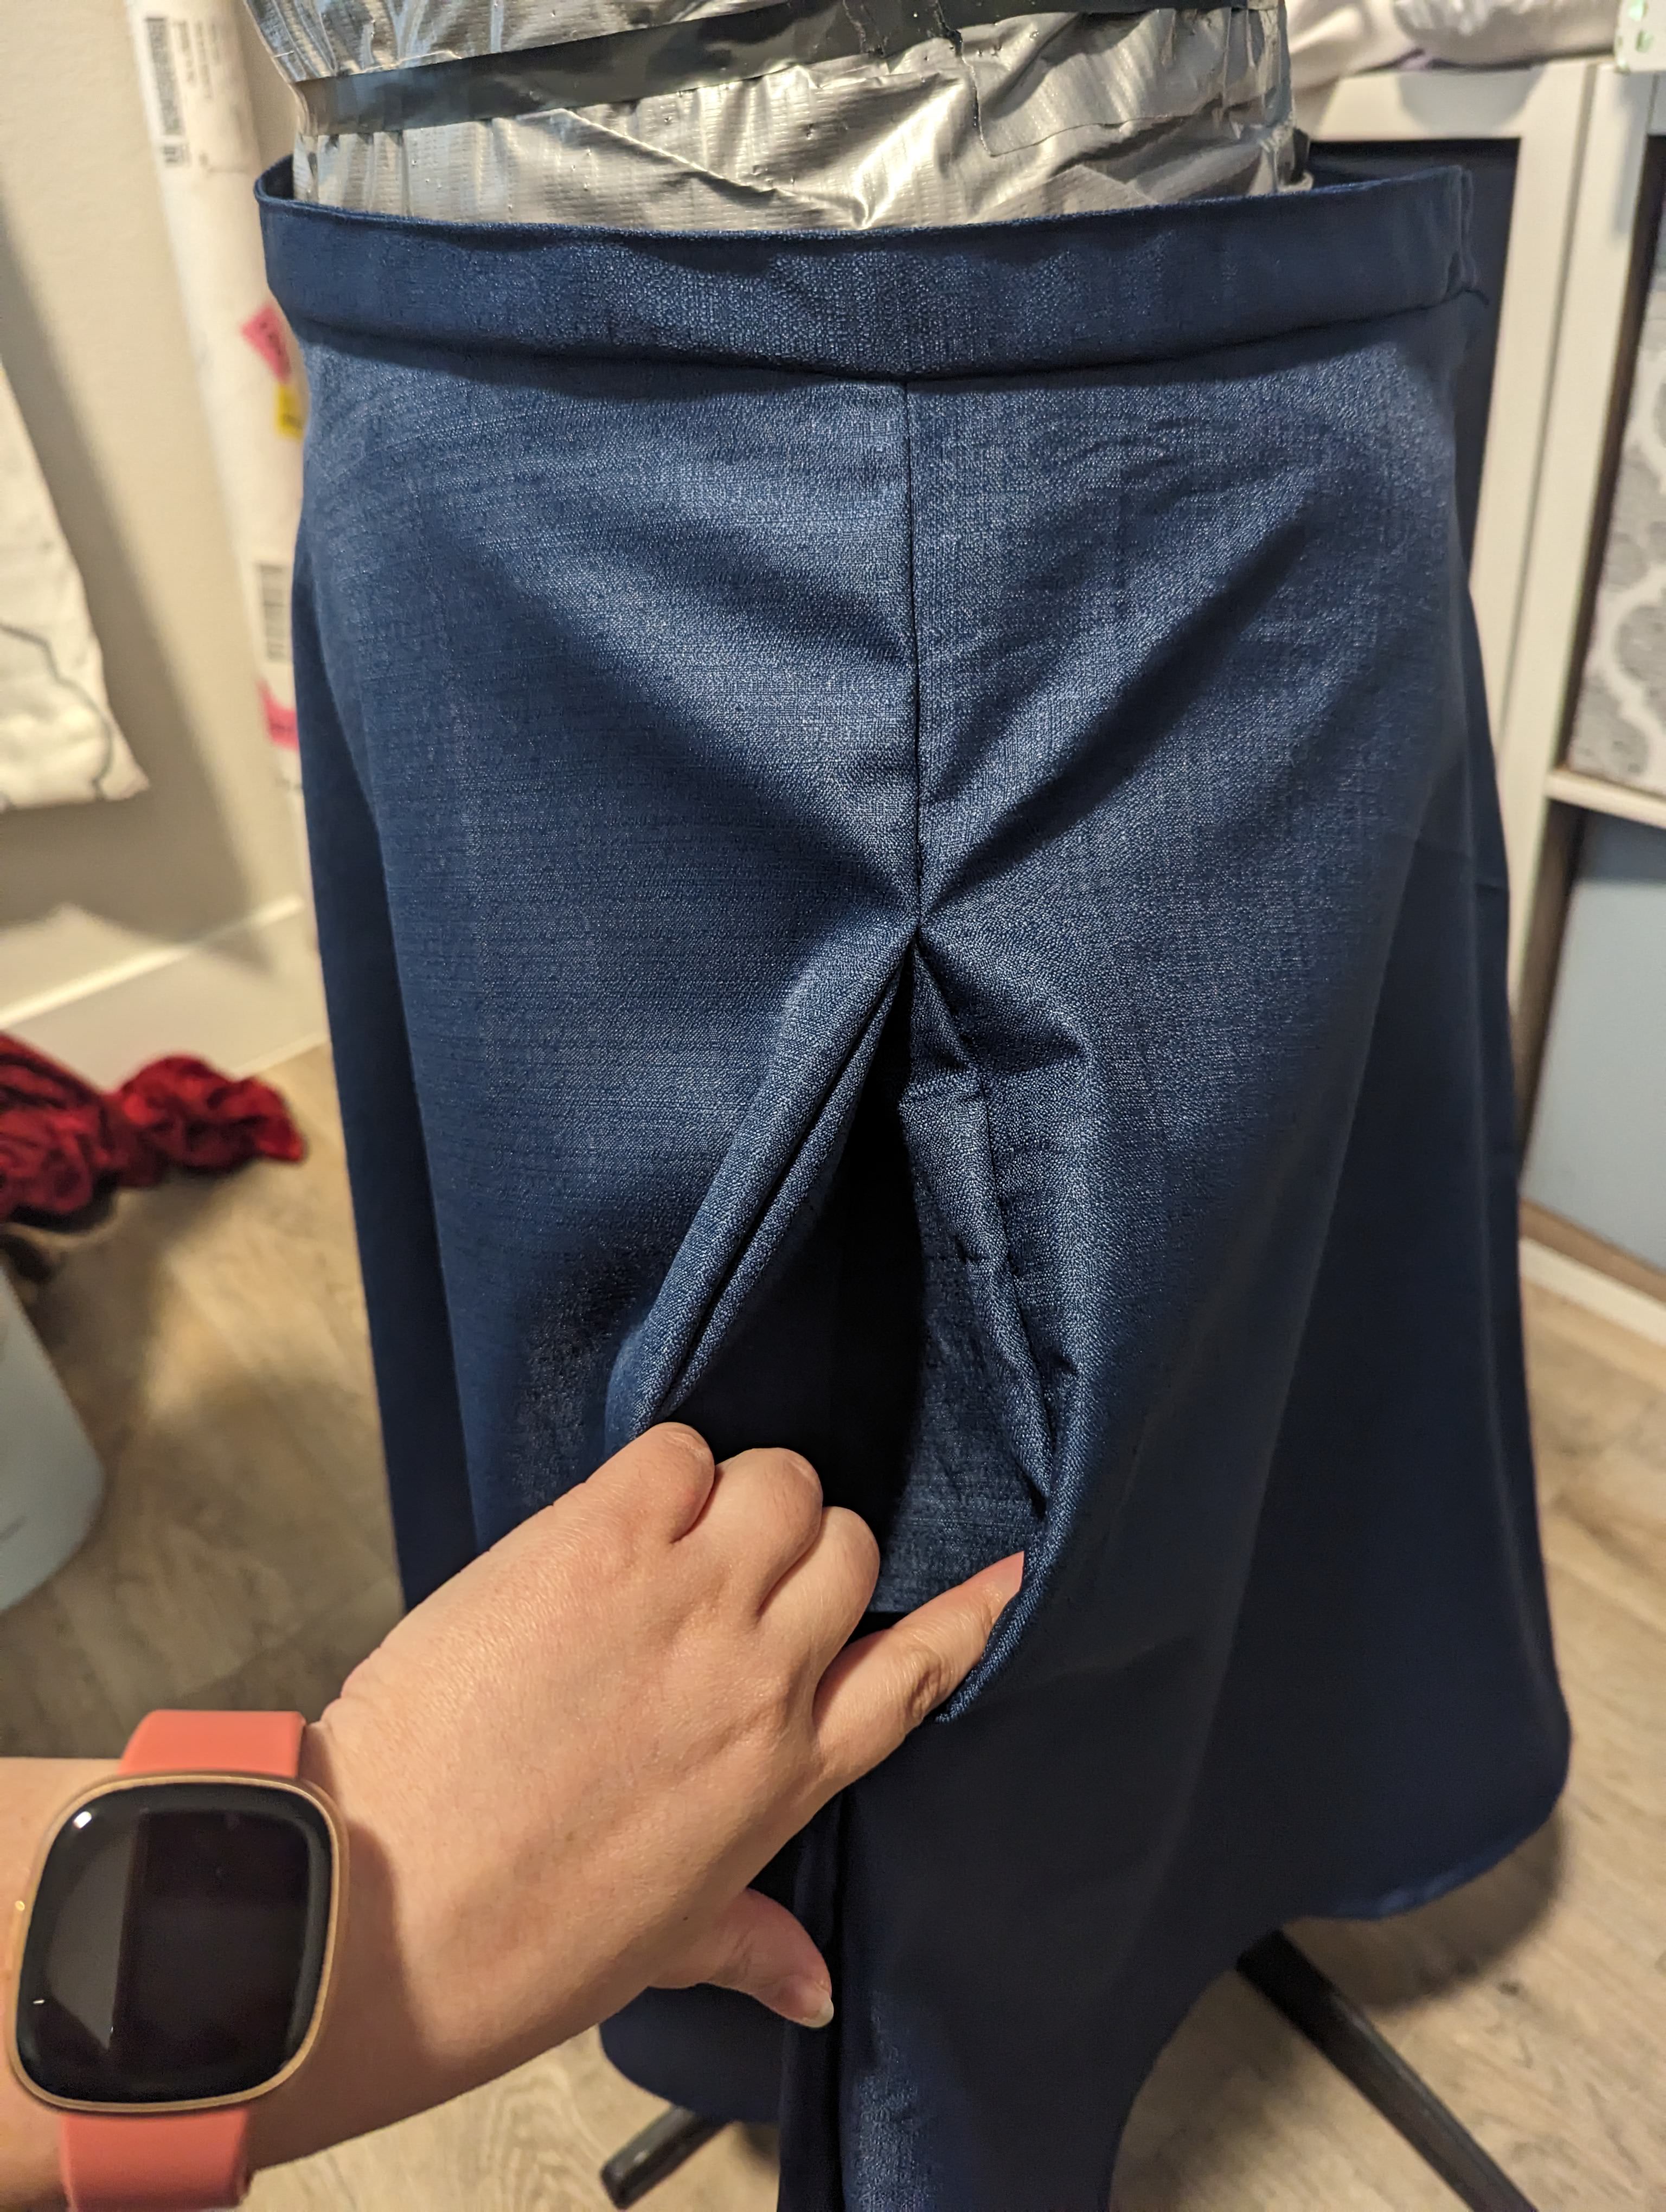
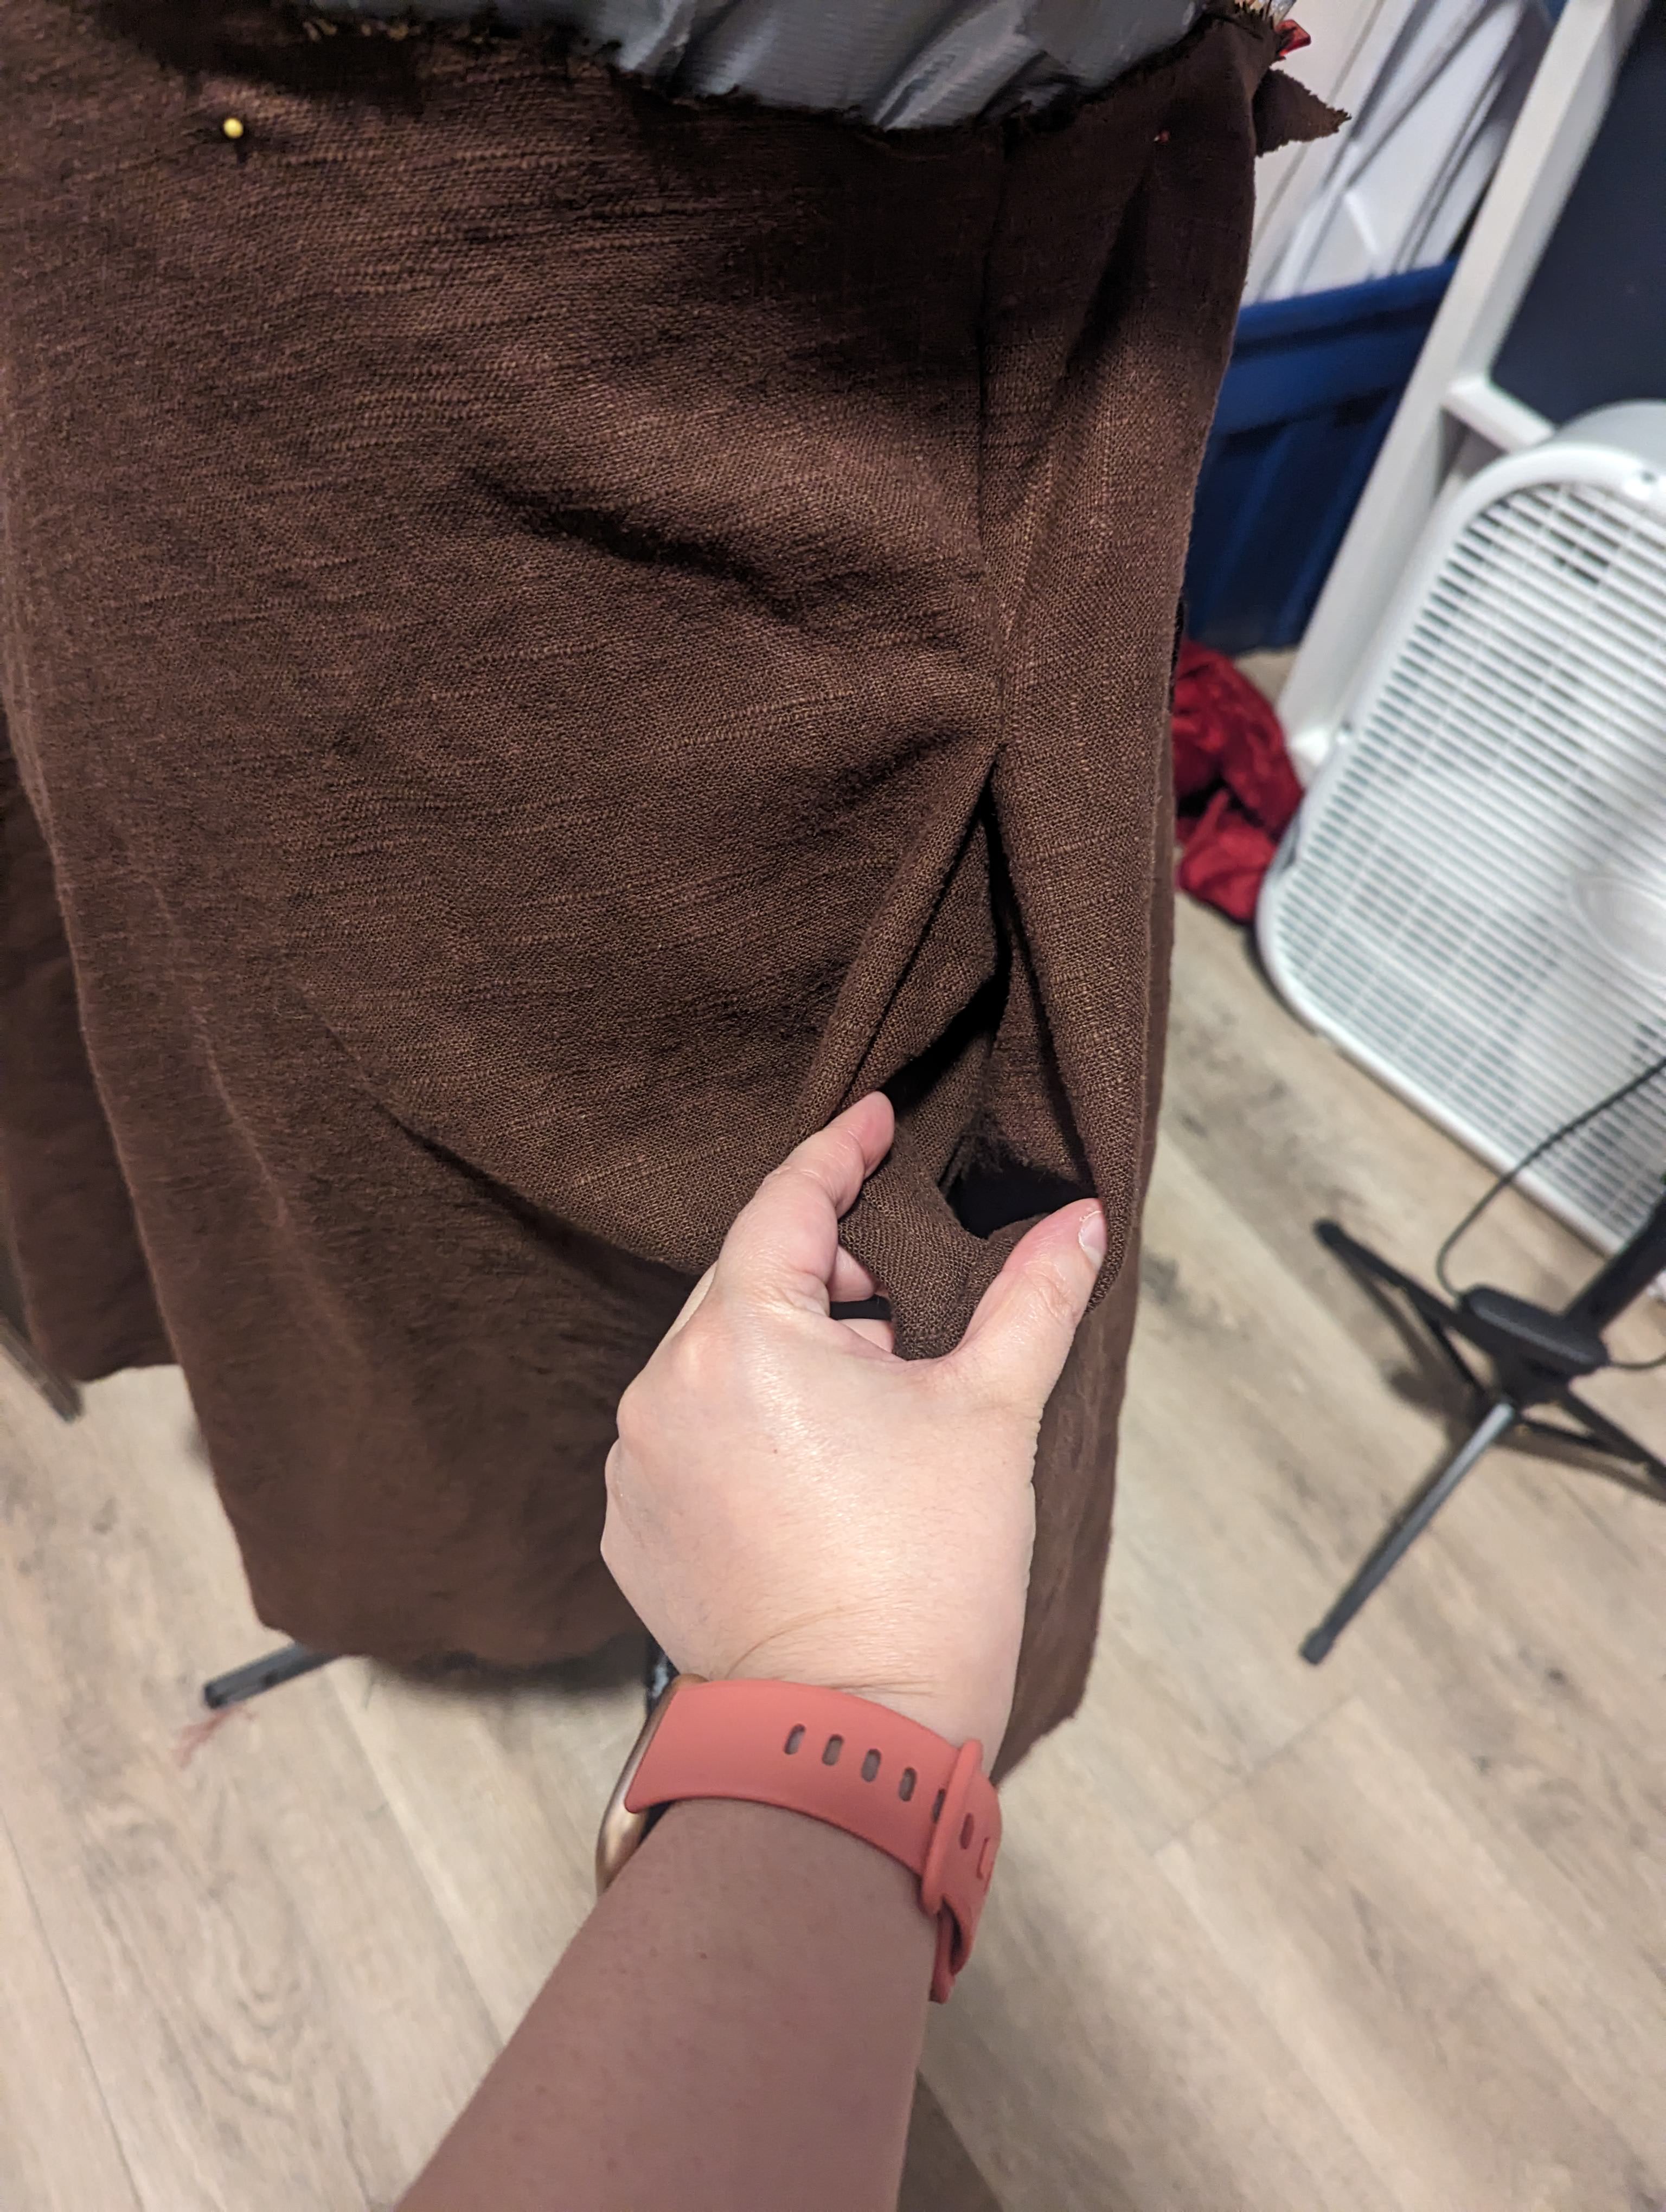
Knowing I would be making multiple of these, I made a muslin pattern, taking much better care with the dimensions this time. Spoiler alert, but it would take me three times to really nail down that pocket pattern. The navy pockets were too shallow while the brown ones would have too narrow of an opening due to the bulk from using French seams (an ill-advised strategy for fabric this thick). It wasn’t until the black skirt that I really perfected the pocket size.
(Only to later learn months after completing this project that there was an even better method, which I’ll tell you so you don’t miss out like I did. Rather than only sewing the pockets to the side seams, anchor them to the waistband. This helps with weight distribution and will keep your skirt from sagging to one side when you inevitably put your phone in one pocket. Oh if only I had seen that Instagram reel a few months prior.)


I ended up making a ton of progress on both skirts in one day, something unheard of with usual sewing projects for me. It turns out, making everyday garments is way easier than cosplay ones, with their weird anime physics and their impossible seams. A girl could get used to the speed of these smaller projects!
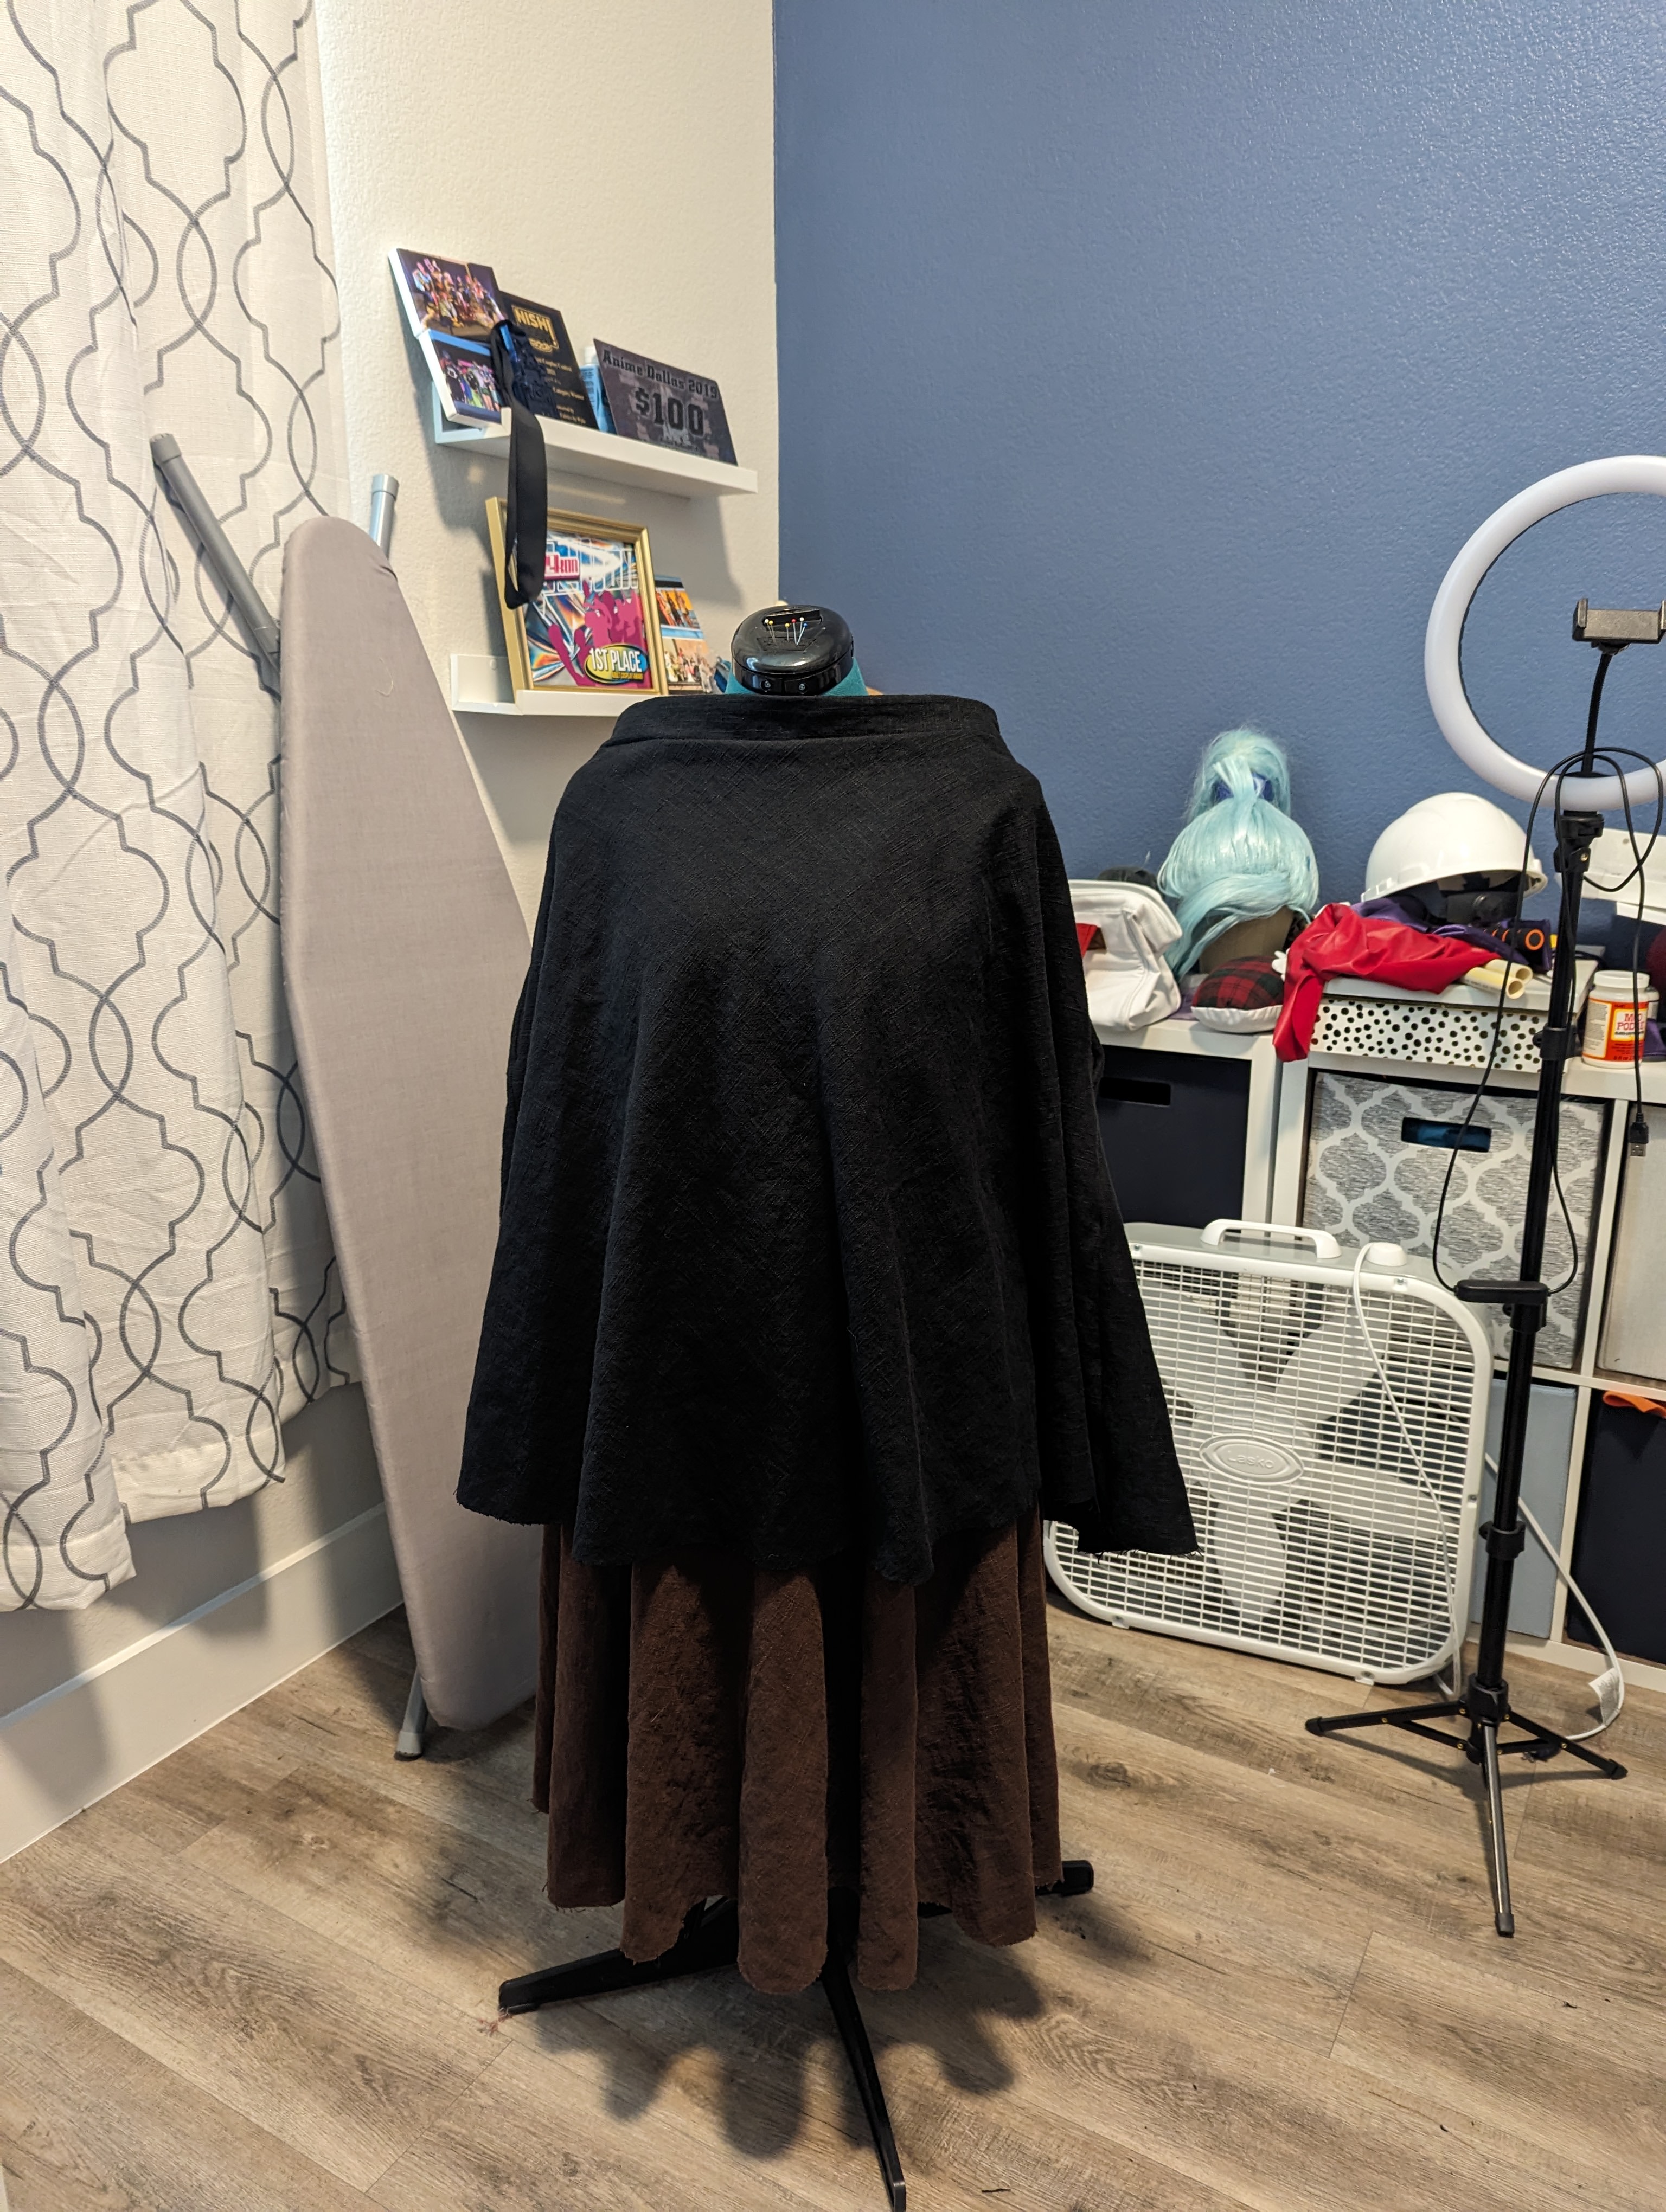
After letting both skirts hang on my dress form for a week, I followed this method for finishing the bottom hem. From there, it was time to do the buttons and straps. I found these adorable clock buttons at Joann’s, so naturally I used them for the brown skirt.


Buttons attached, I recreated the straps from the navy set, this time making the strap length exact rather than messing with multiple buttonholes on the back. After some wearing, I added another strap that goes across the back to keep the straps from falling down. It doesn’t lay perfectly against my back and I’m sure that if I tweaked the size/shape of that strap, I could get it to. But at this moment, I don’t care enough to do that.
New Skill Unlocked: Finally Learn How to Serge
Months after finishing these skirts, I decided it was time to finally learn how to use my serger. Why? Well, the overcast stitching I had done on the black skirt was looking really ugly after washing the skirt twice. I knew that serging would be the best solution and that meant sitting down and facing that 4-threaded fear.
One instruction manual and one youtube tutorial later, I successfully threaded the machine and serged a scrap piece of fabric. Ecstatic, I brought both my brown and black skirts to the machine and serged every single raw edge I could find.


Were the serged edges perfect? Far from it. I’m sure I could tweak the thread tension settings a bit. But I was just happy to finally be using a machine I had for about three years.
If I’m Already Upgrading These, Might As Well…
In the spirit of cleaning up past mistakes, I also went ahead and remade the straps for the navy pinafore. I was able to use the black straps as my guides this time. Then, happy with the results, I took the back buttons off the inside of the skirt and reattached them to the outside.


I Might Have Unlocked A New Obsession
There’s a part of me that’s a little bummed that my vigor for cosplay crafting hasn’t quite returned, but another part of me that’s really excited to finally be making my own clothes. I had told myself when I first received my sewing machine that I would do that, but I never felt confident enough to do so. It’s so nice to be at this stage in my sewing journey where I can make clothes for daily wear that aren’t going to come undone from use or become a mess of thread in the wash.
I use these skirts on the daily, rotating between the three colors for whatever mood I’m in. And not only that, I had enough leftover black and brown fabric to make matching vests for them. Stay tuned! That’ll be Part II of this mini series!