

Last month, my cousin got married. Back in March, I had been dreading the idea of going dress shopping for the wedding. With a recent diagnosis of sleep apnea, my body has been sluggish and I’ve gained a significant amount of weight. The thought of finding out my new dress size felt daunting. Lucky for me, I’ve been making myself some new clothes, so why not try to make some more formal attire? I made my own wedding dress, how hard could a wedding outfit be?
Circle Skirts, All Day Every Day
In April, I did a lot of research and looked at a lot of different wedding outfits for inspiration. I knew that I wanted the silhouette of a nice circle skirt (so I could utilize the pattern I had made for my pinafores) and that I wanted it to be a wrap skirt so that it could fit me despite my fluctuating body composition.


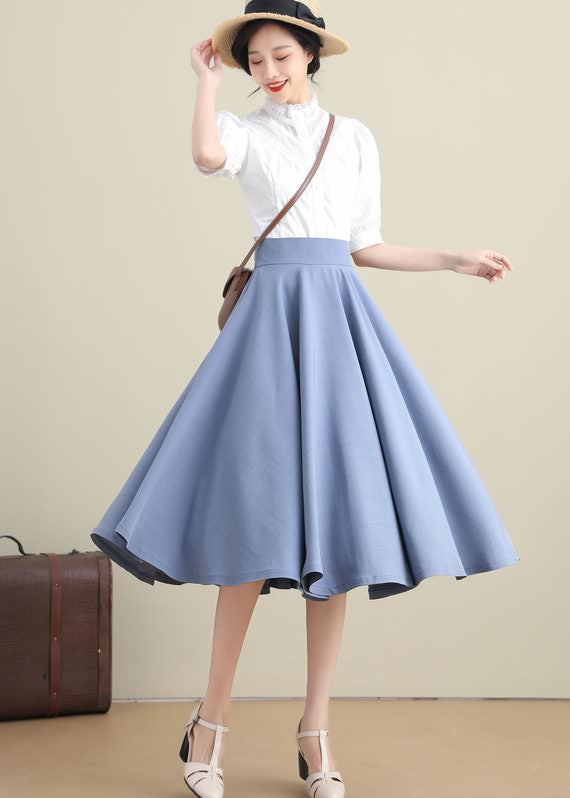
I felt myself drawn to this lovely layering where the top layer is sheer and has the lining showing through. I didn’t know exactly what color I wanted to do; I decided to leave that to chance and see what fabric options the universe (the store) had planned for me.
Discount Fabric in San Francisco
In May, during a weeklong trip in San Francisco, I decided to take advantage of being somewhere different and looked up some places to source my skirt fabric. I took an Uber to it from my Airbnb and, while the fabric and warehouse itself were fine, the location was a little on the sketchy side. But I was able to get my fabric at an okay price, so it was hard to complain. I ended up walking to a nearby Fedex to have the fabric shipped home to Texas. (There was no way it was all fitting in my already-at-capacity carryon luggage.) It was hot and the walk was through weird, industrial parts of town, but we made it happen.


I beat my fabric home to Texas and then, a week later, received it in the mail. With KimochiiCon happening, there was no way I could get started on the skirt. So it sat for a bit.
Rough Mockup
My idea for the skirt pattern was simple: utilizing the circle skirt pattern I had already made, I would make three panels as opposed to just two. Then, rather than closing it with a zipper, I would leave the ends open and attach straps to the waistband to tie it. Three panels would ensure plenty of overlap and coverage.


When I made my rough mockup using fabric from my stash, I made the lining a bit too short. I also did three full panels. For the final skirt, I would decide that two partial side panels should suffice to save fabric.
Lining First, Always
I always like starting with the lining first because, if I mess up, it’ll be mostly hidden anyway.
Welp, I messed up. Right away.
I cut out all the pieces and then realized much too late that I had cut the two side panels too narrow. (I had measured my adjustment on my mockup correctly, but transferred it to my pattern incorrectly. Oop. Measure twice, cut once? More like measure ten times, still end up cutting more than once.) After taking a break from it, I came back the next day and, by some miracle, managed to have just enough lining fabric for the correct widths. Phew!


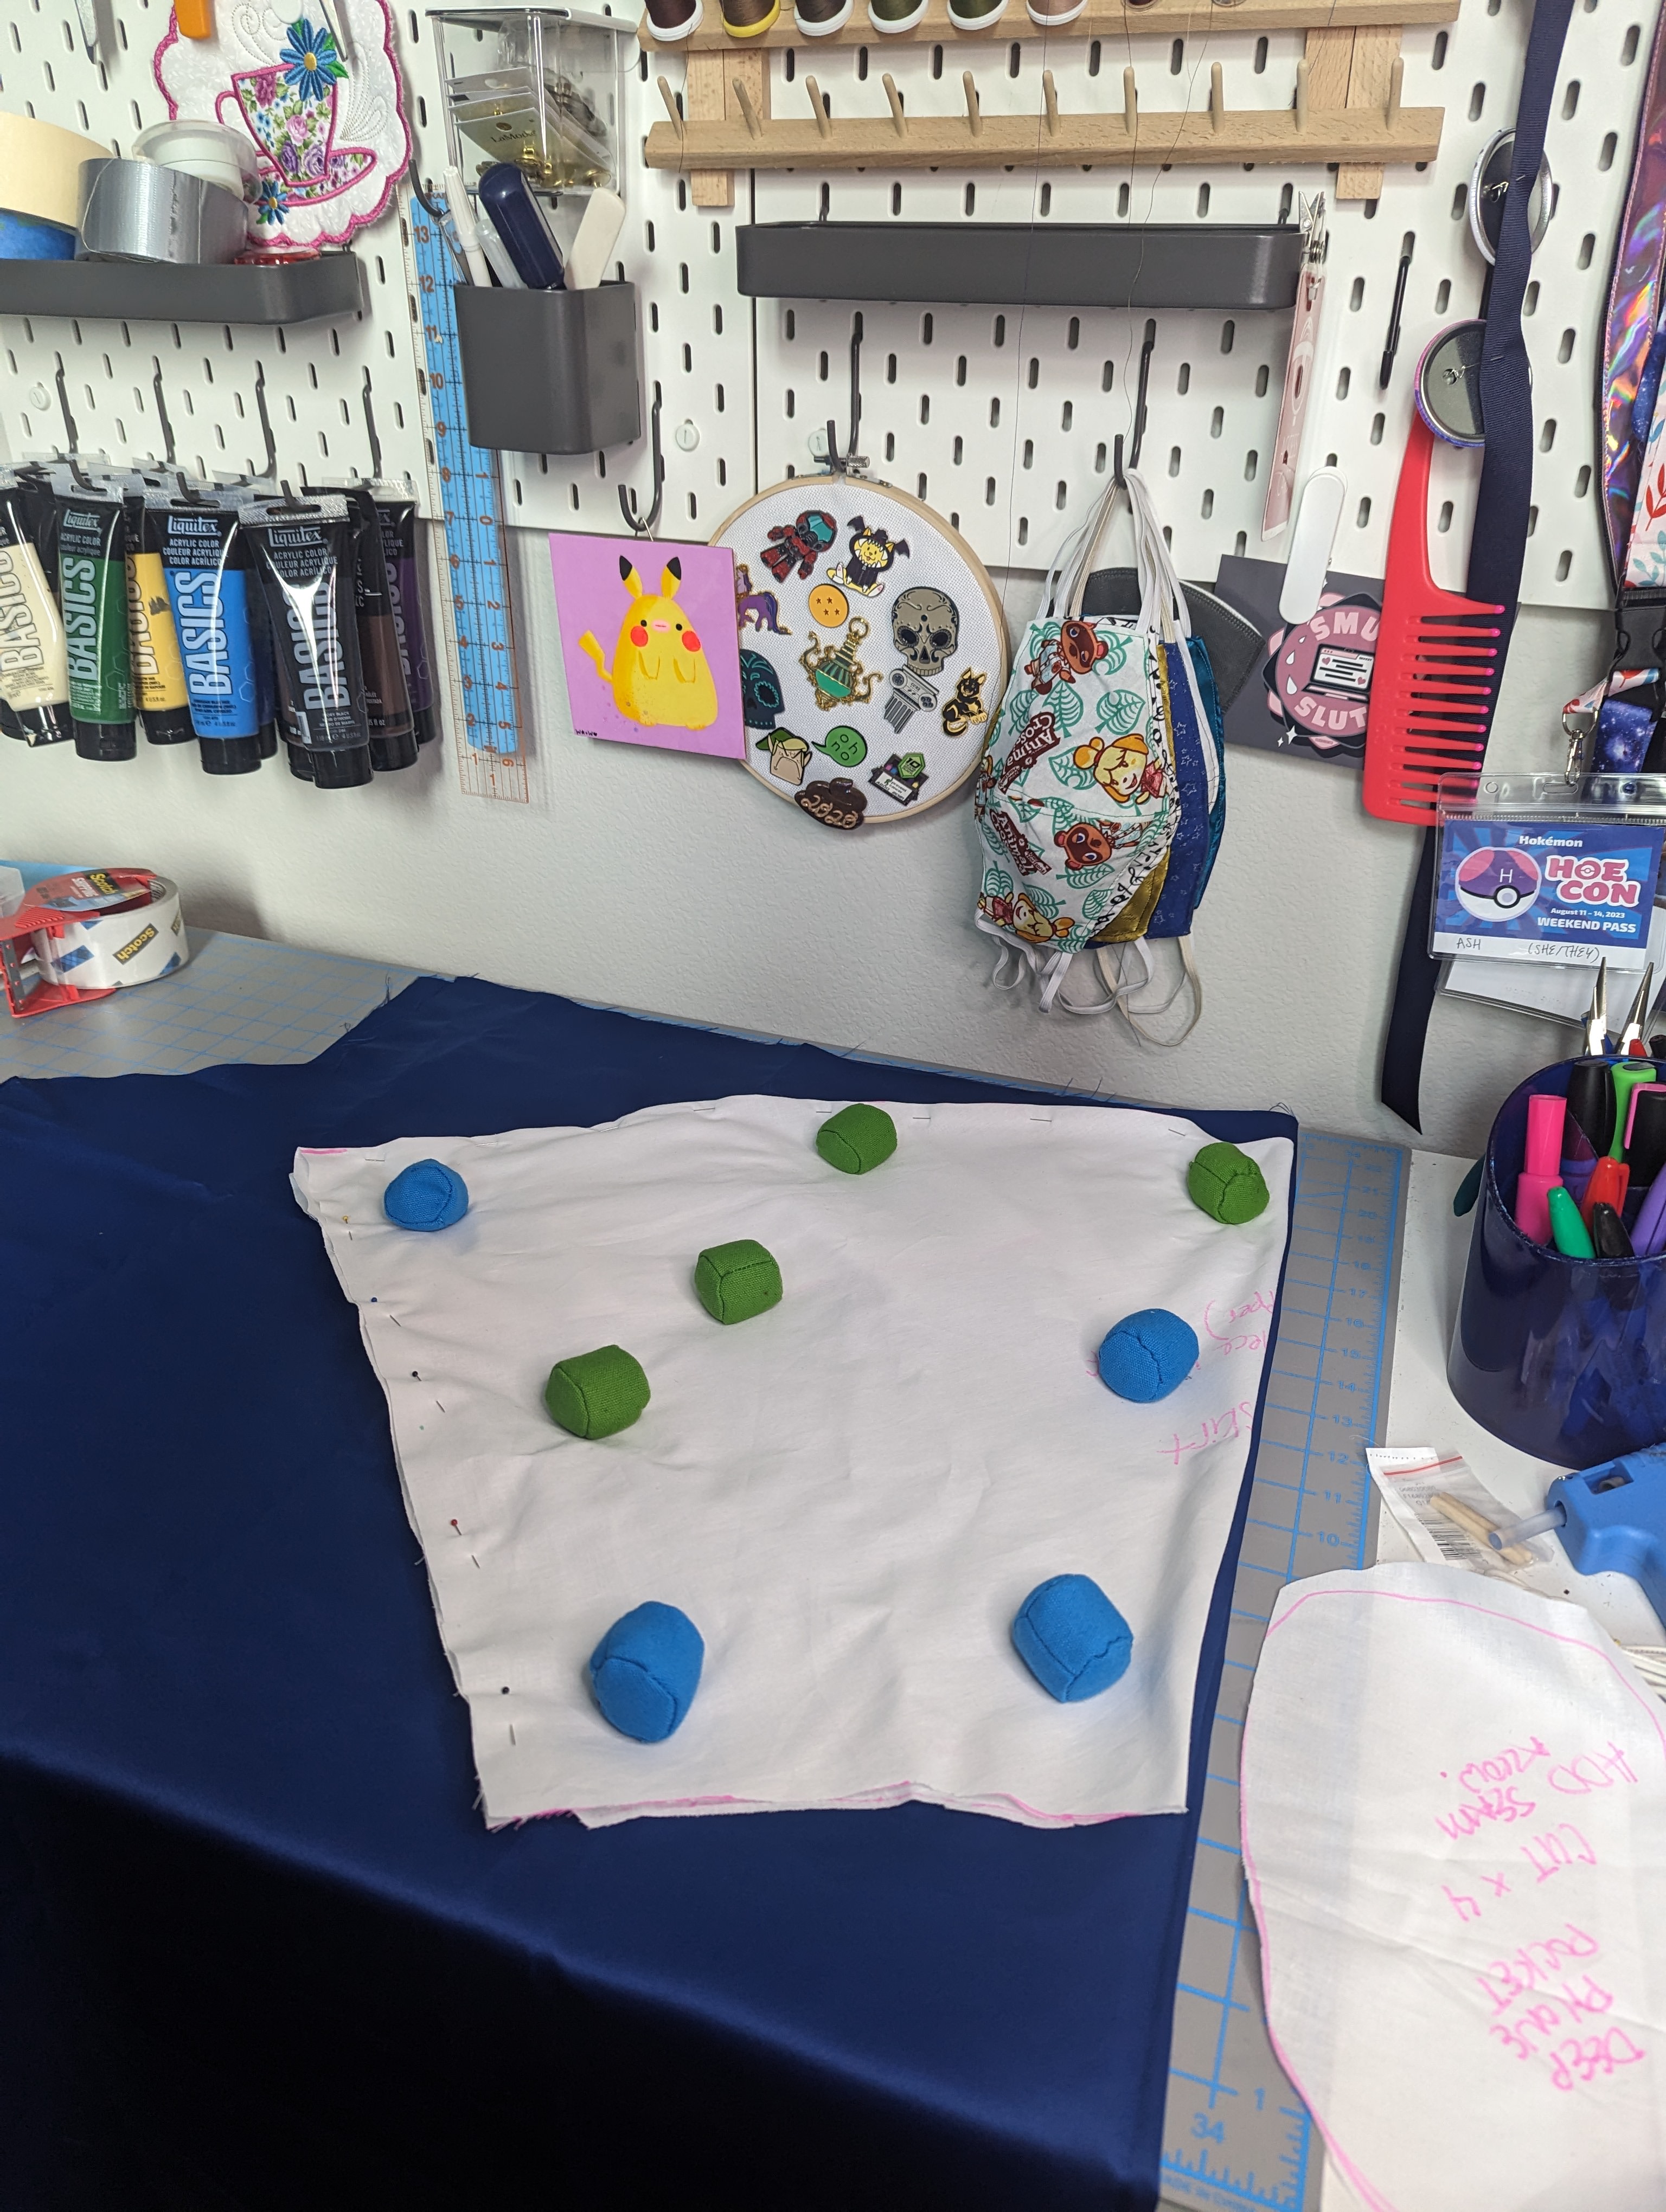
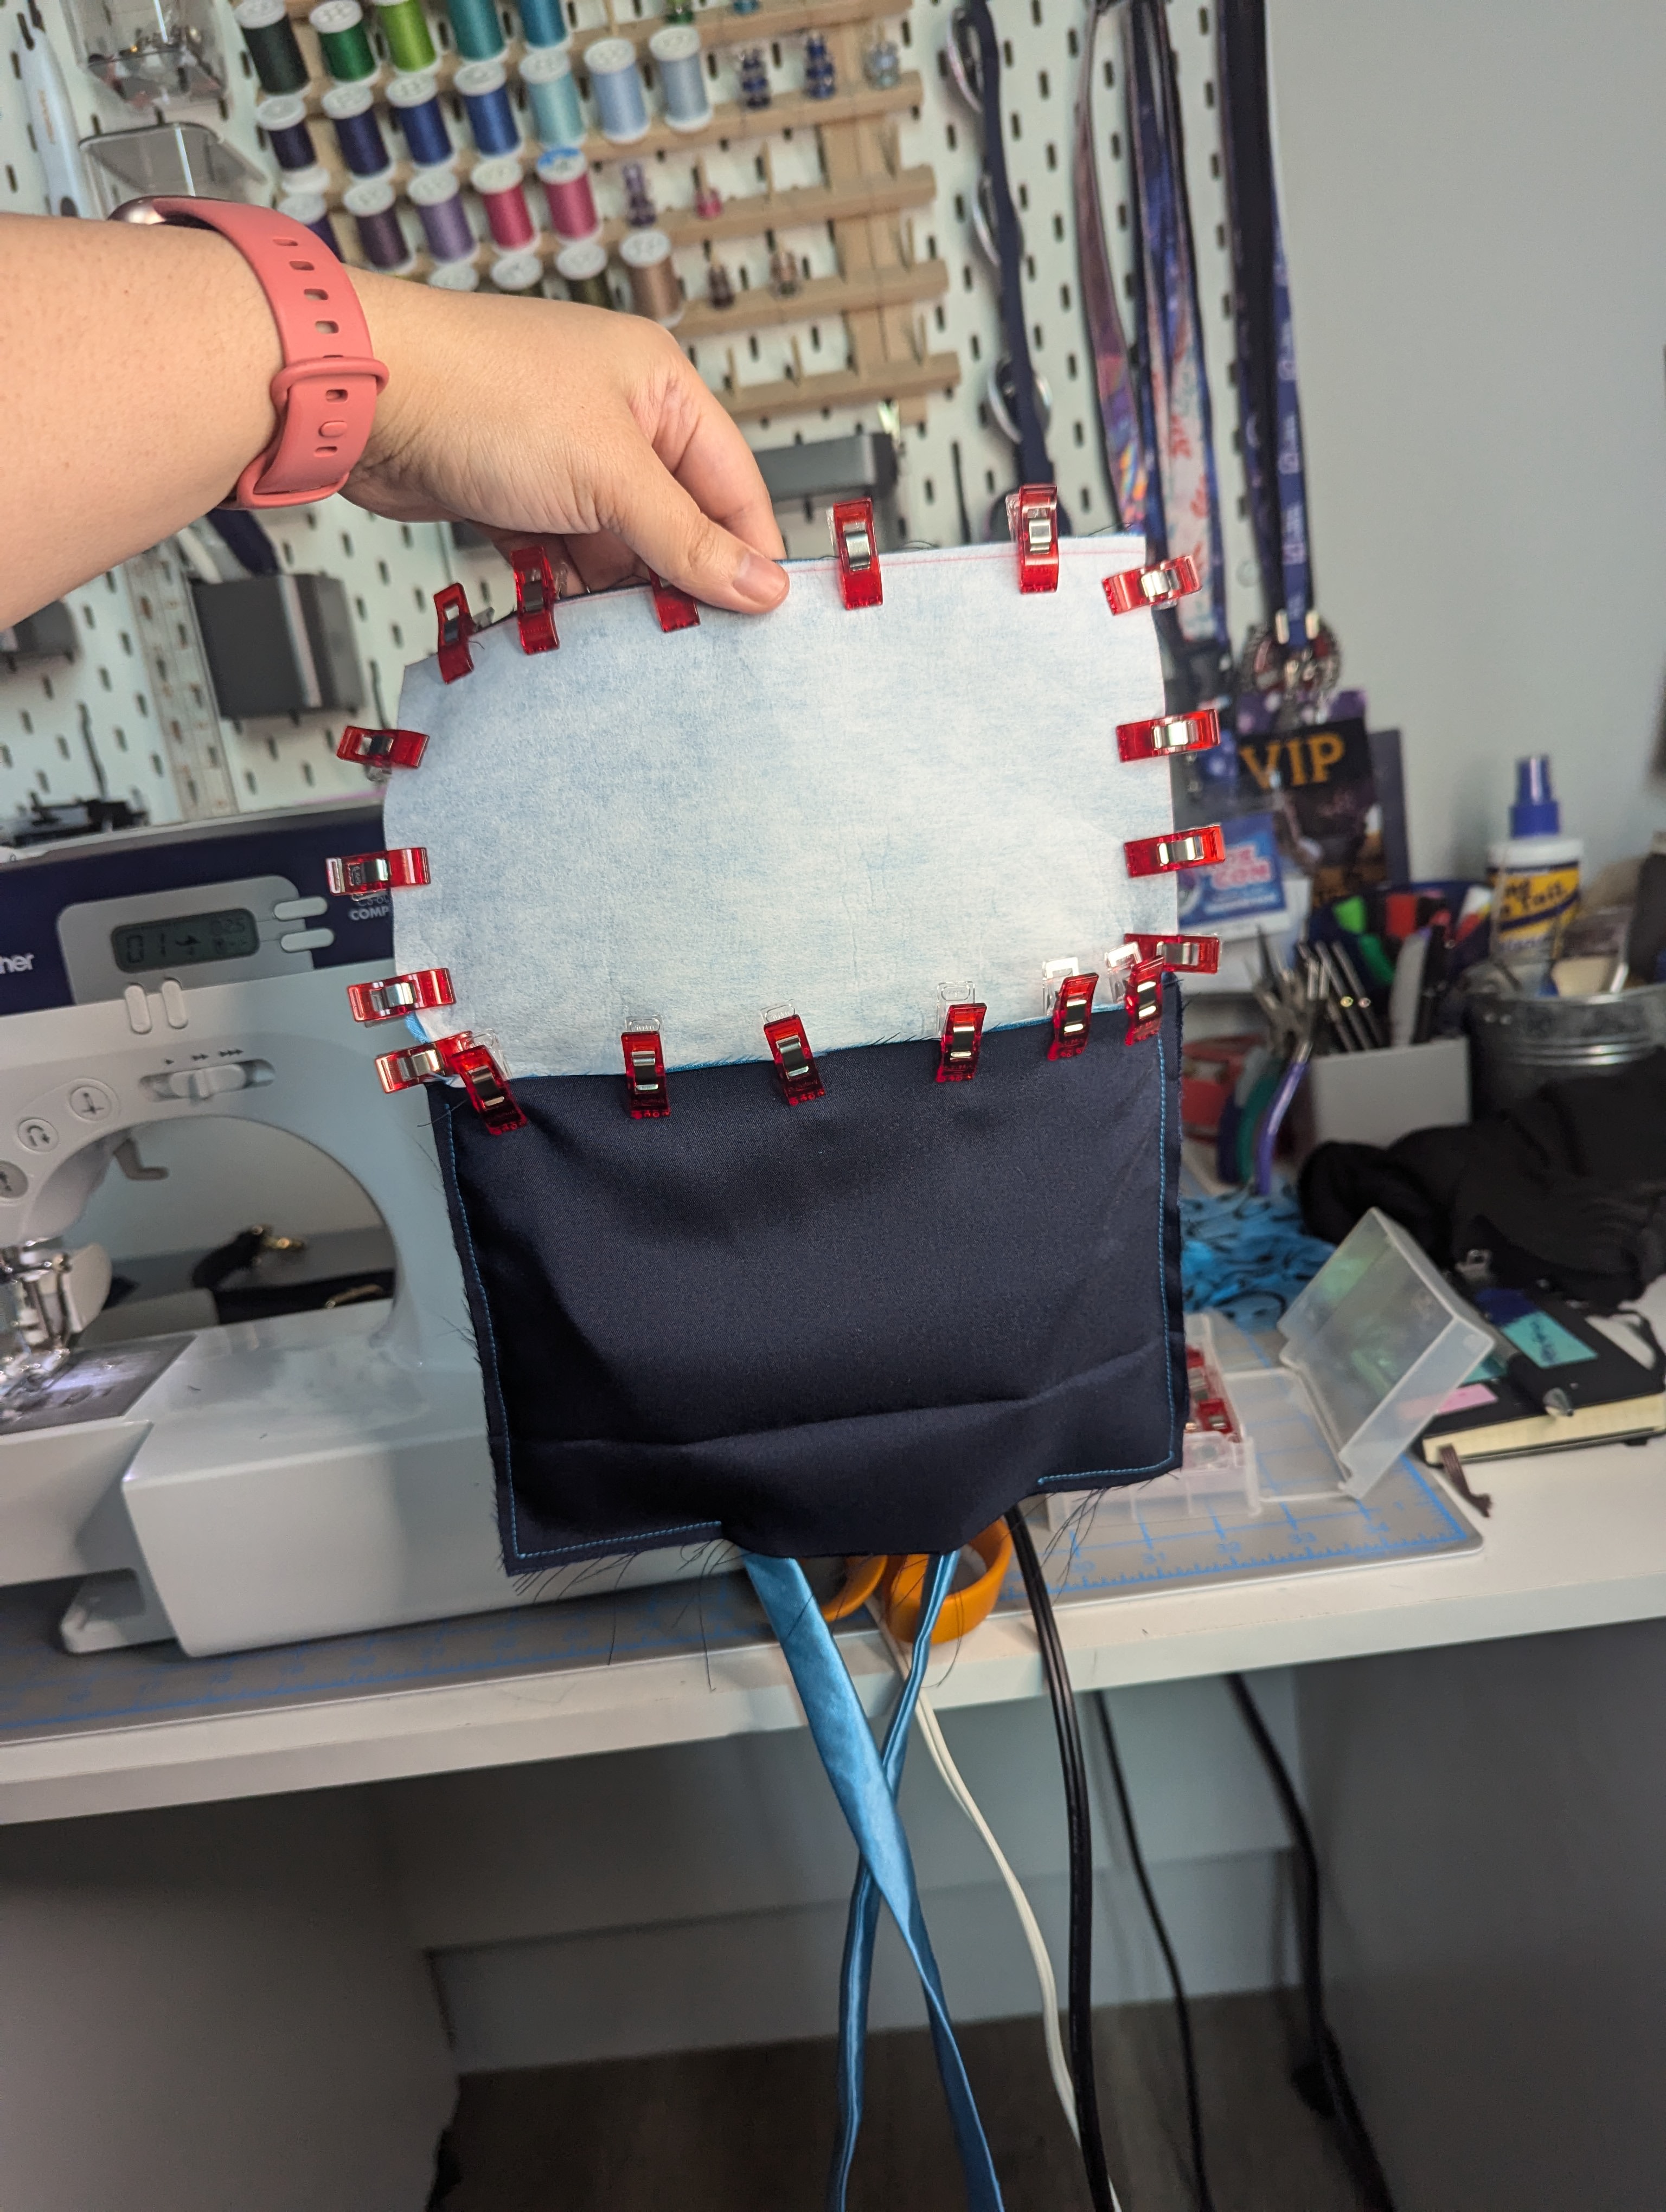
Of course this skirt has pockets! Do you even know me?


Crisis averted, i went to work assembling the lining. I used French seams throughout for a nice clean finish. The pockets are so deep that I can fit my glasses case—which is large enough for two pairs of glasses—in one pocket. Color me excited! Once pockets were attached to the panels and the panels were attached to each other, I made the two straps, but didn’t stitch them to the lining just yet. At this point, the side and bottom hems were left raw while I waited for a roll hem presser foot to arrive in the mail.
A Lesson in When to Say “No”
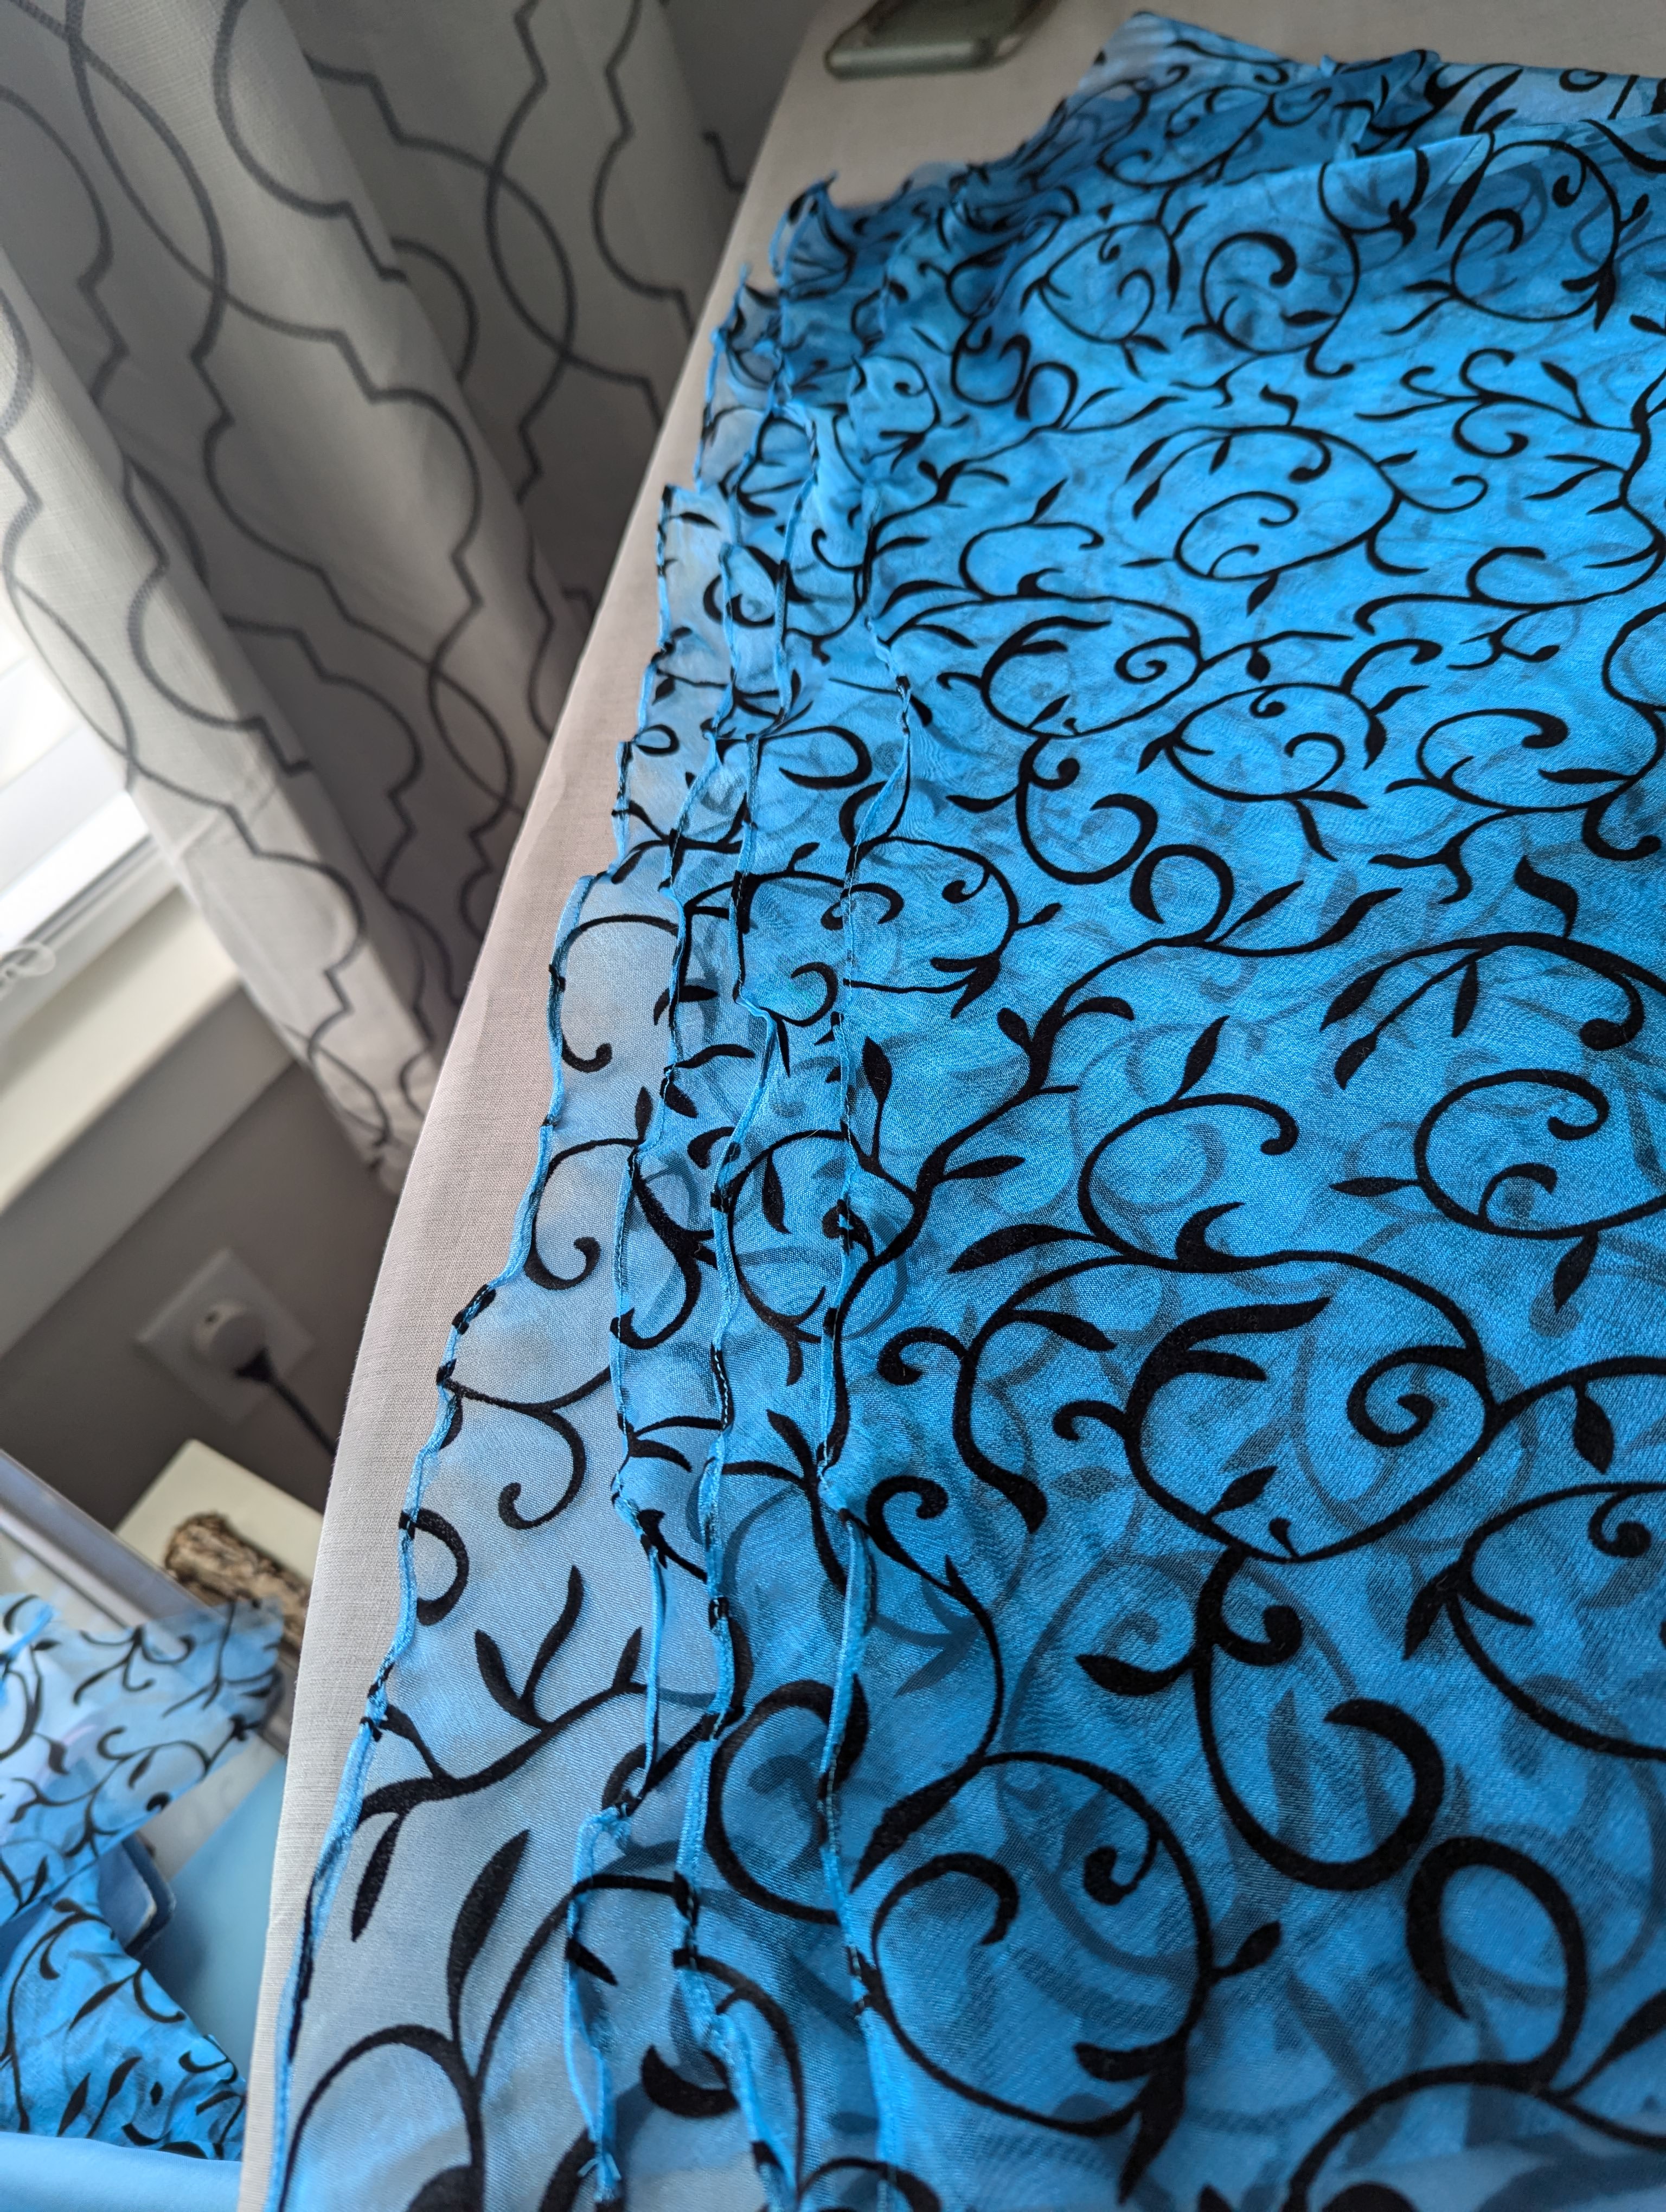
Moving onto the fashion layer, I had a decision to make. With this beautiful pattern on the fabric, should I try to pattern match on the side seams? I looked up tutorials on how best to do it before cutting my center panel piece. Then, I started to place it over the fabric on the floor to see where the pattern starts to repeat. It’s here where I hit a snag.


Not shown: Me standing in my craft room for ten minutes just staring down the fabric before cutting it. Why is it always so nerve-racking?
You’ll see in the photo above on the right my issue: The pattern itself doesn’t perfectly match. It starts out okay on the left, but then slowly but surely starts to become misaligned. Whether it’s caused by the fabric warping by being cut along the bias, a manufacturing error, or a combination of both, we’ll never know. But after consulting some fellow sewists in the cosplay crafting Discord I’m in, I decided that this was not the project to try to learn pattern matching. There will be better, easier ones to try first later. Not only that, but many of those sewists reassured me that it wouldn’t be noticeable and I tend to agree.
But How Do I Get to the Pockets?
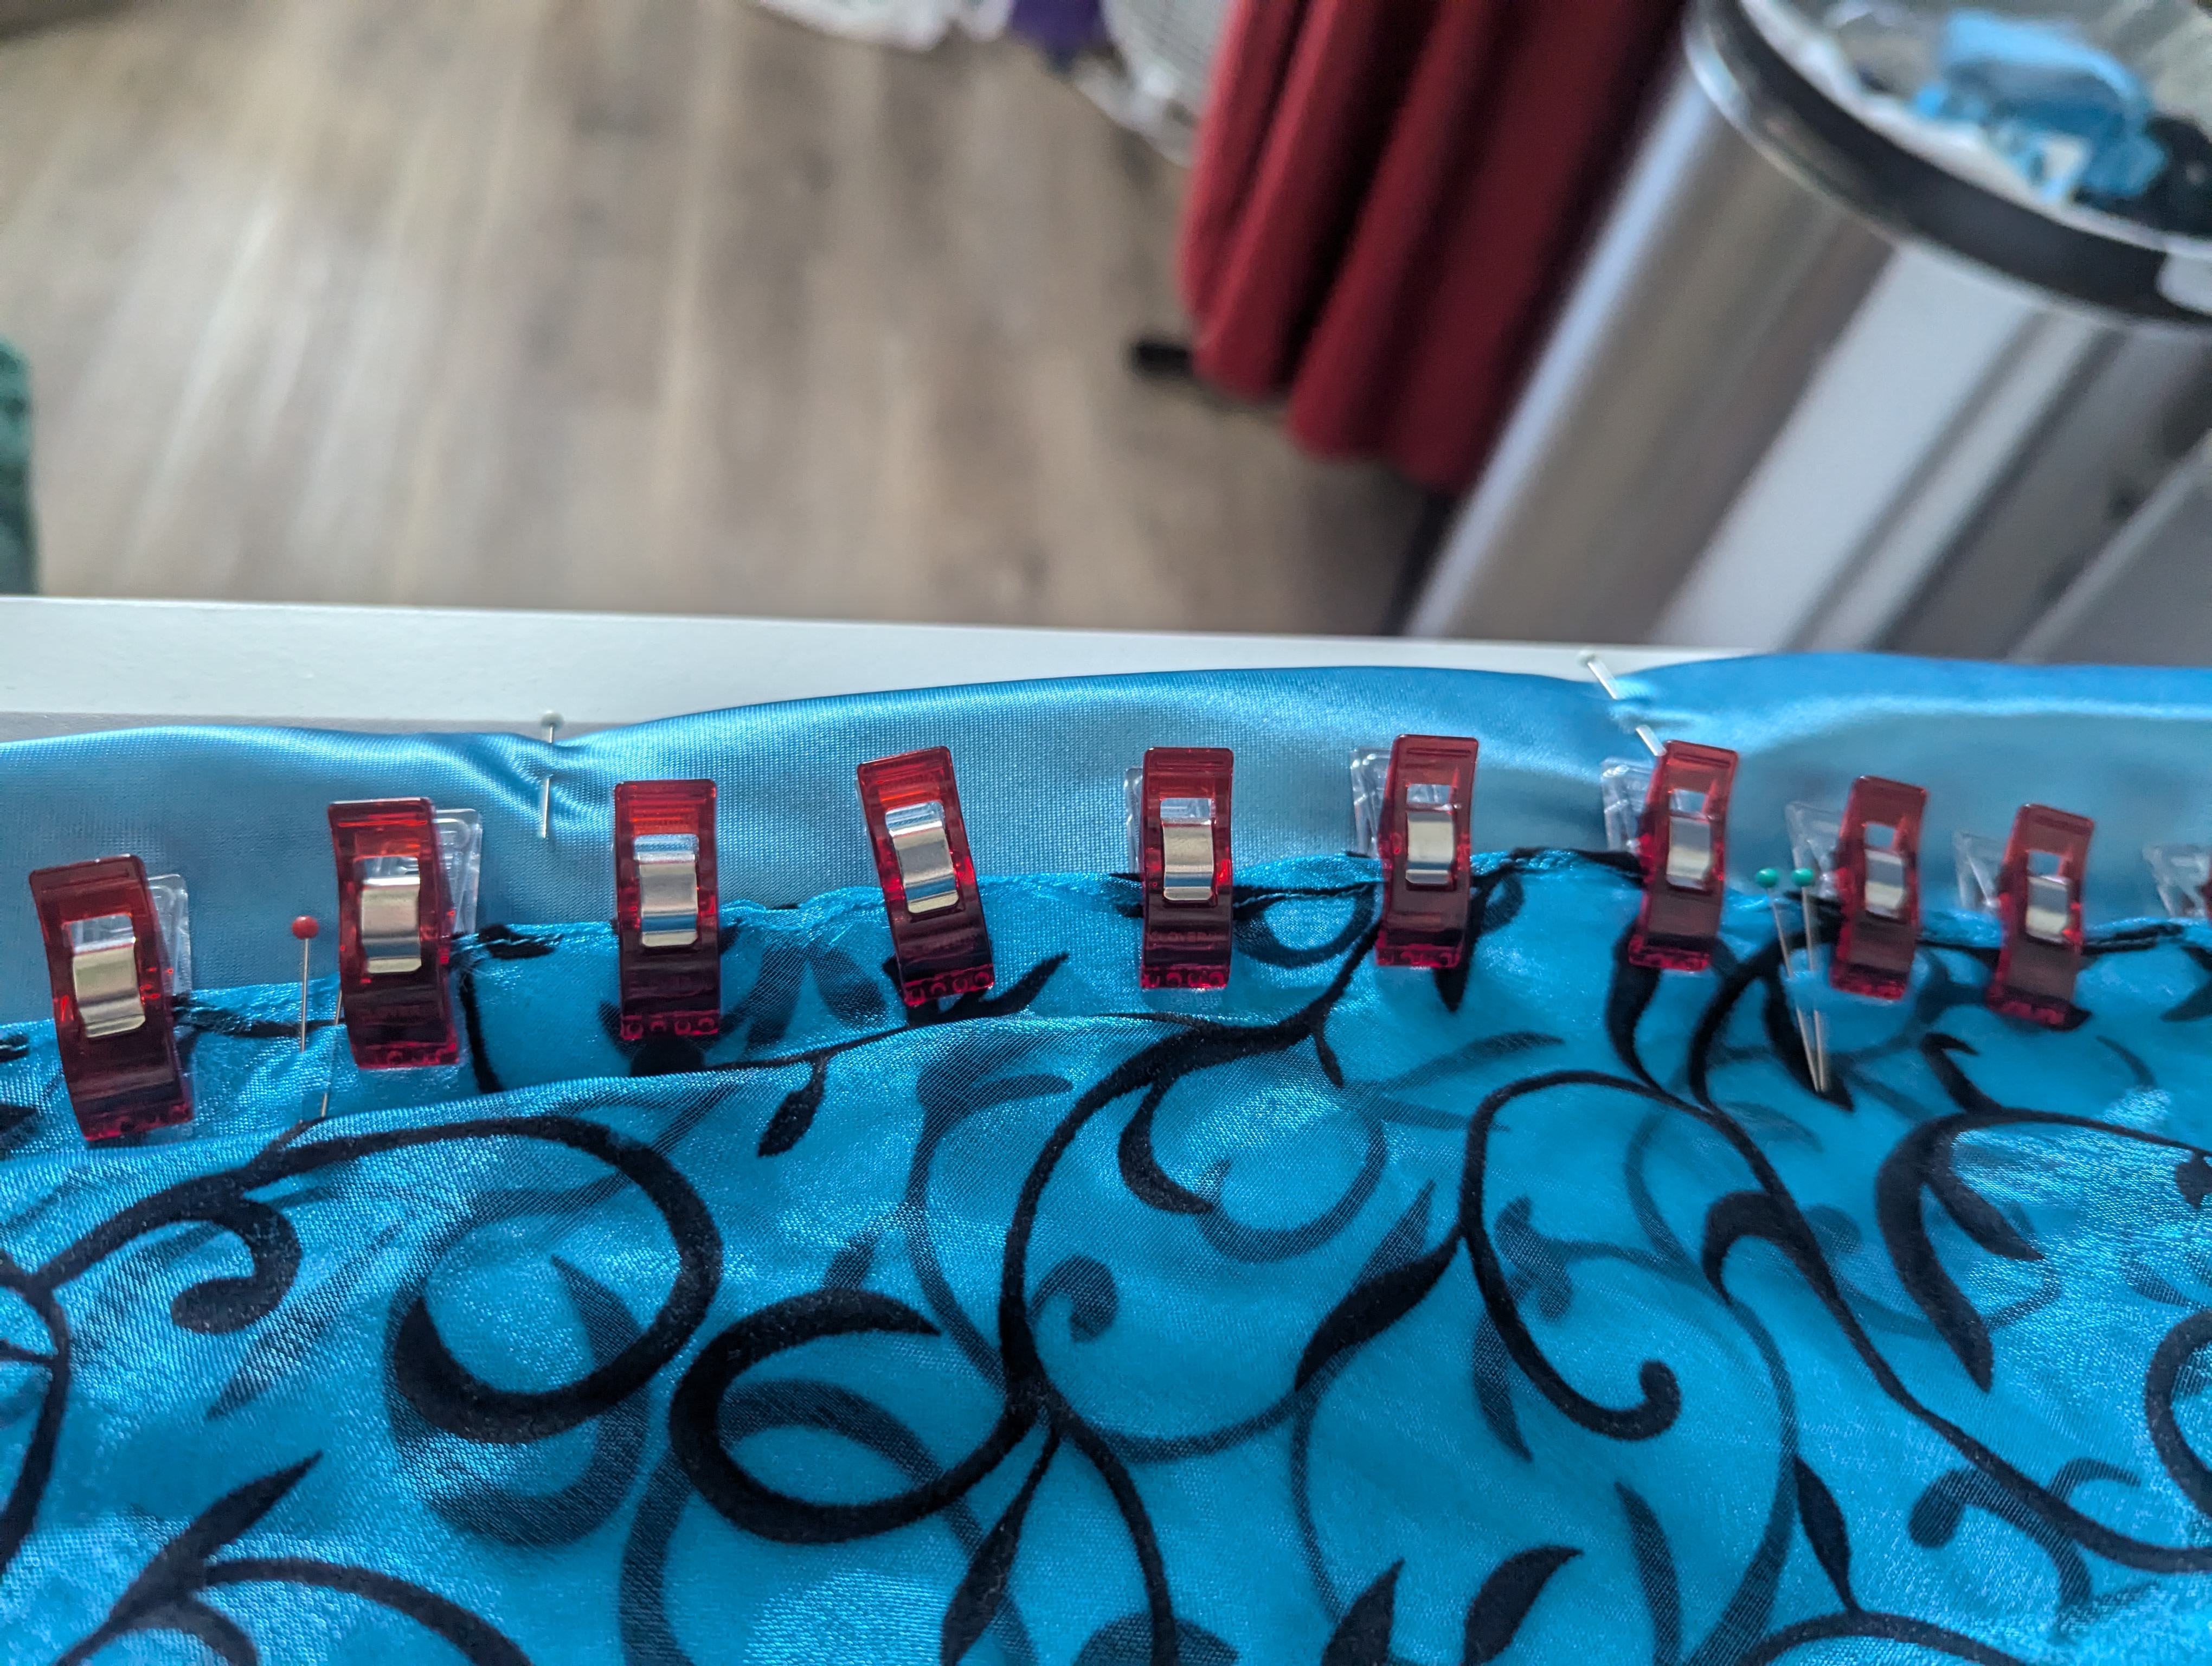
Lining done, I had a new puzzle to solve: how would I make the fashion layer so that the pockets are easily accessible but not super obvious? I knew that I wanted to leave a small pocket-sized gap in the side seams for the fashion layer, but wasn’t 100% how to go about that. After getting my roll hem presser foot in the mail (and practicing on scraps of both fabrics many, many times), I tried out a few different methods.
The first method was using french seams along the side seam and simply leaving a gap. I thought perhaps once I did that, I could finish the raw edges at the pockets by hand. I did a test, but finishing those raw edges looked cumbersome. (Apologies for not taking a picture of this step.) So it was time to try something else.


The second method involved finishing both raw edges with a roll hem first before stitching them right-sides together, leaving a small gap for the pocket. This turned out much better. With my test a success, it was time to do it for the real thing!

It took forever to roll hem every single raw edge of the organza fabric. And it took another bit of forever to do the raw edges of the lining. It wasn’t the cleanest work as I am still learning that presser foot, but I’m happy with it given my inexperience.

After that, I used—you guessed it—a French seam to attach the lining to the fashion layer at the waistline.


The last and final step was adding the straps. This came out a little messy given how bulky that section was getting, but was good enough for me.


After letting the skirt hang for a week, I hemmed both the lining and fashion fabrics with the roll hem and called it done!


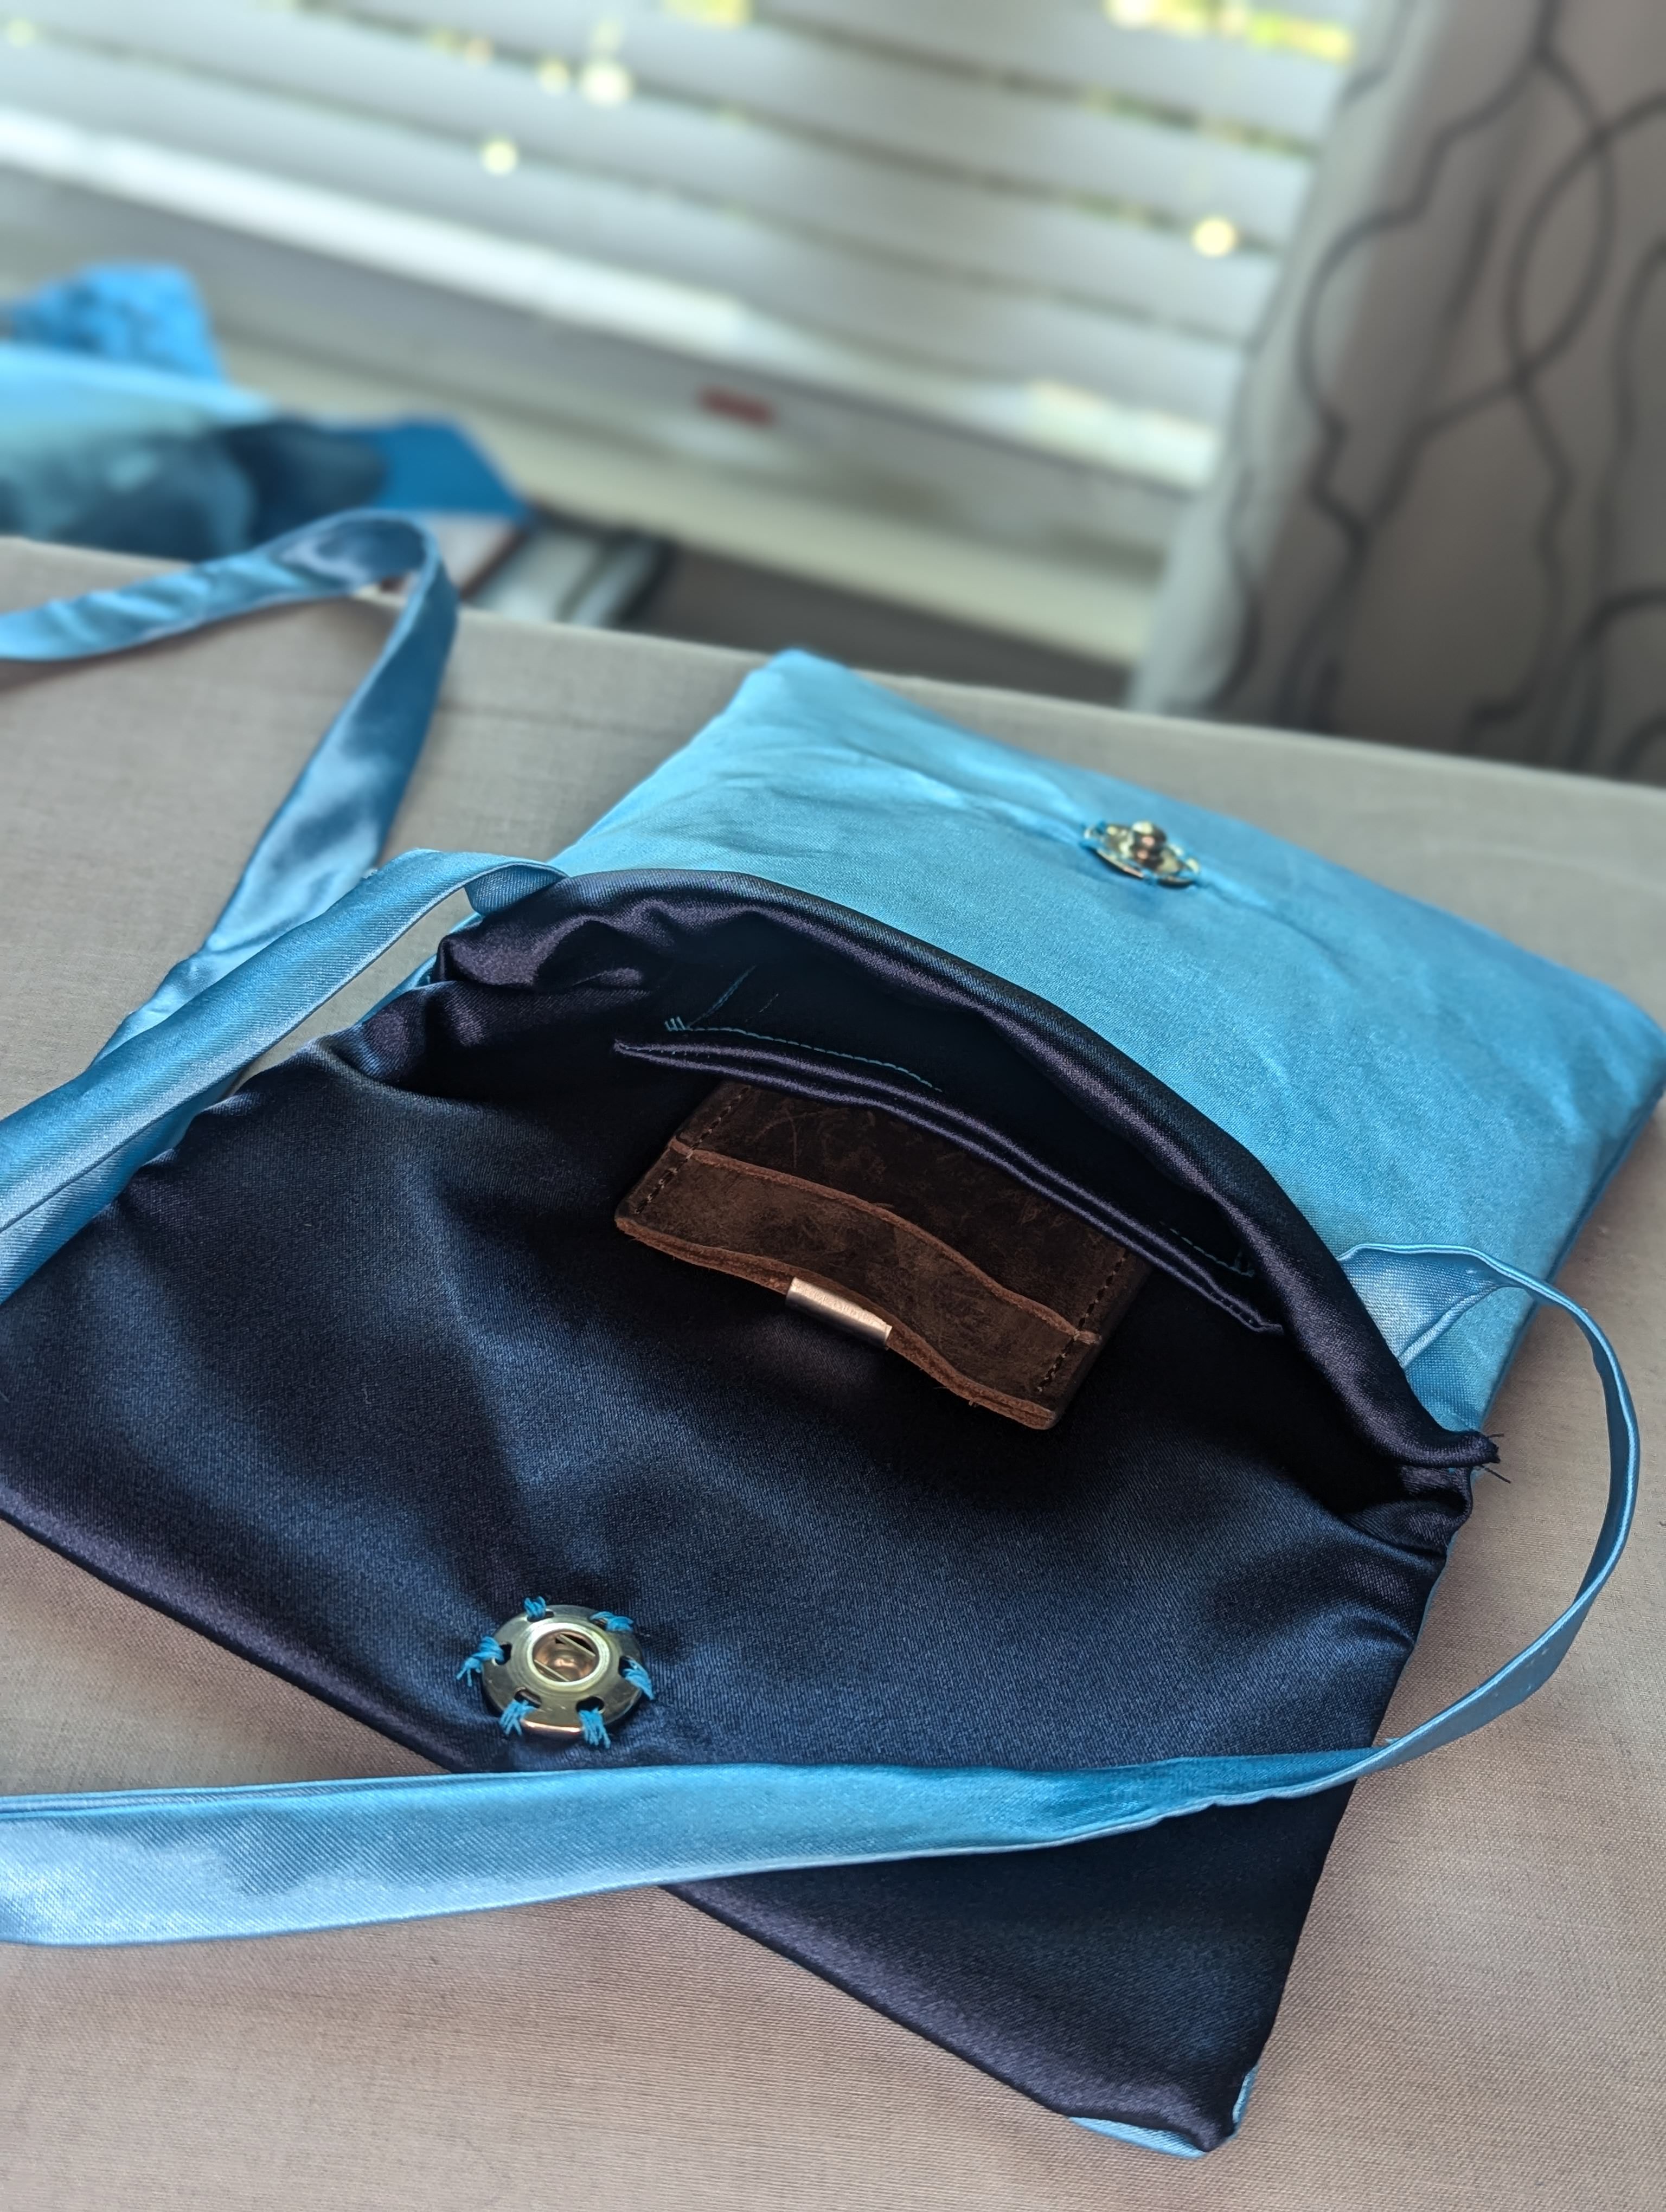
Bonus Purse! AKA “I have purse??”
With so much gorgeous fabric leftover and plenty of time to spare—What? Reasonably timing a project so you’re not last-minute crunching? Who know that was a reliable strategy?—I thought it was time I made a matching purse. Yes, I would have my two amazing and deep pockets on my skirt, but the thought of a matching accessory was just impossible to resist.
Kids Crafts: Not Just for Kids
I looked up several different purse tutorials online and found nothing to my liking; they were all way too involved and I didn’t have the time nor the patience for something so extensive. Then, I stumbled upon this charming tutorial for a circular purse for kids. Reading over the instructions, it’s a very simple project, perfect for what I needed. I opted for doing a rectangular shape instead to contrast the round swirl design of the skirt. I like to think I made a great choice there!
Going to my stash, I was able to find enough fabric for the lining as well as some interfacing. For patterning, I used a single sheet of standard-sized printer paper (8.5×11 inches). I folded part of it down to get an idea for the front flap and then used it for the pieces.
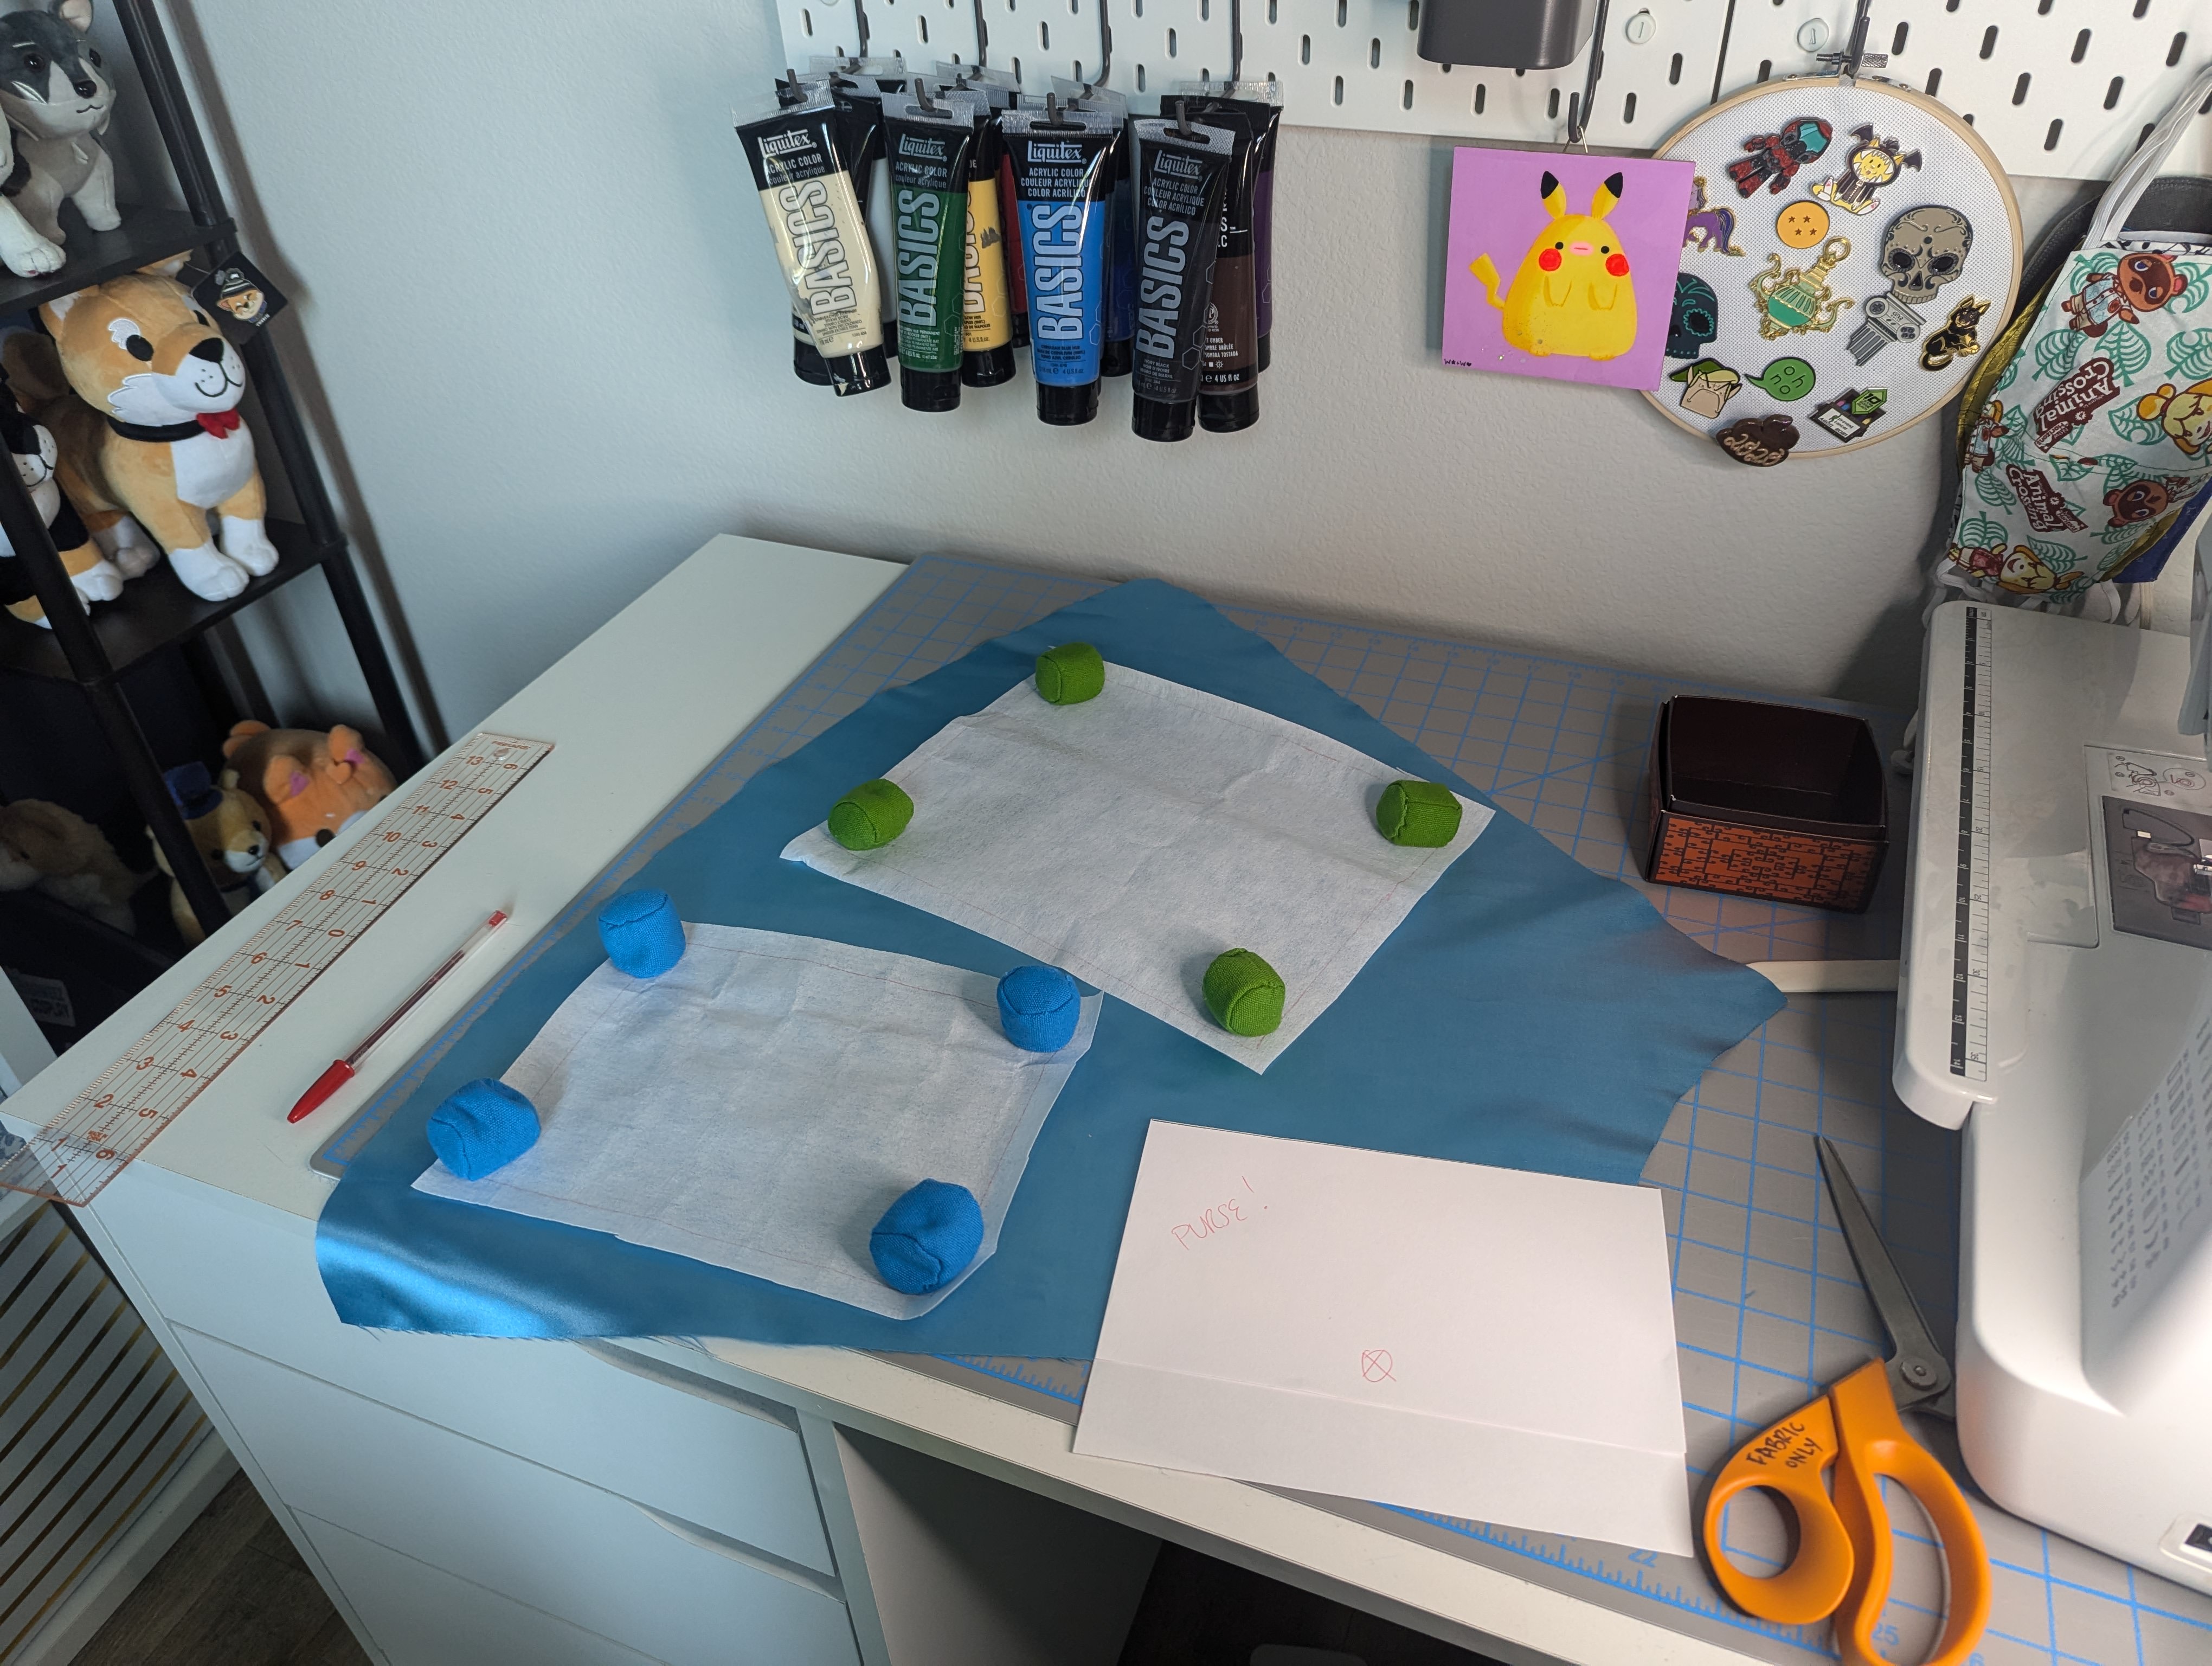
I cut the interfacing pieces larger than the finished size and traced the finished lines onto them. This way, I could fuse the interfacing to the fashion fabric and then trim them both to size instead of having to try to perfectly line them up.

Here’s the inevitable portion of the post where I have fewer photos because I was too busy making the damn thing. Whoops.

Not shown, but I had to do the lining of this twice because I failed to add a little flap for the inside of the purse for my cash clip wallet. Jokes on me though: even after adding it, I got the dimensions wrong so my wallet only fits in it portrait instead of landscape, therefore making the purse difficult to close. Womp womp. Maybe I’ll put something else in that little pocket instead.

After hitting the whole thing with the iron and adding snaps, the purse was complete! Could I have used magnet snaps? Yes. Did I forget I had one in my drawer? Absolutely. I debated seam ripping off the snaps to do the magnetic ones, but I figured I would save those for when I do a proper purse that’s more involved. One that really calls for a clasp so nice.

Conclusion
This skirt (and purse) was a very fun project! After wearing it at the wedding, there are adjustments I would make:
- Add a waistband that allows for a gap so that there’s less bunching of the straps. That would also mean that the waistbands would line up and not start falling down.
- Make the pockets the type that attach both at the side seam and the waistband. This would prevent the skirt from sagging when my phone or anything else is in the pocket. (I wish I had done this for my pinafores, too.)
Otherwise, I’m super happy with how it all turned out. I got lots of compliments on it and I’m just so pleased that my vision worked out so nicely!


Leave a comment